Setting Up a Domain for Your Linux Server Using Plesk (Plesk Already Configured)
In this article, we'll show you how to set up a domain in Plesk for use with websites, emails, and other functions.
These instructions describe how to set up a domain registered with IONOS in Plesk for Linux after you've used Plesk more than once. The required procedure is described using the Power User view.
Prerequisites
You already set up the desired domain at IONOS.
You connected the desired domain to the server using an A/AAAA record.
You enabled port 8443 in the firewall policy assigned to your server.
You logged into Plesk as an administrator
You have selected the Power User view in Plesk in the Tools & Settings > Interface management area or in the bottom-left corner.
Installing Domain Connect
If you install an IONOS image with Plesk, Domain Connect is active by default. To check whether Domain Connect is installed, proceed as follows:
Click on Extensions in the navigation bar on the left.
Click on the My extensions tab.
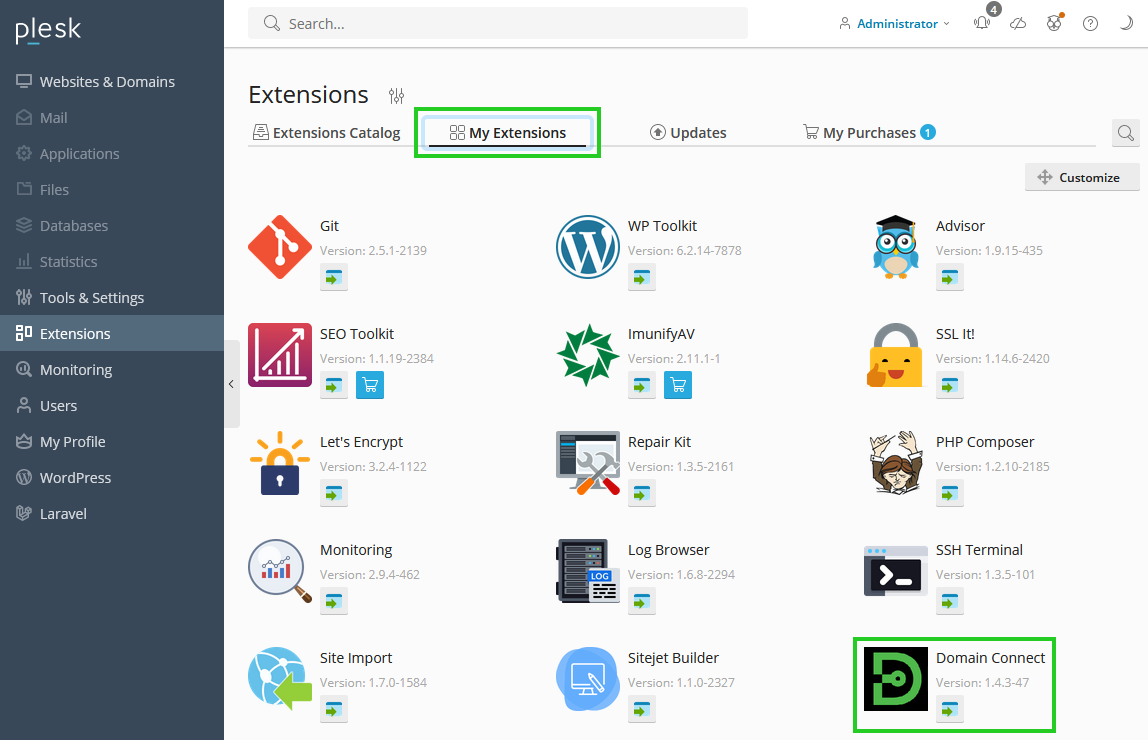
Check whether Domain Connect is displayed.
To install Domain Connect in Plesk for Linux, follow these steps:
In the Extensions catalog tab, enter Domain Connect in the search field.
Select Domain Connect.
Click on the arrow symbol pointing downwards to install it.
The Domain Connect extension is installed.
Connecting the Domain to the Static IP Address of the Server
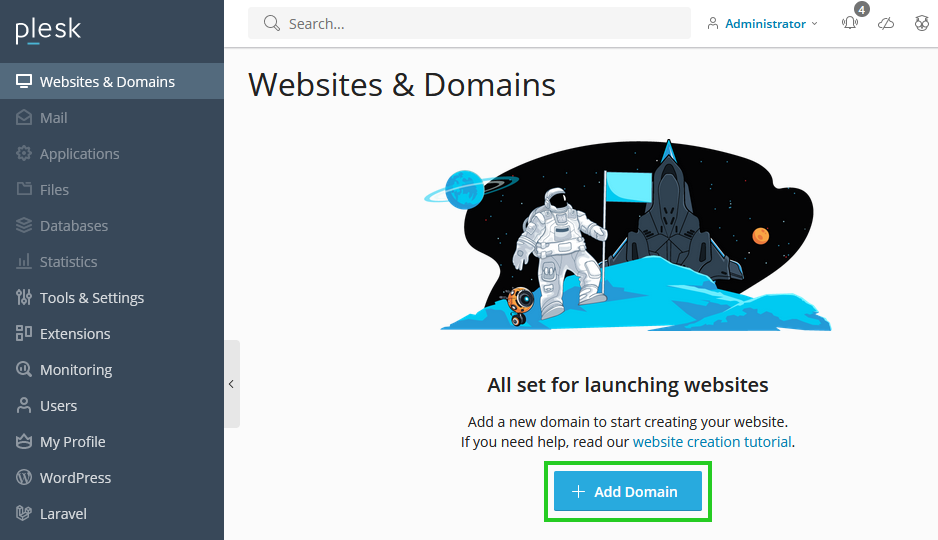
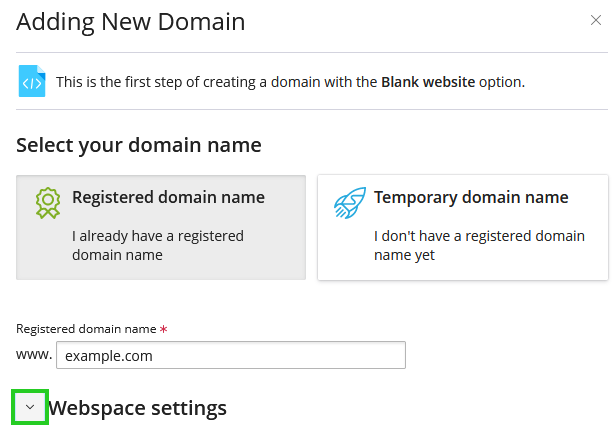
Click on Websites & Domains in the navigation bar on the left.
Click on + Add domain.
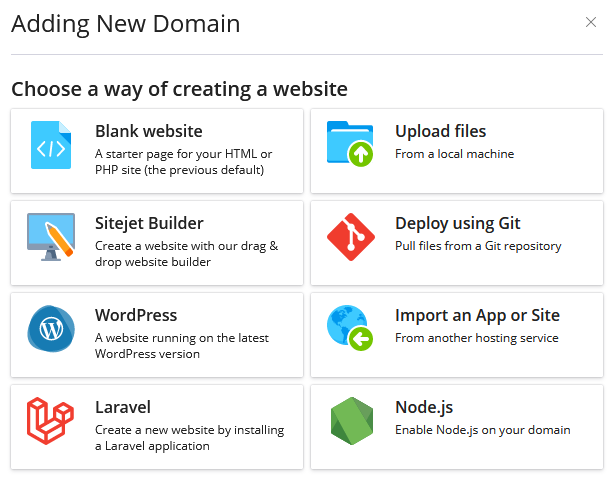
Choose the method you want to use to create your website.
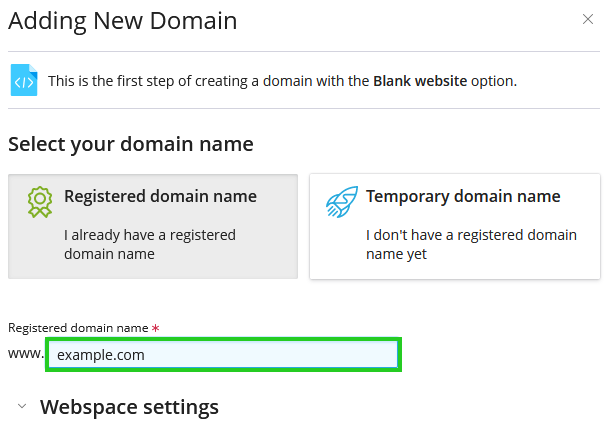
Make sure that the Registered domain name option is activated in the Select domain name area.
Enter the desired domain name in the Registered domain name* field.
Click on the arrow pointing downwards, which is displayed to the left of the Webspace settings heading.
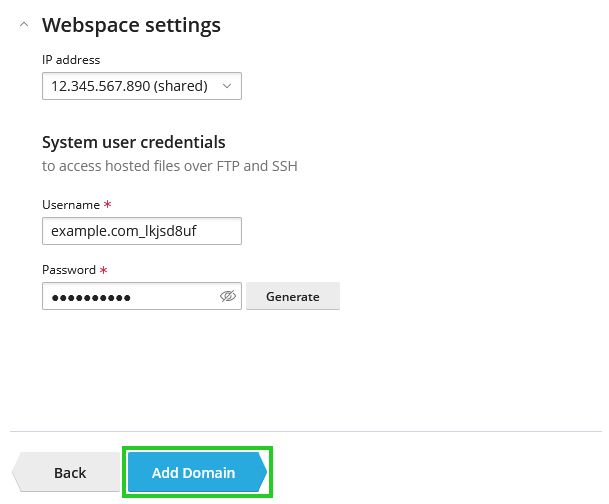
In the IPv4 address list, select the IPv4 address to which the domain is to be connected. If the domain is not to be connected to an IPv4 address, you can skip this step.
In the IPv6 address list, select the IPv6 address to which the domain is to be connected. If the domain is not to be connected to an IPv6 address, you can skip this step.
Enter the desired user name in the User name field.
Enter the password in the Password field and repeat it.
To add the domain, click on Add domain.
Your domain is now connected to Plesk Obsidian.