Setting Up Microsoft Exchange®
For Microsoft Exchange as an Additional Feature or as a Standalone Contract
This article explains how to set up your Microsoft Exchange email address for the first time in your IONOS account.
Please Note
This product uses the latest Exchange Server Subscription Edition (SE). For details on the changes, see the Microsoft article What's New in Exchange Server SE.
Requirement
You can only select a domain name for your Microsoft Exchange address that is already assigned to your IONOS account. If you need to transfer a domain to your account, please see these articles.
Creating Your Microsoft Exchange Account
- Log in to your IONOS account.
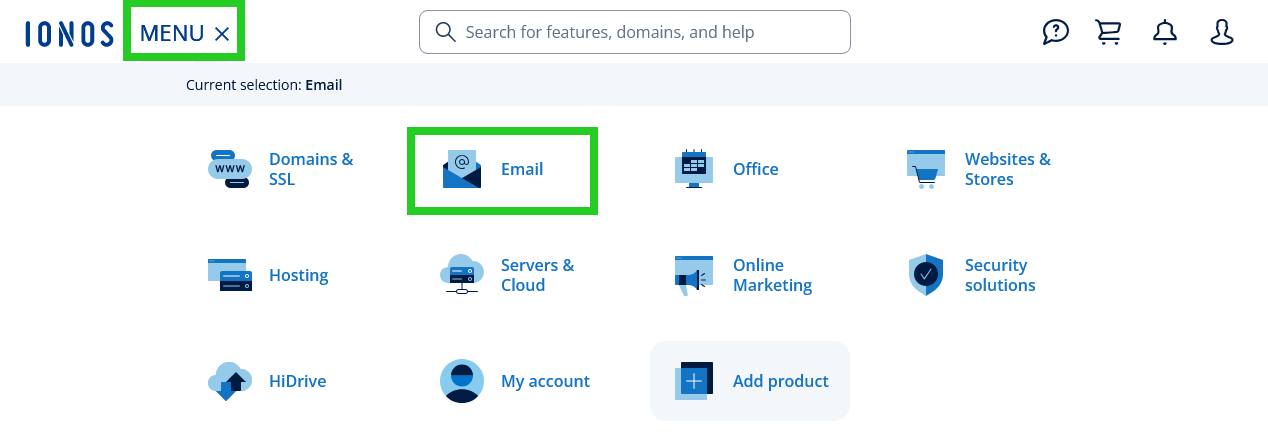
In the main navigation, click Menu in the top left corner and then click Email.
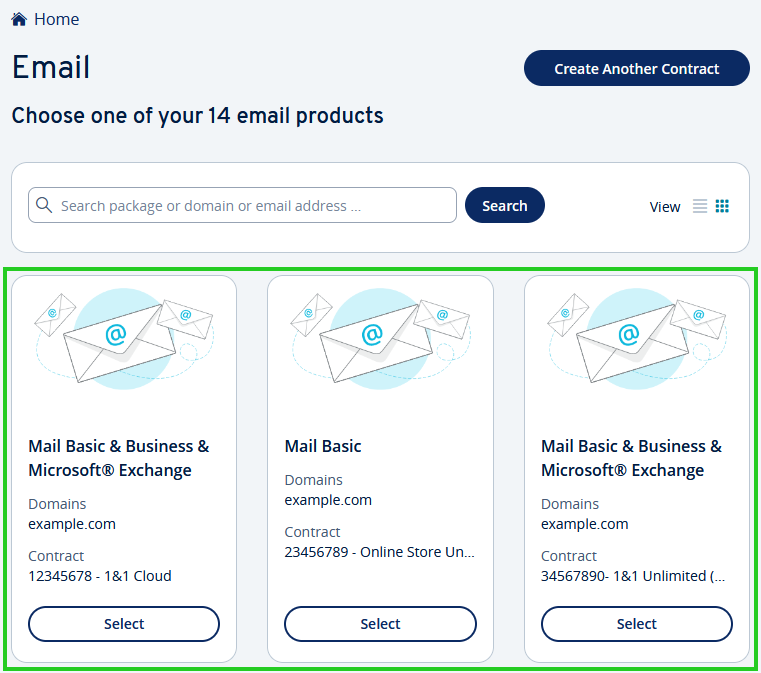
- If you have more than one email contract, select the contract in which you want to perform the desired action.
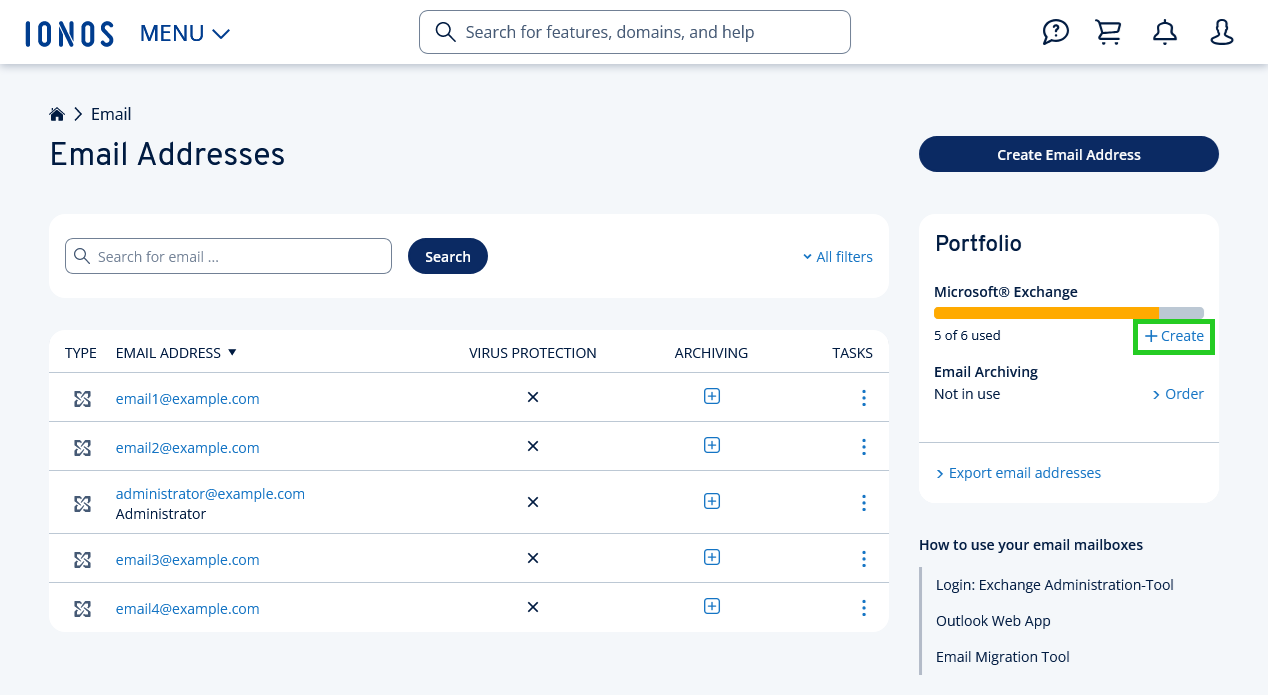
In the Portfolio section, click Create next to Microsoft Exchange.
Please Note
For standalone Microsoft Exchange packages, you can simply click the Create an Email Address link in the contract selection screen.
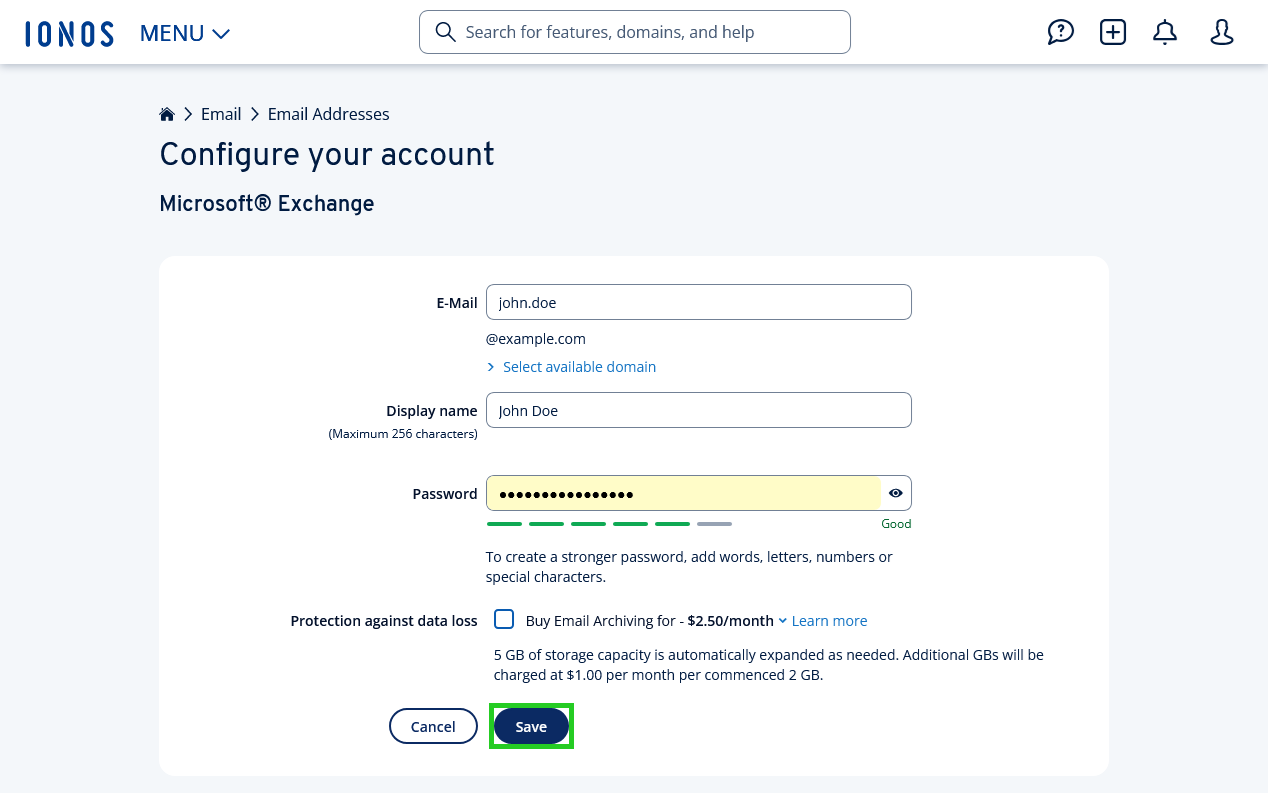
Enter the desired email address, display name and password and click Save.
The email address is now created and ready to use after a few moments. To learn how to use this address in your preferred email program, please see the articles on Microsoft Exchange setup.
Please Note
When assigning your password, do not use any components of the display name or email address. Otherwise, you will receive an error message preventing you from creating the address.