Creating signatures in IONOS webmail
Valid for Mail Basic and Mail Business.
With a personal signature, you automatically send your address or contact details with every outgoing email. In this article, you will learn how to set up a signature in IONOS Webmail.
Open the signatures area in the email settings
- Log in to IONOS Webmail.
- Click on the cogwheel symbol in the top right-hand corner of the main navigation (Settings tooltip).
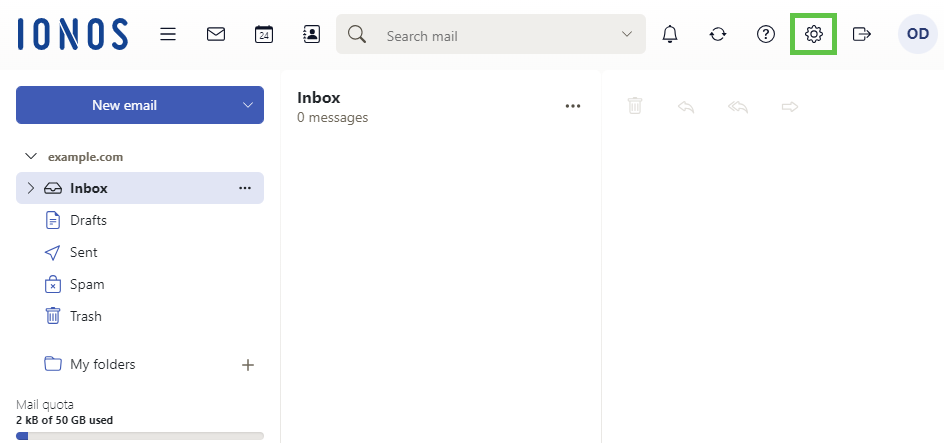
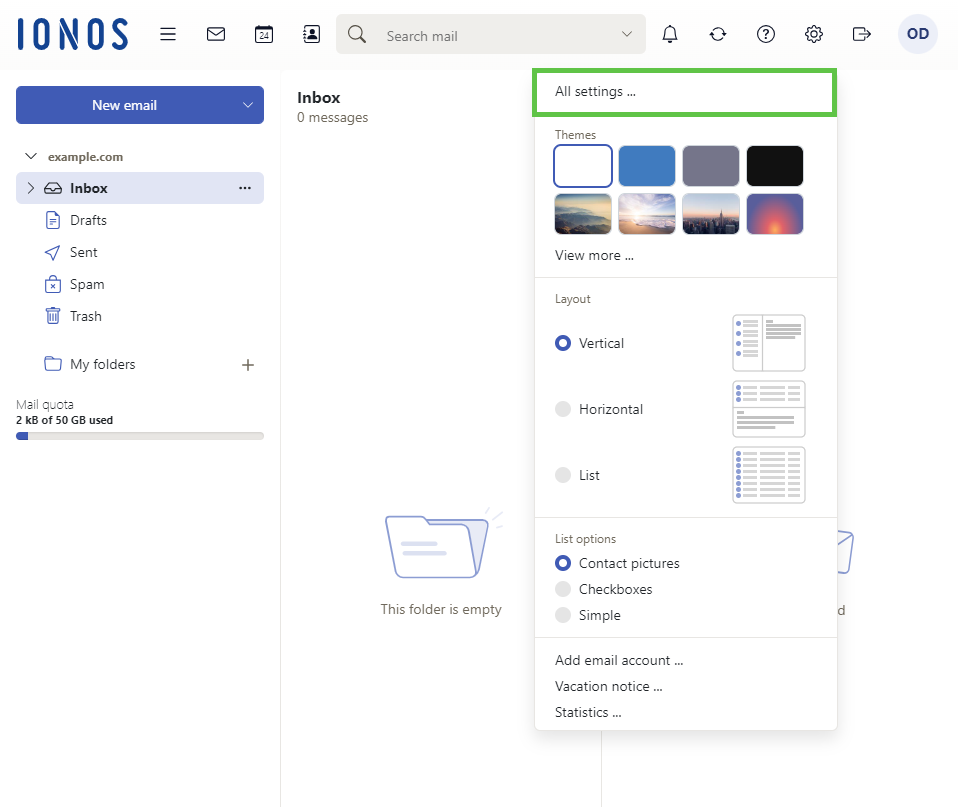
- Click on All settings....The Settingswindow opens.
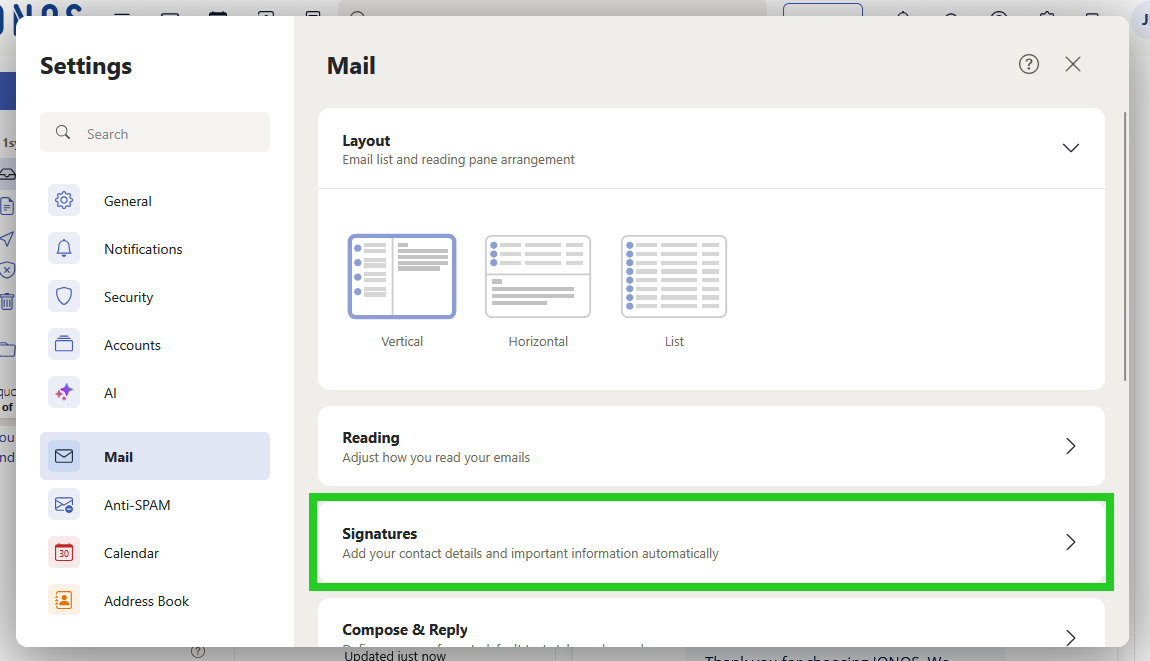
- Click on Mail.
- Scroll to the menu item Signatures.
- Click on Signatures.
Create new signature from template
To create a new signature from a template, complete the following:
Requirement
You are in the Settings > Mail > Signatures area.
- In the Signatures section, click on New from template. The Templates area opens.
- Select the desired design in the Templates area.
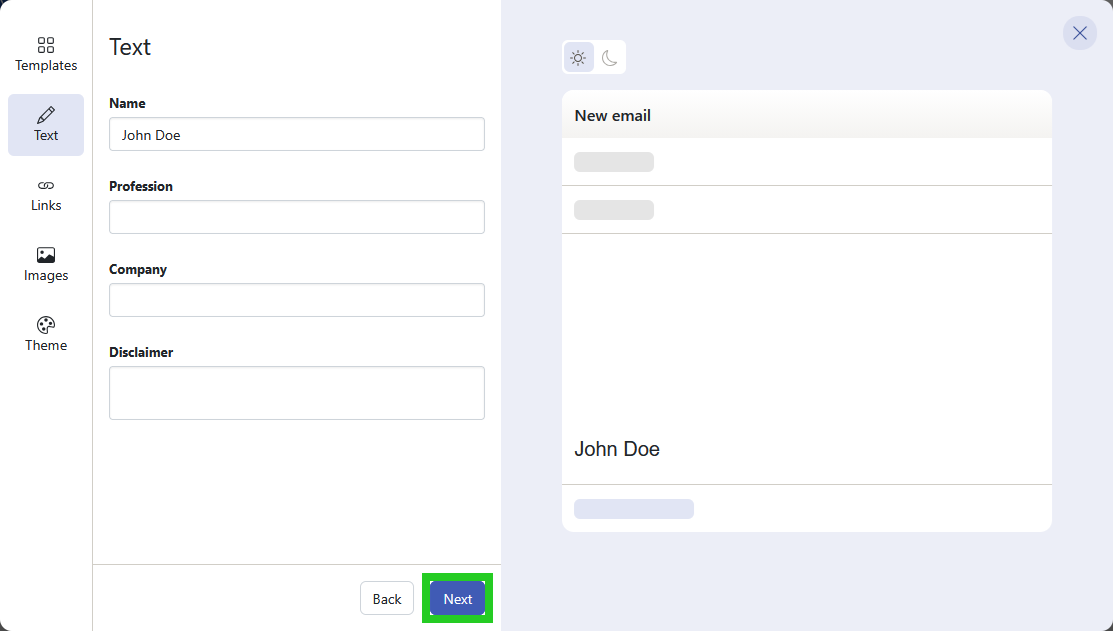
- Click on Next. The Text area opens.
- Enter the desired name in the Name field.
- Enter the desired profession in the Profession field.
- Enter the desired company name in the Company field.
- Enter the desired disclaimer in the Disclaimer field.
- Click on Next. The Links area opens.
- Optional: Enter your website in the Website field.
Optional: In the Chat field, enter a link to your profile in a chat app.
Optional: In the Social links section, enter the links to your profiles.
Click on Next. The Images section opens.
Optional: Upload an image or a logo.
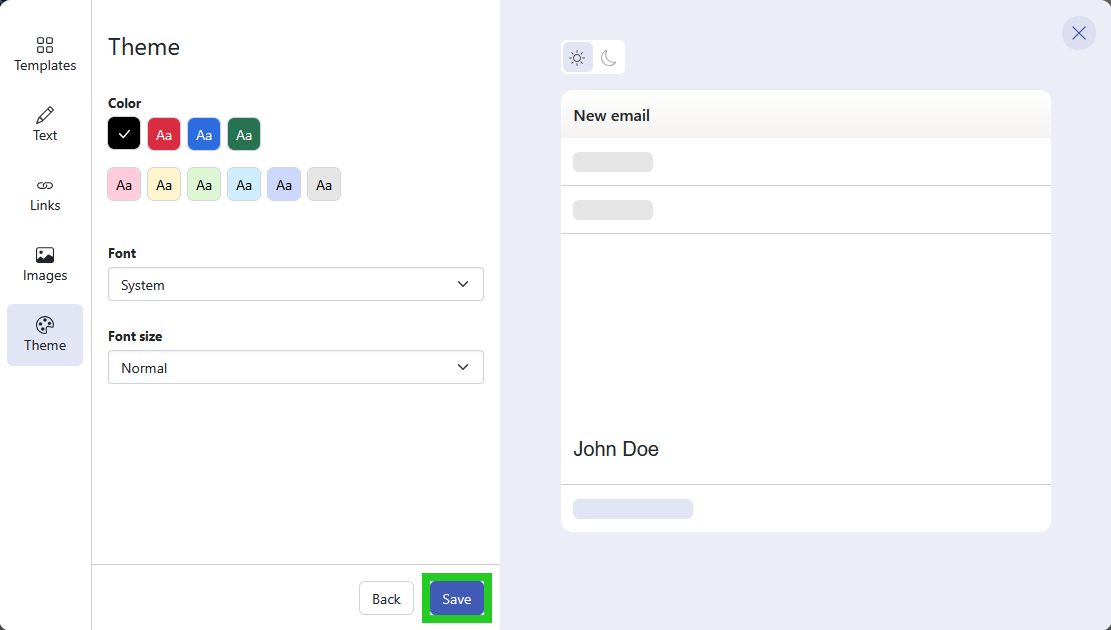
Click on Next. The Theme section opens.
Select a theme and the desired font and font size.
To save the signature, click on Save. The Add signature window opens.
- Enter a name for the new signature in the Signature name field.
- Select the desired position in the Signature position field.
- Click on Save.
Add new signature
Alternatively, you can create a signature without a template. To do this, complete the following:
Requirement
You are in the Settings > Mail > Signatures area.
- Click on Add new signature.
- Enter a name for the signature, enter the desired text in the text field and specify where the signature should be inserted. You also have the option of inserting images and HTML code.
- Click on Save.
Set default signature
To set a signature as the default signature, complete the following:
Requirement
You are in the Settings > Mail > Signatures area.
- Click on Set default signatures.
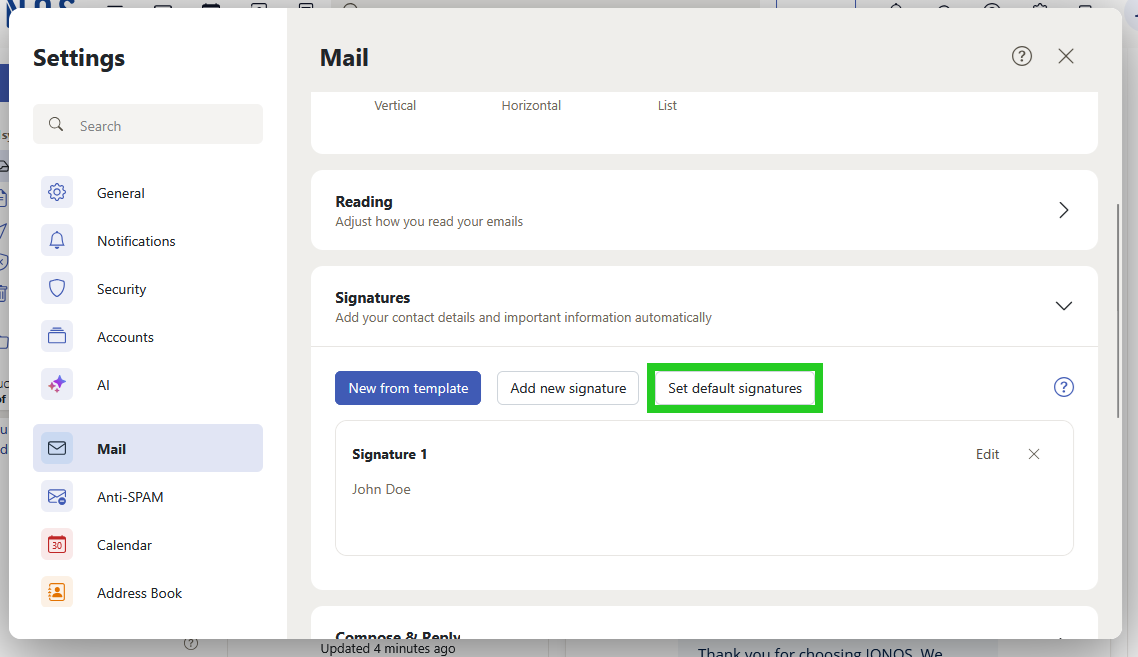
- Select a standard signature from the Standard signature list.
- In the Default signature for reply or forwarding list, select the signature to be used.
- Click on Save.
Once this setting has been saved, the signature is automatically inserted when new emails are created. To insert a signature manually into an email, click on the three-dot icon at the bottom of the toolbar in the email. Then select the desired signature in the Signatures area. You can find more information on this in the following article: