Adding Microsoft® Exchange 2019 Accounts to Email Archiving
This article explains how to activate Email Archiving for a Microsoft Exchange 2019 account.
An email account can be added to Email Archiving when it is created or at any time afterwards.
Creating a New Microsoft Exchange 2019 Account and Adding It to Your Email Archive
- Log in to IONOS.
Click on the Email tile.
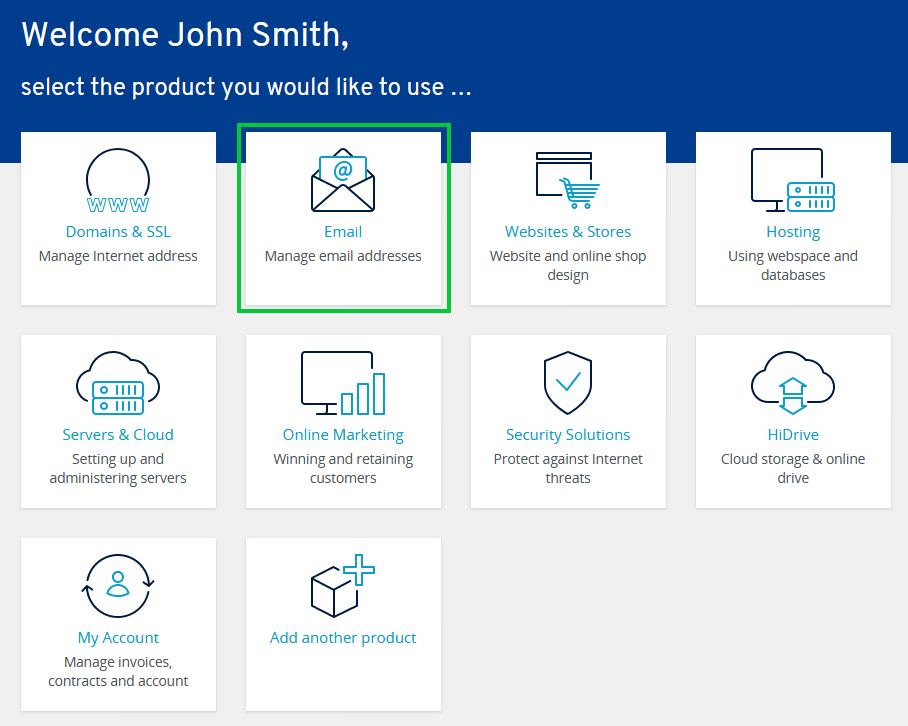
- If you have more than one email contract, select the contract in which you want to perform the desired action. The following screenshot may differ if you use the list view instead of the tile view.

Click on the Create Email Address button.

Select the type Microsoft Exchange 2019 and order it if necessary.
Enter the desired user name in the Email field.
Optional: Select the desired domain name.
In the Display Name field, type the desired display name.
In the Password field, type the desired password.
Enable the Activate Email Archiving for this email address option.

Click on Save.
The Microsoft Exchange 2019 account is now created, and Email Archiving has been activated for this account.
Adding an Existing Microsoft Exchange 2019 Account to Email Archiving
To add an existing Microsoft Exchange 2019 account to the email archive, follow these steps:
- Log in to IONOS.
Click on the Email tile.
- If you have more than one email contract, select the contract in which you want to perform the desired action. The following screenshot may differ if you use the list view instead of the tile view.
Click the gear next to the desired email address in the Actions column. Then click on Email Archiving.

Click Activate Now.

Email Archiving is now activated for the Microsoft Exchange 2019 account. Archiving will start automatically for all emails contained in this mailbox.