Creating Public Folders in Mail Business Accounts
Public folders allow you to share appointments, tasks and contacts with other Mail Business users. This article explains how to set them up from the new Webmail.
Adding a public calendar, address book or tasks
- Log in to yourMail Business.
- Click on the three horizontal stripes in the top-left corner of the main navigation.
- Click on the icon of the application for which you want to create a public folder: Calendar, Address Book, Tasks, etc.
Note
For the following steps, the address book is used as an example. Public folders for calendars and tasks are created in the same way using the corresponding icon.
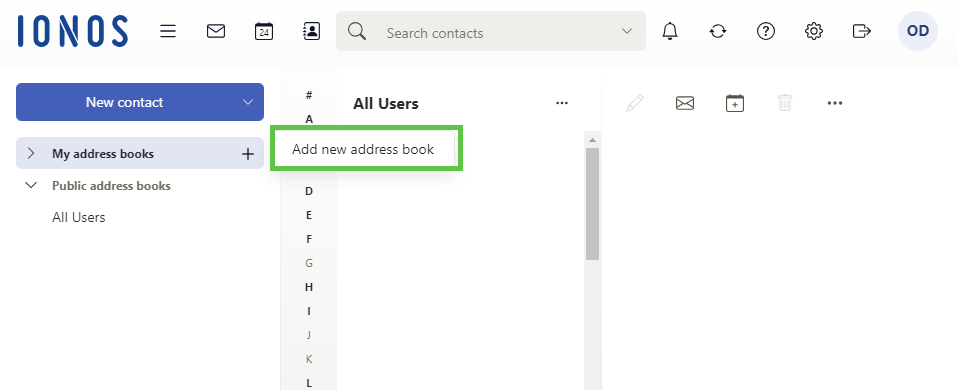
- In the menu bar on the left, click on the + symbol on the far right of My Address Books.
- Then click on Add new address book.
- Assign a name to the new public address book.
- Check the Add as public folder check box.
- To create the address book, click Add. This new address book will be displayed in the Public Address Books section.
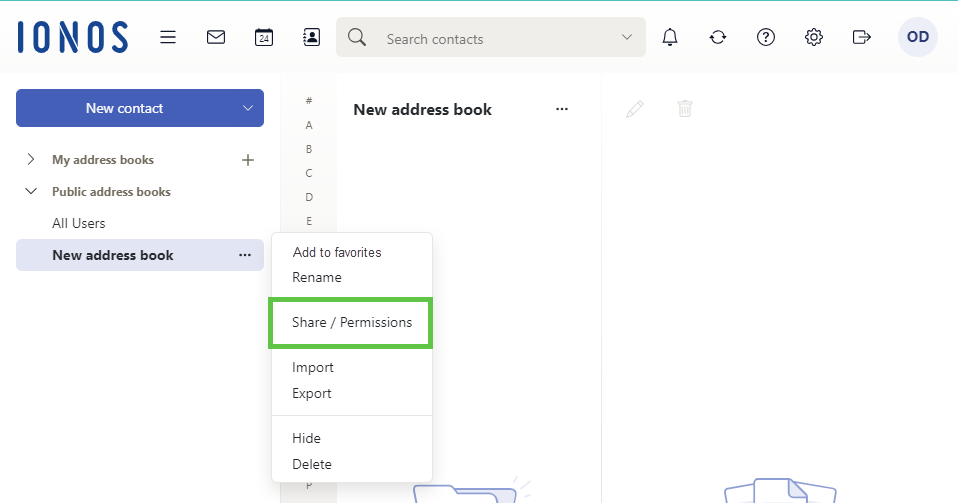
- Select the relevant address.
- Click on the three horizontal dots to the right of the address.
- Select Share/Permissions.
- Invite additional users to the address book via Invite people and adjust the permissions as desired using the Invite as (viewer, reviewer or author) settings.
- Click Save.