Creating mail filter rules in webmail
For Mail Basic and Mail Business
Using mail filter rules, you can organize your incoming emails, as well as automatically delete or send to your Spam folder messages containing specific text. For example, you can automatically move emails from social networks into their own separate folders, or any emails containing "Free Cruise" in the subject can be discarded immediately so they never even show up in your inbox.
- Log in to Webmail.
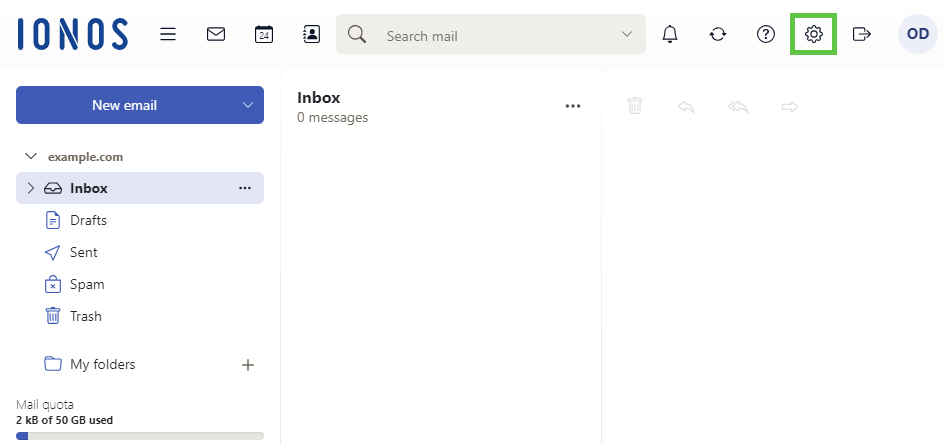
- In the main navigation bar, click on the gear icon in the top-right corner.
- Click on All settings …
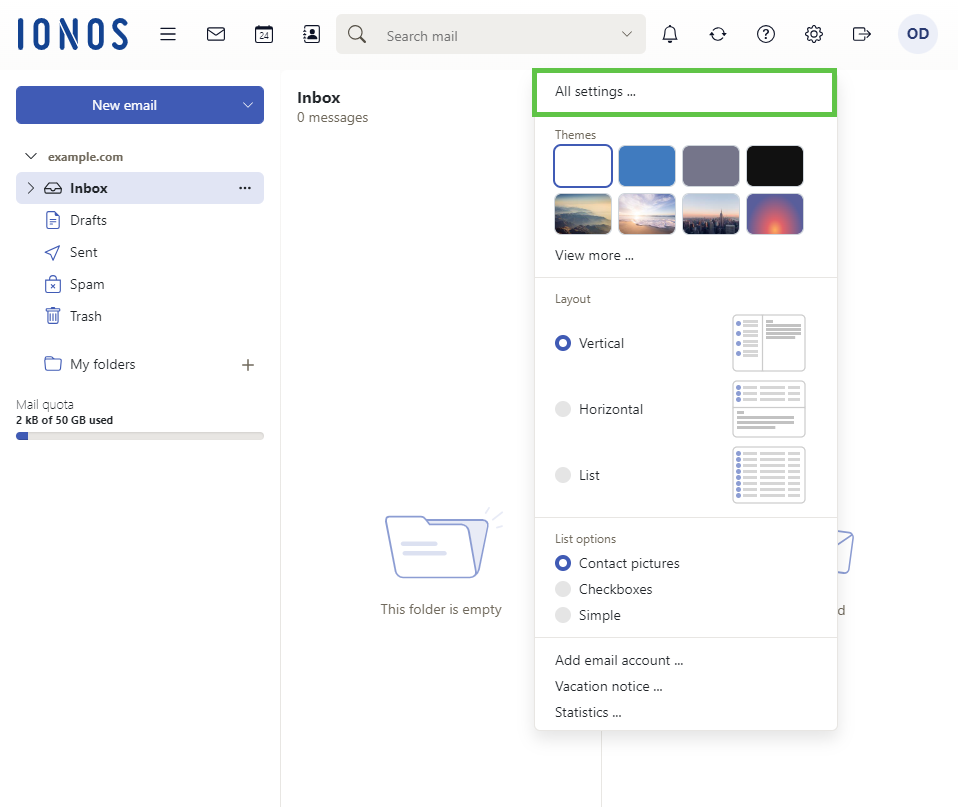
- Click on Mail in the navigation bar on the left.
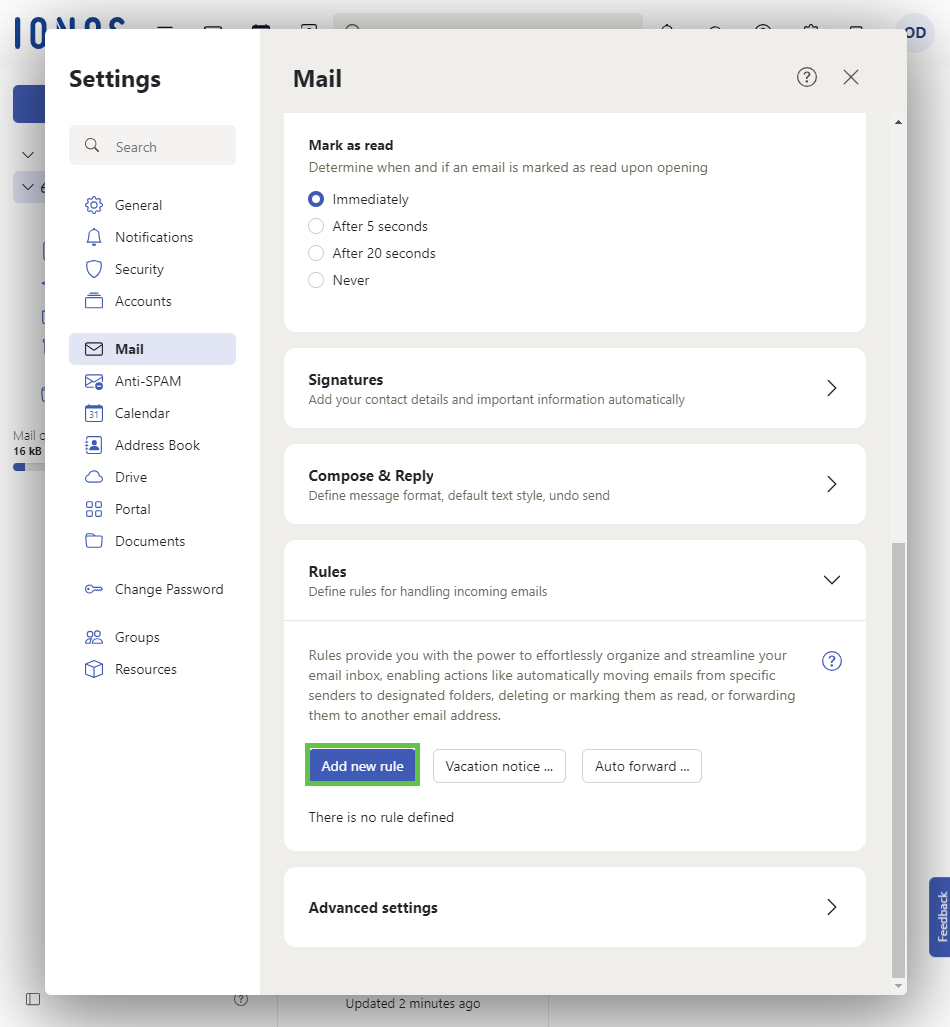
- Click on Rules.

- Click on Add new rule. A new window opens.
- In the Rule Name field, enter a name for your filter rule.
- Activate the option Process subsequent rules to apply the next filter rule to the same email. Without this setting, each filter rule is checked alone and in the order they appear in the overview.
- Click on Add condition.
- Add the prerequisites for the rule to be applied. These conditions are checked when an email is received. If you do not add a condition, the filter rule applies to all incoming emails.
- Click on Add action.
- Specify what happens to the email that meets the previously defined conditions. With the action FIle into, you can, for example, select a folder to which the applicable emails will be moved. Alternatively, with the action Discard, any emails meeting the prerequesite conditions will immediately be sent to your trash.
- Click Save to complete your rule definition.
Note
Filter rules are processed in the order in which they are arranged in the overview. If, for example, you discard the email of a certain sender in your first filter rule, the filter rules defined afterward will no longer apply to this sender.
Conditions
Conditions refer to certain components of incoming emails, such as the sender or the email size. Depending on the selected condition type, different criteria are available, like "greater than" or "contains the text".
A filter rule is applied if one or all conditions are fulfilled.
Note
If you do not define a condition for your rule, this rule applies for all messages. If after creating a rule you have trouble receiving emails, try editing or disabling existing rules until you find the responsible one.
Actions
Actions are triggered when one or all of the previously defined conditions occur.
Creating Filter Rules Automatically
If, for example, you move an email to a folder, you can automatically repeat this process for other emails from the same sender.
To add a filter rule automatically, proceed as follows:
- Log in to Webmail.
- Select an email from your inbox.
- Click on the three dots in the email preview. A context menu opens.
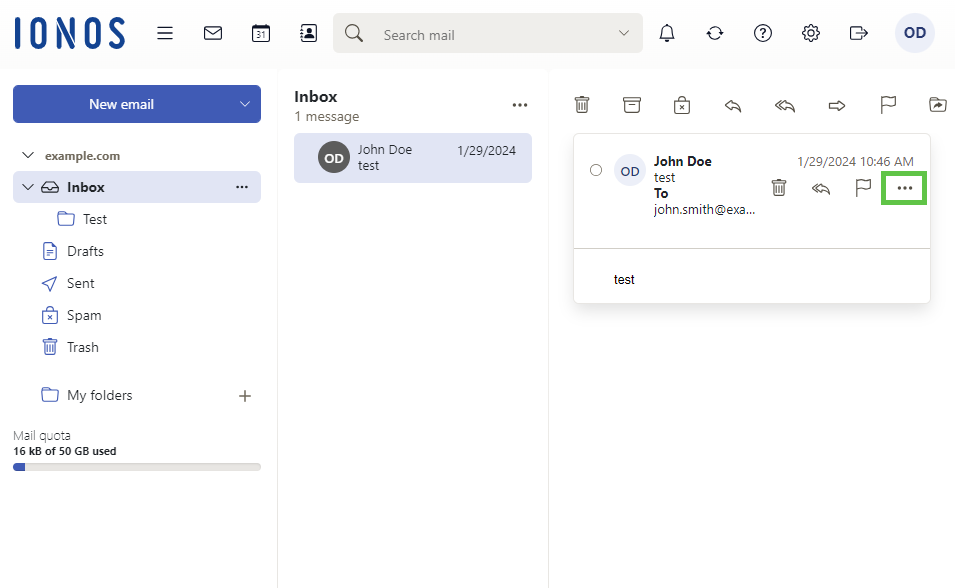
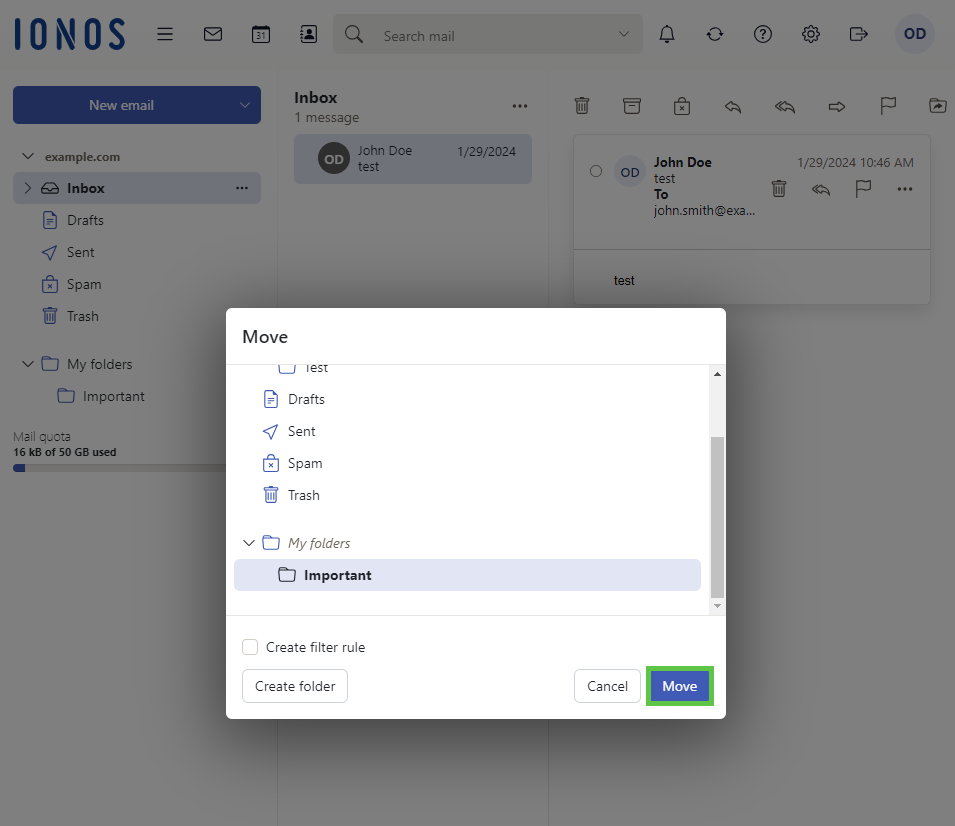
- Click on Move.

- Select a folder and activate Create filter rule. A new window for detailed settings of the filter rule opens.
- Optional: Click on the Create folder button to create a new Webmail folder as the target. Adjust the detailed settings of the filter rule if required.
- Click Move to complete your rule definition.
Changing the Order of Filter Rules
When you receive a new email, all of the filter rules created are checked in the order they appear. You can change the order of the filter rules by dragging and dropping them.
- Log in to Webmail.
- In the main navigation bar, click on the gear icon in the top-right corner.
- Click on All settings …
- Click on Email in the navigation bar on the left.
- Click on Rules. Any existing filter rules are displayed.
- Right-click on the inverted arrow that appears next to the desired filter rule, hold it down and drag the filter rule to its new position.
Note
To apply several filter rules together to an email, activate the option Check against subsequent rules in the detailed view of the filter rule.
Editing, Deactivating, and Deleting Filter Rules
To edit or delete already existing filter rules:
- Log in to Webmail.
- In the main navigation bar, click on the gear icon in the top-right corner.
- Click on All settings …
- Click on Mail in the navigation bar on the left.
- Click on Rules. Any existing filter rules are displayed.
- Option 1: Click the Edit link of the desired filter rule to edit the settings of this filter rule.
Option 2: Click the Disable link of the desired filter rule to temporarily disable this filter rule.
Option 3: Click the Trash icon of the desired filter rule to permanently delete this filter rule.