Exporting and restoring emails in IONOS Webmail
Valid for: Mail Basic and Mail Business
This article explains how to quickly and easily back up and restore your emails in Webmail.
Backing up emails in Webmail
To back up one or more emails from Webmail, complete the following steps:
- If you have not already done so, log in to Webmail.
- Select the folder you want.
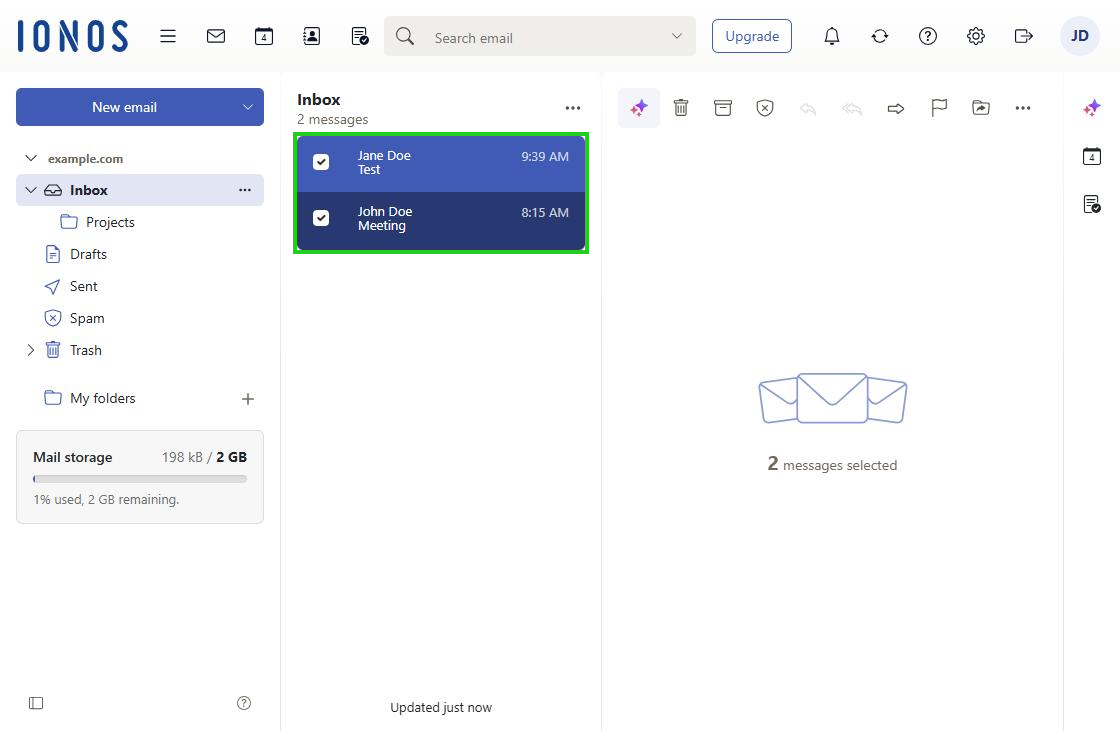
Select the emails you want to back up. As soon as you have selected one or more emails, an additional toolbar is displayed.
Optional: To back up an entire folder, such as your whole inbox, click the folder and select any email in it. Then press Ctrl+A to select all the other emails in the folder as well.
- In the additional toolbar on the right, click the three-dot icon (tooltip More actions) and then Save as file.
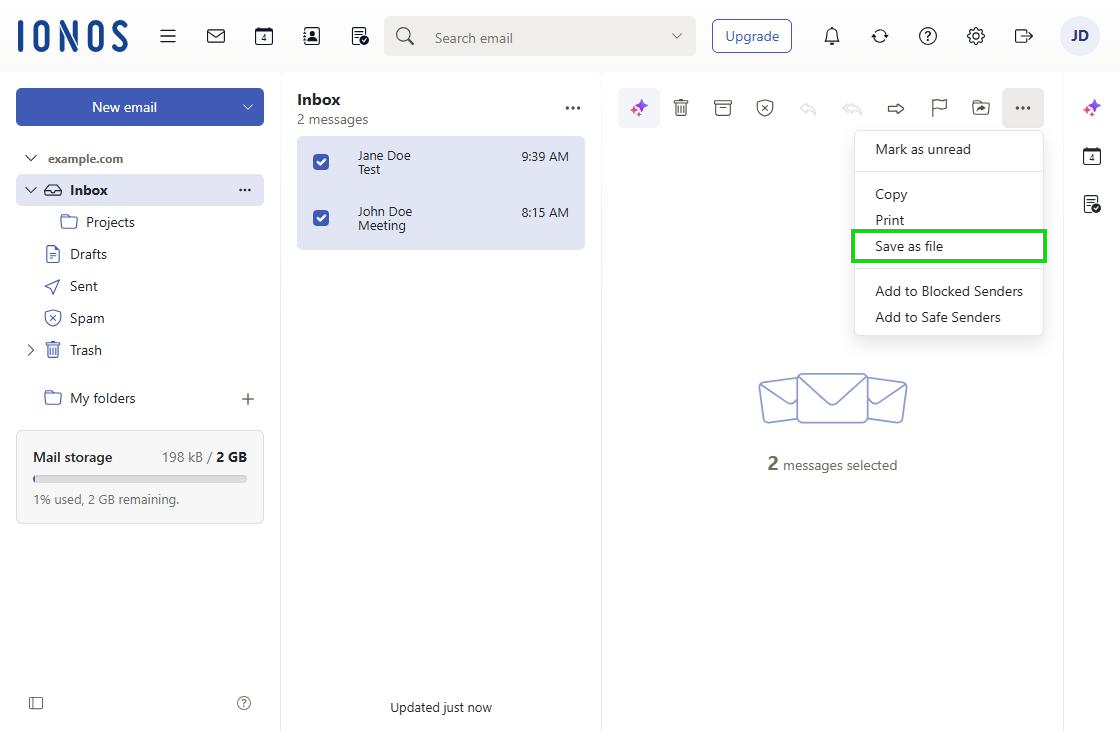
The file is now saved to the download folder on your computer.
If you selected only one email, it is saved as an EML file. If you selected several emails, they are saved as a ZIP file.
Note
When you save several emails or the contents of an entire folder, the resulting ZIP file is always named mails.zip. To avoid accidentally overwriting it during a later backup, rename the ZIP file after you have saved it on your computer.
Restoring emails in Webmail
Requirement
- Backups saved as ZIP files must be unpacked on your computer before you restore them.
To restore one or more emails in Webmail, complete the following steps:
- If you have not already done so, log in to Webmail.
- Open the Webmail folder in which you want to restore the emails.
- On your computer, open the file manager and navigate to the folder that contains the emails as EML files.
- Select the files you want and, holding down the mouse button, drag them into the browser window in which Webmail is open.
- Release the mouse button. The emails are restored in Webmail.