Using the serial console for server access (Dedicated Server)
Valid for Dedicated Servers which are managed in the Cloud Panel.
This article explains how to use the serial console for server access. This is useful if your dedicated server is no longer accessible via SSH or Remote Desktop connection.
You can use the serial console to administer your Dedicated Server in an alternative way. You can log in using this console to rectify errors in the configuration or network settings, for example, or to restart or shut down your server.
The serial console is available in addition to the VNC console.
Activate serial console
To establish a connection to your server via the serial console, you must first activate it in Cloud Panel:
- Log in to your IONOS account.
Click on Menu > Servers & Cloud in the title bar.
Optional: If you have multiple server contracts, select the desired contract.
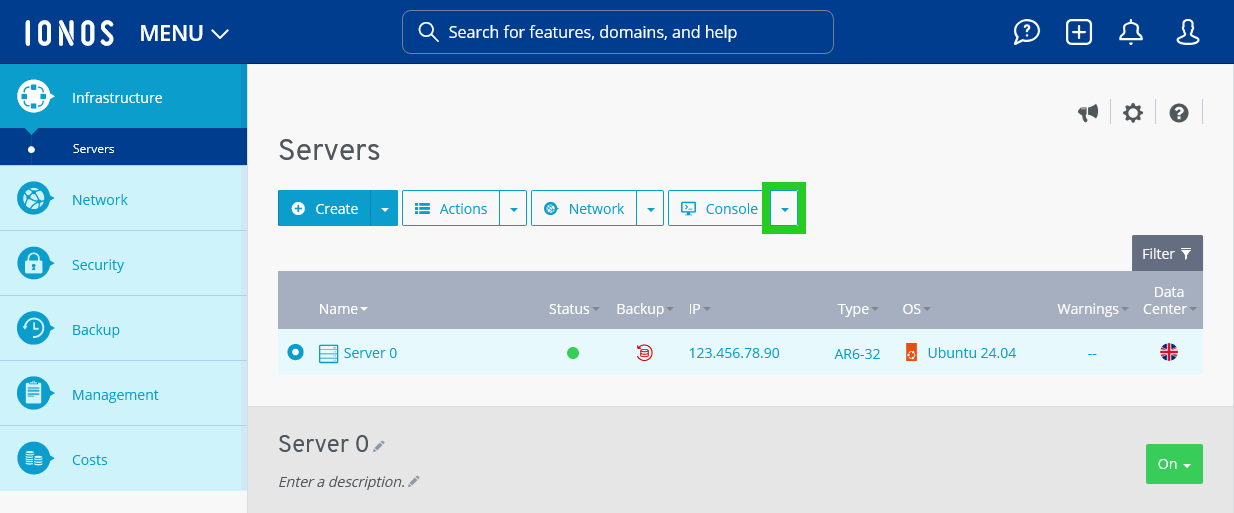
- Click on the desired server in the Infrastructure > Servers area.
- Click on the downwards pointing arrow next to the Console button.
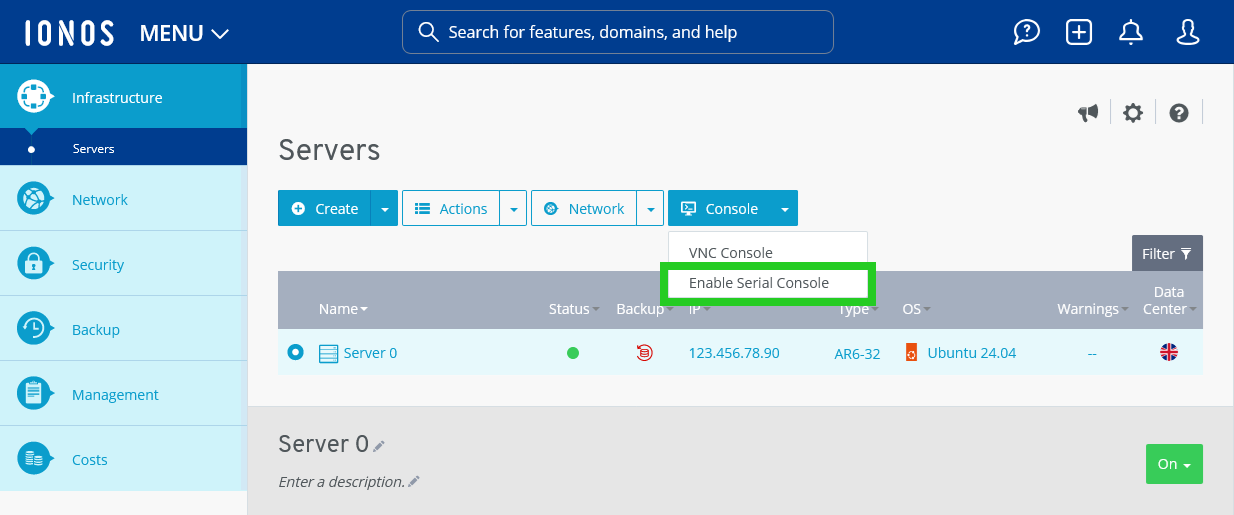
- Click on Enable Serial Console. The Enable serial console window is displayed.
Please Note
If the Serial Console button is not displayed on your Dedicated Server, the required BIOS version must still be installed on your server. To initiate this, please contact IONOS Customer Service.
- Make a note of the access data.
Note
You must connect to your SSH client within the next 10 minutes. The session remains active for 2 hours.
- Establish a connection to the server with your SSH client using the access data displayed.
Additional information
Detailed step-by-step instructions for setting up an SSH connection can be found in the following articles:
Establish an SSH connection to your Linux server on a computer running Microsoft Windows
Establish an SSH connection to your Linux server on a Linux computer
Important console commands
The serial console uses the following key combinations for session management:
Disconnect: &.
Generate break signal: &B
Del key: &D
Troubleshooting: Older versions and self-installations
Problem: The console established a connection, but you do not see a login prompt, only a blank screen.
Cause: In this case, the parameters for the serial console may be missing in the GRUB configuration of the server. This occurs with older operating system versions such as Debian 9 and 10, as well as Ubuntu 18.04 and 20.04, or with manual ISO installations.
Solution: To resolve this problem, complete the following:
Open the file /etc/default/grub with the text editor vi.
root@localhost:~# vi /etc/default/grub
Note
The vi editor has an insert mode and a command mode. You can call up insert mode with the [i] key. In this mode, the characters entered are immediately inserted into the text. To call up command mode, press [ESC]. If you use command mode, your keyboard input is interpreted as a command.
Add the following to the GRUB_CMDLINE_LINUX: line:
console=ttyS1,115200 console=tty0
- To exit vi and save the file, enter the command :wq and then press Enter.
Update the grub configuration. To do this, enter the following command:
root@localhost:~# sudo update-grub
To activate the service, enter the following command:
root@localhost:~# systemctl enable serial-getty@ttyS1.service