Configuring the server after installing an ISO image (Windows Server 2025)
Valid for Cloud Servers.
This guide describes how to install VMware Tools and allow remote desktop connections after installing via the ISO image.
VMware Tools consists of a series of utilities that you install on the server. Install VMware Tools to ensure the proper operation of your server.
Notes
You can find instructions for Windows Server 2022 in the following article:
Configuring a server after installing an ISO image (Windows Server 2022)
For legal reasons, the Windows Server operating systems on Cloud Servers are licensed according to the core license model. This also applies to Windows Server operating systems that you install using an ISO image and for which you use your own license key.
How to install VMware Tools:
Requirements
- You have already installed Windows Server 2025.
- You have selected the Windows Server 2025 Standard (Desktop Experience) or Windows Server 2025 Datacenter (Desktop Experience) option during installation.
- You are in the Cloud Panel in the Infrastructure > Servers area.
- Click on the desired server.
- Eject the inserted DVD if necessary. To do this, click on the DVD to be ejected at the top right next to the Network button. The Eject DVD window opens.
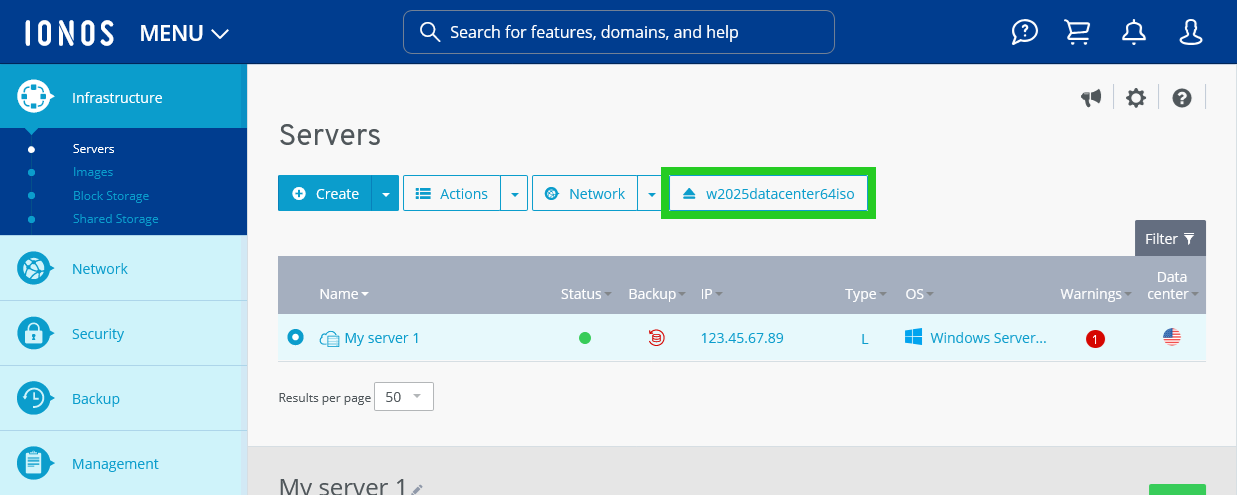
- Click on Yes.
- Click on DVD Drive. The Select DVD area opens.
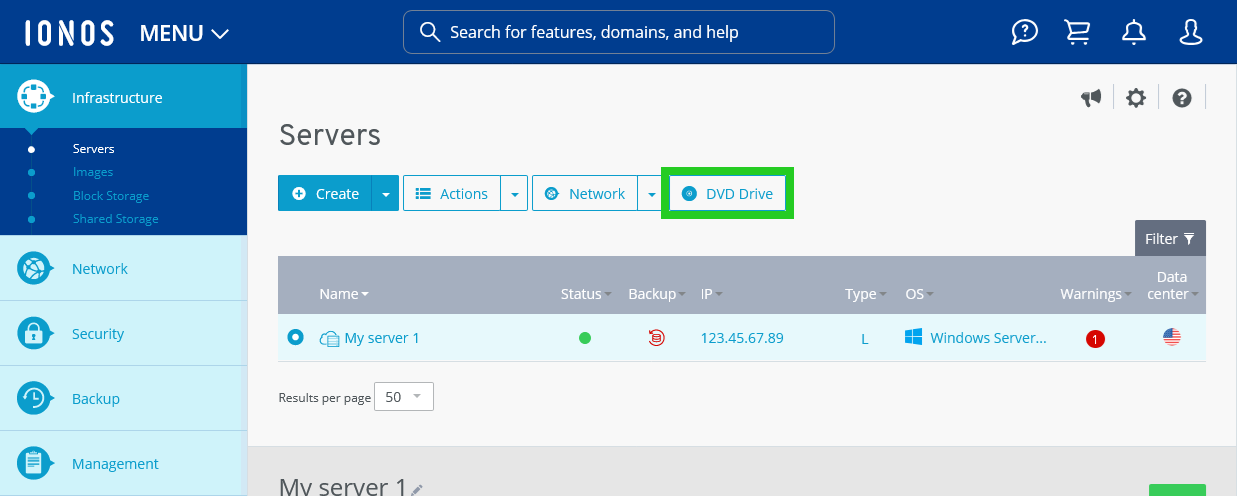
- Select the VMWare Tools Windows DVD in the Applications tab.
- Click on Load DVD.
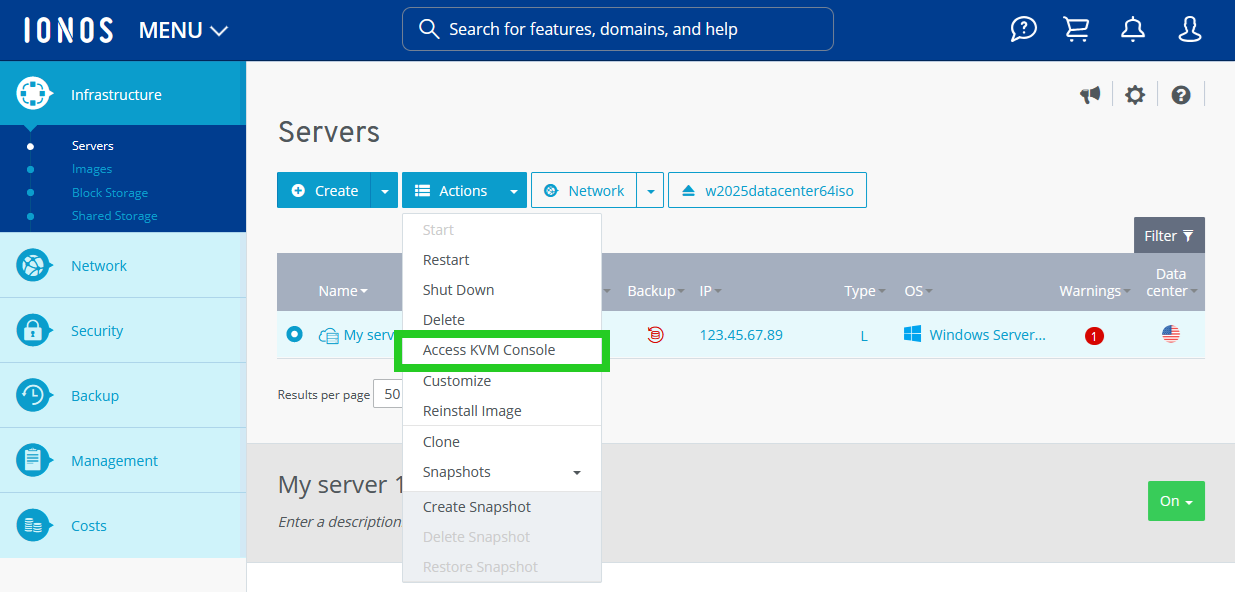
- Click on Actions > Access KVM console.
The KVM console opens in a new tab.
- Click on Send CTRL+ALT+DEL.
- Log in to the server with the Administrator account.
- Open File Explorer in the server's operating system.
- Select the DVD drive.
- To start the installation, start the desired version of VMware Tools. The Welcome to the VMware Tools Installation Wizard window is displayed.
Note
VMware Tools are available in 32-bit and 64-bit versions.
- Click on Next. The Select installation type window is displayed.
- Select the Standard installation type.
- Click Next. The Ready to install VMware Tools window is displayed.
- Click on Install. The software is installed. The following window is then displayed: The setup wizard for VMware Tools has been completed.
- Click Finish. The VMware Tools have been installed.
- Restart your server.
Allow remote desktop connections
The remote desktop connection is pre-installed on all Windows systems and gives you direct access to the desktop interface of the server. Complete the following to allow remote desktop connections:
- Enter Control Panel in the search field in the taskbar and click to open it.
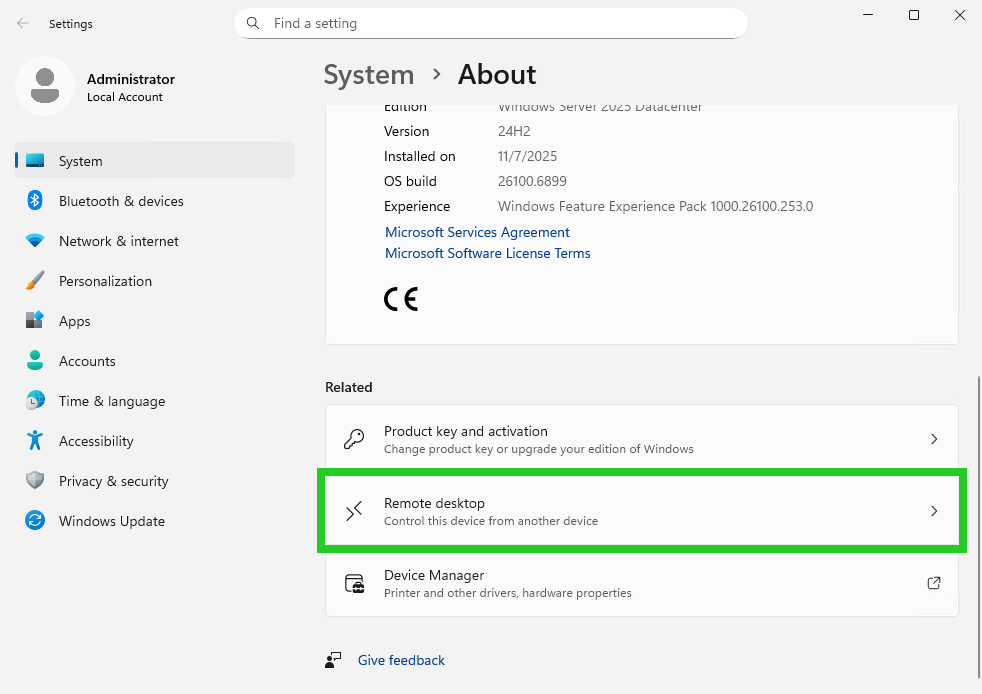
- Click on Control Panel > System and Security > System. The System > About area opens.
- Click on Remote desktop.
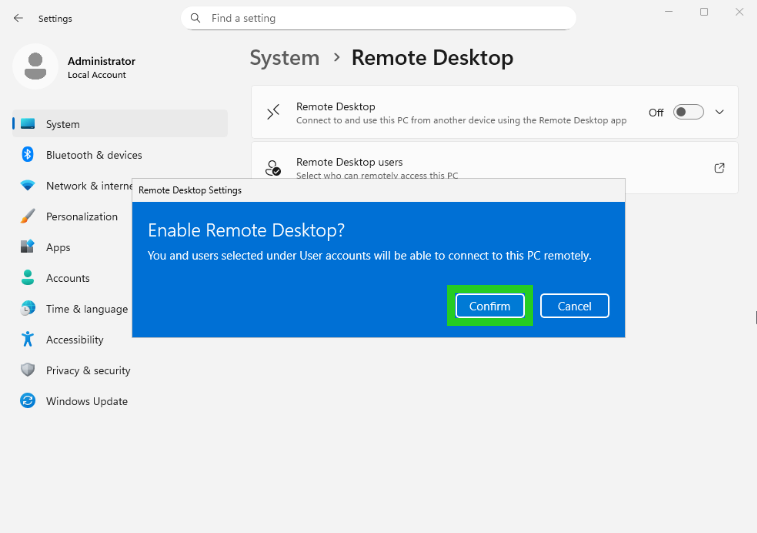
- Activate the Remote desktop option. The following window opens: Enable Remote Desktop?
- Click on Confirm.
- Click on the arrow pointing downwards next to the slider.
- Activate the Require devices to use Network Level Authentication to connect (Recommended) option. The following window is displayed: Allow connections only with Network Level Authentication?
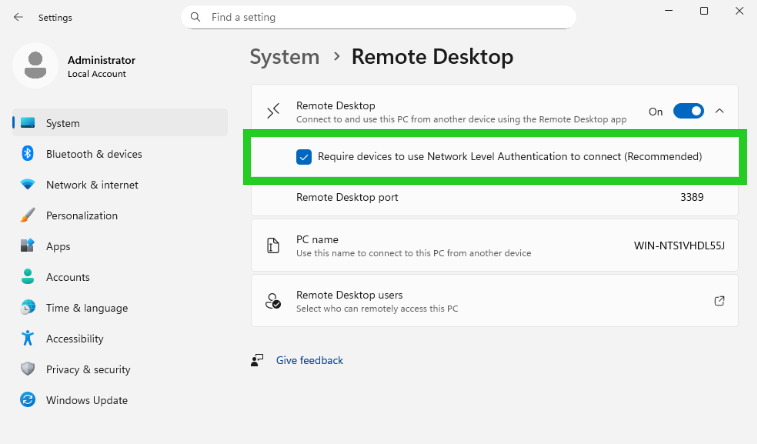
- Click on Confirm.