Using the Email Archiving Review Process
This article explains how to use the review process to check email content.
The review process provides an advanced, browser-based interface for compliance officers and auditors who need to ensure compliance. This feature allows you to review email content based on specific search and filter criteria.
The following roles can access the review process:
Account holder
Administrator
Auditor
Restricted auditor
Data protection officer
Requirements
You have given the compliance officers and auditors in the user administration of the Email Archiving system permission to access your email archive.
You have logged on to Email Archiving as an account holder, administrator, or auditor.
Creating eDiscovery Search
Before you create the review process, you must create an eDiscovery search.
Additional Information
Emails from Microsoft Exchange accounts are stored in a separate archive, so make sure that the appropriate archive is selected before creating the eDiscovery search. You can select this on the Email Overview page.
In order to check emails from Mail Basic/Mail Business accounts as well as emails from Microsoft Exchange accounts as part of the verification process, you must create a separate eDiscovery search for both archives.
Make sure that a maximum of 10,000 emails are selected as this will slow down the creation process considerably. To do this, use filters to reduce the number of emails in the saved search.
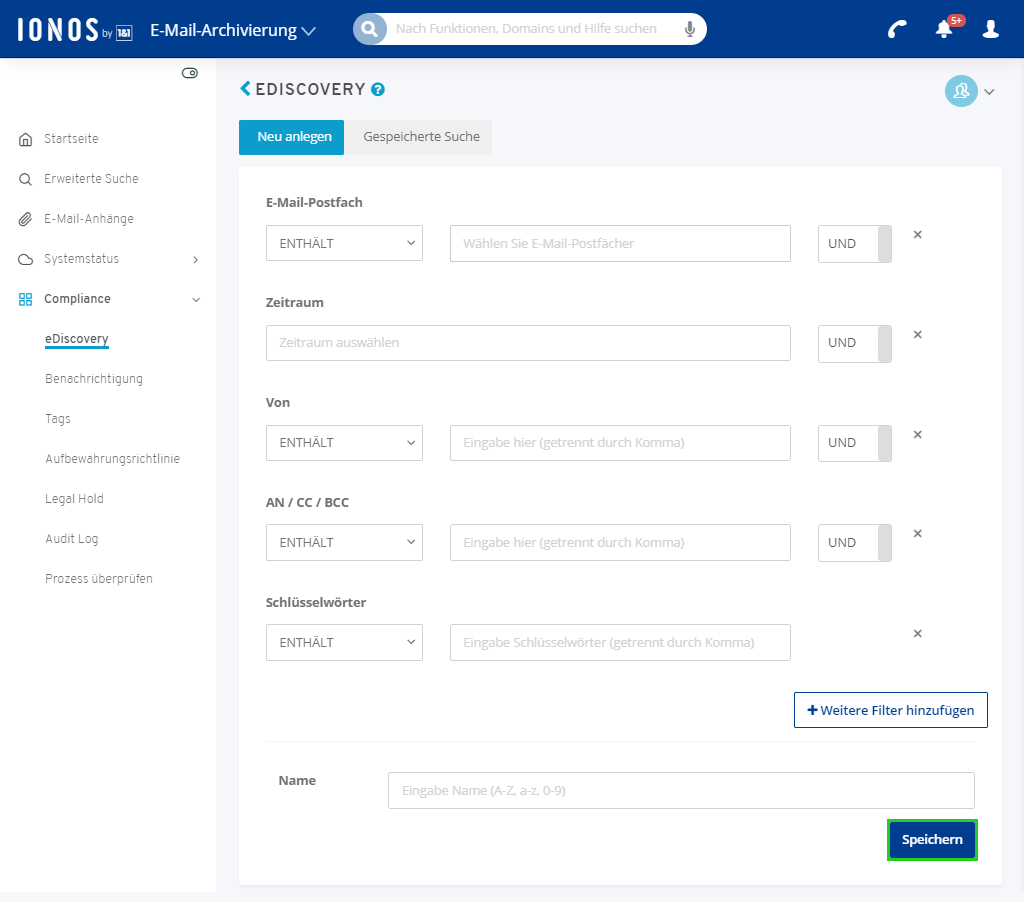
Click Compliance > eDiscovery in the navigation bar on the left.
Enter the desired search criteria and select the desired period.
Note
To create the eDiscovery search, you must define at least 1 search criterion.
Optional: To add more filters, click Add more filters.
In the Name field, enter the desired name for the eDiscovery search.
Click Save.
Create review process
To create a review process:
In Compliance > eDiscovery, click Saved Search.
Activate the desired search.
Click Mark for verification.
The Create Test Process window opens.
Select the desired review option: Mark for Review
or
Mark for Review and Delete (DSB)Optional: Enter a note.
Click Create, the review process is created and the REVIEW PROCESS page opens.
Checking Emails
To check emails, follow the steps below:
Click in the Compliance > Review Process section.
Click the three items next to the desired review process.
A selection list opens. In this selection list, various options are displayed for checking the selected emails:
Show email: In theDisplay Email area, you can select whether all emails or only those emails that are flagged for review or have already been reviewed should be displayed.
Edit Status: In the Edit Status area you can select whether all emails should be marked for review or as reviewed.
Remove Status: In the Remove Status area you can either change the current status of the selected emails.
Check Emails with the Status Flagged for Review
To check emails with the status Flagged for Review, follow these steps:
Click on the three items next to the desired review process.
Select Flagged for Review.
Click on the desired email you wish to review.
To verify that the email has already been reviewed, click Mark as reviewed.
Note
Some emails may be in multiple saved search results of eDiscovery searches. In this case, the tags Flagged for review and Reviewed only added once.
You can find further information here: