Installing an SSL Certificate in Plesk (Linux or Windows Servers)
For Cloud Server, VPS, Virtual Server Cloud and Dedicated Server managed in the Cloud Panel
This article explains how to secure a website managed with Plesk with an SSL certificate. It also explains how to protect email addresses and webmail with the SSL certificate. The required procedure is described using the Power User view.
Prerequisites
You have the private key, the SSL certificate (public key), and the intermediate certificate. You can find instructions on how to download the SSL certificate and the intermediate certificate in the following article:
Downloading Your SSL Certificate and Intermediate CertificateYou finished setting up your domain in Plesk.
Log in to Plesk as an administrator.
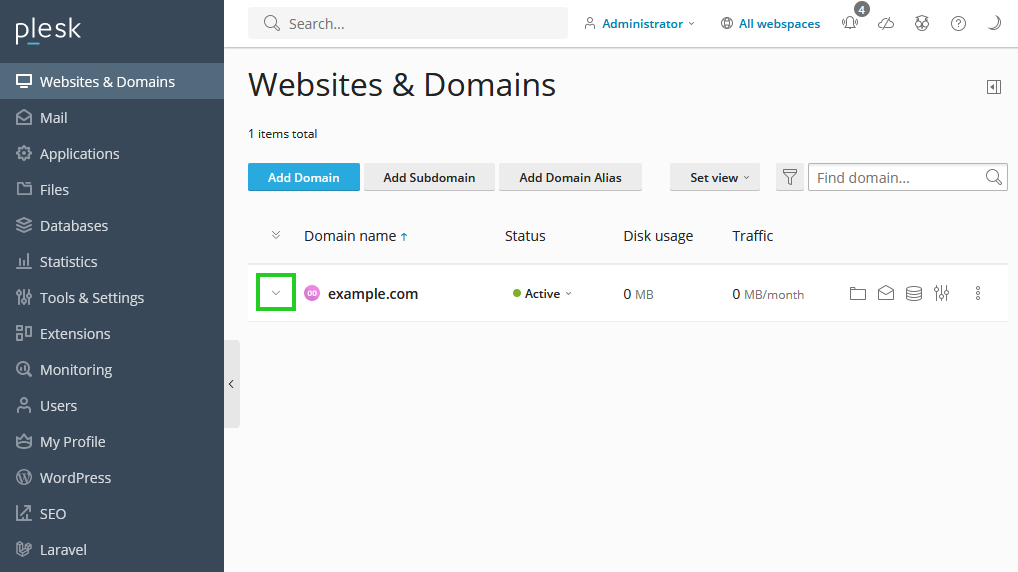
Click on Websites & Domains in the navigation bar on the left.
Click on the downward-pointing arrow next to the desired domain.
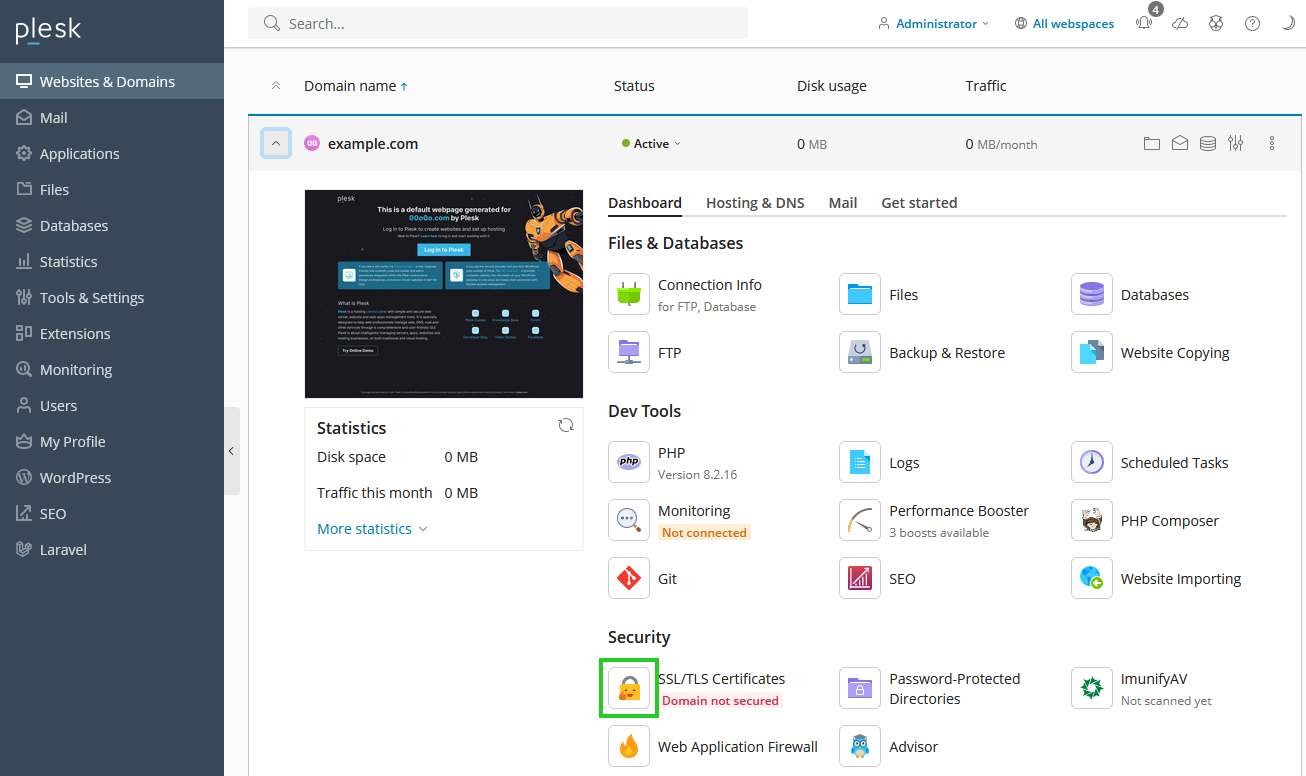
In the Dashboard tab, click SSL/TLS certificates in the Security section. The SSL/TLS certificate for [domain name] page is then displayed.
Optional: Select the type of SSL certificate under the heading Which certificate are you looking for?
In the Download or remove existing certificates area, click Manage.
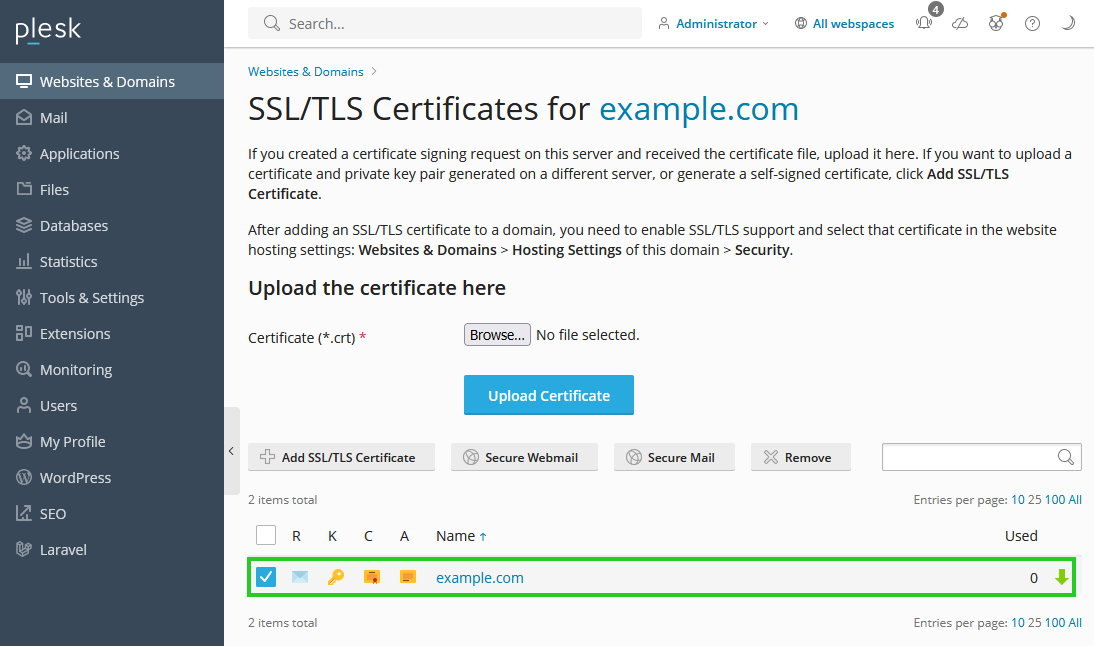
To upload an IONOS SSL certificate, click on + Add SSL/TLS certificate. The Add SSL/TLS certificate page is then displayed.
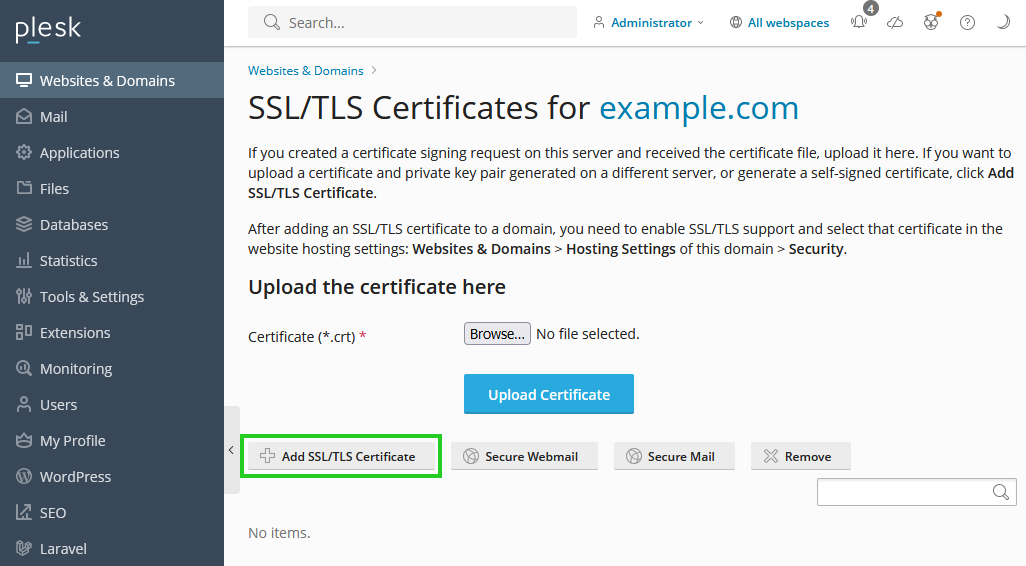
Go to the Upload certificate files section and select the files for the private key, the SSL certificate, and the CA certificate (in this case the intermediate certificate) on your computer. For this purpose, rename the file extension of the intermediate certificate to .ca.cer.
Click on Upload certificate.

Connecting Your Website with the SSL Certificate
Once you have uploaded the private key, the SSL certificate and the CA certificate, you can connect the SSL certificate to the website.
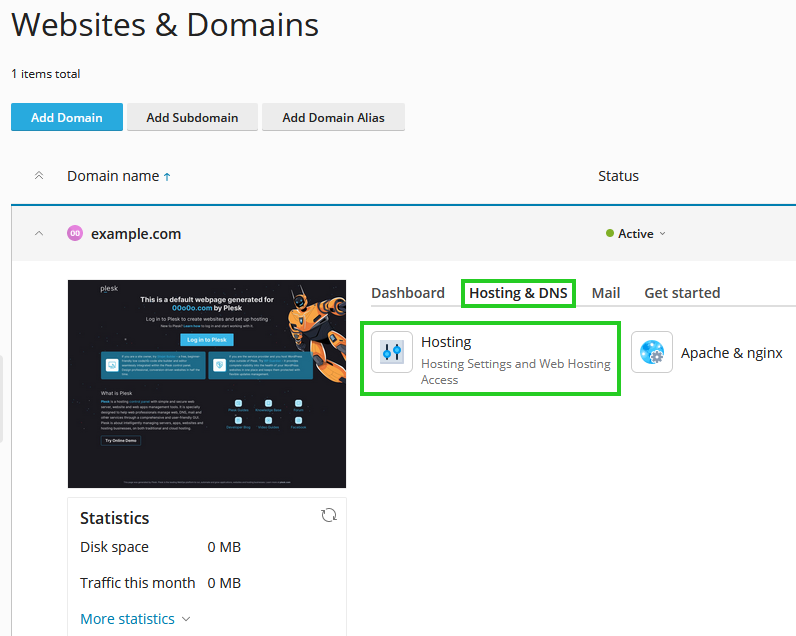
Click on Websites & Domains in the navigation bar on the left.
Go to the Hosting & DNS tab and select Hosting.
Select the desired domain from the Preferred domain* list.
In the SSL/TLS support section, activate the checkbox labeled Enabled.
Activate the option Redirect visitors from HTTP to HTTPS via an SEO-friendly 301 redirect and select the desired SSL certificate.
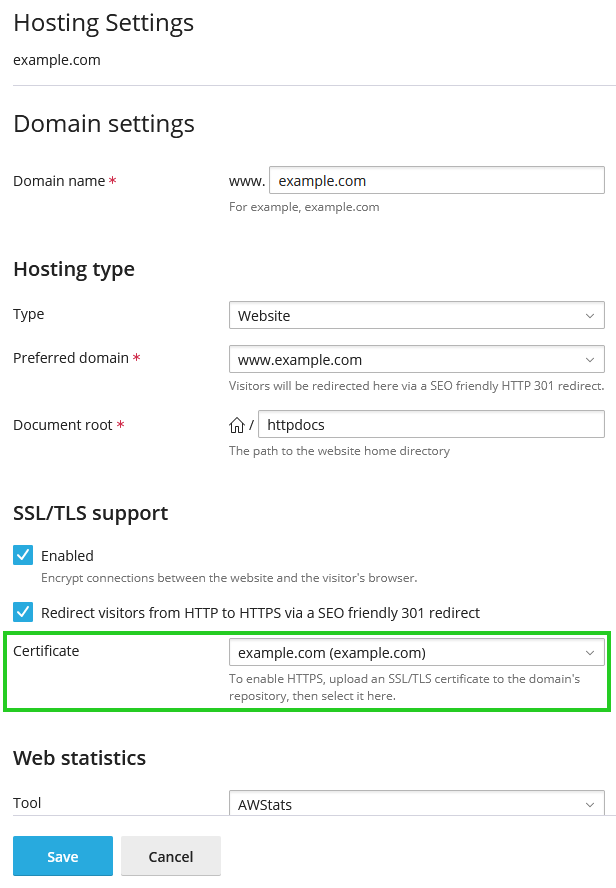
Click on Save.
Your website is now accessible via https://yourdomain.tld.
Protecting Webmail/Email
Click on Websites & Domains in the navigation bar on the left.
Click on the SSL/TLS Certificates icon in the Security section.
Check the box next to the desired SSL certificate.
To protect webmail with the SSL certificate, click Secure webmail.
To use the SSL certificate to protect email addresses that contain the domain name for which the SSL certificate was issued, click Secure mail.