Installing Plesk (Linux VPS)
For Linux VPS Managed in the Cloud Panel
In this article, we'll show you how to install Plesk on a Linux VPS.
Please Note
Plesk can be installed only on Linux VPS servers of type S or higher. In this context, also note the system requirements for Plesk Onyx. These are listed in the following article:
Hardware Requirements for Plesk Onyx
An overview of the software requirements can be found here:
To set up Plesk for Linux with the default configuration, follow the steps below:
Enabling the Required Ports in the Cloud Panel
To install Plesk, incoming traffic must be allowed on TCP 8443 and TCP 8447 ports. These ports are enabled by default in the firewall when you purchase a VPS. If you want to use other Plesk services, you need to create additional rules in the firewall to enable these ports.
A list of ports and protocols used by Plesk can be found here:
To create a new rule in the firewall, do the following:
- Log in to your IONOS account.
In the title bar, click Menu > Server & Cloud. If you have multiple contracts, select the desired Server & Cloud contract.
In the navigation bar on the left, click Network > Firewall Policies.
Select the firewall.
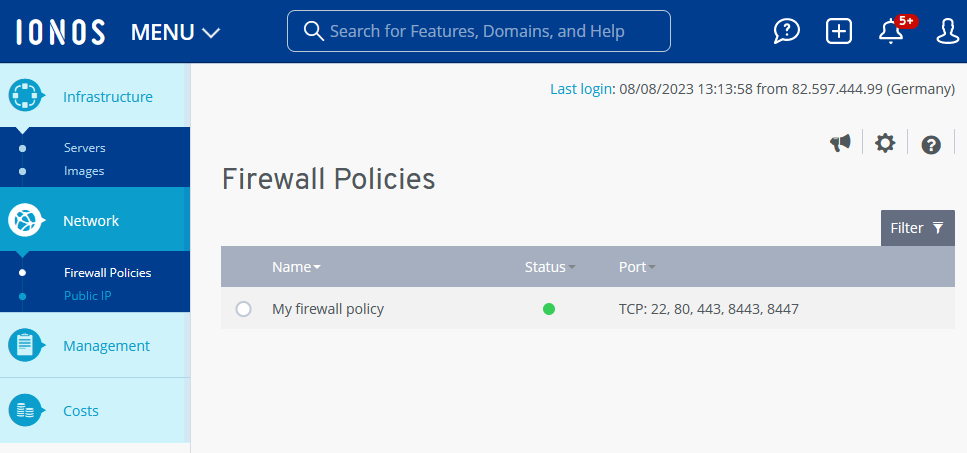
Create a new rule in the Configuration area. To do this, enter the desired port.
Click the green check mark to add the rule.
Generating the Plesk License Key
Open the Cloud Panel.
In the Infrastructure > Servers section, select the desired server.
Scroll down to the Plesk: section.
In the Plesk License Key field, click Generate Plesk License Key.
Click Yes.
Make a copy of the license key.
Establishing a Connection to the Server
To perform the next steps, you need to connect to your server using SSH with your local computer. The following articles explain how to do this:
Installing cURL
Usually, the cURL program is installed by default. If it is not installed on your server, you can install cURL using the following commands:
Debian, Ubuntu 20.04 and 22.04
To install cURL, enter the following command:
apt-get install curl
To check if cURL was installed successfully, enter the following command:
dpkg -l | grep curl
CentOS 7
To install cURL, enter the following command:
yum install curl
In the prompt that appears, type y.
Installing Plesk
To install Plesk with the default configuration, follow these steps:
Log in to the desired server with the root user account.
To install Plesk, enter the following command:
sh <(curl https://autoinstall.plesk.com/one-click-installer || wget -O - https://autoinstall.plesk.com/one-click-installer)After entering the command, the latest stable Plesk version will be downloaded. This will be installed along with the standard components and features. In addition, all available patches and updates will be installed. The installation may take some time.
Afterwards, you can add or remove additional Plesk components if necessary.
The First Time Logging In to Plesk
First, open the following URL in your browser (replacing example with your server's IP address):
https://example:8443
If you are using Chrome, click Advanced, and then click the Next link to YOUR SERVER IP ADDRESS (insecure).
Example:
Next to 123.456.78.912 (insecure)
If you are using Mozilla Firefox, click Advanced... and then click Accept Risk and continue.Log in with the root user account and its password.
In the Email field, enter your email address.
In the Password field, type the password you want.
Make a note of the login information.
In the Select your license type field, enter the license key.
Accept the end-user license agreement.
Click Enter Plesk.
The Plesk user interface opens.