Using the Remote Console for Server Access (VPS Linux and VPS Windows)
If your server is running but is no longer accessible via SSH or remote desktop connection, then you can log in to the server using the remote console. The remote console allows you to remotely maintain the system as if you were sitting right in front of it. You can follow the system messages as you could on a physical screen and interact with the server at any time. For example, the server can be booted with different boot options in case of startup difficulties. Thus, the remote console is especially useful for advanced troubleshooting. To connect to your server through the Remote Console, do the following:
Logging In to the Server with the Remote Console
Log in to your IONOS account.
Click Menu > Server & Cloud in the title bar. If necessary, select the desired Server & Cloud contract.
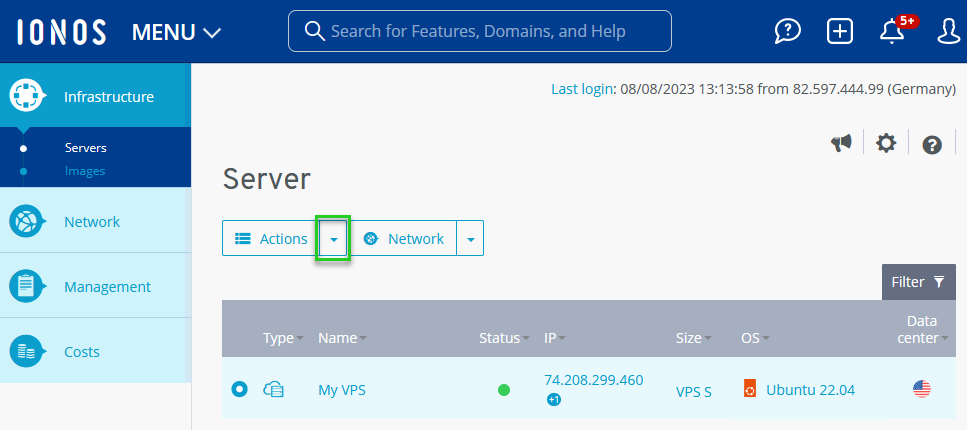
In the Infrastructure > Servers section, select the desired server.
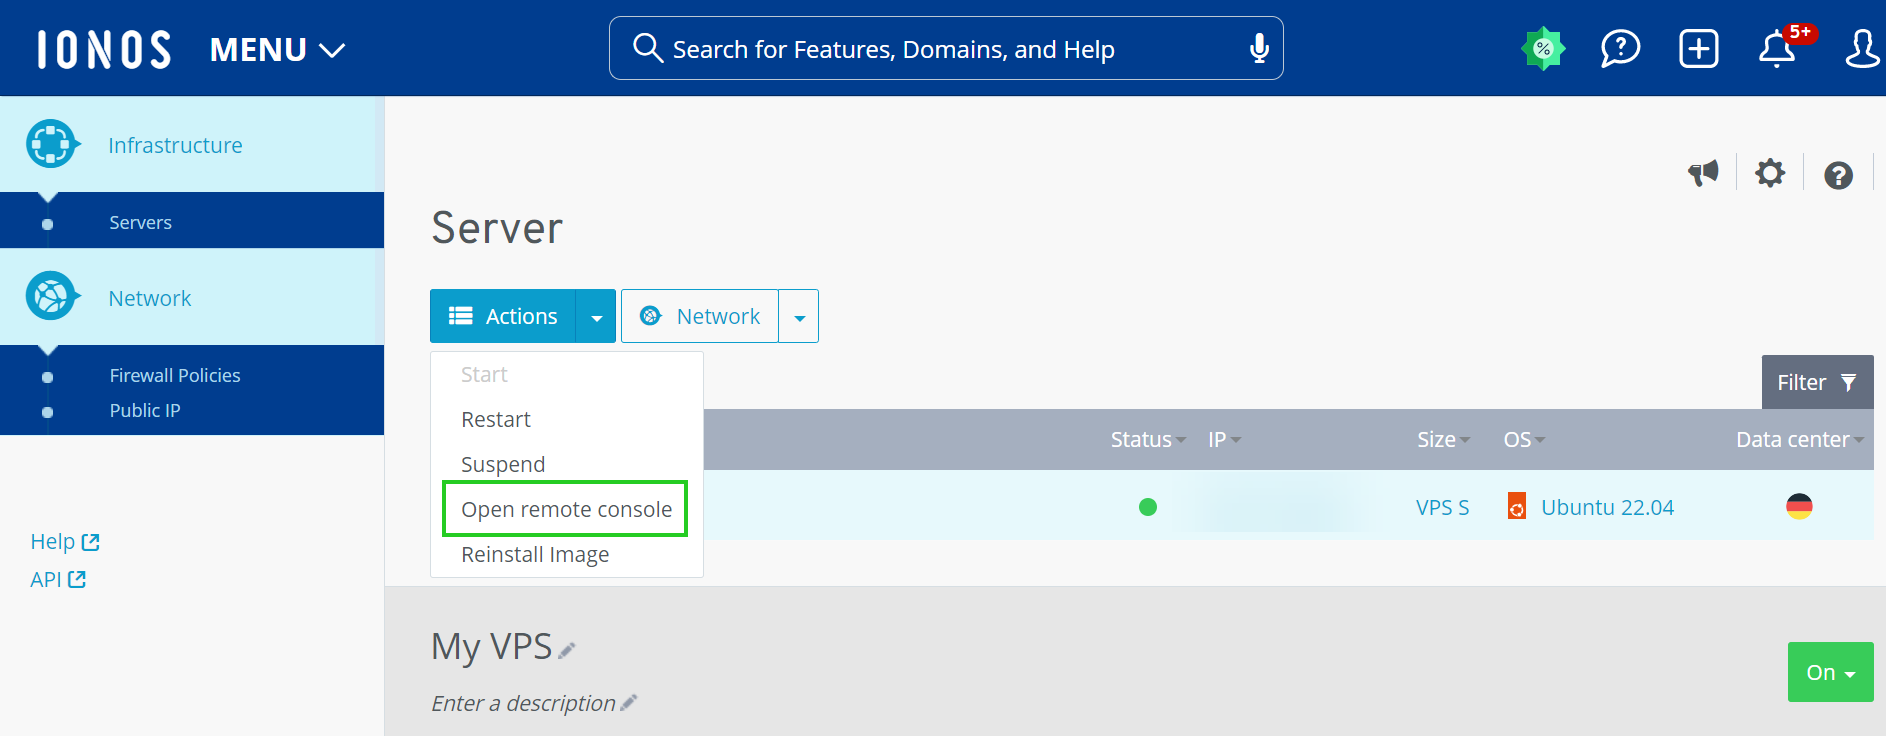
Click the down arrow next to the Actions button.
Click Open Remote Console.
The KVM console opens in a new tab.
Log in to the server.
Using Additional Functions of the Remote Console
When you open the Remote Console, useful additional functions are displayed in the upper-right corner.
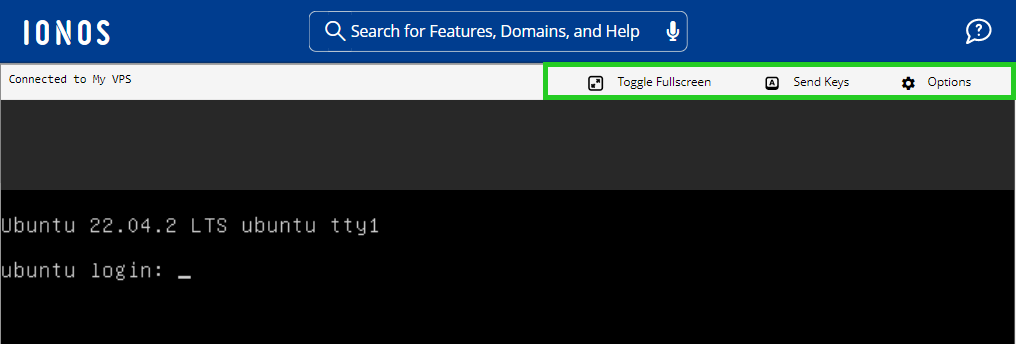
These are explained below:
Toggle Fullscreen
If you click on the Toggle Fullscreen button, the screen is switched to fullscreen.
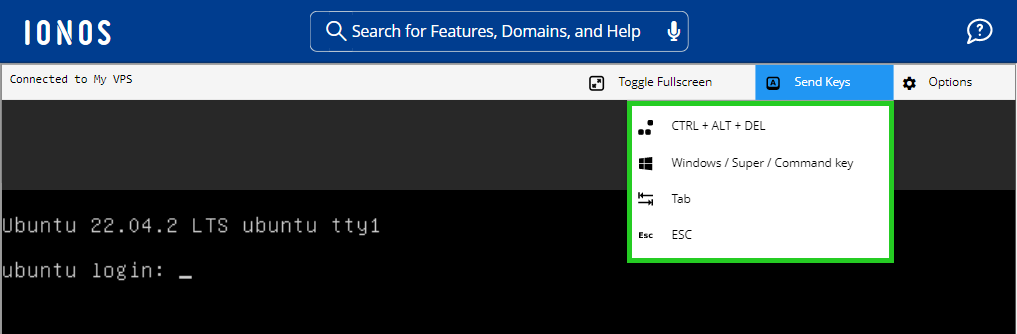
Send Keys
When you click on the Send Keys button, the following buttons are displayed that allow you to use specific keys or or key combinations:
Options
When you click the Options button, the following buttons are displayed:
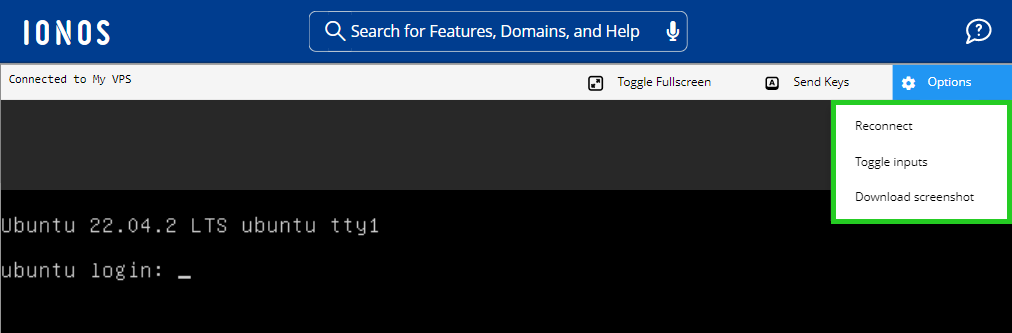
Reconnect: Use the Reconnect button to reconnect to your server.
Toggle inputs: Clicking the Toggle inputs button disables mouse and keyboard interaction within the remote console. Inputs are no longer possible in this case until you click the button again to disable this feature.
Download screenshots: When you click the Download screenshot button, a screenshot of the remote console is created and downloaded.