Creating a firewall policy
Valid for Cloud Servers, Virtual Server Cloud, Dedicated Servers, and Server Power Deals managed in the Cloud Panel.
How to create a firewall policy to allow certain types of network traffic:
- Log in to your IONOS account.
Click Menu > Server & Cloud in the title bar.
Optional: Select the desired Server & Cloud contract.The Cloud Panel opens.
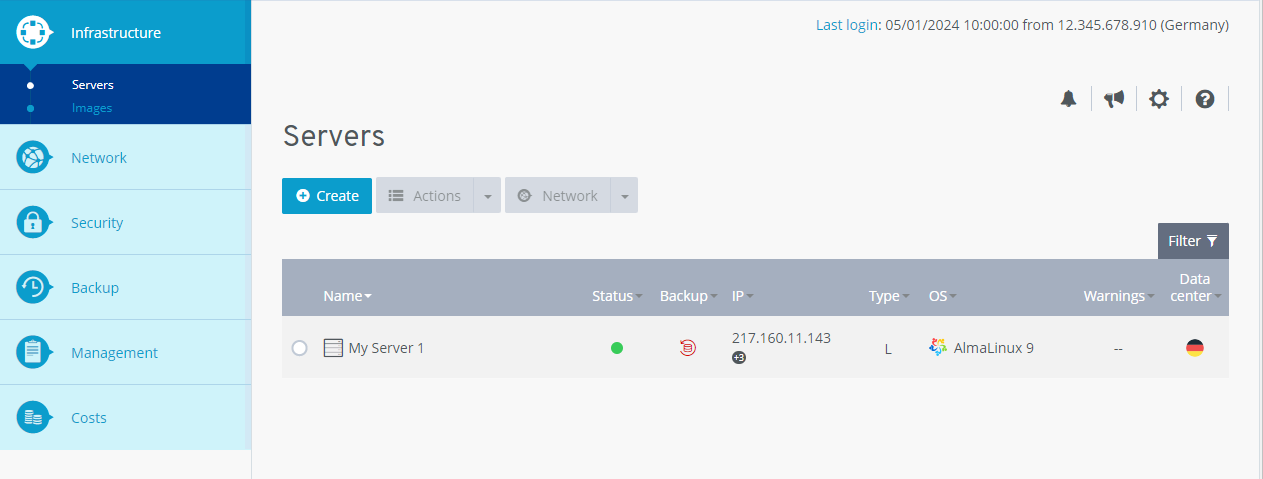
- Click Network > Firewall policies in the navigation bar on the left.
- Click on Create.
- Enter the desired name for the firewall policy.
In the Configuration area, you can create customized or predefined firewall rules:
Individual Firewall Rule
Allowed IP: Enter the desired IP address for which access should be allowed. Alternatively, you can enter a desired IP address range in the following format: 217.12.1.5-217.12.1.128
Protocol: Select the desired protocol.
Port(s): Enter the desired port. Alternatively, you can enter a port range or several ports. To create a rule for a port range, enter the lower and upper range values. Separate these values with a hyphen. Example: 4000-5000. To create a separate firewall rule for several ports, enter the desired ports with a comma to separate them.
Description: Enter a description for the firewall rule.
Predefined firewall rule
To add a predefined rule, click on Insert default values. Then select the rule you want and adjust it manually if necessary. Some of the available rules are listed below:
- Block all ports: Blocks all incoming ports of the server.
- Open all ports: Opens all incoming ports of the server.
- HTTP: Opens port 80 for incoming requests.
- HTTPS: Opens port 443 for incoming requests.
- POP3 SSL: Opens port 995 for incoming requests.
- -: Opens port 993 for incoming requests.
To save a new firewall rule, click on
 .
.
To reset a firewall rule, click on .
.
To delete a firewall rule, click on .
.
Note
For security reasons, SMTP port 25 (outgoing) is closed by default. This prevents emails from being sent from your server. If you would like to unblock this port, please contact IONOS Customer Service by phone. You can find the contact details on the IONOS Customer Service page.
Click on Create to create the Firewall Policy.
The firewall policy has been created.
As soon as the firewall policy is active, you can add a server.