Installing the Monitoring Agent on a Dedicated Server (Linux)
Valid for Dedicated Servers and Server Power Deals managed in the Cloud Panel.
This article explains how to install the Monitoring Agent on a Linux-based Dedicated Server o that you can retrieve information about free disk space or running processes. To do so, you must log in to the server and download the installation file. You can then install the Monitoring Agent.
Log in to your IONOS account.
- Click on Menu > Servers & Cloud in the title bar.
Optional: Select the desired Servers & Cloud contract.
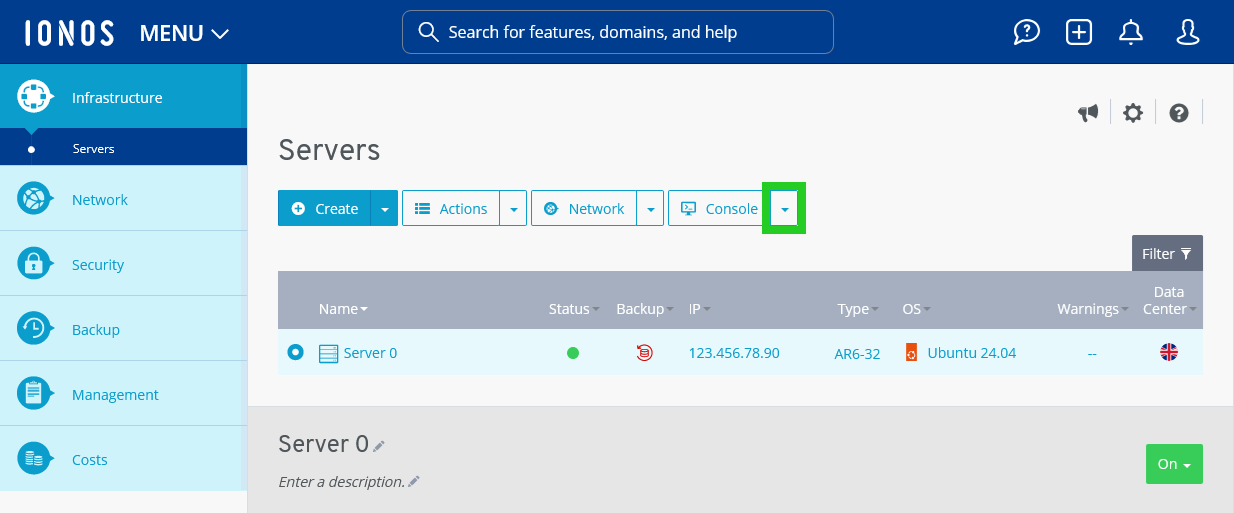
The Cloud Panel opens. Click on the desired server in the Infrastructure > Servers area.
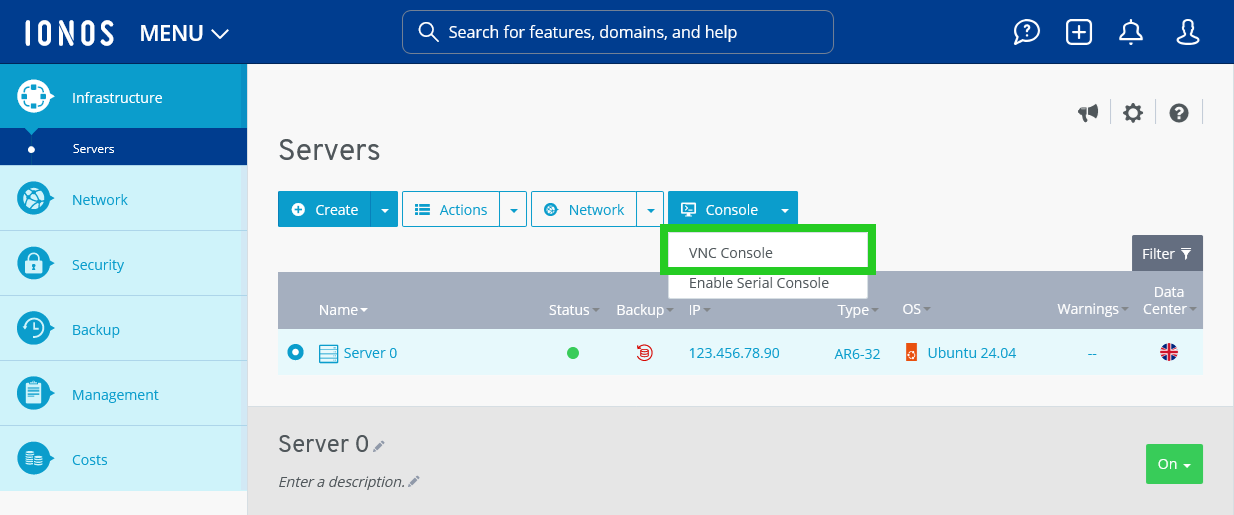
Click on the downwards pointing arrow next to the Console button.
Click on VNC Console.
The VNC console will open in a new tab.
Log in with the following data:
localhost login: root
Password: Your selected password
You will be logged in to the server.
Optional: To identify the operating system architecture of your server, enter the command uname -a.
Go to the directory where you want to save the file.
Download the Monitoring Agent. You can find a list of the available versions here. Example:
wget https://cloudpanel.ionos.com/download/us/monitoring_agent.tgz
Unzip the file. Example:
tar -xzvf monitoring_agent.tgz
To view the contents of the unzipped file, enter the following command:
ls
To install the Monitoring Agent, enter the following command:
./install_monitoring_agent.sh
The Monitoring Agent will be installed.