Creating a Protection Plan
For Cloud Backup and ###MyDefender###
To create backups on computers with Microsoft Windows, Linux and macOS operating systems, you must configure a protection plan in the backup console after installing the Cyber Protection Agent. This also applies to virtual machines with Microsoft Windows and Linux operating systems. A protection plan consists of modules you can activate or deactivate. Each module contains settings that relate to a specific functionality. In addition to creating backups, you can use a protection plan to protect computers and virtual machines from malware and to monitor their performance.
A protection plan can also be used for multiple computers or virtual machines.
When you register a computer or virtual machine in the backup console, a protection plan is set up automatically.
You also have the option of applying multiple protection plans to the same computer or virtual machine to map complex routines. For example, you can apply a protection plan in which you have only activated and configured the Antivirus & Antimalware module. In parallel, you can use another protection plan in which you have only activated and configured the Backup module.
Note
You can also combine multiple protection plans in which only the backup module is enabled. However, if another module is enabled in more than one protection plan, a conflict will occur. To apply the plan, you must first resolve the conflict.
Available Modules
A protection plan consists of various protection modules. You can activate and configure these individually. The following modules are available:
- Backup: With the Backup protection module, you can back up the data of a device to the storage space provided by the backup package.
- Antivirus & Antimalware Protection: With Antivirus & Antimalware Protection, you can protect computers and virtual machines with the Microsoft Windows, Linux and macOS operating systems from current malware threats.
- Endpoint Detection and Response (EDR): The EDR functionality can detect suspicious activity on a computer or virtual machine, including previously unnoticed attacks. The EDR functionality then generates incidents that provide a step-by-step overview of each attack and help you to investigate them.
- URL Filtering: The URL Filtering module protects your computers and virtual machines from Internet threats by blocking access to certain URLs that may contain malicious content.
- Windows Defender Antivirus: The Microsoft Defender Antivirus (WDA) module allows you to configure a Microsoft Defender Antivirus security policy and track its status from the Backup Console. This module can be used on computers and virtual machines that have Microsoft Defender Antivirus installed.
- Microsoft Security Essentials: Microsoft Security Essentials is an integrated antimalware component of Microsoft Windows that shipped with Windows operating systems prior to Windows 8. The Microsoft Security Essentials module allows you to configure a Microsoft Security Essentials security policy and track its status through the Backup Console. This module can be used on computers and virtual machines that have Microsoft Security Essentials installed. The settings for Microsoft Security Essentials are similar to those for Microsoft Defender Antivirus, but you cannot configure real-time protection or define exclusions through the Backup Console.
- Vulnerability Assessment: The Vulnerability Assessment checks installed Microsoft, Linux, macOS products as well as Microsoft and macOS third-party products for vulnerabilities. In addition, the Vulnerability Assessment notifies you when a vulnerability is found.
- Data Protection Map: This module provides you with detailed information about the data stored on your computers or virtual machines. This includes, for example, information on classification, backup status, and storage locations. In addition, you can use this module to determine whether or not the data is protected by backups.
- Device Control: With Device Control, you can specify devices that users are allowed to use on your machines. In addition, you can use Device Control to specify which devices are not allowed to be used.
More information about the available modules
For more information about the available modules, see the following page:
Create a Protection Plan in the Backup Console
To create a protection plan:
- Open the Backup Console.
- In the left navigation bar, click Administration > Protection Plans.
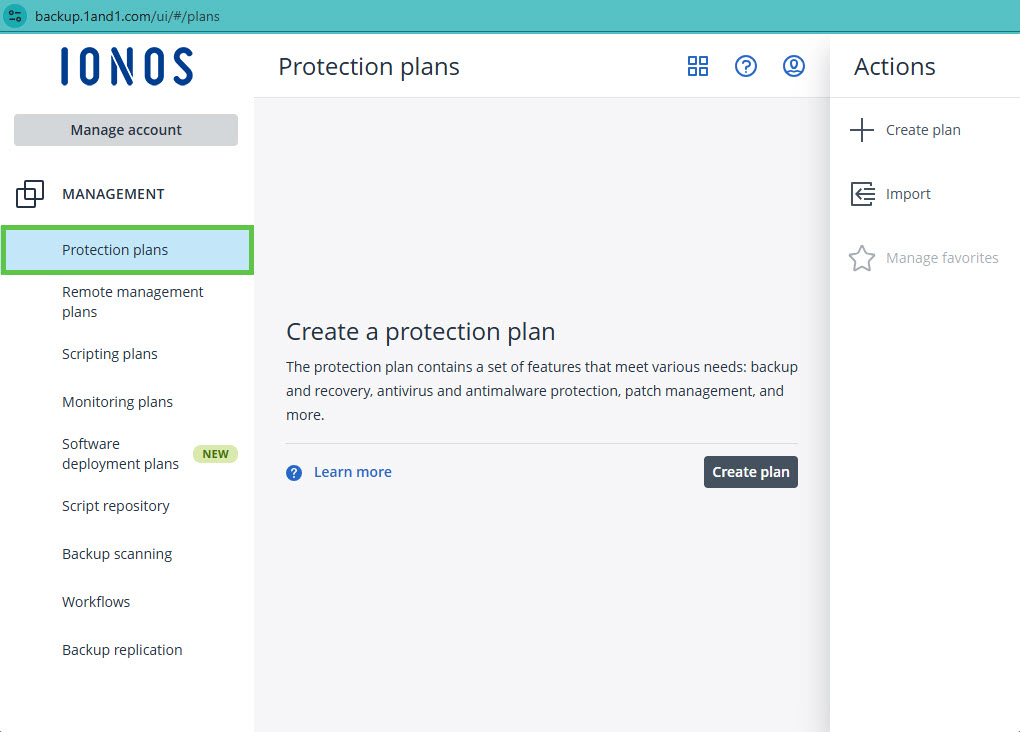
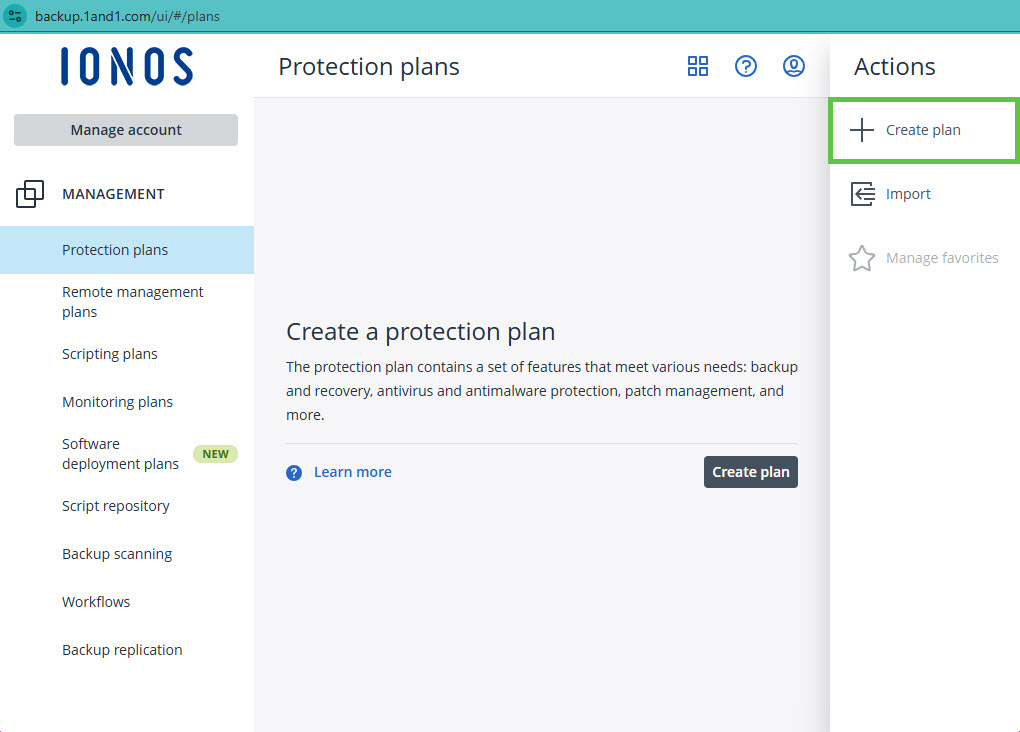
In the right pane, under Actions, click + Create Plan.
To have one or more devices protected by the protection plan, click Add devices.
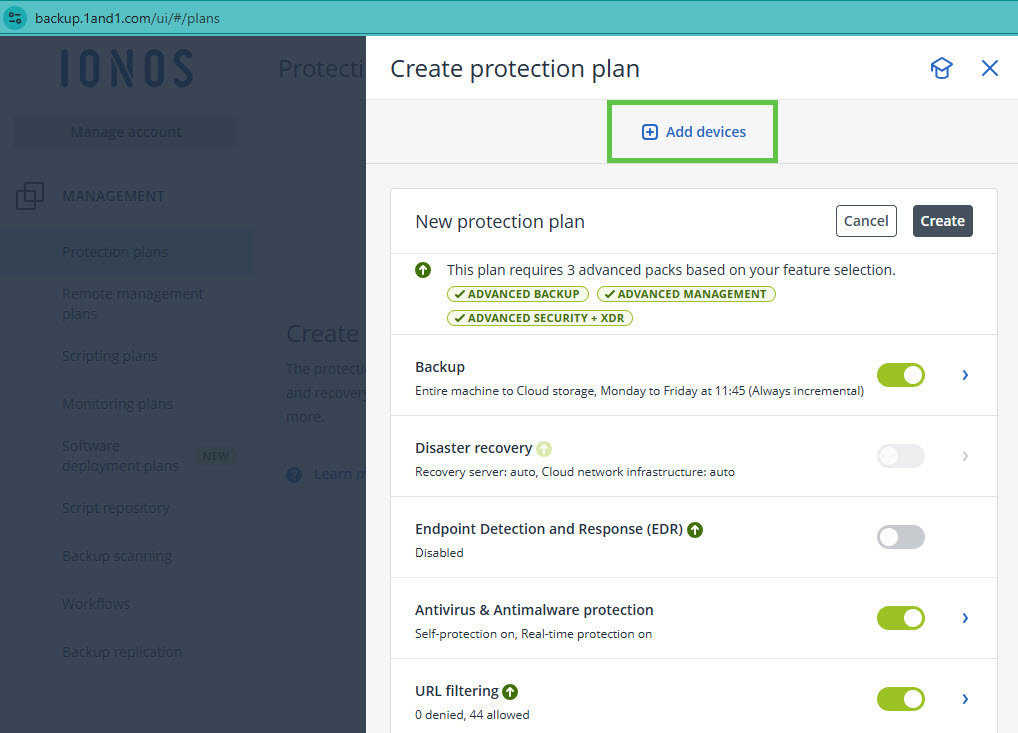
Select the device or devices you want and click Add. You will then be shown suitable modules.
To configure a module, click on the desired, activated module. You can then customise the configuration.
Optional: To activate a module, you must move the switch to the right. To deactivate a module, you must move the switch to the left.
Note
If the protection plan contains modules that are incompatible with the current workload, they will be disabled. The compatible modules will remain enabled in the protection plan.
- To create the protection plan, click Create in the top right corner next to the protection plan name.
The following message will then be displayed:
The protection plan requires the following service quotas to be applied to a device:
- Click Confirm.
Actions You Can Take With a Protection Plan
After you have created the protection plan, you can use it to perform the following actions:
- Apply a protection plan to computers, virtual machines, or a device group.
- Rename a protection plan.
- Edit a protection plan.
- Activate or deactivate a protection plan.
- Stop a protection plan. This action stops all ongoing backup actions on all computers and/or virtual machines. The backups are resumed according to the schedule you configured. Antimalware scans are not affected by this action and continue to run.
- Clone a protection plan to create a copy of an existing plan. When you clone a protection plan, it is not assigned to any workload.
- Export or import a protection plan. You can export a protection plan as a JSON file. You can also reimport this JSON file at any time.
- Check the details of a protection plan.
- Check the activities and alerts associated with a protection plan.
- Delete a protection plan.