What is WordPress Maintenance Mode and how do you use it?

WordPress Maintenance Mode lets visitors know that your website is temporarily unavailable. It is enabled automatically during updates, can be activated manually using a system file or PHP, or easily set up and customised with a WordPress maintenance mode plugin.
Key Takeaways
WordPress Maintenance Mode shows visitors a notice while your website is temporarily unavailable.
- WordPress activates Maintenance Mode automatically when it updates itself, plugins or themes.
- Without a plugin, you can enable it manually by creating a
.maintenancefile in the root directory. - Plugins such as Maintenance or SeedProd let you set up a customised maintenance page.
- Business websites must keep legally required information accessible during maintenance.
- If your website gets stuck in Maintenance Mode, delete the
.maintenancefile via FTP or your hosting provider’s file manager.
What is WordPress Maintenance Mode?
To keep your website technically up to date, WordPress, plugins and themes need to be updated regularly. During these updates, WordPress automatically activates a temporary Maintenance Mode. For a short time, the website may be only partially accessible and visitors will see a notice explaining that maintenance is in progress.
For planned maintenance or more extensive changes, WordPress Maintenance Mode can also be enabled for longer periods, for example with a WordPress maintenance mode plugin or a custom maintenance page. This prevents visitors from seeing incomplete or faulty content and instead makes it clear that the website is only temporarily unavailable.
How do I activate WordPress Maintenance Mode?
WordPress has included a built-in Maintenance Mode since version 3.0. It is activated automatically whenever WordPress itself, a plugin or a theme is updated. During this process, WordPress briefly creates a .maintenance file in the root directory and displays a simple notice to visitors.
You can customise this page without using a plugin. To do so, create a file called maintenance.php in the wp-content/ directory. Whenever Maintenance Mode is active, WordPress automatically loads this file and displays its contents instead of the default message. This allows you to create a custom maintenance page. Automatic Maintenance Mode usually remains active only while an update is being carried out, typically for just a few seconds.
If you activate WordPress Maintenance Mode manually, however, you have much more control. You can decide when the website goes offline and how long the maintenance period lasts. There are two main ways to enable it manually: you can work directly with PHP or system files, or use a WordPress maintenance mode plugin to simplify the process.
Activating WordPress Maintenance Mode without a plugin
To activate WordPress Maintenance Mode manually without a plugin, you can create a file in the WordPress root directory. Create a file named .maintenance (including the dot at the beginning) and add the following code:
<?php $upgrading = time(); ?>Manually activated WordPress Maintenance Mode affects not only the frontend but can also block access to wp-admin. Before activating it, make sure you can access the root directory of your WordPress installation via FTP/SFTP or your hosting provider’s file manager.
As soon as the file is in place, WordPress puts the website into Maintenance Mode. Because time() is recalculated each time a page is requested, this manual version remains active until you delete the .maintenance file. This method is therefore suitable when you want to decide for yourself when Maintenance Mode ends.
WordPress compares the timestamp stored in $upgrading with the current time. If a fixed timestamp is more than 10 minutes old, WordPress automatically ends Maintenance Mode. The .maintenance file is therefore primarily suited to short update processes. For longer maintenance periods or customised maintenance pages, plugins are a better option.
Once you have finished your work, you need to delete the .maintenance file manually to make your website accessible again. Technically, this method uses the same mechanism that WordPress activates automatically during updates, but it does not provide any options for customising the page displayed to visitors.
Activating WordPress Maintenance Mode with a plugin
If you want to manage WordPress Maintenance Mode more conveniently and customise the page shown to visitors, using a plugin is a good option. Two widely used solutions are Maintenance and SeedProd.
Maintenance offers a customisable page for visitors to see while your website is in Maintenance Mode. You can change everything from the logo and text to the colours and background. Pre-built design templates are available in the plugin’s Pro version. You can also exclude individual pages from Maintenance Mode, among other options.
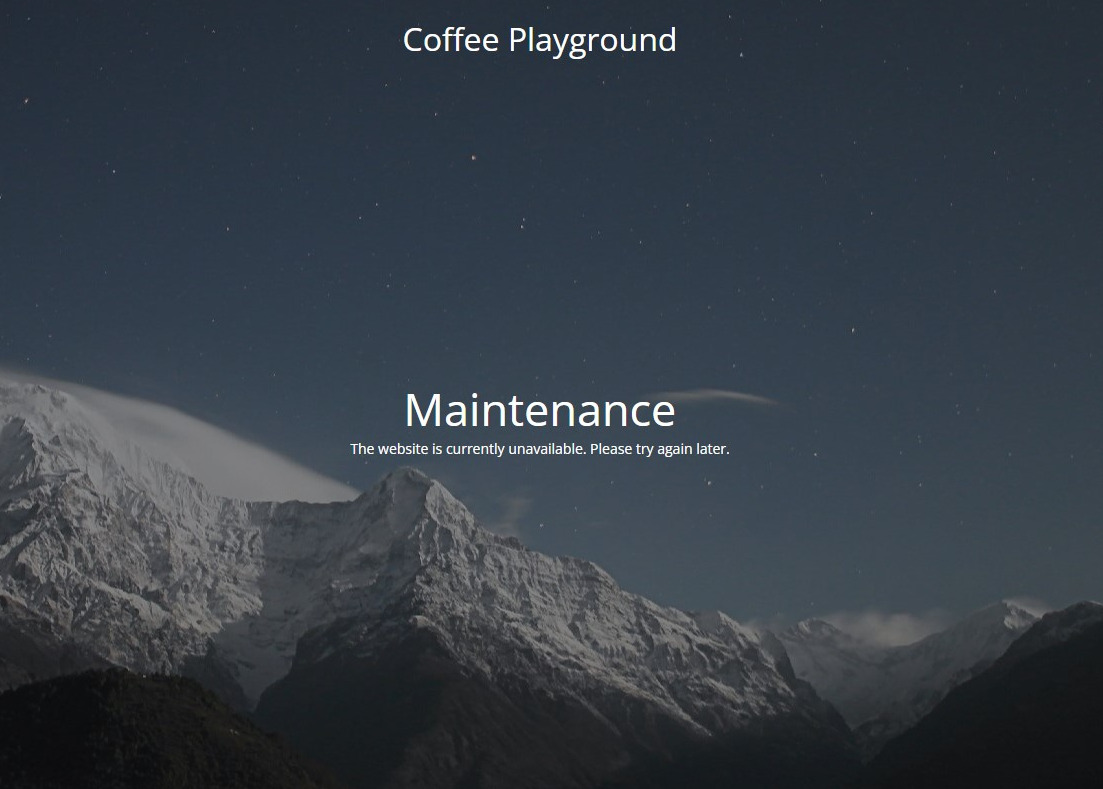
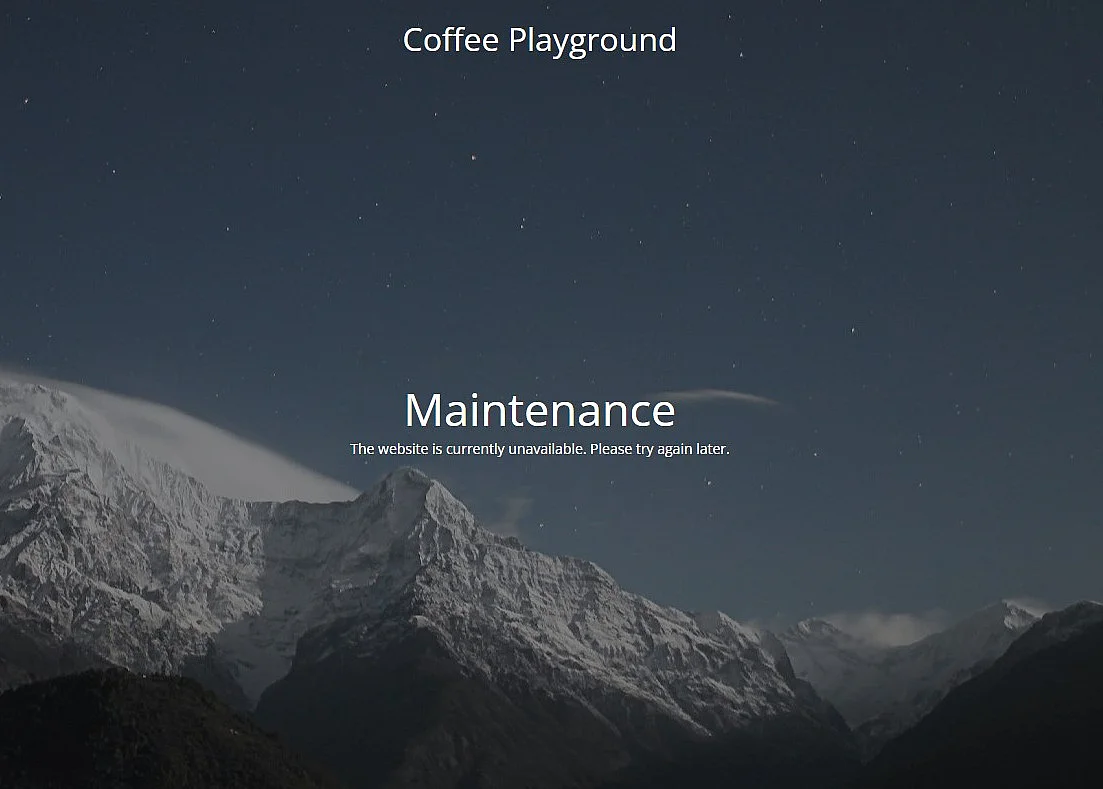
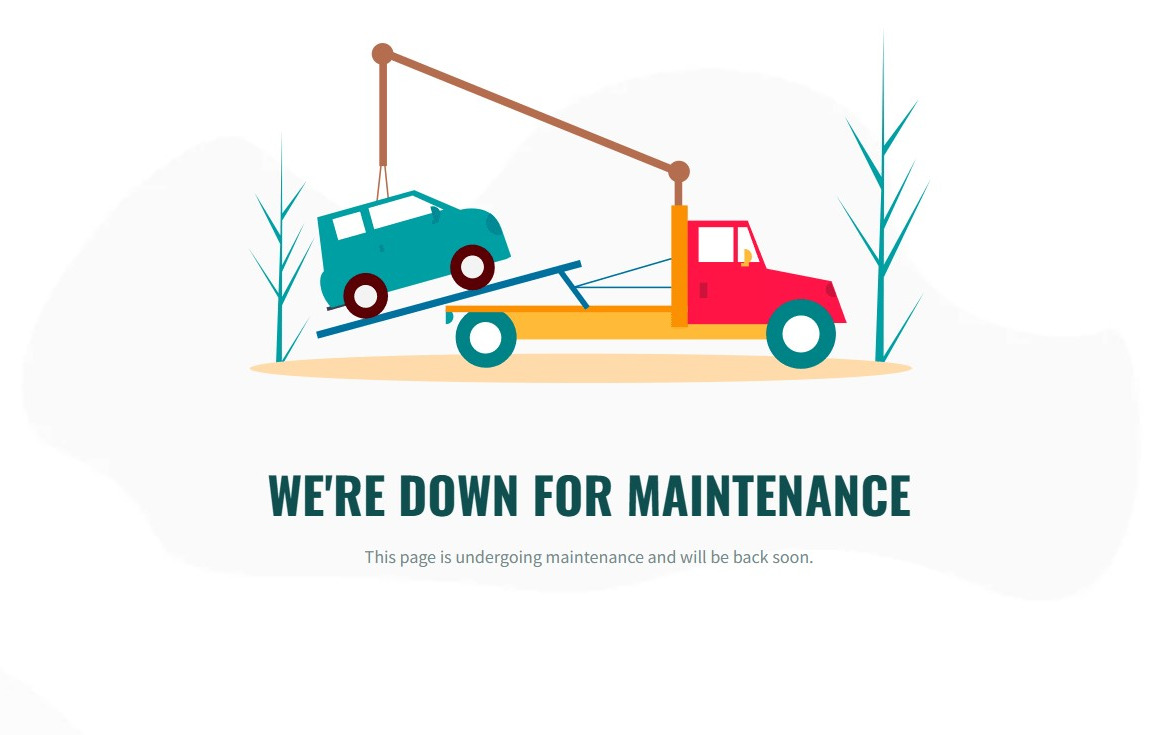
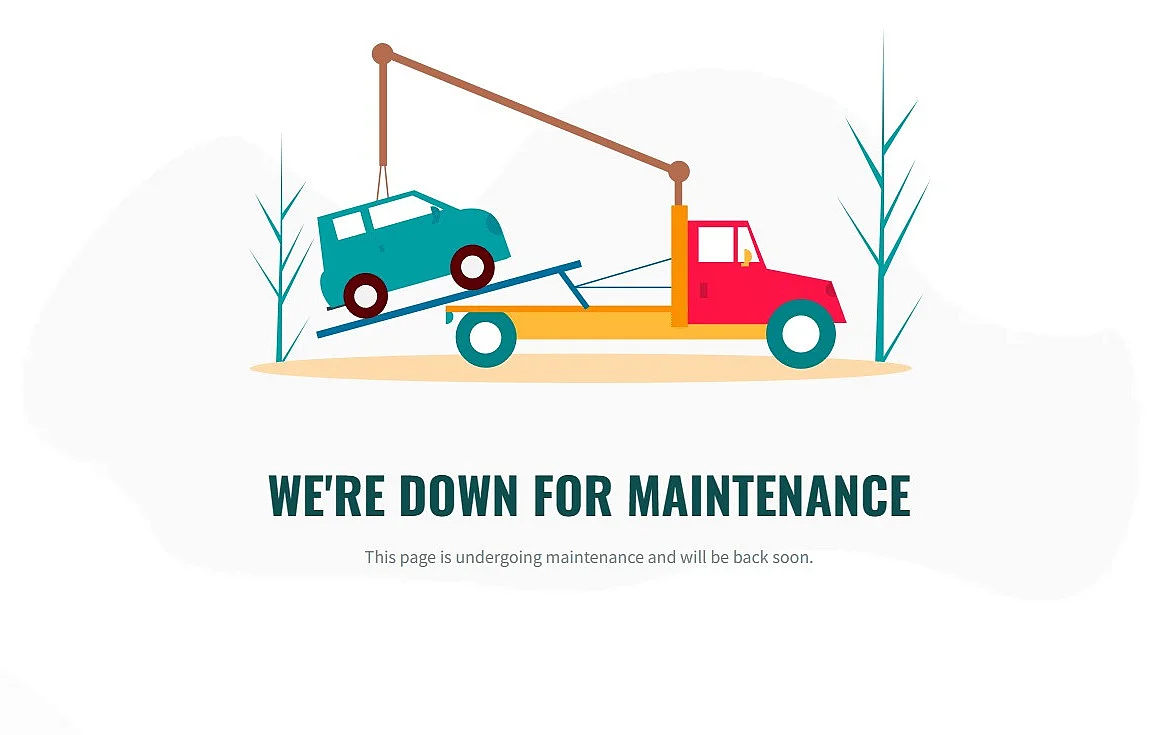
SeedProd also provides a convenient and professional way to set up WordPress Maintenance Mode. The plugin includes a visual drag-and-drop editor that lets you create custom maintenance pages without any coding knowledge. You can choose from a wide range of pre-built templates and customise them to suit your website. SeedProd also uses a 503 status code in Maintenance Mode, signalling to search engines that the site is only temporarily unavailable. Another useful feature is the option to exclude specific pages from Maintenance Mode, allowing selected content to remain accessible.
What should you consider when using WordPress Maintenance Mode?
If you run a business website, bear in mind that WordPress Maintenance Mode does not remove any legal requirements to provide certain company or contact information. Depending on the type of business and website, details such as the company name, registered office, company registration number and contact information may still need to remain accessible while the site is undergoing maintenance.
The same applies to your privacy information if personal data is processed on the maintenance page, for example through tracking tools, cookies, external content or contact forms. You should therefore make sure that visitors can still access the relevant privacy information while WordPress Maintenance Mode is active.
Regardless of the legal requirements, it is also advisable to give visitors a way to contact you, for example by providing an email address or contact form. This allows them to get in touch directly if they have any questions about the maintenance work or downtime.
What problems can occur with WordPress Maintenance Mode?
When WordPress Maintenance Mode is activated, WordPress creates a temporary .maintenance file in the root directory. You can also create this file manually, as described above. Once the maintenance work has been completed and Maintenance Mode ends, WordPress normally deletes the file automatically. However, the file may occasionally remain in place, for example if an update fails because of an error, server timeout or plugin conflict. As a result, the website can remain stuck in Maintenance Mode.
You can usually resolve this by deleting the .maintenance file manually. To do so, you need access to your web project via FTP (File Transfer Protocol) or your hosting provider’s file manager.
To delete the .maintenance file manually, follow these steps:
- Access the web server using an FTP program such as FileZilla or your hosting provider’s file manager.
- Navigate to the root directory of your WordPress installation.
- Delete the
.maintenancefile. - If necessary, clear the cache and reload the website.
If the problem persists, contact your web hosting provider for further assistance.