What is remote desktop and how can it be used?

The use of remote desktop connections is now standard practice in many professions and has become indispensable, especially for terminal services and helpdesk tasks. Remote desktop control also makes it easy and convenient to access an office computer from home. As the setup process is not always straightforward, this article explains how to establish a remote desktop connection step by step.
What does remote desktop mean?
A remote desktop connection makes it possible to connect your own computer (client) to another computer (server). If the technical requirements are met, users can establish a remote desktop session from virtually anywhere. Depending on the permissions granted, they receive full access to the remote computer. You can picture it like this, from your home computer you can use remote access to access all programs, files, and network resources on your office computer, just as if you were sitting at your desk.
What are the requirements for a remote desktop connection?
To establish a remote desktop connection, several technical requirements must be met. Remote access only works if the target computer is connected to the same network or to the internet. Make sure the server is powered on when you attempt to connect and has an active network connection. In addition, remote desktop access must be enabled on the server. You should also ensure that the relevant network can be reached from outside and that you have permission to initiate a remote desktop session. This usually requires a valid user account and the corresponding password on the remote computer.
Note that you cannot connect to a computer that is in sleep mode or hibernation. Therefore, make sure the relevant settings are disabled.
How to set up Windows Remote Desktop
Microsoft offers remote desktop applications using its in-house network protocol, the Remote Desktop Protocol (RDP). RDP is essentially the control tool for terminal services (Remote Desktop Services) and ensures that remote desktop commands are executed. It controls both the terminal server and the terminal client, managing the transmission of screen content as well as keyboard and mouse input over the network. A server version of Windows is not required.
Option 1: Windows Remote Assistance
Windows Remote Assistance is one way to enable remote desktop access. It allows users to invite an external person into the system. This is especially useful for remote maintenance sessions in which technicians connect to a local system and can perform software repairs or system settings on the user’s behalf.
Step 1: Make sure Remote Desktop is enabled. To do this, proceed as follows:
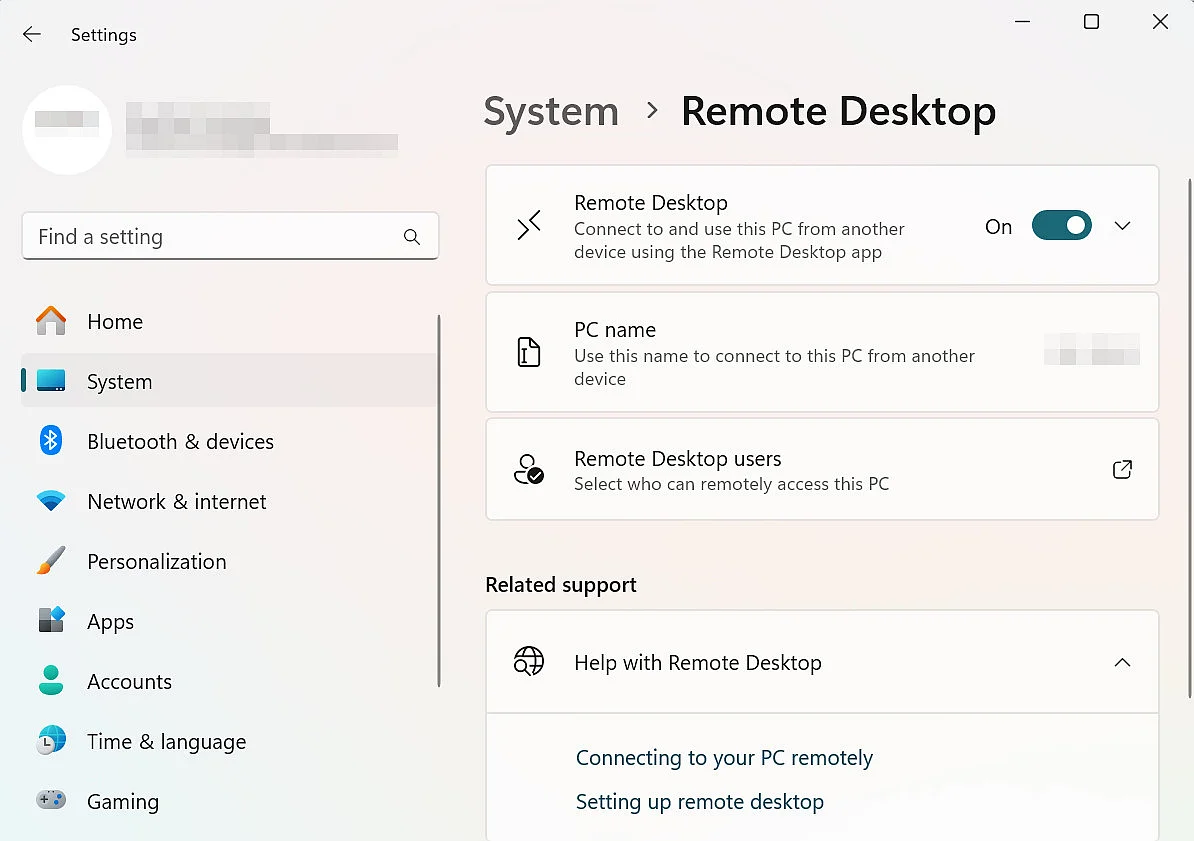
- Open Settings, then select ‘System’ in the left-hand menu, scroll down, and select ‘Remote Desktop’.
- Enable Remote Desktop by switching the toggle to ‘On’.
- Select ‘Confirm’ in the dialog box that opens. A new menu item with your PC name appears in Settings.
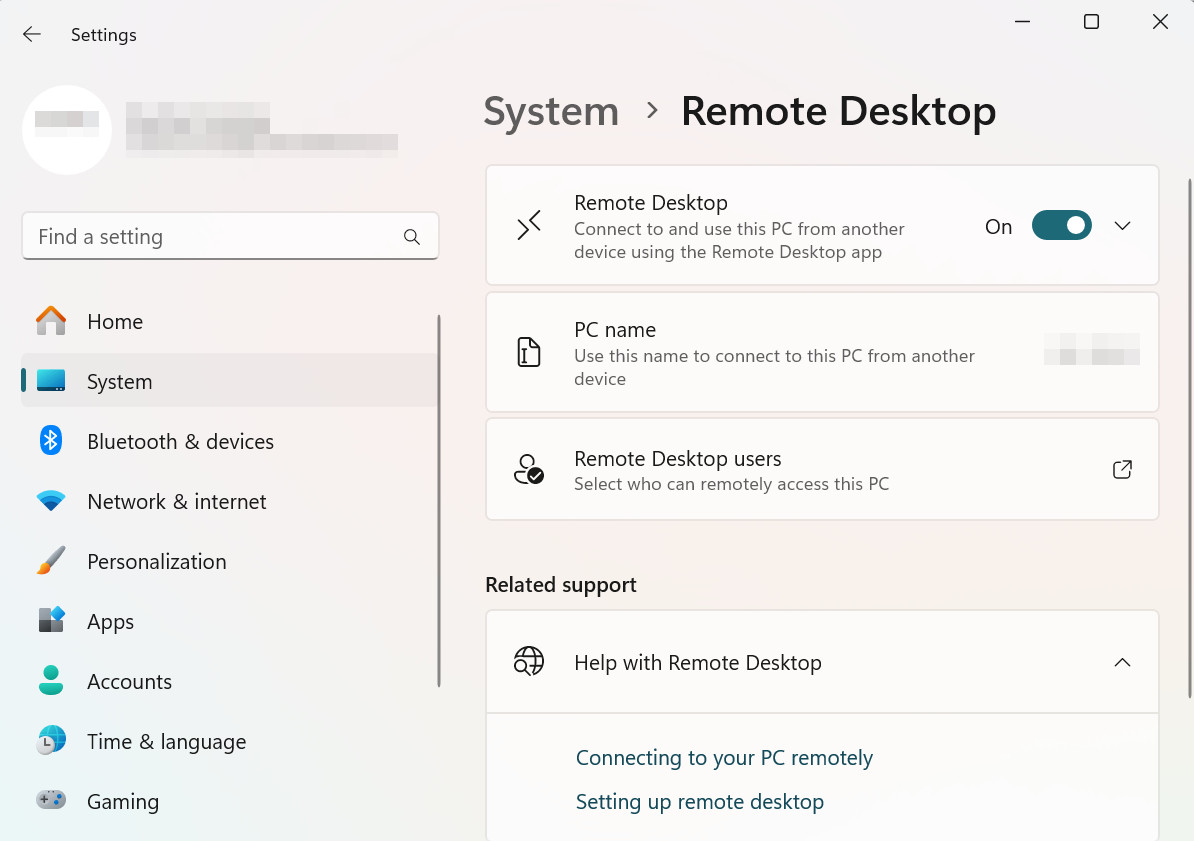
Confirm the security prompt that appears.
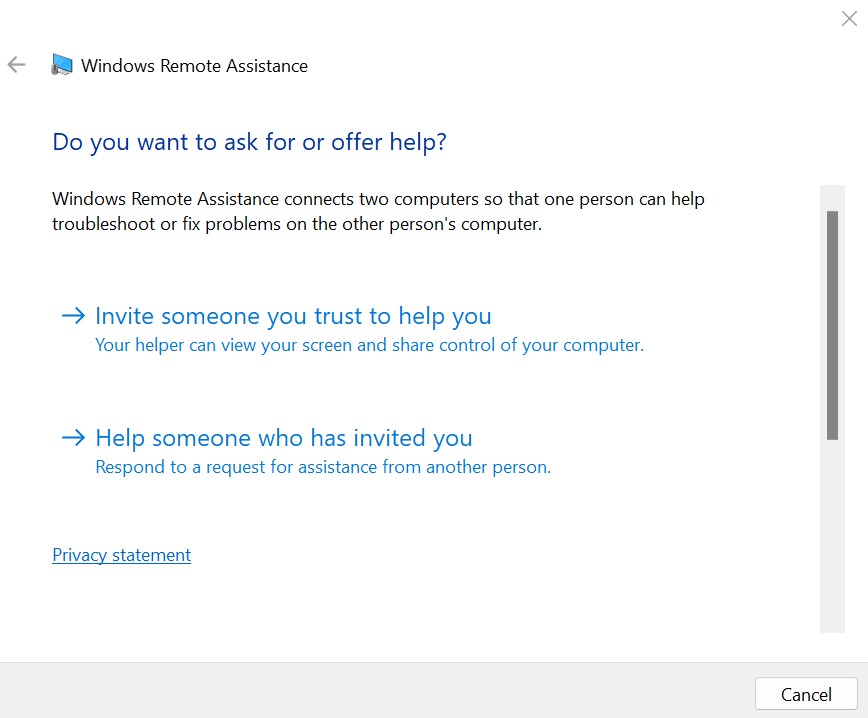
Step 2: Now invite an external person. To do this, type ‘msra’ into the search box at the bottom of your screen, or follow these steps:
- Use the search box to open ‘Control Panel’ -> ‘System and Security’.
- Under ‘System’, select the link ‘Start Remote Assistance’.
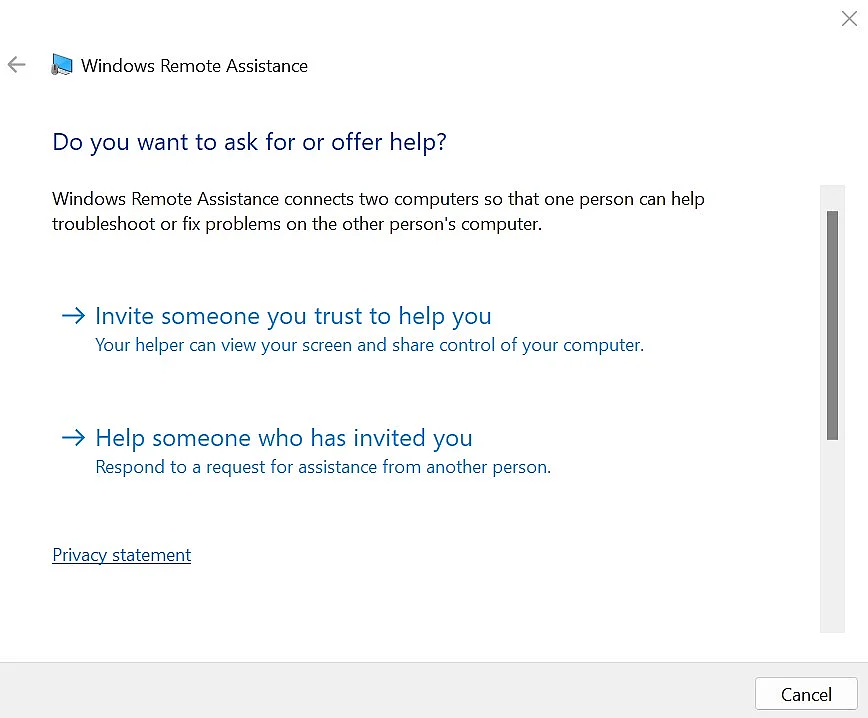
This will open a prompt window. From there, select ‘Invite someone you trust to help you’ to request assistance.
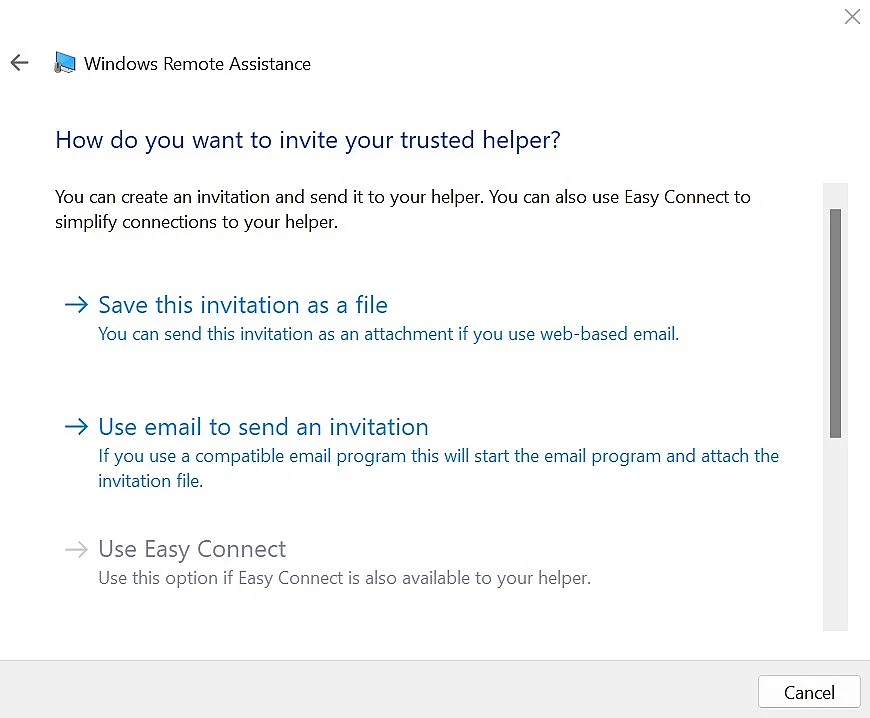
Step 3: You can now send an invitation to the external person. For this, Windows suggests various methods:
- ‘Save this invitation as a file’: You save the invitation file on your computer and then manually send it as an email attachment.
- ‘Use email to send an invitation’: If you have a compatible email program, it opens automatically and the file can be sent directly.
The Easy Connect option is sometimes shown, but it often can’t be selected because it no longer works in current Windows configurations.
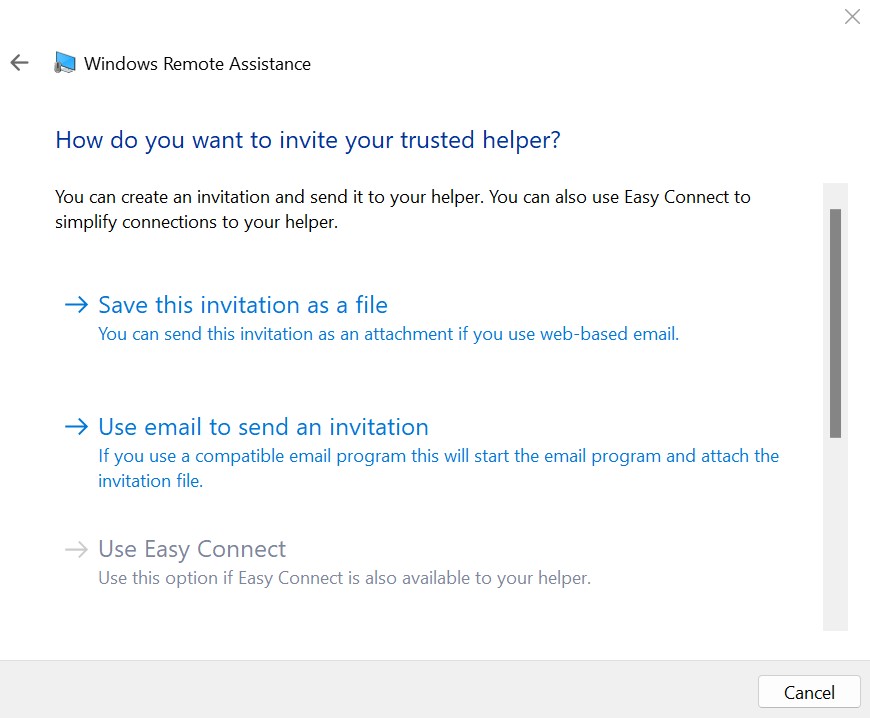
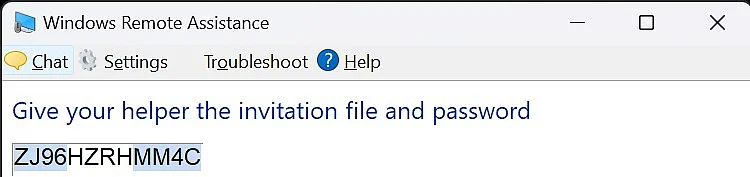
A dialog box opens automatically. Windows displays a time-limited one-time password and prompts you to forward it. Send the one-time password and the invitation file separately to the person you want to invite.
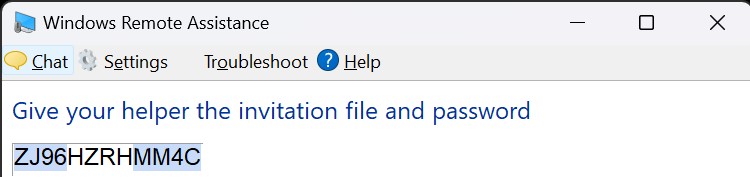
Step 4: The connection is established. The external person can now view your desktop and request control. With your repeated approval**, they are granted full control. Using the password you provided, the external person can now connect to the remote computer and enter the password in the displayed window.
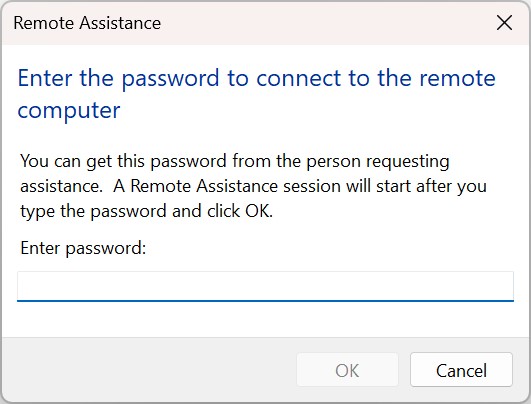
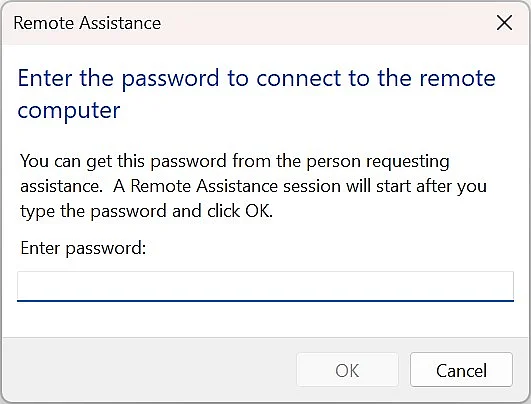
Step 5: You are prompted to confirm the connection. Click ‘Yes’ to proceed. Any transfer of control requires your explicit approval.
Step 6: The connection is established. The external person can now view your desktop and request control. With your repeated approval they are granted full control.
In newer Windows versions (Windows 10/11 and later), Quick Assist is a built-in Microsoft tool that allows you to help another person over the internet or a network connection, or remotely control their PC. You simply start the app and share a security code, which the other person uses to share their screen and, if required, grant you control.
Option 2: Windows remote desktop connection
With a remote desktop connection, you can sign in to a host system without another person actively joining the session. In this setup, the local system acts as a server, allowing you to log in as if you were a local user. This option is particularly useful in the home office, for example when you want to access your office PC from home. However, it requires a compatible Windows edition on the host system: Windows Pro, Education, or Enterprise. Devices running Windows Home cannot host remote desktop connections; they only support remote assistance.
Your username and the associated password must already be set up in the host server’s user list. A remote desktop connection can only be established with your credentials.
Step 1: As with the previous method, remote desktop access must be enabled. You can find the corresponding option under Settings → System → Remote Desktop.
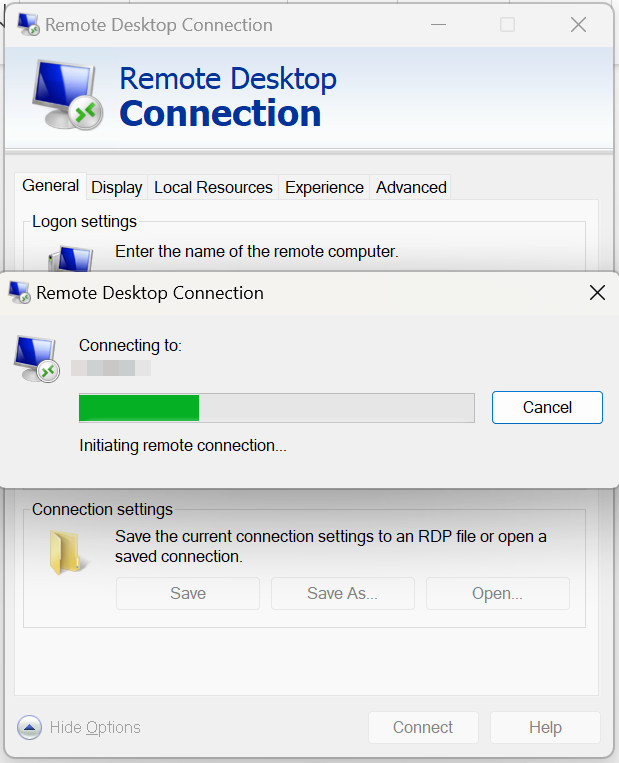
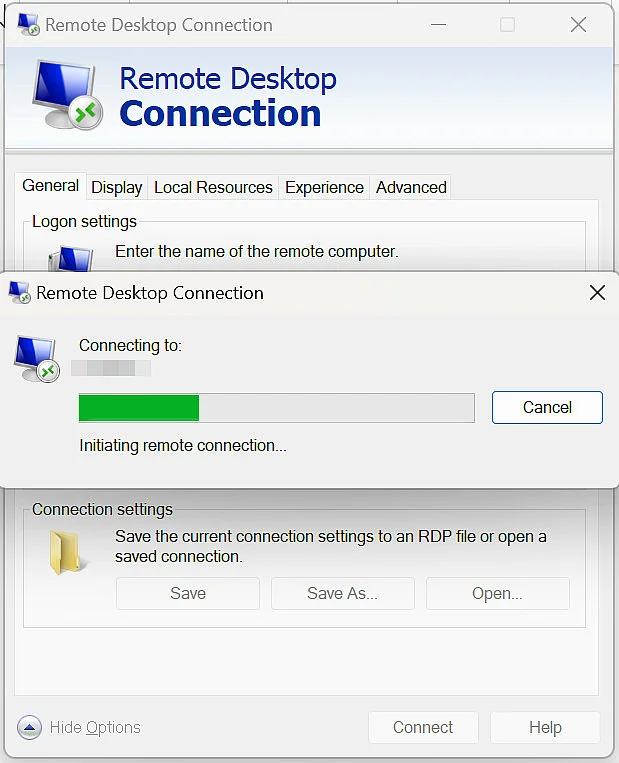
Step 2: Launch the Remote Desktop Protocol (RDP) client by searching for ‘Remote Desktop Connection’ or by typing mstsc in the search box. This will open the Remote Desktop Connection window.
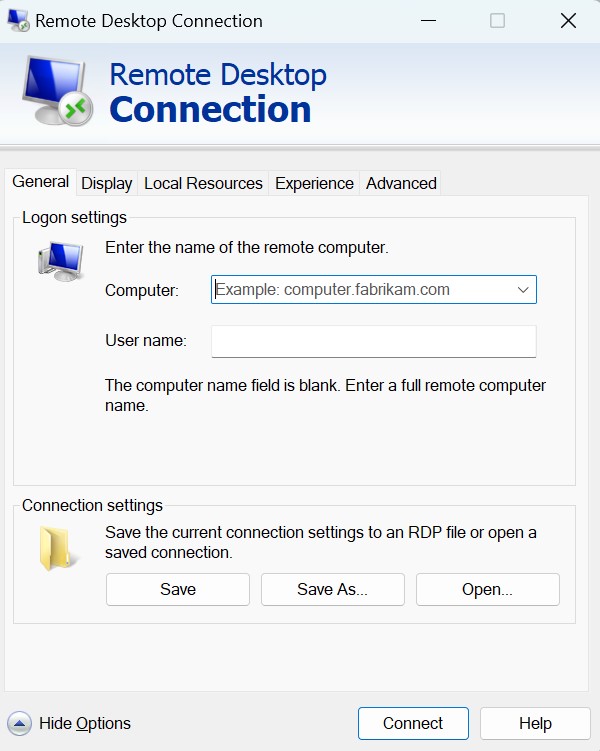
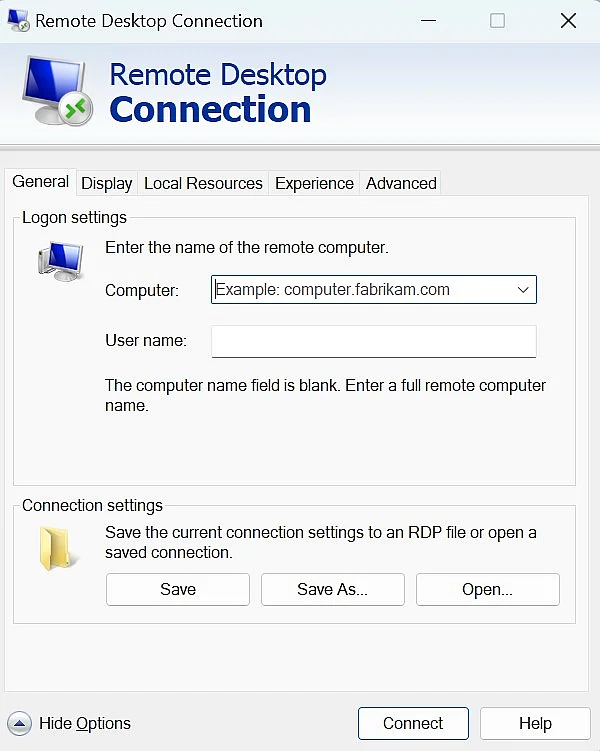
Step 3: In the window, enter the name of the target computer and your username on that system.
To establish a remote desktop connection on the local network, simply enter the computer name or the internal IP address of the target system. For connections over the internet, use the host computer’s public IP address or the appropriate host name configured for remote access.
Step 4: In the window that opens automatically, enter the username and the corresponding password for remote desktop access on the target system. Next, confirm the certificate security prompt. Once authentication is successful, the full desktop of the target system will be displayed, allowing you to use it just like a locally used computer.
Frequent Windows issues with the firewall and Wi-Fi router
Windows has an active firewall enabled by default, which protects your computer from unauthorised access. However, with remote assistance or a remote desktop connection, this protection can prevent connections from being established, especially for access over the internet.
Issue 1: Firewall
Once you enable Remote Desktop in Windows settings, Windows typically creates the necessary firewall rules automatically. The TCP port 3389 for RDP is opened, so manual adjustments, as required in earlier versions of Windows, are usually unnecessary. However, it’s still useful to check the firewall manually if:
- Remote Desktop can’t be reached despite being enabled,
- additional security software is installed, or
- Group Policy settings override the firewall configuration.
In such cases, check whether ‘Remote Desktop’ and ‘Remote Assistance’ are enabled under ‘Control Panel’ -> ‘System and Security’ -> ‘Windows Defender Firewall’ -> ‘Allow an app through Windows Firewall’.
Issue 2: Wi‑Fi router
A Wi-Fi router can also pose a challenge and prevent a remote desktop connection from being established. If the target computer is behind a router, it typically blocks incoming connections from the internet by default. To enable direct RDP access, you will need to:
- set up a forwarding rule in the router for TCP port 3389, or
- use a VPN connection.
For security reasons, you should avoid exposing Remote Desktop directly over the internet. Instead, use a VPN connection to securely access your local network.
TeamViewer is an alternative to Microsoft
Microsoft Remote Desktop can be somewhat complicated to use and requires some prior knowledge. However, there are several user-friendly alternatives, particularly popular with beginners. Establishing a remote desktop connection through third-party providers is often more straightforward than using Microsoft services, as it typically doesn’t require firewall or router adjustments.
TeamViewer is one of the most popular remote desktop tools, used by individuals and businesses worldwide. With just a few clicks, you can quickly and easily conduct remote support sessions or presentations.
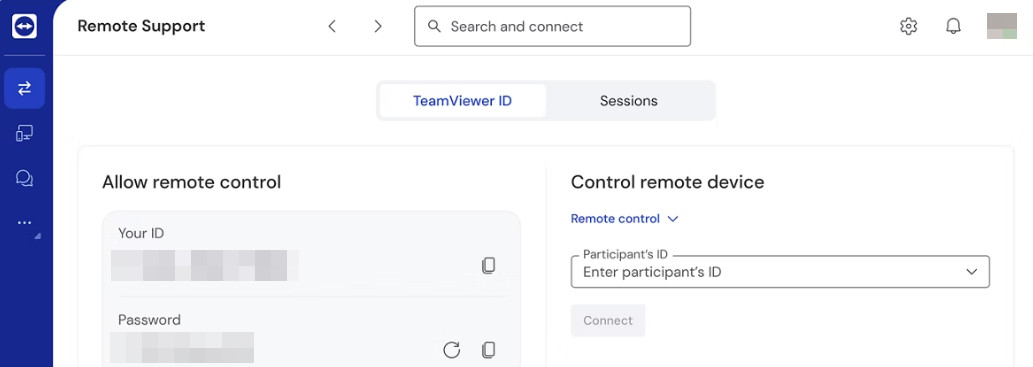
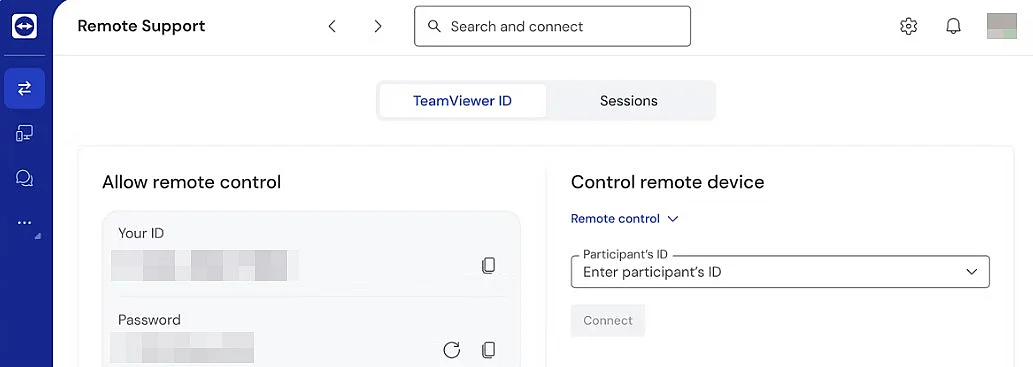
Once the download is complete, you can launch TeamViewer immediately and begin. Upon opening, a temporary ID and password are generated automatically. These can be viewed at any time in the display window and shared with your contacts.
To establish a remote desktop connection, simply enter your contact’s ID in the ‘Participant’s ID’ field and provide the corresponding password. If you need assistance, the process is just as simple by sharing your ID number and password with your contact. Additional features like file transfer, chat, audio and video communication, and contact management further enhance the experience. If the interface or feature set doesn’t meet your preferences, you can explore one of the many TeamViewer alternatives.
Remote desktop connections with other operating systems such as Linux and macOS
Wouldn’t it be useful if Windows users could access Linux or macOS systems just as easily? You can! Remote desktop connections are no longer limited to Windows systems. Today, Linux and macOS computers can also be controlled remotely in a reliable and secure manner. Both cross-platform protocols and native clients are available for this purpose. The right solution depends on the operating system, intended use, and security requirements.
Remote desktop on Linux and using RDP instead of classic VNC
For modern Linux distributions like Ubuntu 22.04 LTS or 24.04 LTS, it’s recommended to use an RDP-compatible server. This allows you to access the Linux system directly with the Windows Remote Desktop client, without needing additional viewer software. One well-established solution is xrdp, which natively supports the RDP protocol. Installation is simple and requires just a few steps. Open Ubuntu and enter the following commands one by one in the terminal window:
Step 1: Update the system
sudo apt update && sudo apt upgradeStep 2: Install xrdp
sudo apt install xrdpStep 3: Enable the service
sudo systemctl enable xrdp
sudo systemctl start xrdpStep 4: Adjust the firewall (if active)
sudo ufw allow 3389/tcpAfterward, you can sign in using Windows Remote Desktop Connection (mstsc) by entering the IP address or hostname of the Linux system.
Remote desktop on macOS using Microsoft Remote Desktop
macOS does not provide its own RDP server, but it can easily be used as an RDP client. For this purpose, Microsoft offers the Windows App, a free remote desktop application available in the Mac App Store. The app integrates seamlessly into the macOS environment and supports, among other things, multi-monitor mode, the clipboard, and file and resource redirection.
After installation, enter the target computer’s IP address or hostname, and then sign in to the remote system using the appropriate credentials.
macOS also offers two native remote options. Simple Screen Sharing is a built-in feature that allows another Mac to view and control your screen once sharing is enabled. Additionally, Apple Remote Desktop, available as separate professional software, lets you remotely manage and administer multiple Macs. This paid solution is designed primarily for IT professionals and businesses.