How to create an email signature step by step

An email signature acts as a digital business card and helps create a professional impression, particularly in business communication. It provides recipients with key information such as your phone number, website address and company logo.
Key Takeaways
- An email signature works like a digital business card: it gives recipients your key contact details and makes a professional impression.
- A good signature includes at least your full name, role, company name, phone number and website or email address.
- In Ireland, limited liability companies must include certain company details in business correspondence, such as the legal form, place of registration, registration number and registered office address.
- Step-by-step instructions cover Outlook (Windows, Mac and web), Gmail, Yahoo Mail and IONOS Webmail.
- Keep the design simple: no more than two fonts, mobile-friendly, tested in different email clients and updated regularly.
Why email signatures matter, what to include and when they are required
An email signature helps convey professionalism and makes it clear to recipients who they are communicating with. It can also provide useful information, such as a phone number, website, social media profiles or legally required details in business emails. Using a consistent signature design can also strengthen your branding and improve recognition, particularly in corporate communications.
A good signature should include at least:
- your full name
- your role or position
- your company name (for business use)
- your phone and/or mobile number
- your website or email address
You can also include a company logo, links to social media profiles or a short slogan, provided the layout remains clear and easy to read.
In a business context, certain information may be legally required in emails. Irish limited liability companies, such as LTDs, DACs, CLGs and PLCs, must include certain company details in business correspondence, including the company’s legal form, place of registration and registration number, and registered office address. Self-employed people and freelancers should also use a signature to present themselves professionally and transparently.
How to create an email signature
Below, you’ll find step-by-step instructions for creating an email signature in the most popular email clients. The exact labels may vary slightly depending on the version you use. The following instructions are based on the versions available as of November 2026.
Outlook (Windows, Mac & Web)
Outlook for Windows/Mac:
- On Windows, open a new message and select ‘File’. On Mac, open the ‘Outlook’ menu and select ‘Settings’. Then, under ‘Mail’, select ‘Signatures’.
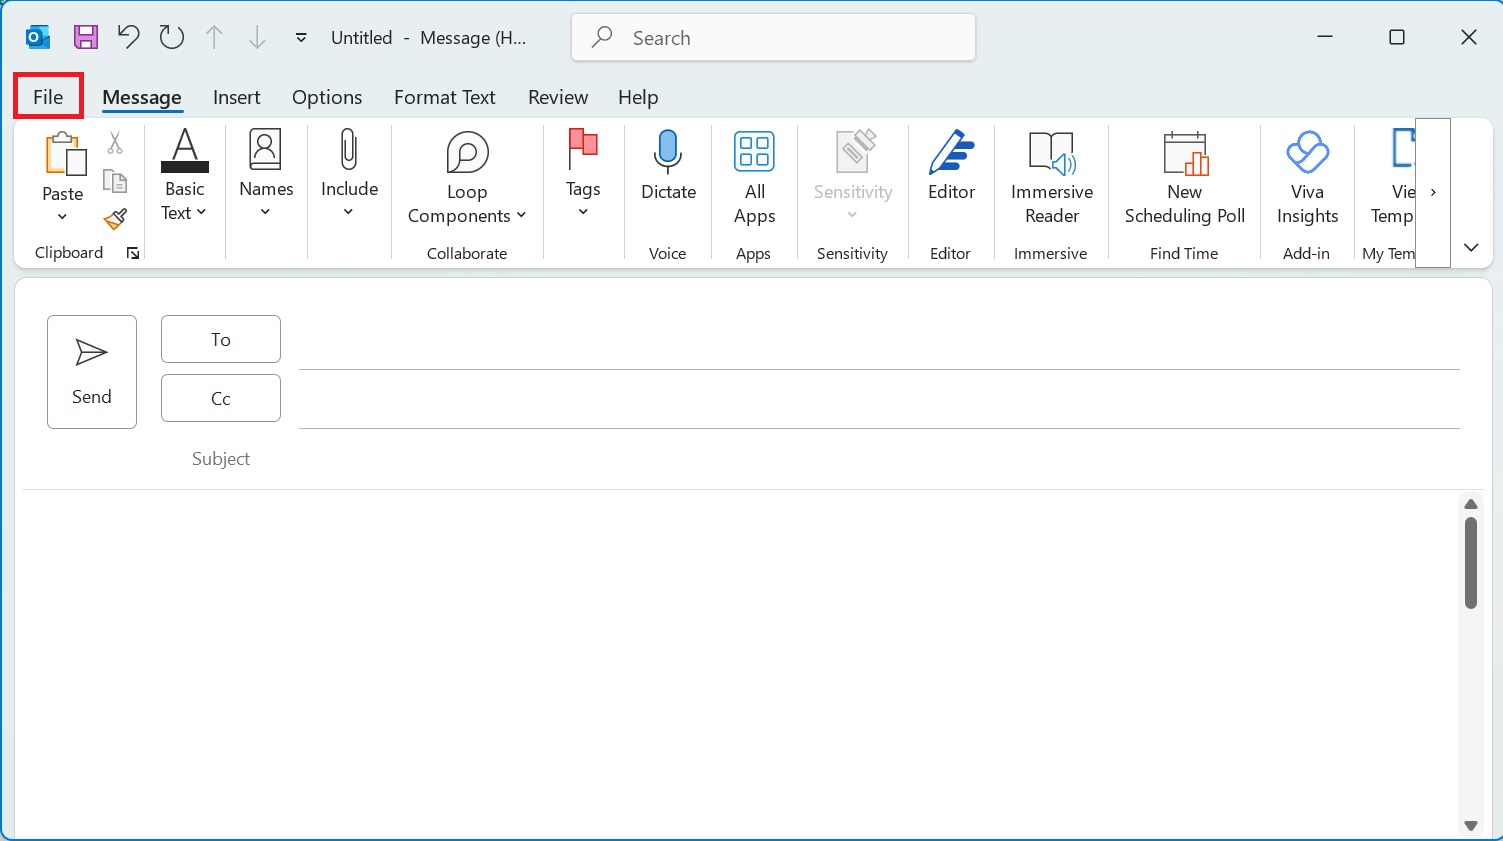
- Under ‘Options’ at the bottom, select ‘Signatures’ -> ‘New’ to create a new signature.
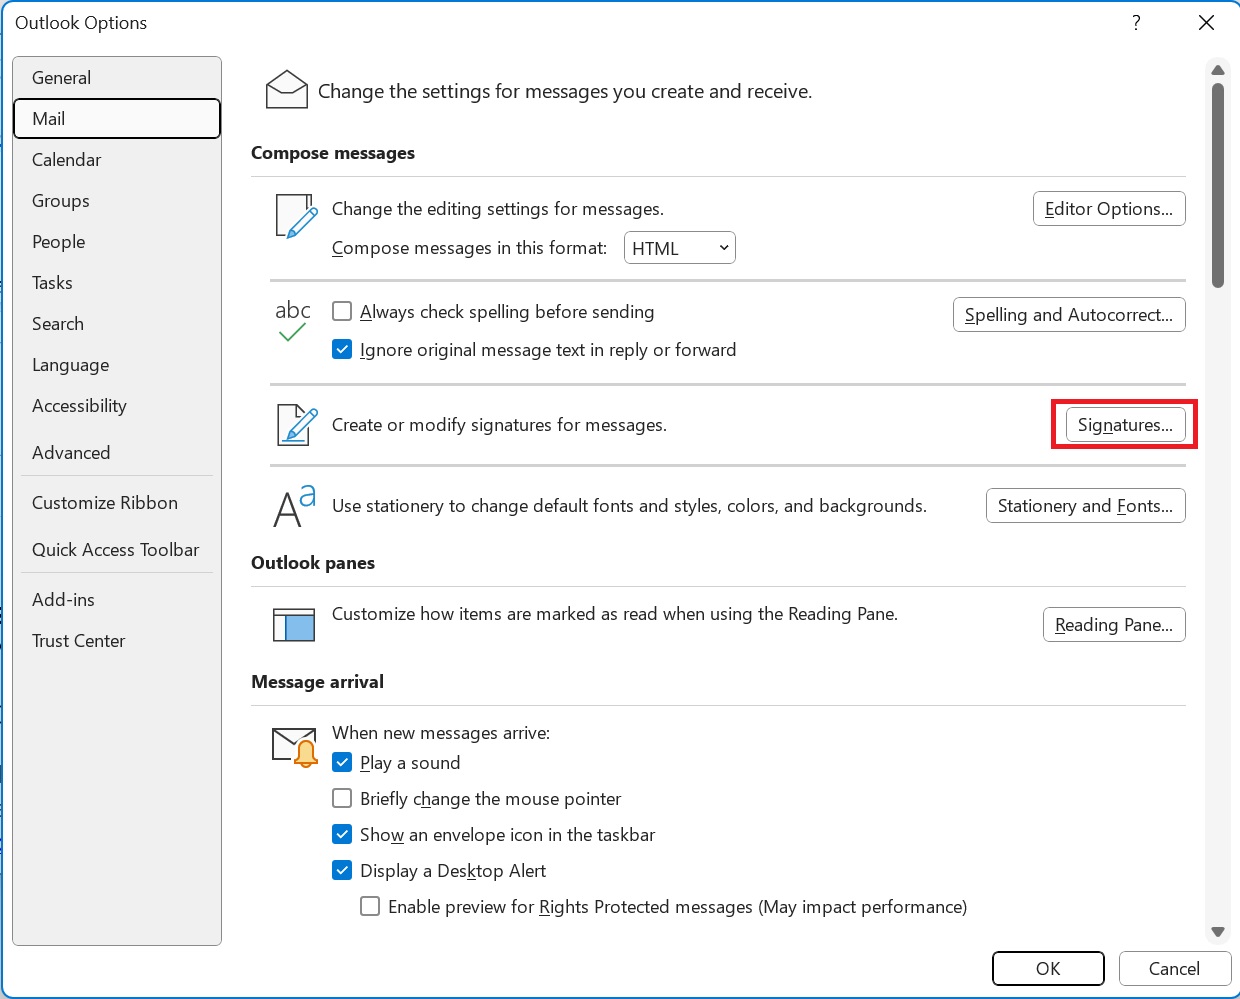
- Enter text, links or images.
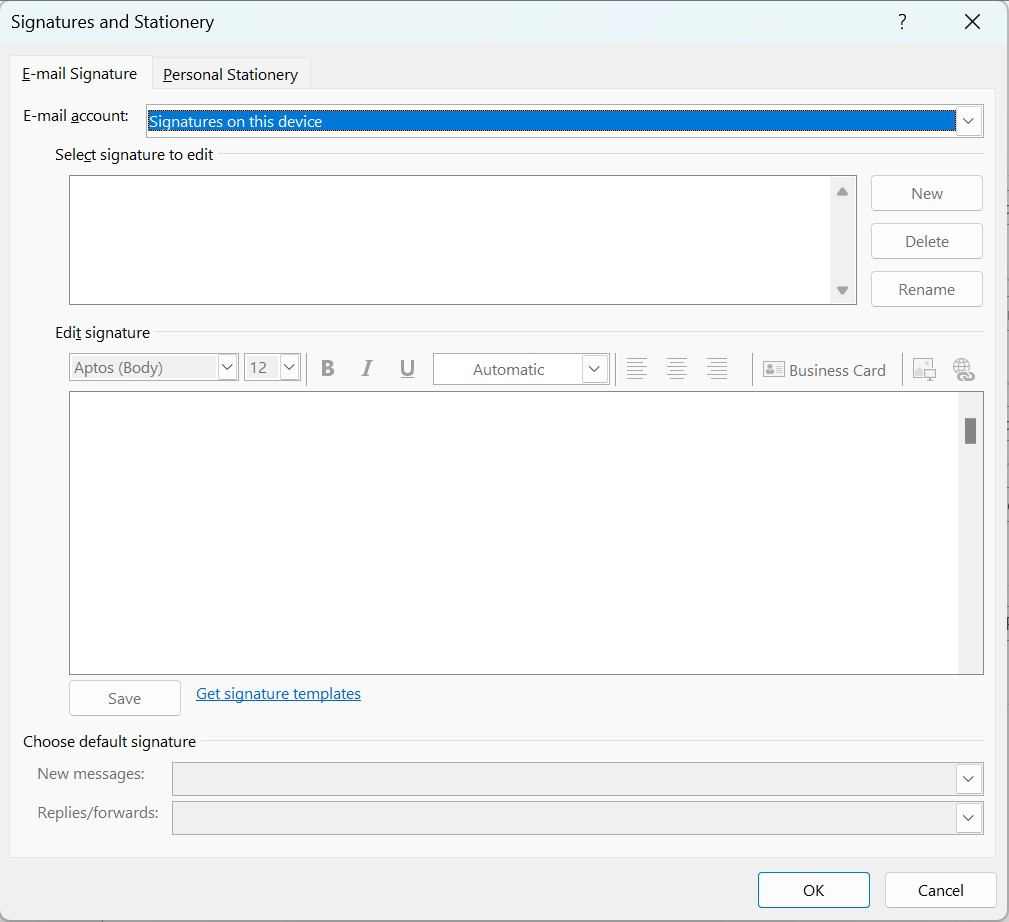
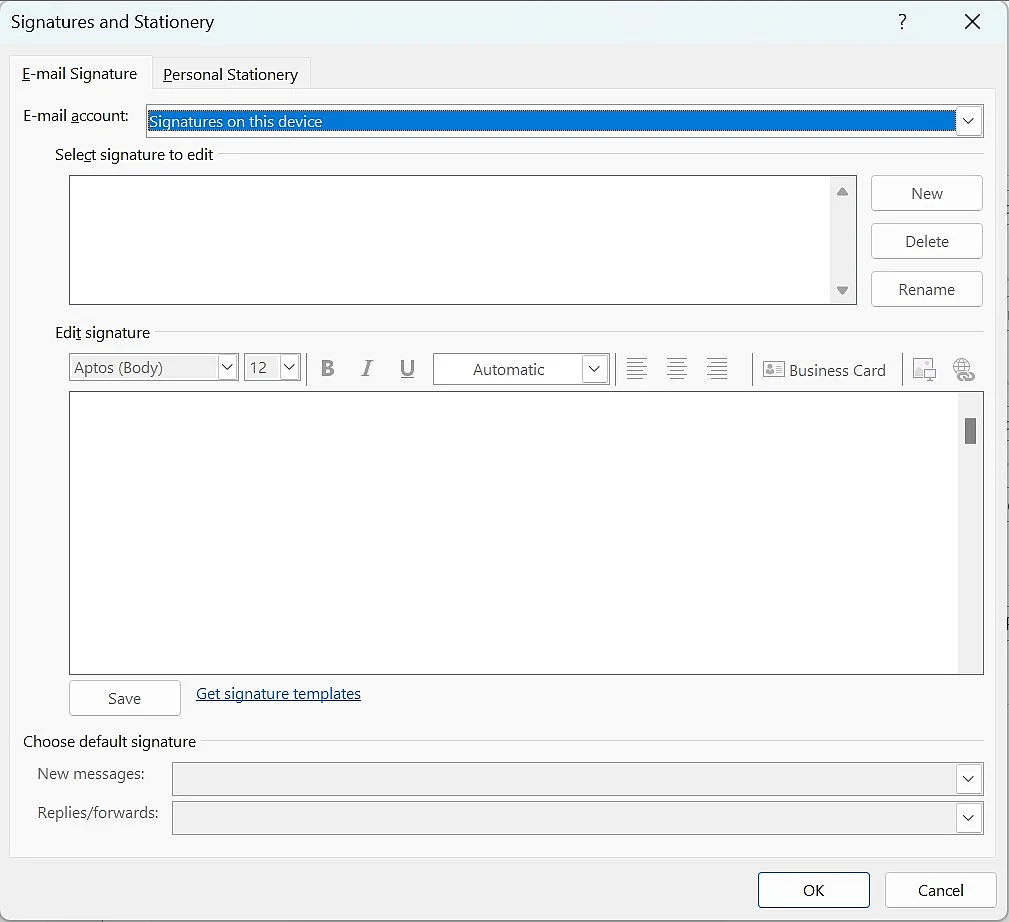
- Finally, choose whether the signature should be inserted automatically in new messages or replies.
Outlook Web (Outlook.com or Microsoft 365):
- Click the cogwheel icon in the top-right corner.
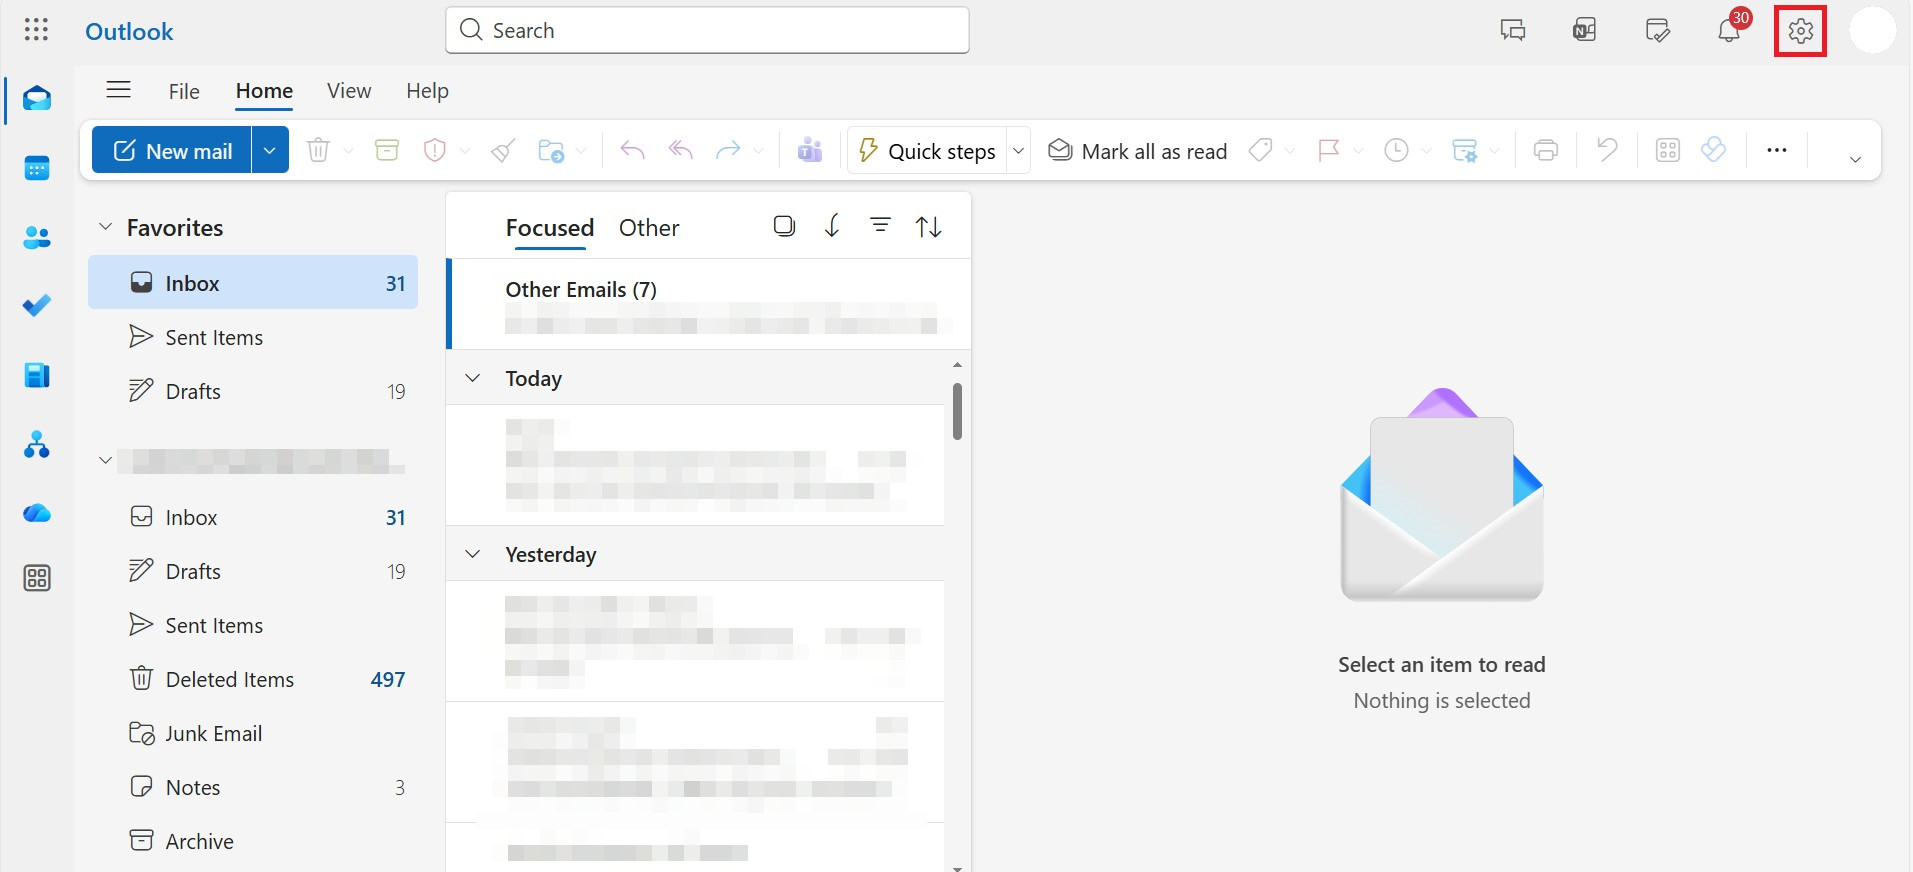
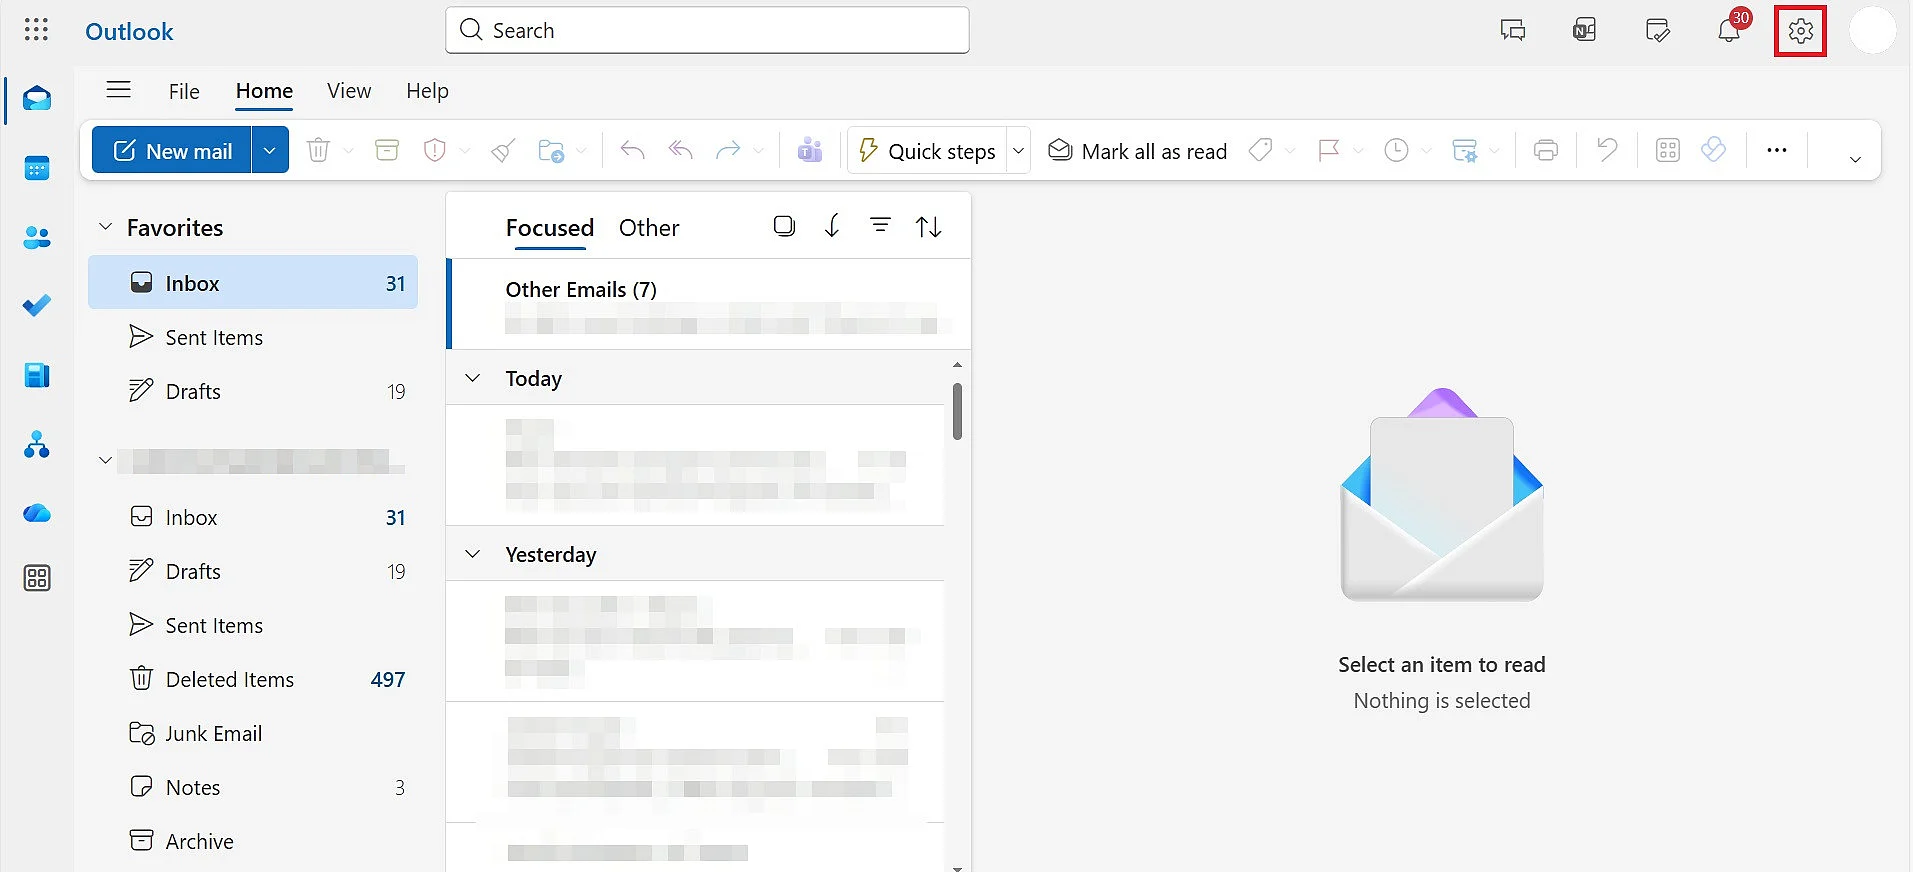
- Then select ‘Account’ and afterwards ‘Signatures’.
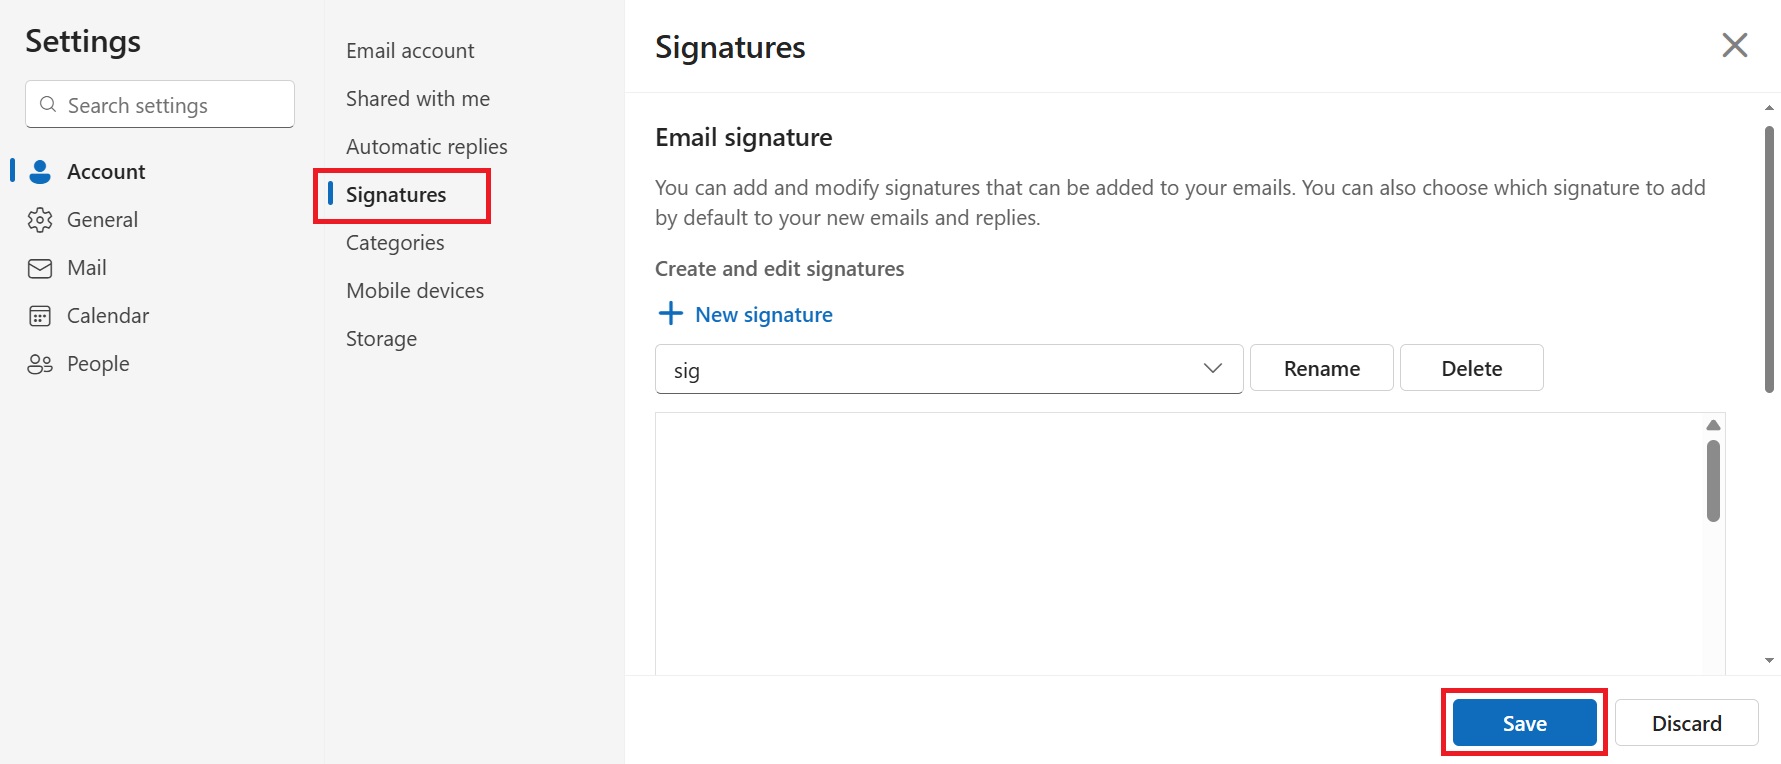
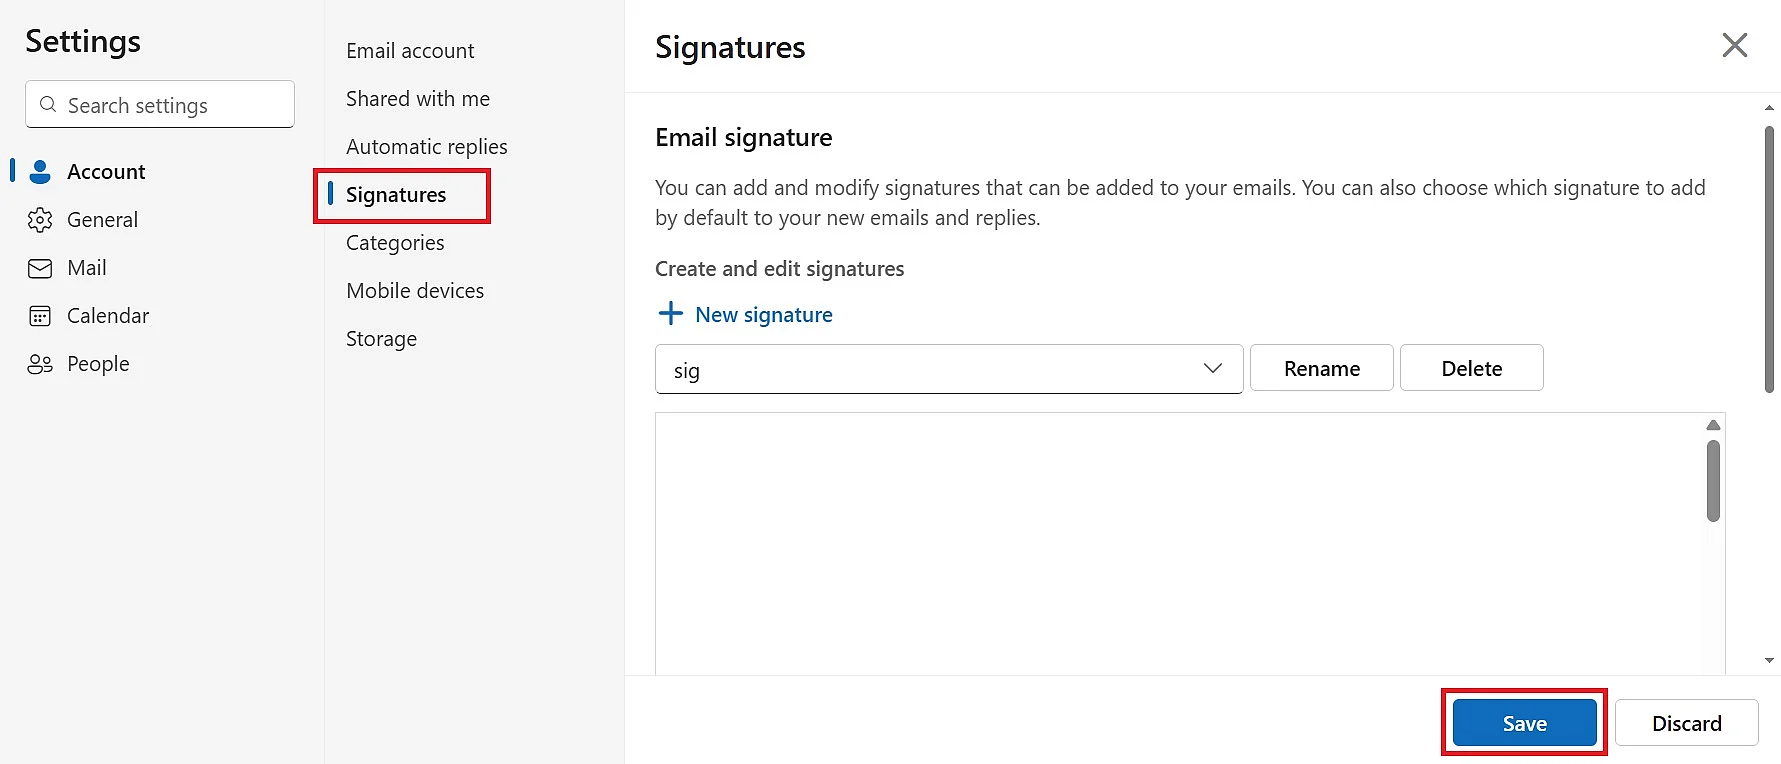
- Enter your signature, choose the desired formatting and click ‘Save’.
Gmail
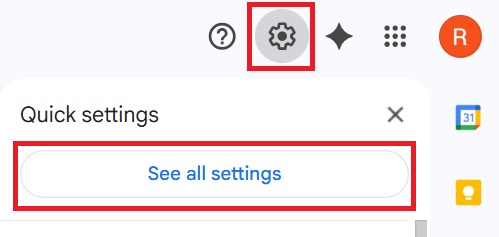
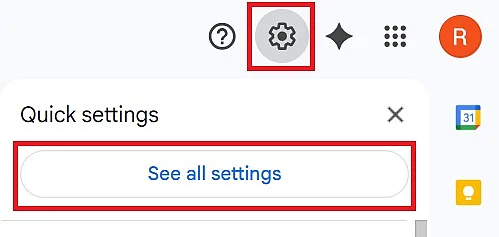
- Click the cogwheel icon in the top-right corner to open the settings menu, then click ‘See all settings’.
- In the ‘General’ menu, look for the ‘Signature’ section.
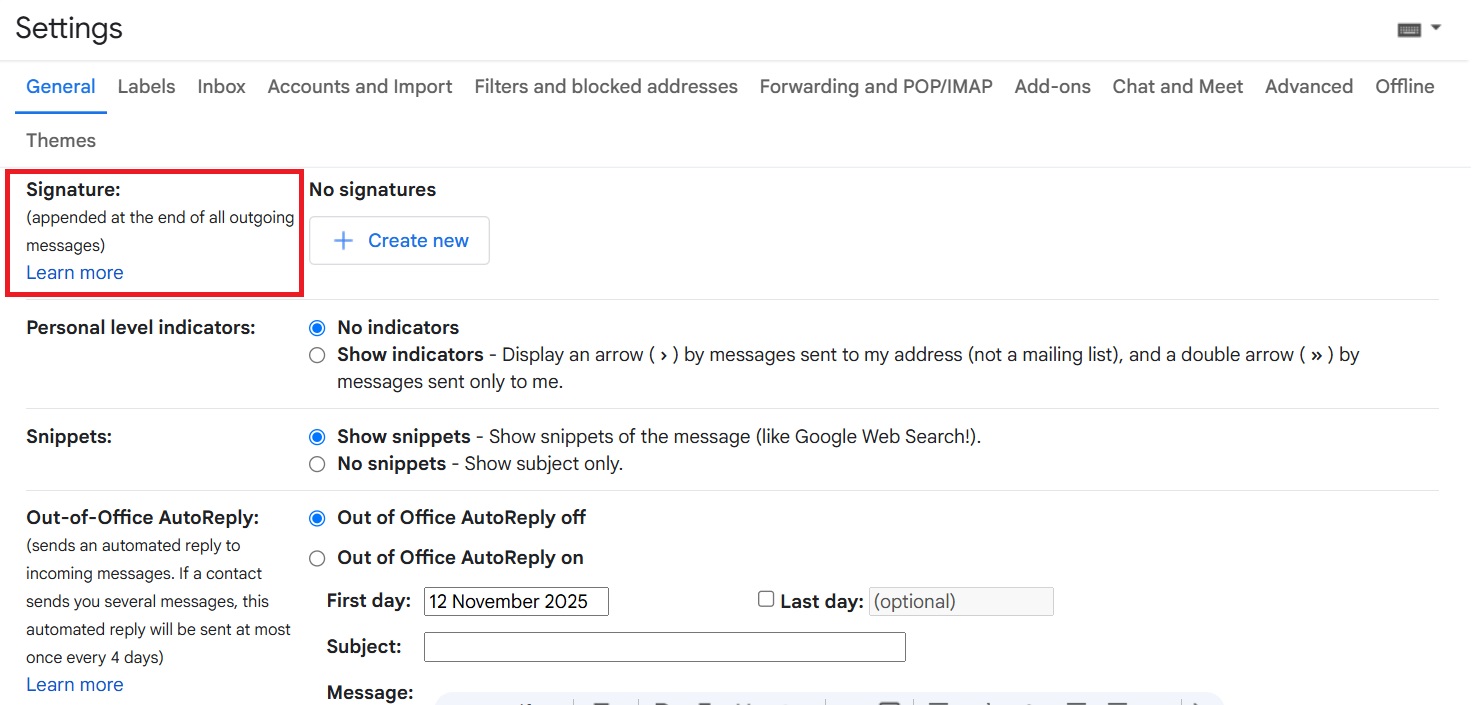
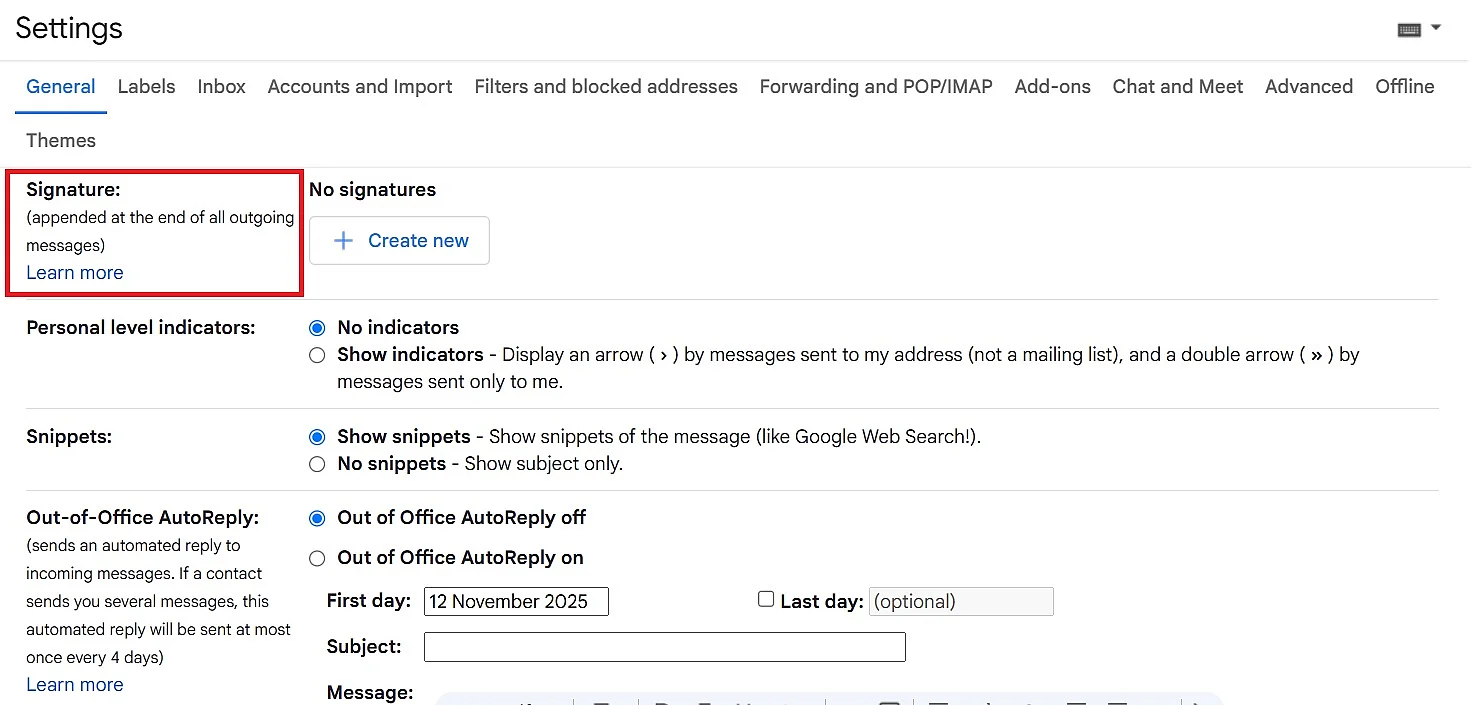
- Click ‘Create new’, enter the desired text and, if required, add links or images.
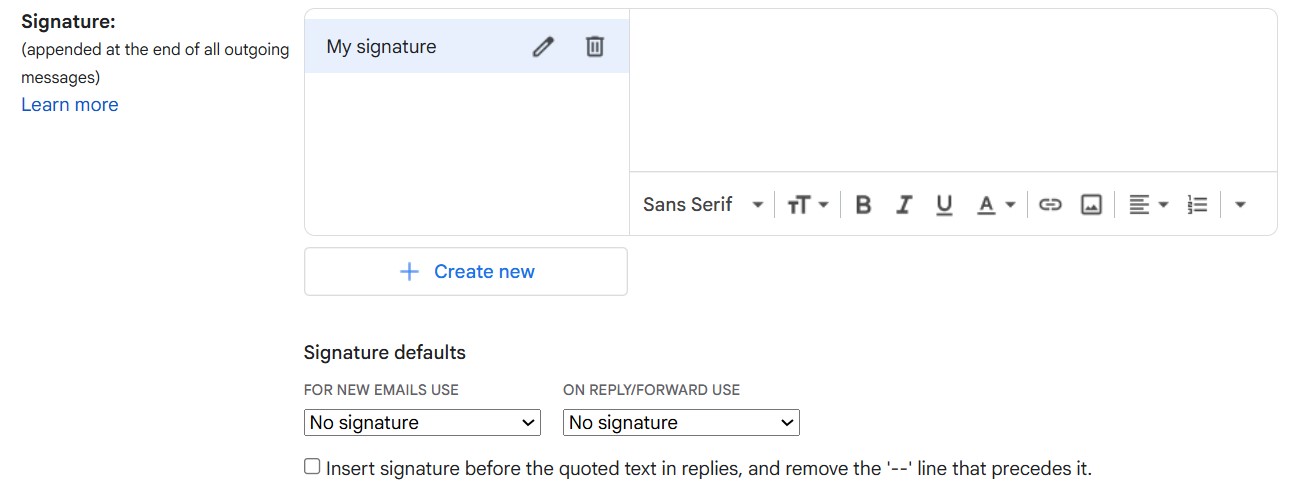
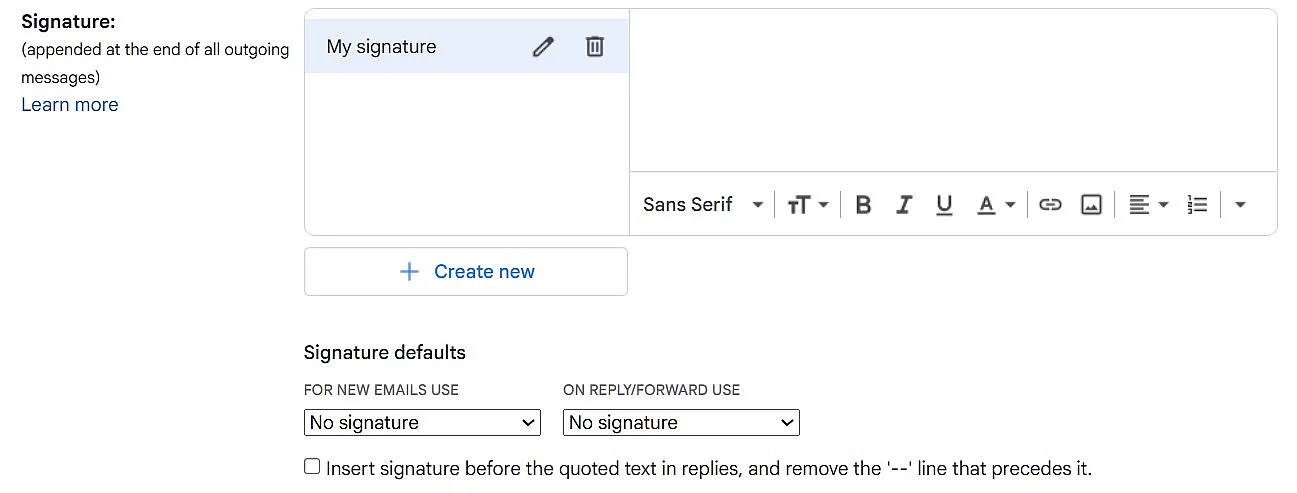
- Decide whether the signature should also appear in replies or forwarded emails, and save your changes.
Yahoo Mail
- Click the ‘Settings’ icon (cogwheel), then select ‘More settings’. Next, open the ‘Writing email’ section.
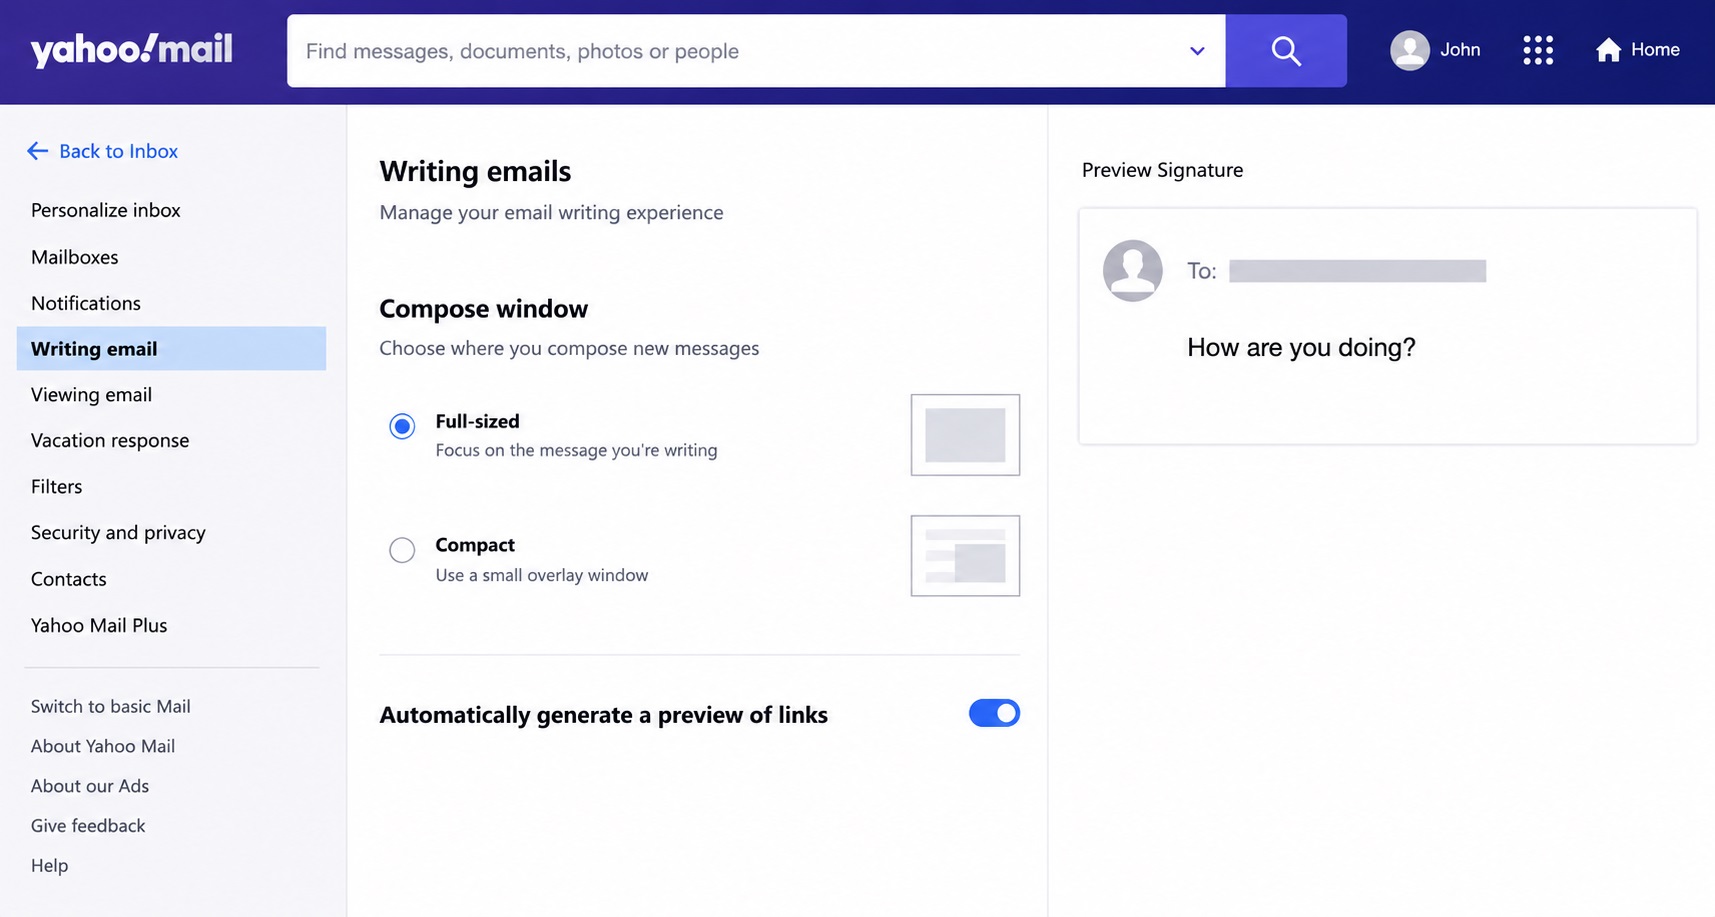
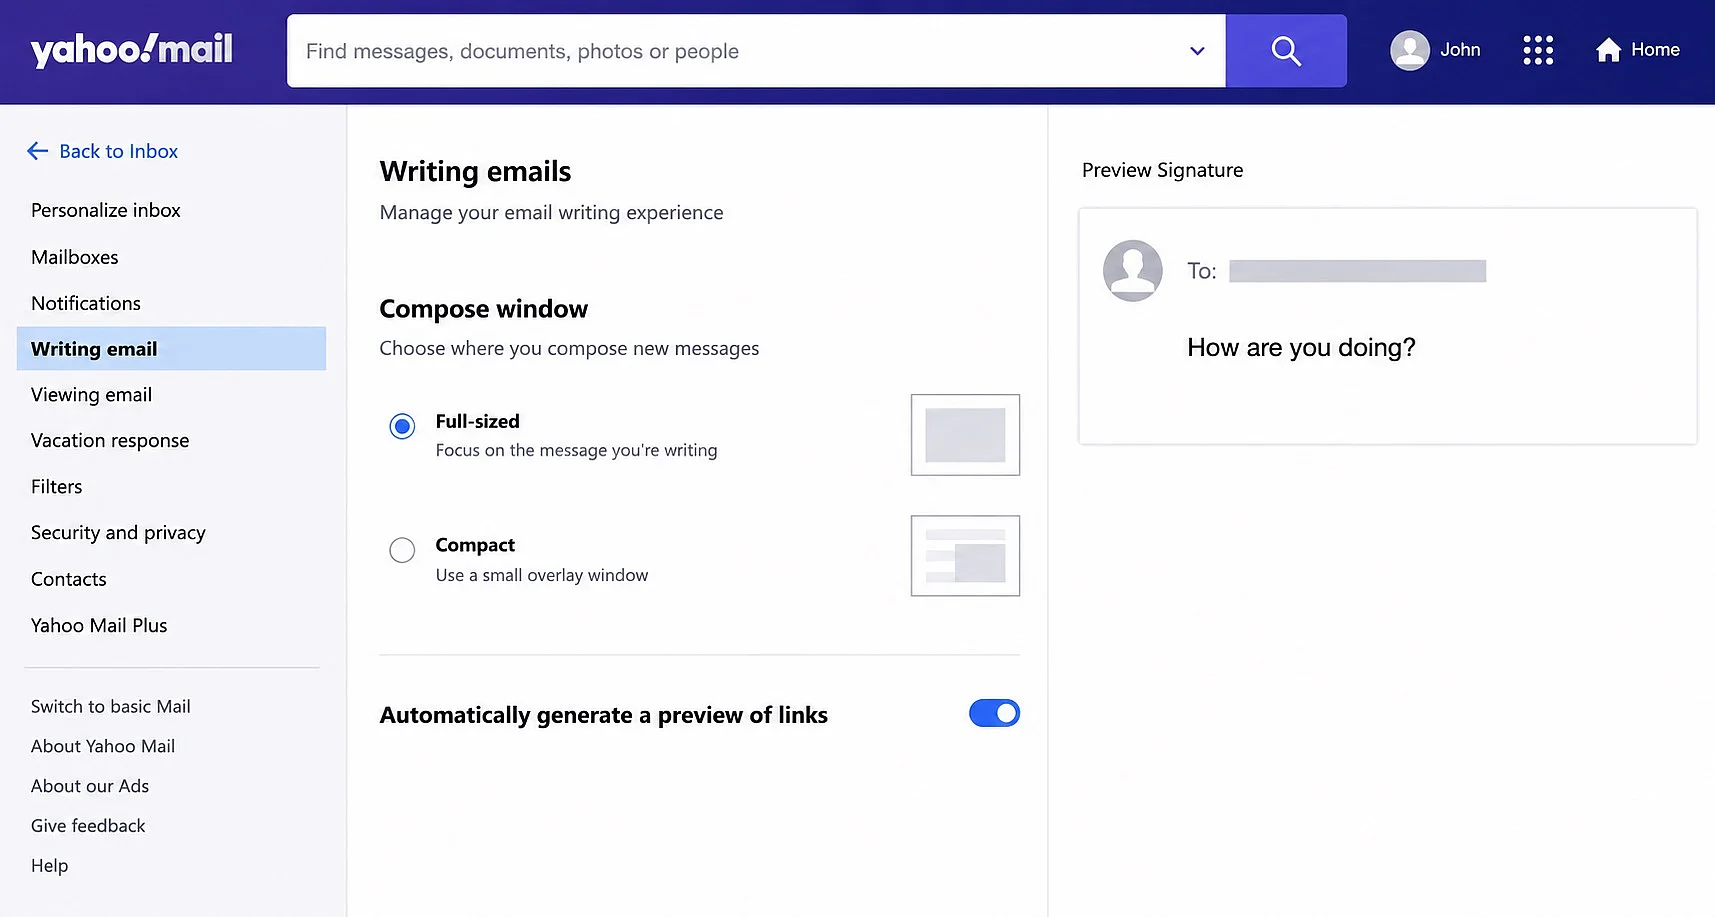
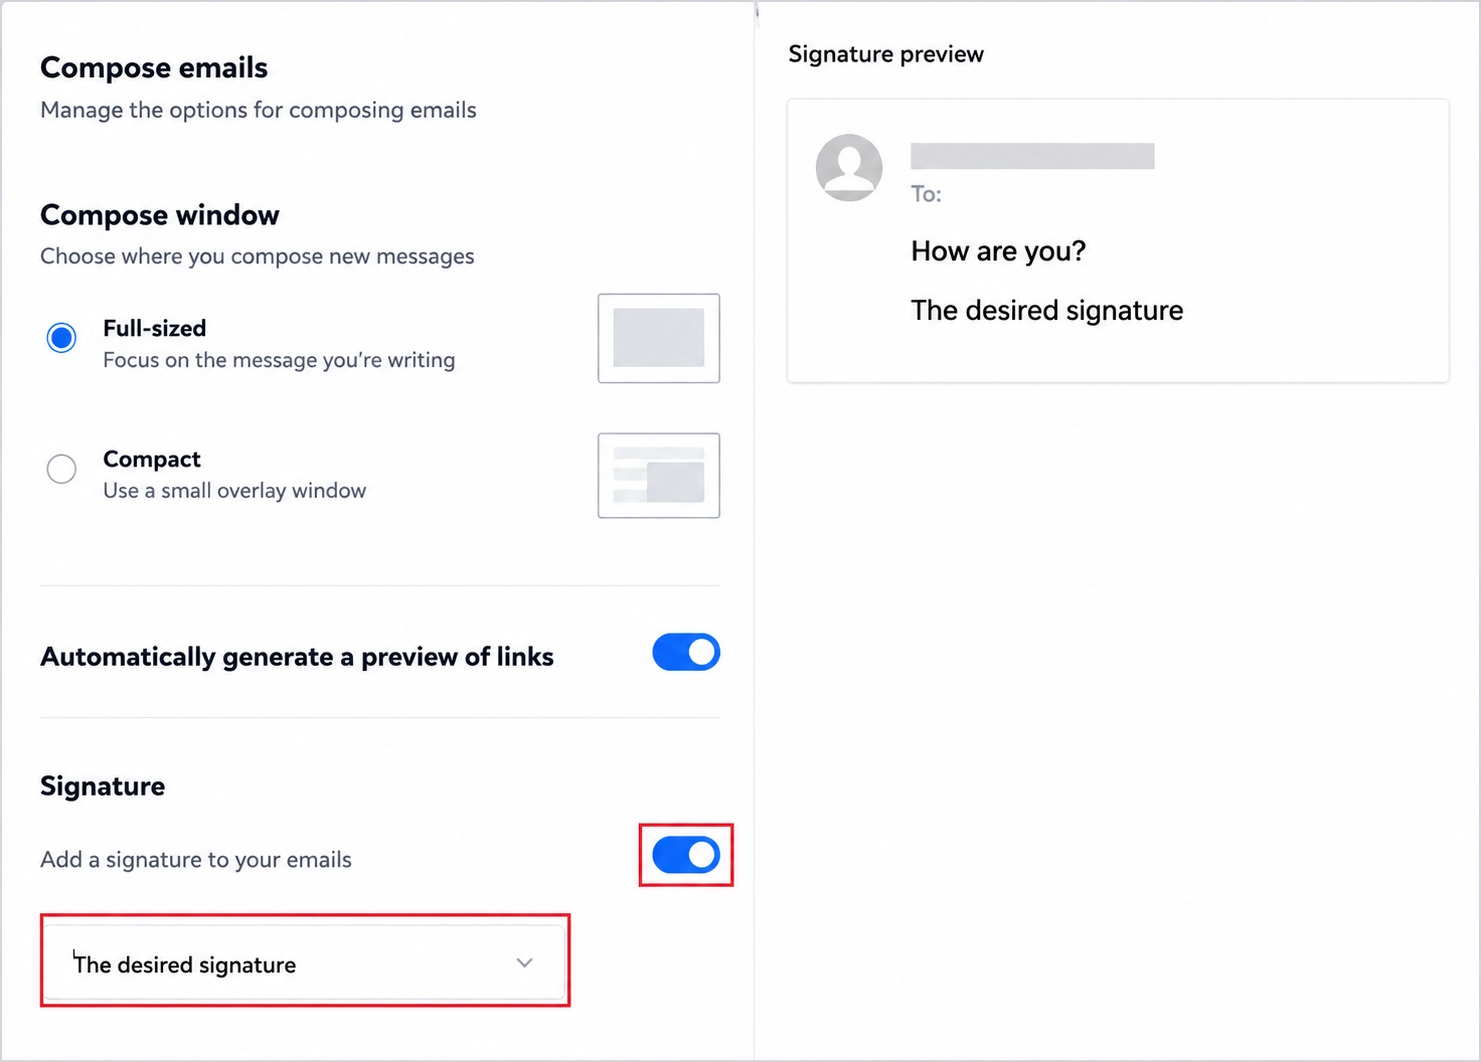
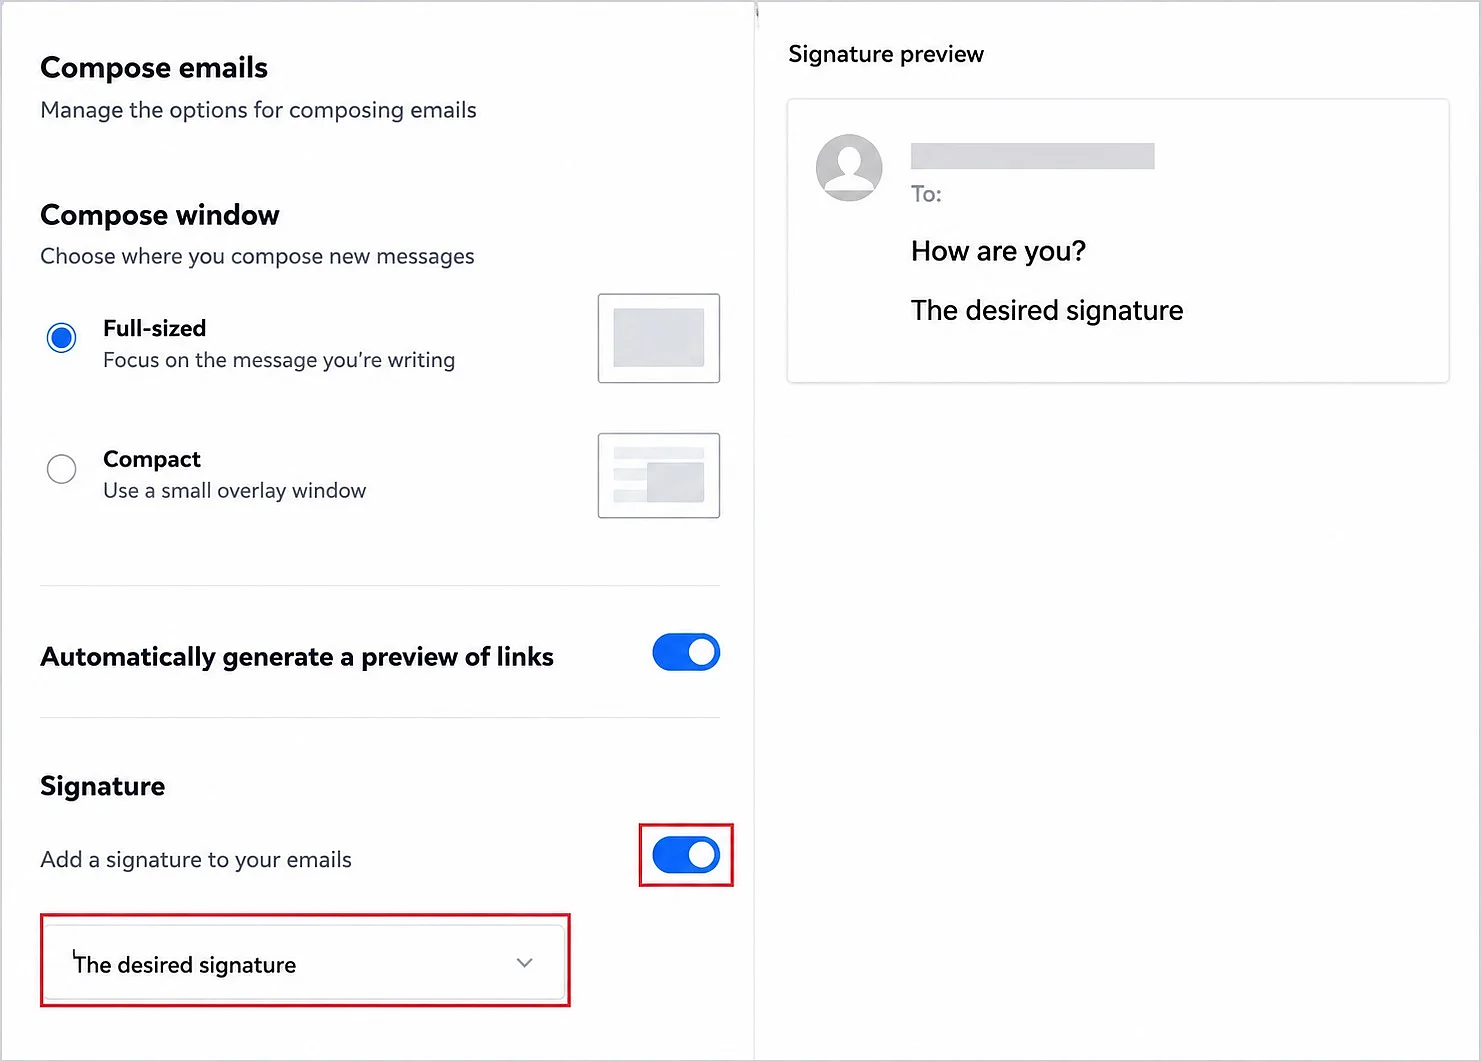
- Enable or disable the signature by moving the slider next to the ‘Signature’ entry accordingly. Then enter your signature in the text field or edit an existing one.
Tips for designing a signature
A good email signature combines clear information with a professional design. Keep it easy to read, consistent and visually balanced so that it displays well on different devices. When creating your email signature, it is worth following a few basic design principles:
- Use no more than two fonts and keep colours subtle.
- Make sure the signature is mobile-friendly, with a clear structure and no overly wide logos.
- Test how it appears in different email clients on desktop, mobile and the web.
- Avoid oversized images or advertising banners.
- Update your signature regularly, for example if your job title or phone number changes.
How to create an email signature with IONOS
If you send your emails via IONOS Webmail, you can create your email signature directly in the mailbox:
- Log in to IONOS Webmail.
- Click the cogwheel icon (Settings) in the top right and then click ‘All settings…’.
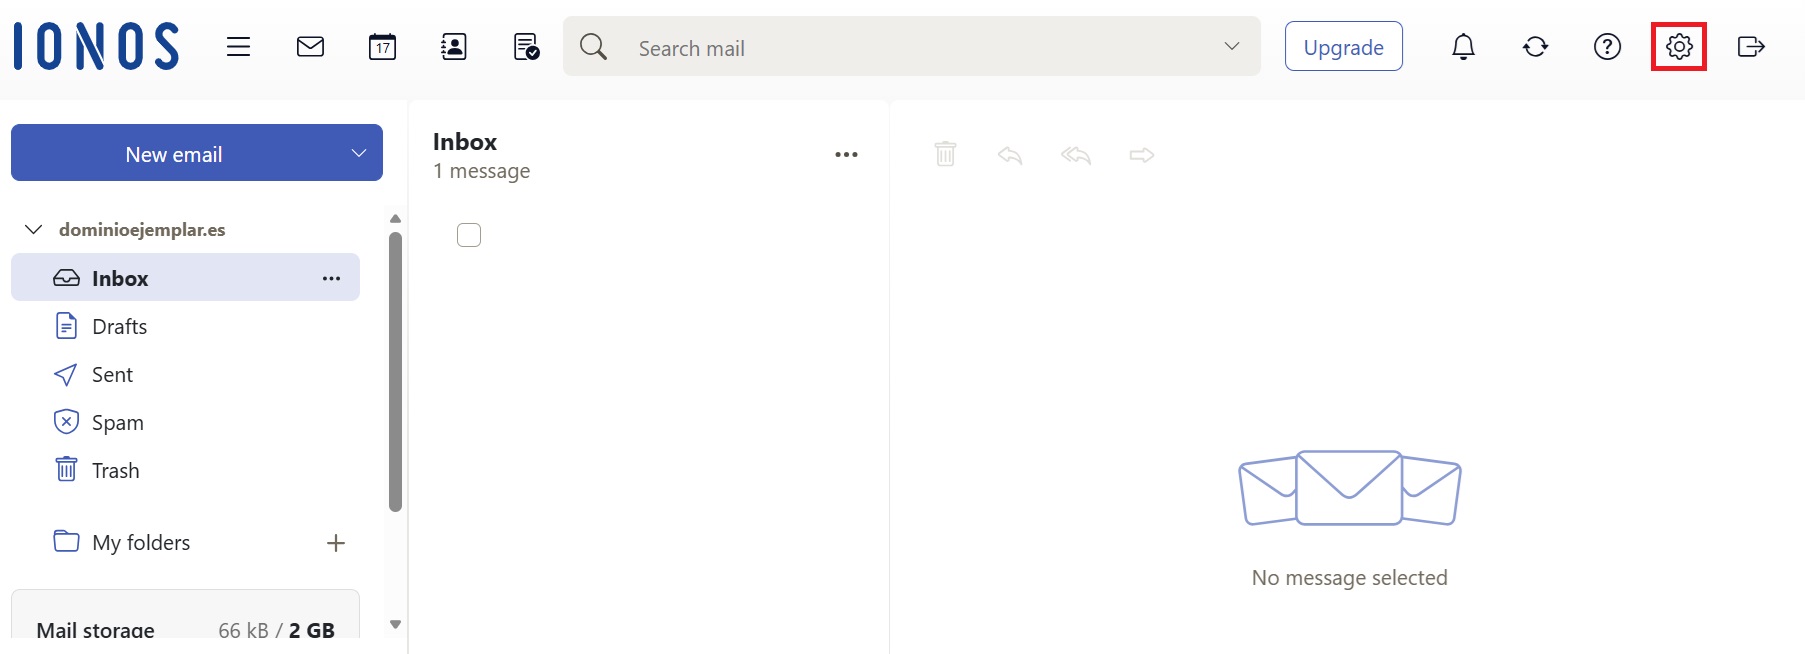
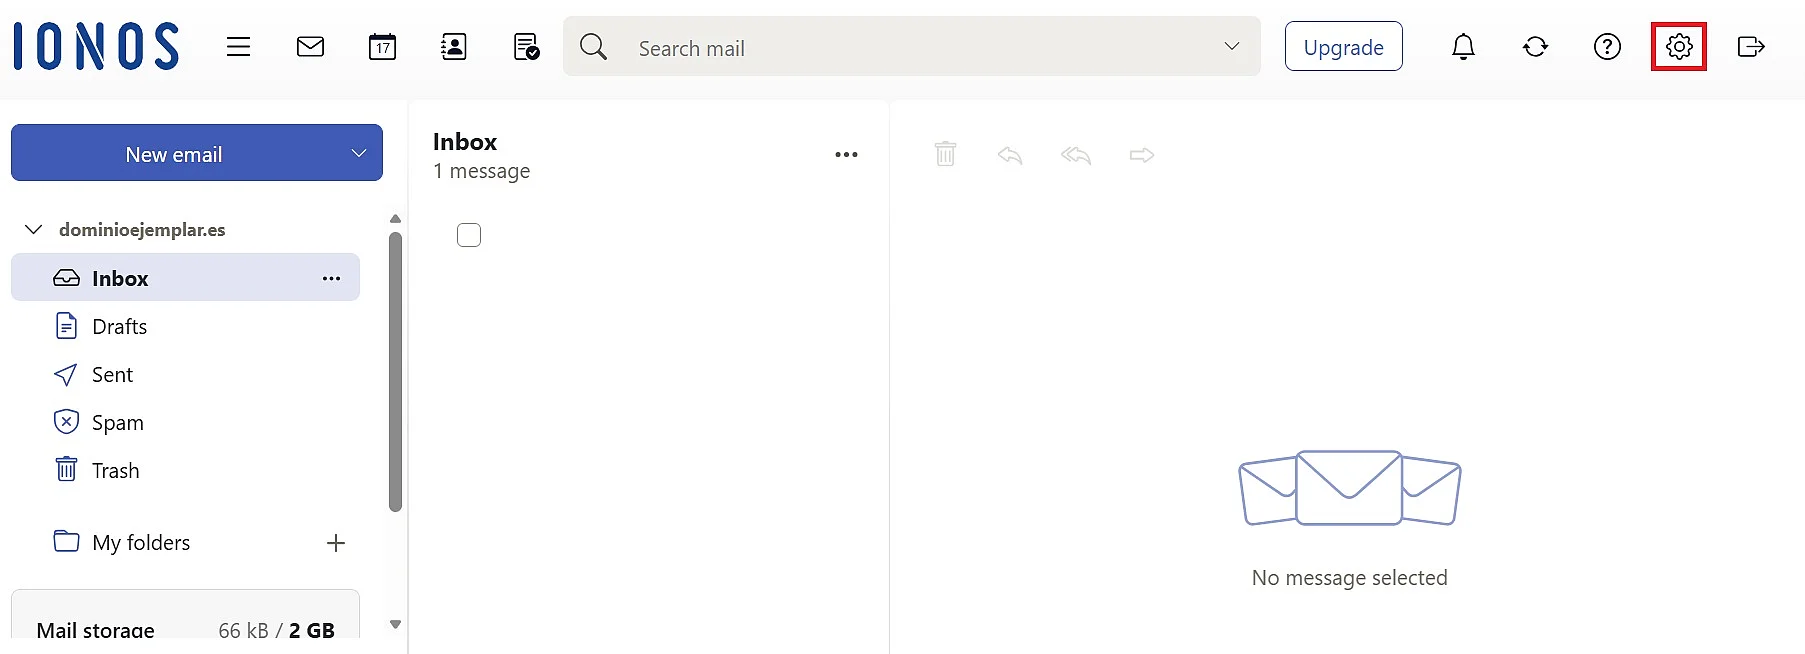
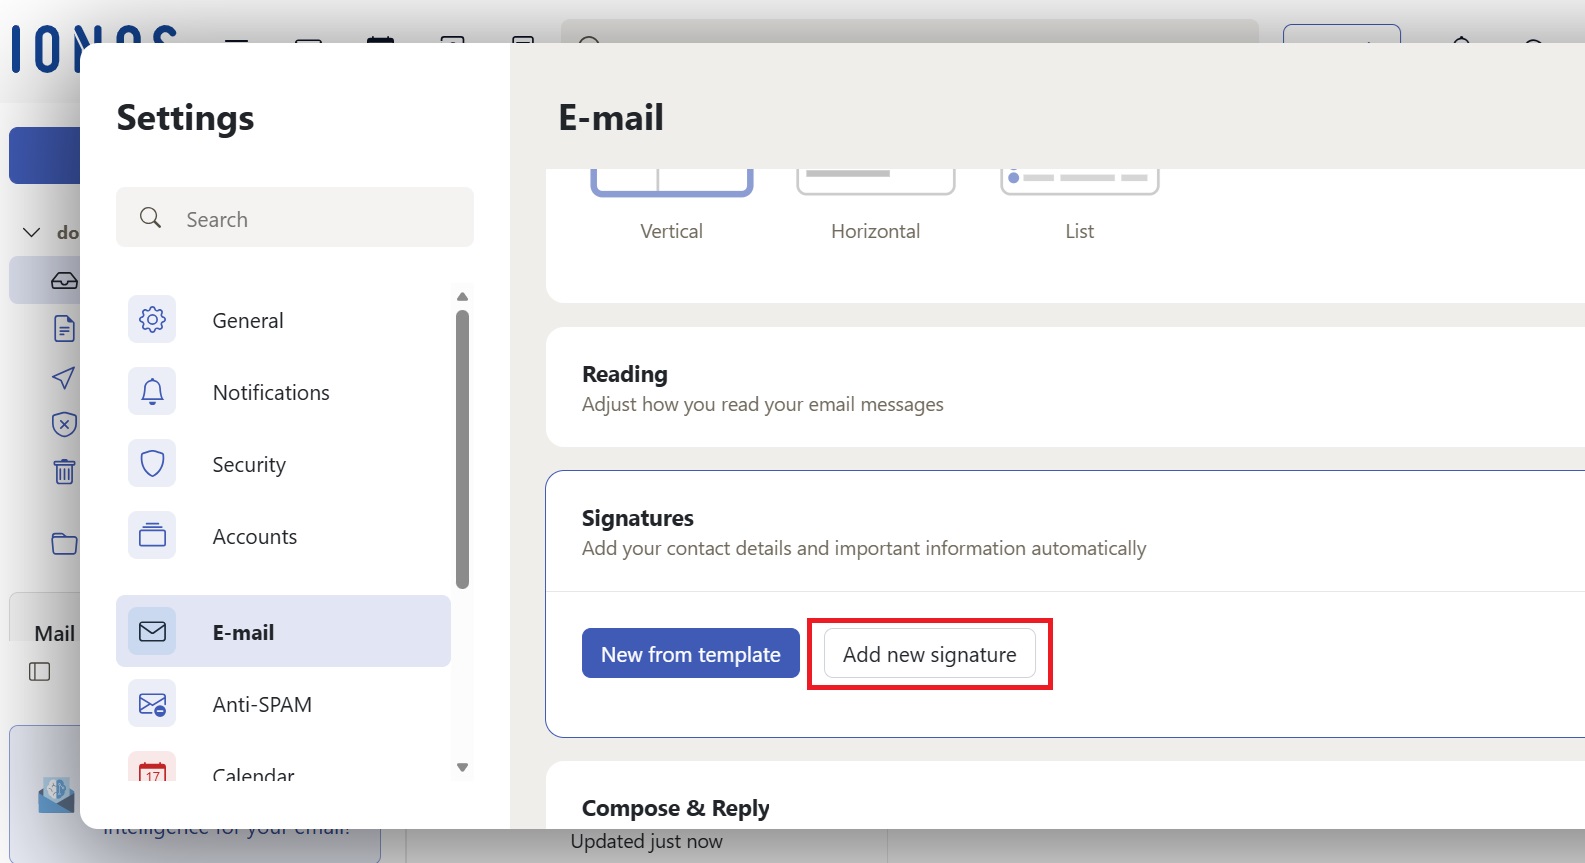
- In the menu on the left, select ‘E-mail’ and then ‘Signatures’.
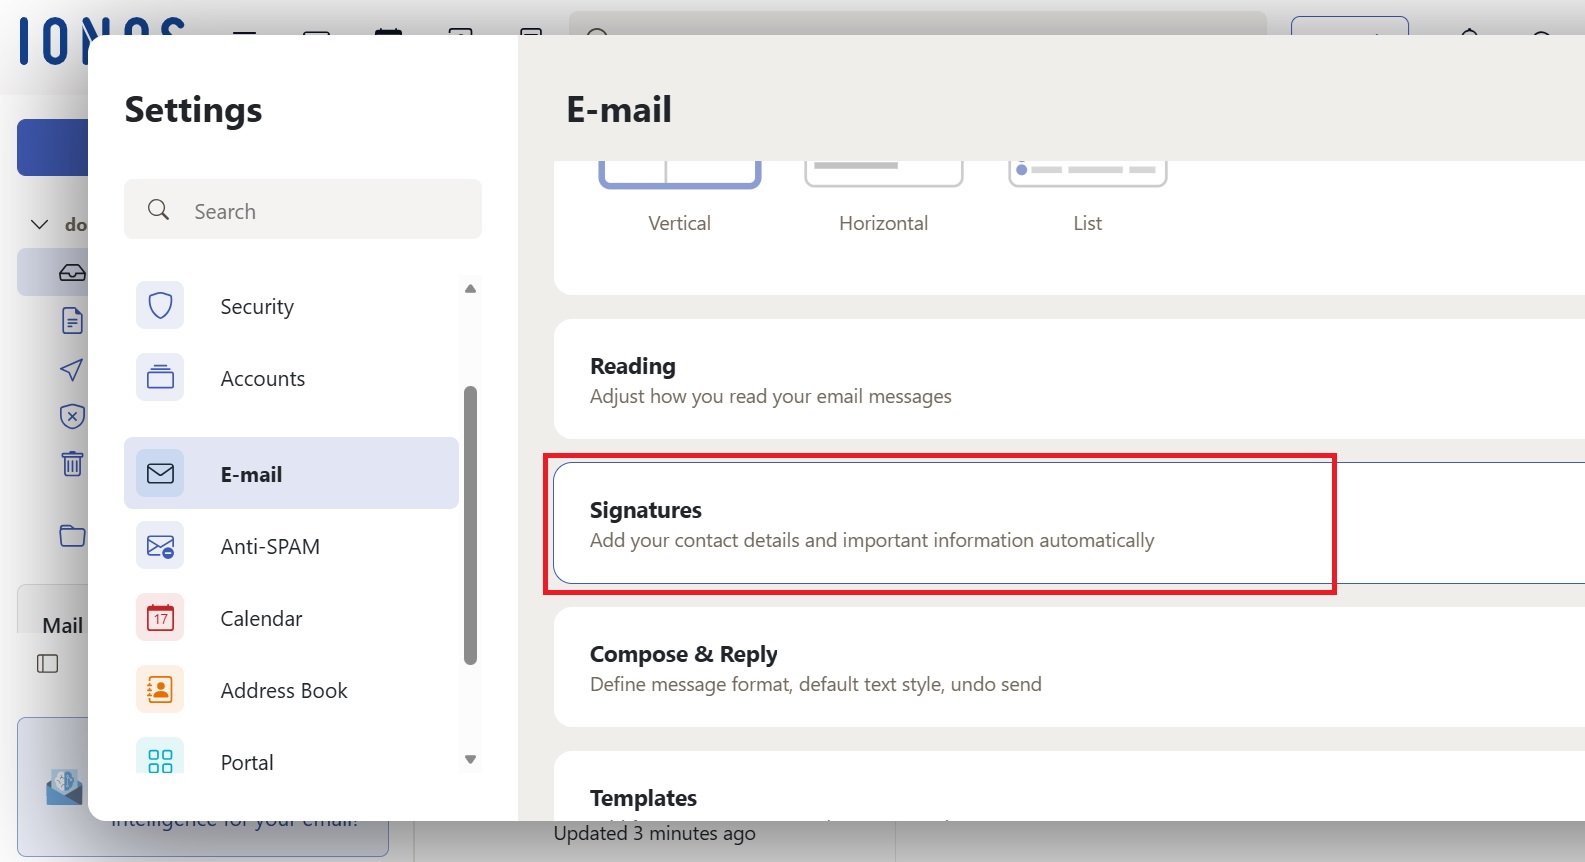
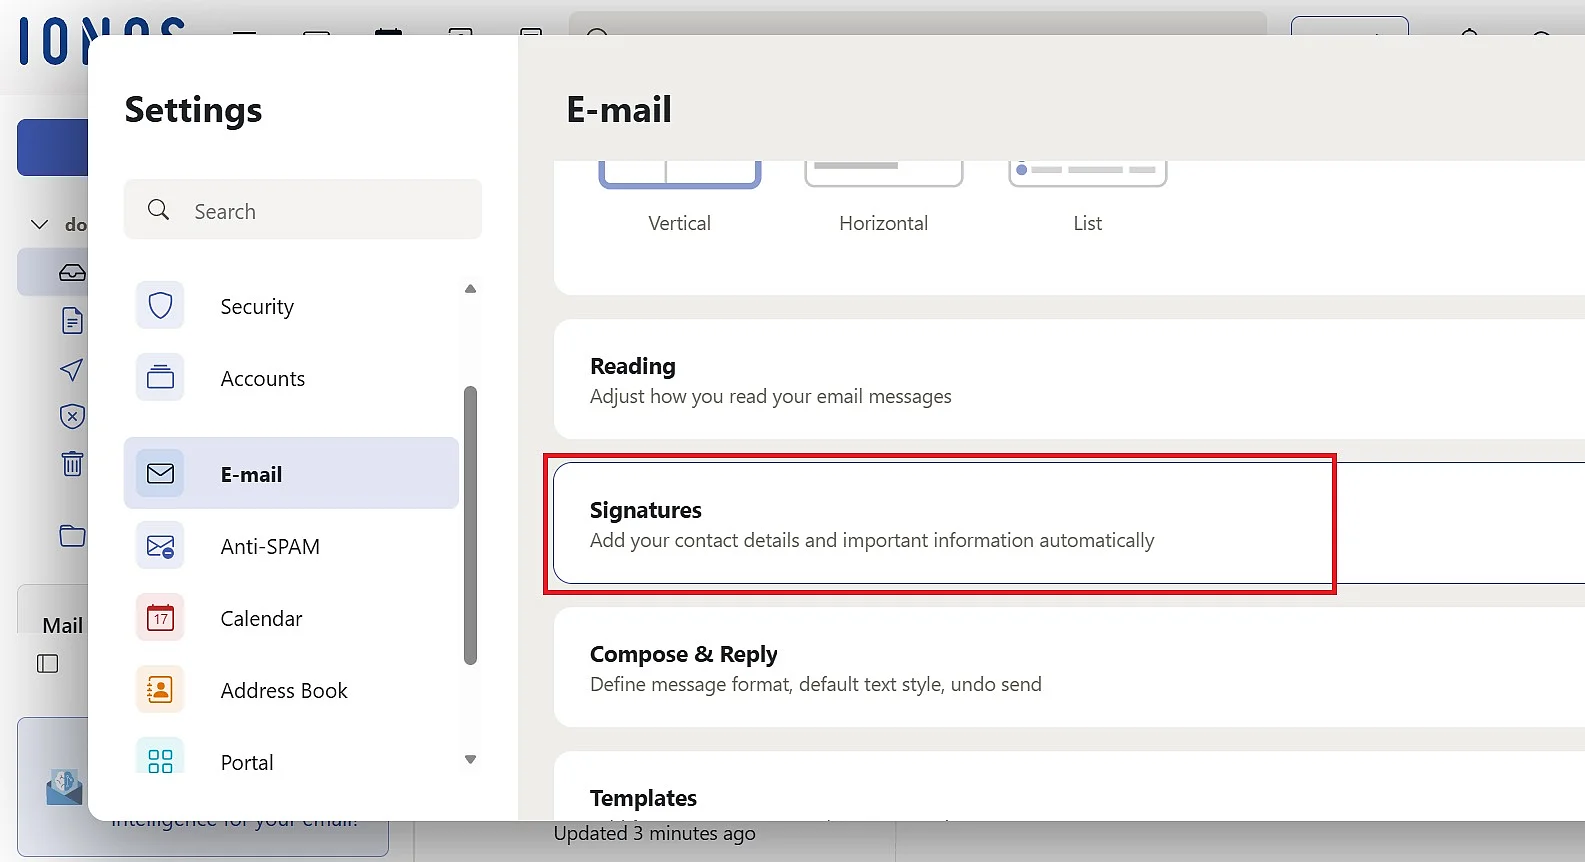
- Click ‘Add new signature’, assign a name and enter your text (and optionally images/HTML).
- Click ‘Save’.
For detailed step-by-step instructions, see the IONOS Help Centre.
Why creating an email signature has a big impact
Whichever email service you use, creating an email signature takes very little effort. The benefits, however, are significant: it provides your contacts with useful information while also helping you make a professional and credible impression. This makes an email signature an essential part of a well-written business email.