How do you install and set up the Apache web server on Windows?

If you’d like to test your website locally or experiment with custom-developed scripts before publishing them, you’ll need a local test server. The free Apache HTTP Server allows you to quickly set up the Apache web server as a development environment on your Windows computer.
Overview of the Apache HTTP Server
The Apache HTTP Server (often simply called ‘Apache’) is open-source, free web server software from the Apache Software Foundation. As a server-side service, it listens on port 80 by default and delivers HTML documents or other resources. Thanks to its modular design, additional features such as SSL/TLS, URL rewriting, or scripting languages like PHP, Perl, or Python can be added as needed. Apache is part of various software bundles such as LAMP, MAMP, WAMP, or XAMPP, but it can also be run as a standalone component. For years, Apache has been one of the most popular web servers, and the community continues to develop the software. The current stable version is 2.4.66 (released on 4 December 2025).
Run the installation
To run Apache on Windows, all you need is the appropriate binary package for your operating system. Working binaries for Windows can be found on community sites such as Apache Lounge. These precompiled Windows binaries are usually provided as ZIP archives. Download the latest version and verify its integrity (e.g., using a PGP signature) before you use it.
ZIP-based Windows packages can be used without a traditional installation. In that case, proceed as follows:
- Save the software package as a ZIP file in any directory on your local Windows PC.
- Extract the ZIP file by double-clicking the folder icon.
- Select the ‘Apache24’ folder and copy it to ‘C:\’.
All files you need to run your local Apache web server are now located under ‘C:\Apache24’.
Start a test run
After installing Apache web server, it’s a good idea to run a test. To do so, navigate to ‘C:/Apache24’ and open the ‘bin’ folder. There you will find the ‘httpd’ application. Double-click it to start your Apache web server.
Typically, your system will show two error messages. One indicating that certain software components must be installed, and another stating that the Apache web server is being blocked by the operating system’s firewall.
The httpd.exe system error
If you install Apache web server on your Windows PC for the first time, your system will likely report that the web server can’t be started because the file ‘VCRUNTIME140.dll’ was not found.
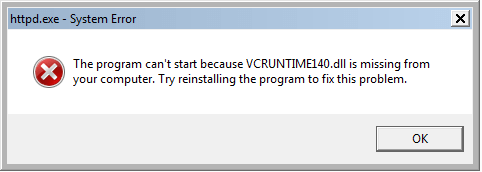
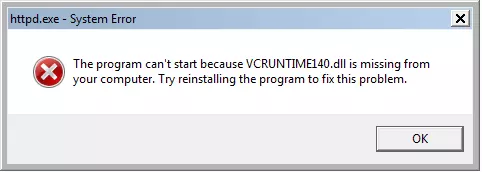
You can resolve this issue by installing the required software components. Because Apache is developed in C++, it needs a compatible runtime environment on Windows. This runtime is supplied through Microsoft’s Visual C++ compiler package.
Missing runtime components can be installed using the Visual C++ Redistributable Packages, which Microsoft provides for free. Installation is straightforward and can be completed locally by simply double-clicking the .exe file.
Windows Security Alert
Your PC is typically protected by a firewall, which blocks unauthorised network access from external programs. If you want to make your local Apache HTTP Server accessible on a home or work network, you must explicitly allow Apache through the firewall. This can be done via the security alert shown below, which notifies you that certain functions of your web server have been blocked by the firewall.
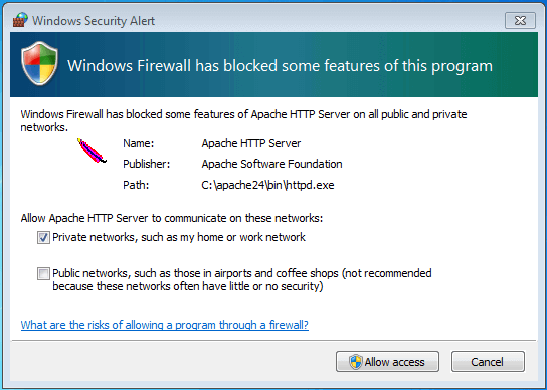
If you want to allow access to your server on one of the listed networks, tick the appropriate box and click the ‘Allow access’ button. This action typically requires administrator rights.
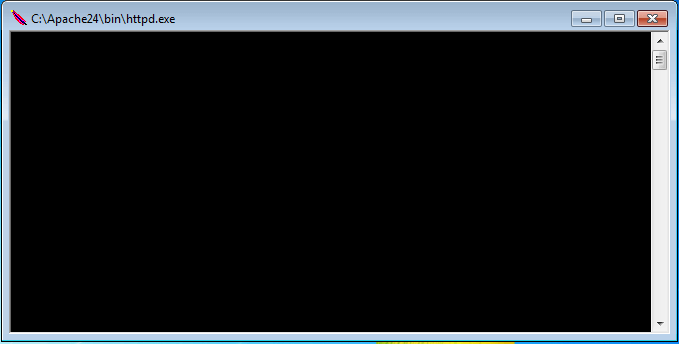
After installing the runtime components and allowing it through the firewall, start the web server again via the ‘httpd’ file. A command-line window will open. Close this window to stop the Apache web server. Alternatively, Apache can be set up as a Windows service to run continuously in the background.
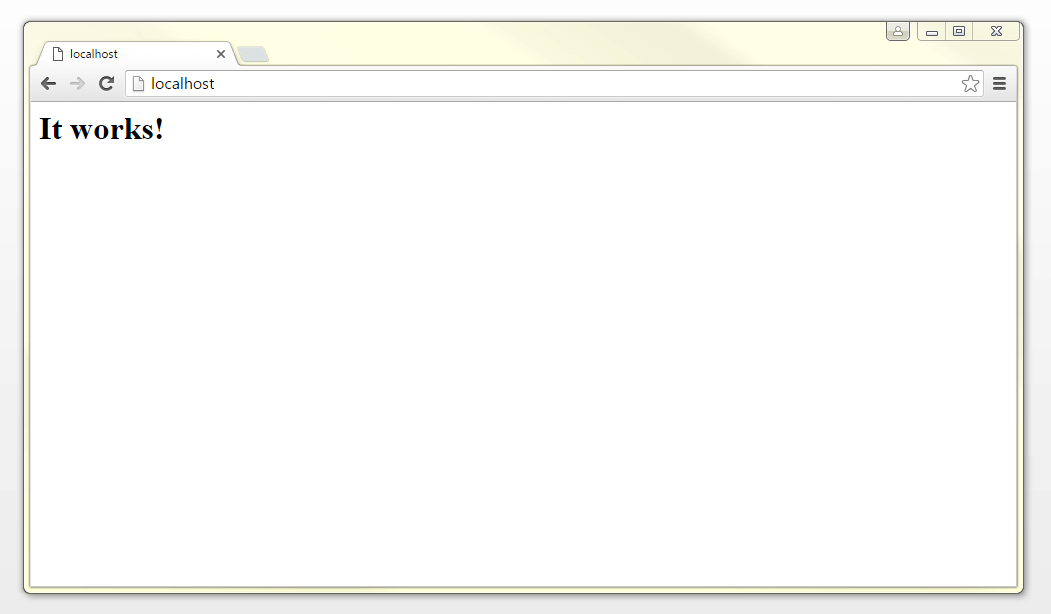
To access your web server with any web browser, type ‘localhost’ or the default IP address ‘127.0.0.1’ into the search bar.
If all settings have been applied correctly, your web browser will display the default index.html page with the message: ‘It works!’. You can then move on to configuring your web server.
Configuring Apache HTTP Server
By default, the Apache HTTP Server software package is configured to run without any additional adjustments. The content you want to make available through the web server is stored in the directory defined as ‘DocumentRoot’ in the httpd.conf configuration file. By default, this is the ‘htdocs’ folder located in ‘C:\Apache24’.
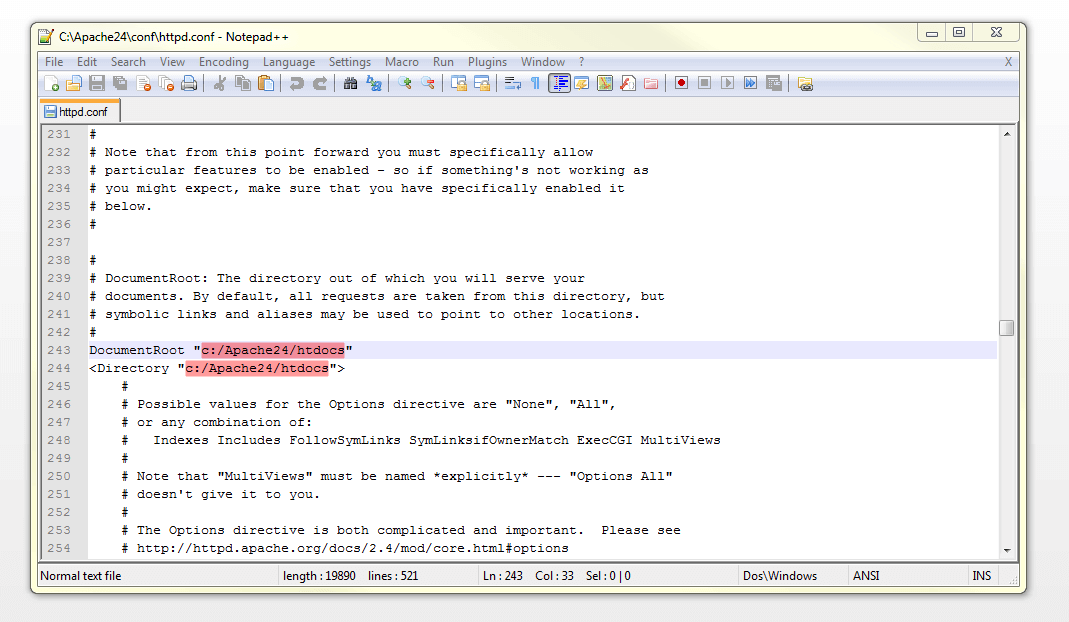
If you want to store your website’s documents and files in a different folder, you must update the httpd.conf file accordingly by modifying the ‘DocumentRoot’ and ‘Directory’ entries.
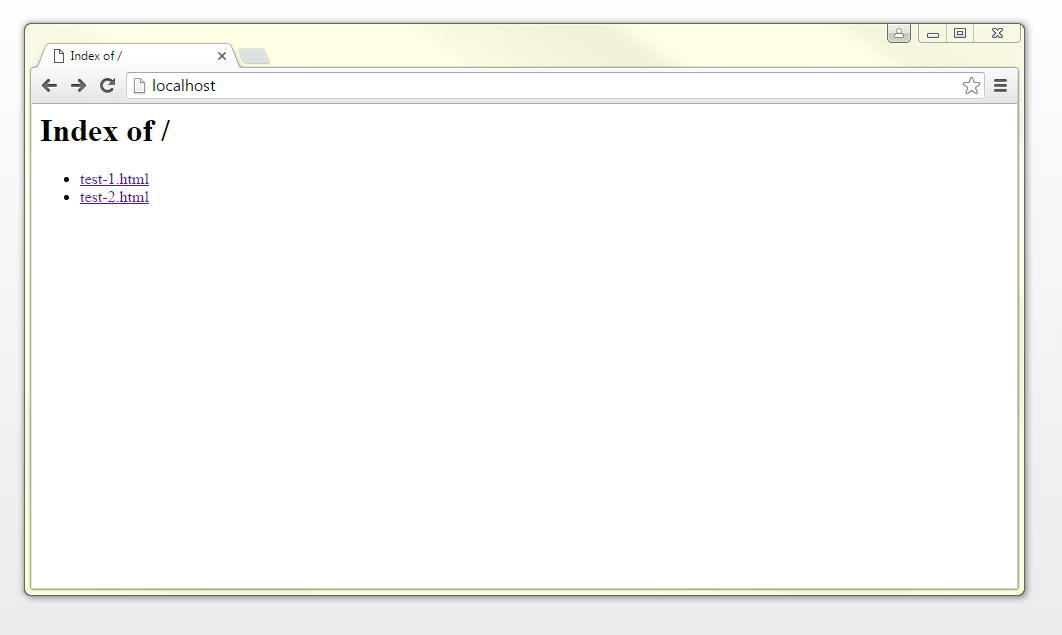
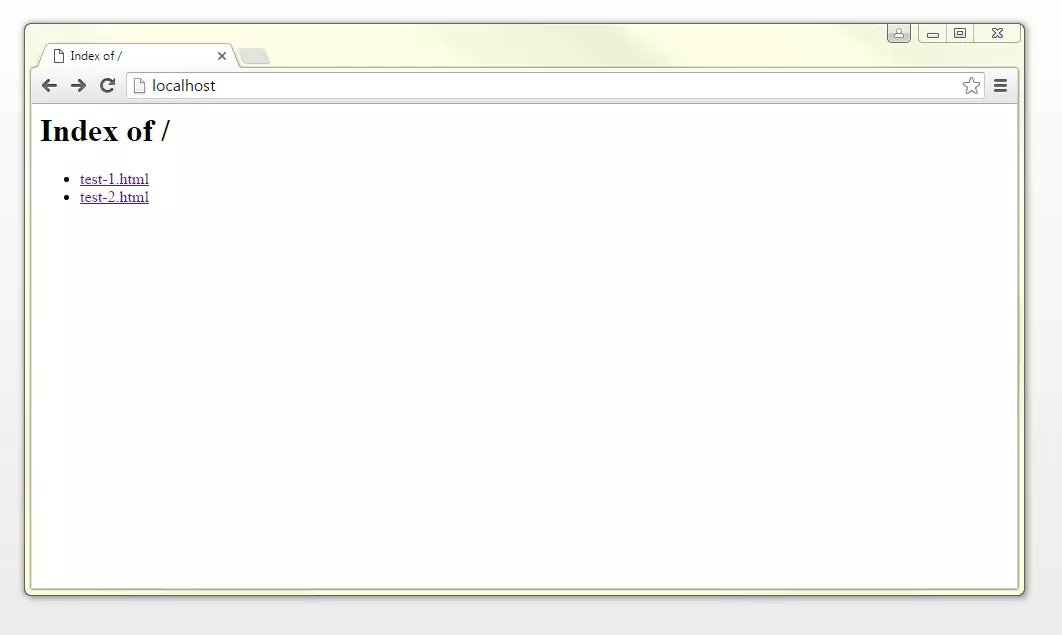
For demonstration purposes, we create a new folder called MyWeb in C:\ to serve as the web directory for a fictional website. We then save two HTML files, test-1 and test-2, in this folder. Finally, we update the ‘DocumentRoot’ and ‘Directory’ directives in httpd.conf, replacing C:/Apache24/htdocs with C:/MyWeb in both entries so that Apache uses the new website directory.
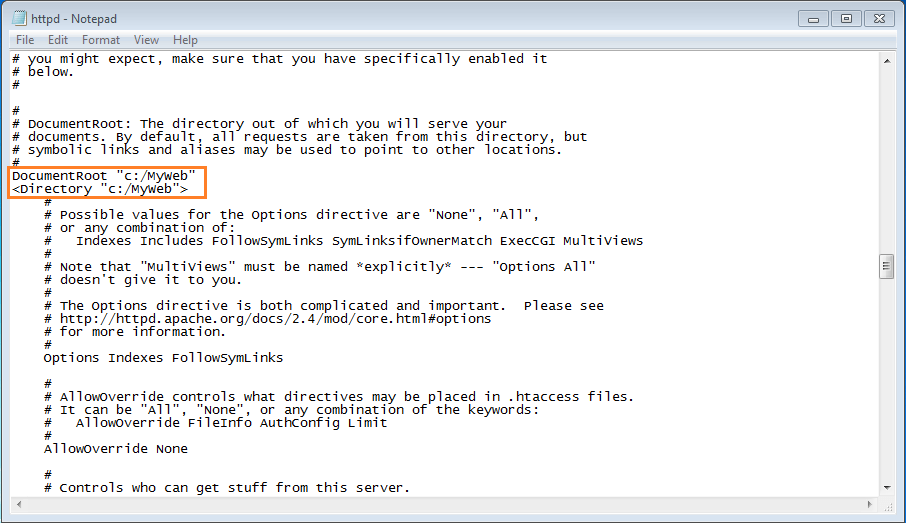
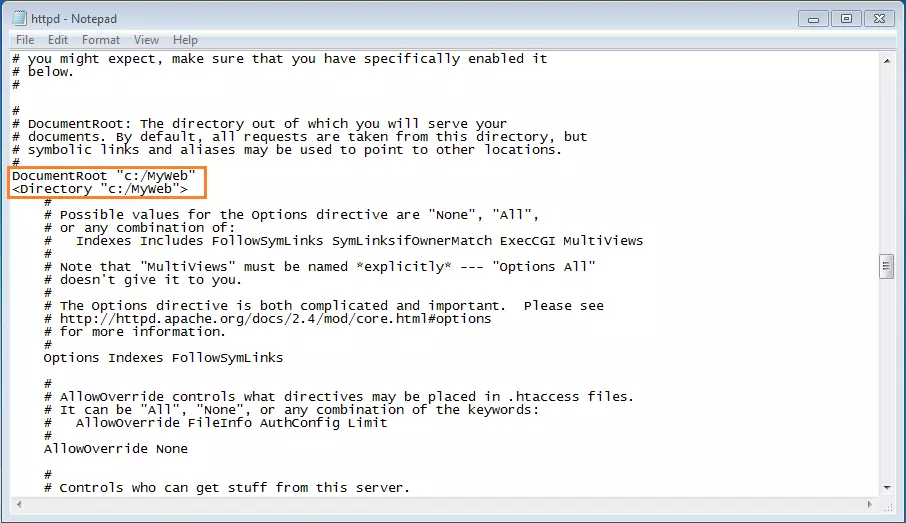
After restarting Apache, you can access the web server via localhost. The browser will then display the index of the new website directory, including the HTML files test-1.html and test-2.html.