How to set up OpenClaw with Ollama to run a local AI gateway

OpenClaw works with Ollama to create a local AI gateway for chat-based interactions, agent workflows and tools. This means you can run large language models directly on your own system. In this guide, you’ll learn how to install OpenClaw, load a model, and set everything up, including the dashboard, messaging channels and skills (agent capabilities).
Step 1: Set up your own server as the foundation
Running OpenClaw with Ollama on your own system comes with several clear advantages:
- All model processing stays on your own infrastructure. This is often the key reason, especially for data protection, confidentiality, and compliance.
- Setup is transparent. OpenClaw is open source, has clear documentation and is fully configurable.
- You keep full control over model selection, skills, services and startup behaviour.
- You can run the system without external model APIs, as long as you stick to local models and tools.
- OpenClaw uses an agent-based design. It’s not just a chat interface, but a full working environment with skills, tools, a workspace, and a web interface.
On a dedicated server, you can set up an OpenClaw Docker installation, which works seamlessly with Ollama.
OpenClaw has extensive system permissions. The agent can run shell commands, read files and execute scripts. Only install skills from trusted sources and limit access rights wherever possible. Ideally, run OpenClaw in an isolated environment such as a container or a VM.
Step 2: Check the requirements
Before you get started, make sure you have the following in place:
- A supported operating system: Linux, macOS, or Windows
- A working terminal or shell environment such as WSL2, SSH or Docker
- Internet access for the initial installation
- Enough system resources: for larger models, plan for at least 8 to 16 GB RAM, ideally around 12 GB VRAM, and a CPU in the range of an Intel Core i5 or AMD Ryzen
OpenClaw also requires Node.js 22 or newer. If you use the official installer, you usually don’t need to install Node.js yourself. The installer sets up the runtime automatically if needed.
Step 3: Install Ollama
Ollama is a tool for running LLMs locally on your system. OpenClaw connects to Ollama to handle chats, analysis and agent tasks. Ollama supports macOS, Windows, and Linux and automatically provides a local API after installation.
You can install it via the official Ollama website or directly through the terminal:
| Operating system | Installation |
|---|---|
| Linux | `curl -fsSL https://ollama.com/install.sh |
| macOS | `curl -fsSL https://ollama.com/install.sh |
| Windows | `iwr https://ollama.com/install.ps1 |
Step 4: Install OpenClaw
OpenClaw acts as the central execution layer in your setup. It receives requests from the web interface, loads the workspace with your selected skills. It also runs local tools such as shell commands or Python scripts and coordinates everything between the interface, agent logic and model.
To install OpenClaw on Windows, run the following command in the terminal:
iwr -useb https://openclaw.ai/install.ps1 | iexOn Linux or macOS:
curl -fsSL https://openclaw.ai/install.sh | bashThen, start the onboarding process:
openclaw onboard --install-daemonAfter installation, these commands help you check the system status:
openclaw doctor: Checks for configuration errorsopenclaw status: Shows the gateway statusopenclaw dashboard: Opens the dashboard in your browser
Step 5: Onboarding
During onboarding, OpenClaw guides you through setting up your local AI environment. The process is interactive and keeps things as simple as possible:
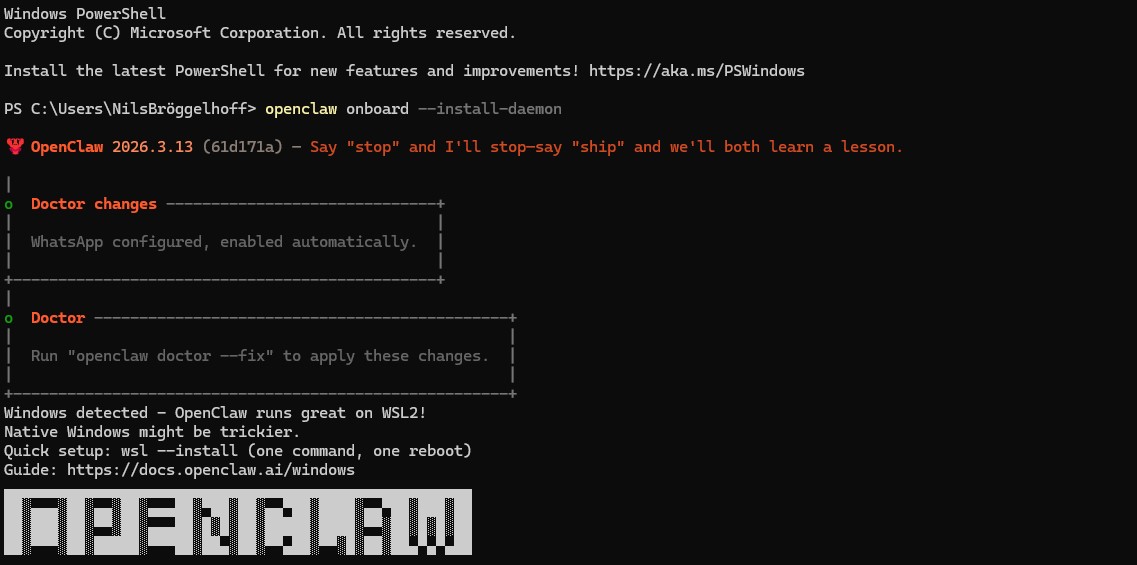
As part of this, OpenClaw sets up a local gateway. This acts as an interface that other programs can use to communicate with the AI. By default, the gateway runs only on your system, so it isn’t accessible from external networks.
You’ll also set up your model during onboarding. For more complex agent workflows, a context window of around 64,000 AI tokens is helpful. Smaller context windows can cause the agent to lose track of longer conversations or multi-step tasks. Common tool-capable models in Ollama include:
qwen3-coderglm-4.7-flashgpt-oss:20bqwen3:8b
If your preferred model isn’t listed, you can also search for it manually. By default, OpenClaw automatically downloads and sets up glm-4.7-flash.
At the end of onboarding, the gateway is configured with a port, local binding, and an access token so that only authorised applications can connect.
Step 6: Connect a messaging channel and set up web search
One of OpenClaw’s main features is its support for messaging services. This lets you send tasks directly from apps like WhatsApp, Telegram, Slack, Discord or iMessage to your local agent. You can set a channel up either during onboarding or later:
openclaw channels list
openclaw channels addThe setup assistant walks you through authentication for each platform:
- WhatsApp: Scan the QR code using the ‘Link devices’ function
- Telegram: Enter your bot token (created via @BotFather)
- Slack / Discord: Authenticate via OAuth in your browser
- iMessage: Available on macOS with an active iMessage login
Once connected, you can send tasks directly from the app. OpenClaw processes them locally using your Ollama model.
OpenClaw will also ask you to specify a web search service. For example, you can connect a Gemini subscription via API key to enable online search.
Step 7: Set up skills
Skills extend OpenClaw with custom, locally available capabilities. Each skill is stored in its own folder and includes a SKILL.md file. This file combines metadata (YAML) with instructions (Markdown) that define how the agent behaves. OpenClaw automatically loads skills from the workspace directory and detects changes if skill watching is enabled. Skills work particularly well for recurring tasks, preferred workflows or project-specific knowledge.
During onboarding, you can select and configure several built-in skills, such as Google integrations, speech-to-text APIs, or summarisation tools.
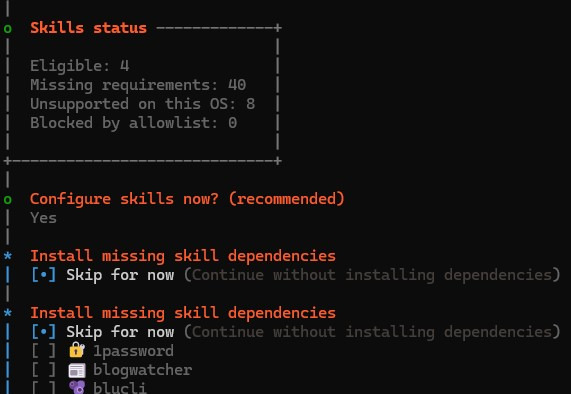
Custom skills are typically created under ~/.openclaw/workspace/skills/. A good starting point is a skill that turns raw notes into structured meeting minutes. It gives OpenClaw a clear task you can use in everyday work without needing complex workflows or tool integrations right away.
mkdir -p ~/.openclaw/workspace/skills/meeting-notes
nano ~/.openclaw/workspace/skills/meeting-notes/SKILL.mdThen add the following:
---
name: meeting_notes
description: Creates clear, easy to follow meeting notes with tasks and open items from raw notes.
---
# Meeting Notes Skill
Use this skill when the user wants to turn messy meeting notes,
bullet points, or conversation transcripts into a clear summary.
Your task:
- Summarise the most important topics in a few sentences.
- Create a list of the decisions that were discussed.
- Clearly separate tasks, open questions, and next steps.
- Write in an objective, precise, and easy-to-read style.
- If information is missing or unclear, flag it clearly.
Desired output format:
1. Summary
2. Decisions
3. Tasks
4. Open questions
5. Next stepsOnce saved, OpenClaw automatically detects the new skill. If skill watching is enabled, updates to SKILL.md are applied without restarting the gateway.
Step 8: Activate hooks
Hooks are a flexible, event-driven automation system. They let you trigger actions automatically when certain events occur, such as when an agent runs a command. OpenClaw detects hooks automatically when they’re placed in the correct directories. You can manage them via the command line.
By default, these hooks are available during onboarding:
- session-memory: Automatically saves session context to (
~/.openclaw/workspace/memory/) when you run the/newcommand. - bootstrap-extra-files: Loads additional files into the workspace based on predefined paths or file patterns.
- command-logger: Logs all executed commands and saves them in
~/.openclaw/logs/commands.log. - boot-md: Automatically runs a
BOOT.mdfile when the gateway starts, which can include startup instructions or initialisation steps for the agent.
You can list all hooks using openclaw hooks list. You can also use openclaw hooks enable xy to enable individual hooks.
Step 9: Start gateway
Once everything is installed and configured, you can start the gateway:
openclaw gateway --port 18789This launches the local gateway and makes the dashboard available at: `http://127.0.0.1:18789``.
To check if everything is running correctly, use:
openclaw gateway statusLook for these status messages: ‘Runtime: running’ and ‘RPC probe: ok’. These indicate that the system is working as expected.
Step 10: Test dashboard
Most interactions with the bot happen through the messaging services you’ve set up, so the built-in dashboard isn’t something you need for day-to-day use. That said, it’s still worth taking a quick look during setup. It gives you a clear overview of whether the gateway is running, whether the model was detected correctly, and whether your configuration is valid. If you’re running OpenClaw on a desktop system, you can also use the dashboard as an occasional diagnostic tool.
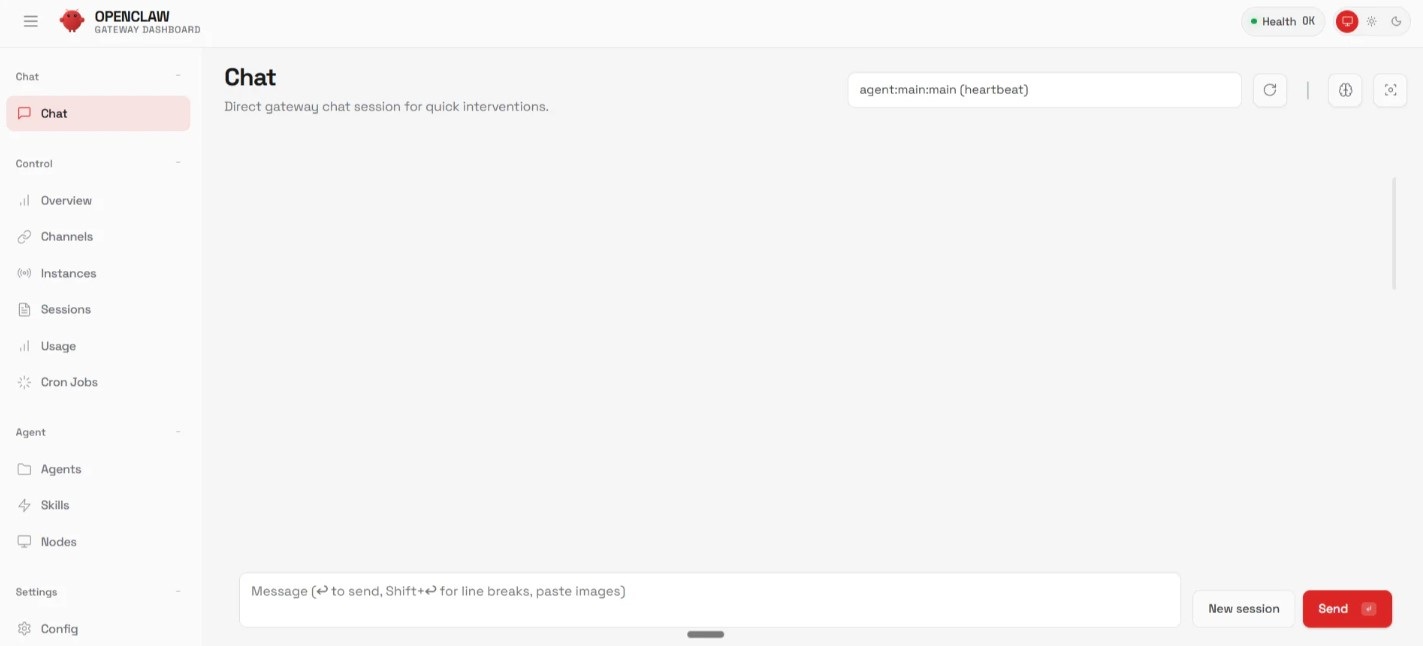
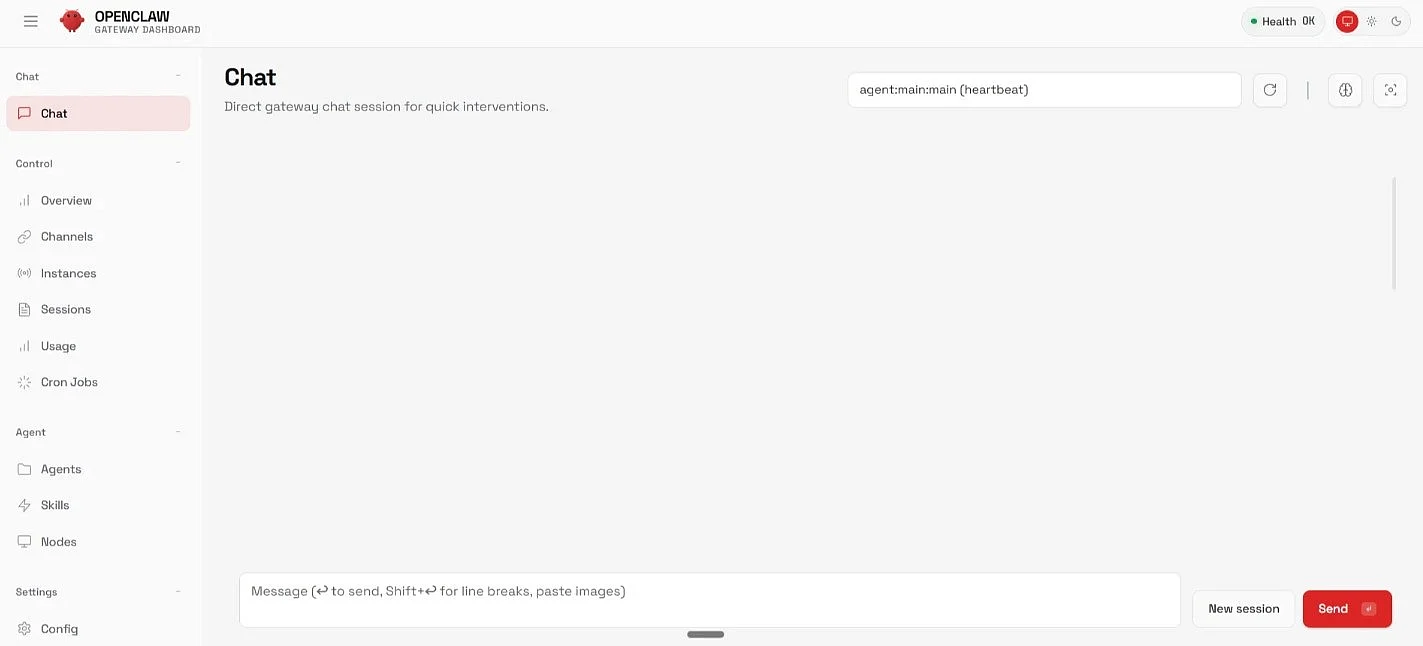
You can open the dashboard directly in your browser or via the CLI:
openclaw dashboardYou can also open the web interface using the gateway address `http://127.0.0.1:18789``. If you’re prompted to authenticate the first time you access it, you can retrieve the gateway token using:
openclaw config get gateway.auth.tokenThen enter this token in the control UI. Local connections via 127.0.0.1 are usually accepted automatically. If you’re accessing the dashboard from another device, you may need to approve it first:
openclaw devices list
openclaw devices approve <requestId>This marks the new browser or device as trusted. That extra approval step is important because the dashboard isn’t just a chat interface. It’s an administrative interface with access to skills, configuration, and execution permissions.
Step 11: Customise OpenClaw
At this point, you’ve got the basics up and running. The gateway is running locally, the model is connected and you can interact with the agent through messaging services or the dashboard. Even with this setup, you can already start using OpenClaw to analyse messages, summarise information, or automate simple tasks.
That said, OpenClaw is built to be modular, and there’s a lot more you can do beyond this initial setup. Some common ways to expand it include:
- Develop additional skills: Set up recurring tasks like meeting summaries, code analysis, or document structuring as dedicated skills the agent can use anytime.
- Build automations with hooks: Use events like new sessions, command executions, or agent starts to trigger actions automatically.
- Integrate local tools: OpenClaw can run shell commands, Python scripts, or your own tools, turning it into a kind of local automation platform.
- Combine multiple models: Alongside your main model, you can add fallback or specialised models for specific tasks.
- Connect more messaging services: Add channels like Slack, Discord, or Telegram so multiple devices or teams can work with the agent.
- Expand the workspace and knowledge base: Store documents, project files, or notes so the agent can use them as context.
- Set up remote access: With tools like Tailscale or reverse proxies, you can securely access the dashboard from other devices.
- Look for inspiration: The ‘What People Are Building’ page shows what other users are building with OpenClaw.
What you’ve set up here is really just the starting point. Once everything is running smoothly, you can gradually build out more advanced workflows with additional skills, automations and integrations. Especially when combined with local models through Ollama, OpenClaw becomes a flexible, fully self-hosted AI workspace you can shape around your own needs.