How do you create a TeamSpeak server and set it up?

Setting up, installing, and self-hosting a TeamSpeak server is still a popular solution for stable voice communication on the internet or in a local network. Despite modern alternatives like Discord, TeamSpeak is still widely used in gaming communities for group chats and voice conferences. High security standards and unmatched sound quality are strong reasons to host your own TeamSpeak server.
What are the requirements for a TeamSpeak server?
A key advantage of TeamSpeak is its performance-focused design. It avoids unnecessary features that go beyond the essential functions of a voice and text tool. This results in manageable hardware requirements for a TeamSpeak server:
- Processor: CPU with SSE2 support; CPU with SSE4.x support (POPCNT enabled, Windows: 64-bit only)
- RAM: at least 1 gigabyte (total memory requirements depend on the number and size of the hosted virtual servers)
- Disk space: at least 15 megabytes (total storage requirements depend heavily on actual usage, as well as the size and number of hosted virtual servers; additional space is needed for file transfers and storing icons/avatars)
When it comes to the operating system, you’re free to choose. The TeamSpeak software runs on all common Windows, macOS, and Linux devices and servers – with both 32-bit and 64-bit architectures.
Depending on the size and type of your TeamSpeak server, you may need to purchase a licence. The software is free to use for up to 32 users (one virtual server) when used for private purposes. For more slots, ranging from 64 to 1,024, you will need to buy the Gamer License, which is billed annually. Companies can use TeamSpeak with the commercial licence for internal voice communication.
TeamSpeak server hosting with IONOS and the options available
The software’s minimal requirements make it fundamentally easy to rent the right resources for a TeamSpeak server. However, with the wide range of providers and packages, it’s often still difficult to keep track. At IONOS, you can choose, among others, between the following two server models:
- vServer (Virtual Private Server, VPS)
- Cloud Server
vServer as a cost-effective standard solution
A vServer (VPS) is the right choice for most TeamSpeak servers. You get dedicated virtual resources at a fixed monthly price and full administrative rights.
Advantages:
- Sufficient performance for small to medium-sized community servers
- Predictable costs thanks to a fixed package
- Full control over operating system and software
Cloud server for flexibility and scalability
A cloud server is suitable if you need flexible scaling or want to adjust your resources based on your needs.
- Per minute billing where you only pay for the resources you use
- Flexible scaling of CPU, RAM, and storage
- High availability thanks to cloud infrastructure
How do the IONOS server models differ?
Both the vServer and the cloud server provide access to virtualised resources in the IONOS data centres. The key difference is in the billing model. With a vServer, you pay a fixed monthly fee for dedicated resources, whereas cloud servers use a usage-based billing model, calculated by the minute.
Cloud servers are especially beneficial if you need extra resources for applications like a Minecraft server or a DayZ server, as they can be easily scaled to meet your needs.
However, choosing the right server model is just the first step – you also need to pick from the available packages. These mainly differ in performance (CPU, RAM, and storage). When selecting a package, remember to consider the resources needed for the operating system. For a Windows-based server, you should plan for at least a 64-bit CPU, 2 GB of RAM (4 GB recommended), and 40–60 GB of disk space. For Linux servers, 2 GB of RAM and 30 GB of storage are typically sufficient for stable operation.
How to create your own TeamSpeak server
In this tutorial, we guide you through each step of hosting your own TeamSpeak 3 server and making it accessible to other users. For illustration, we detail the process for IONOS customers (vServer, cloud server, dedicated server) using Windows Server 2016 as the operating system.
Step 1: Establish a connection to the server
First, establish a Remote Desktop connection to your server. As a IONOS customer, you can easily do this via your customer account.
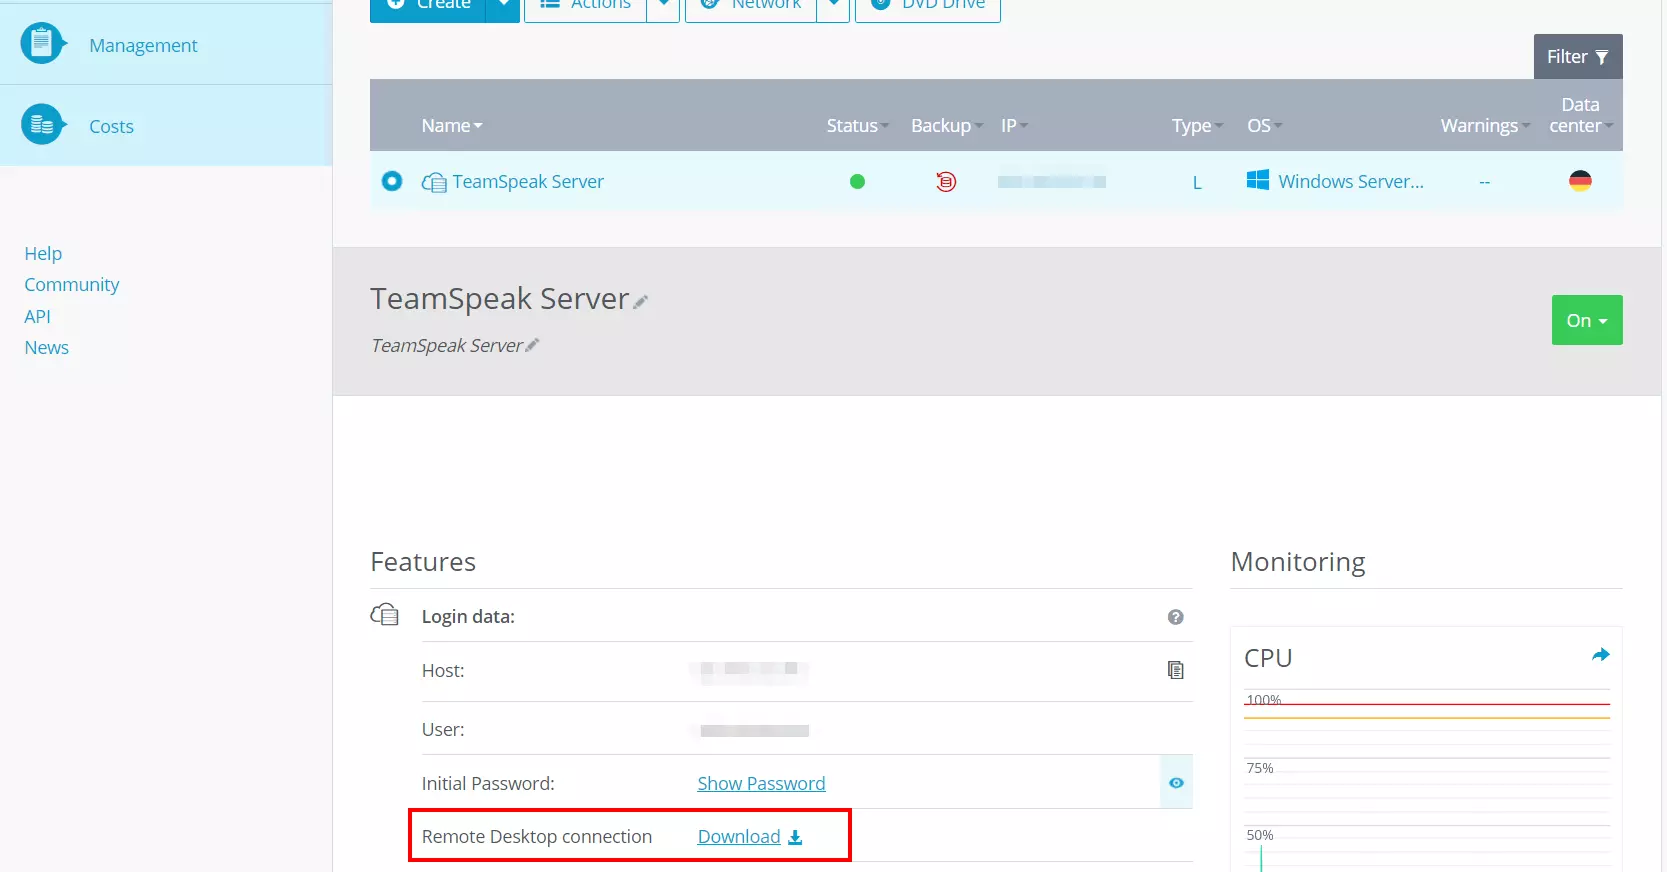
To do this, first log in to your customer account. Go to ‘Server & Cloud’, select your server package, scroll to ‘Login data’, and click the download link in the ‘Remote Desktop connection’ row. Run the .rdp file directly, or save it locally first and then start it with a double-click.

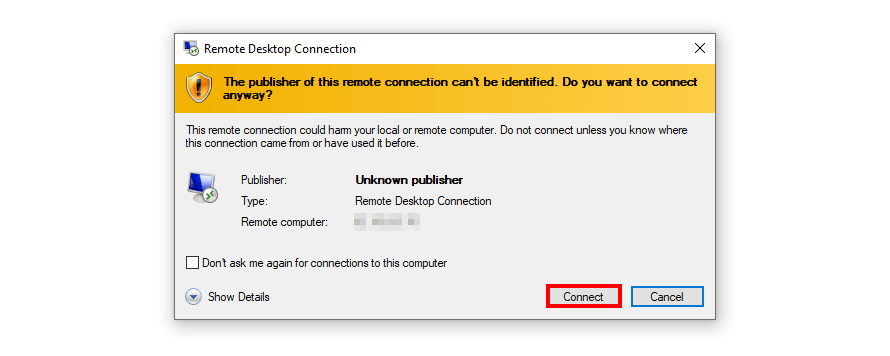
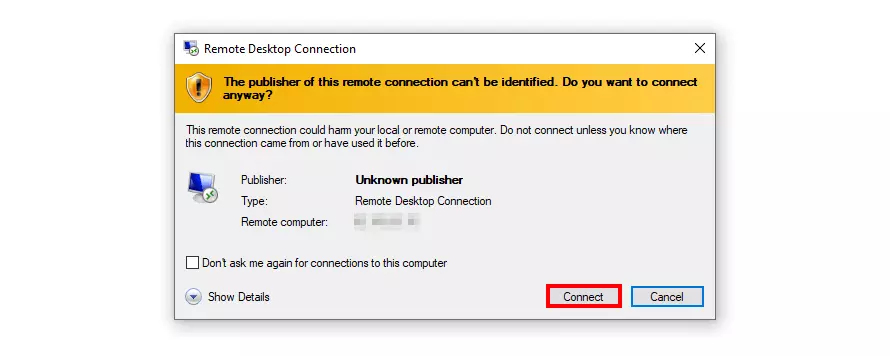
In the next dialogue, confirm the connection to the server by clicking ‘Connect’.
If you are logging in to your server for the first time, you will need to enter your individual user data. You can also find this in the Cloud Panel under ‘Server & Cloud’ -> ‘Select server’ -> ‘Login data’ -> ‘User’ and ‘Initial password’.
Step 2: Download and extract the TeamSpeak software
In the second step, download the TeamSpeak server software and install it on your rented server resources. To do this, visit the official VoIP application’s homepage and head to the download section to get the correct edition (32-bit or 64-bit; Windows, Linux, macOS, FreeBSD).
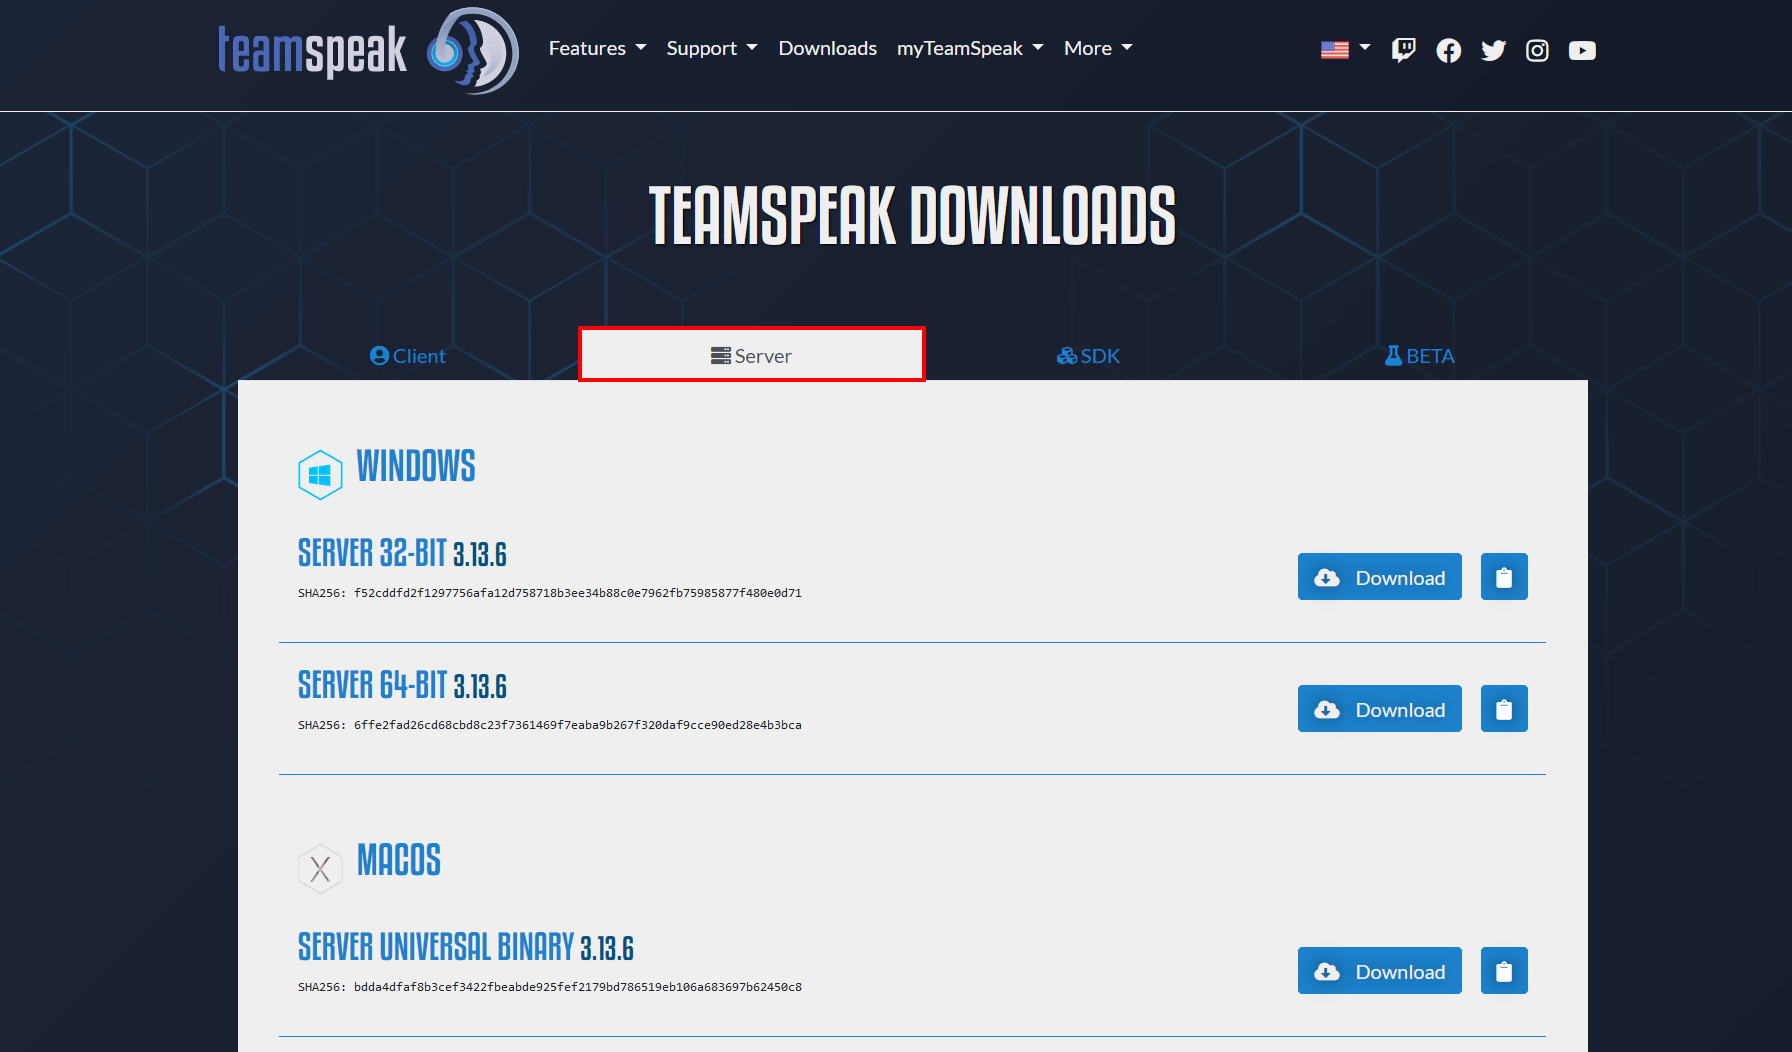
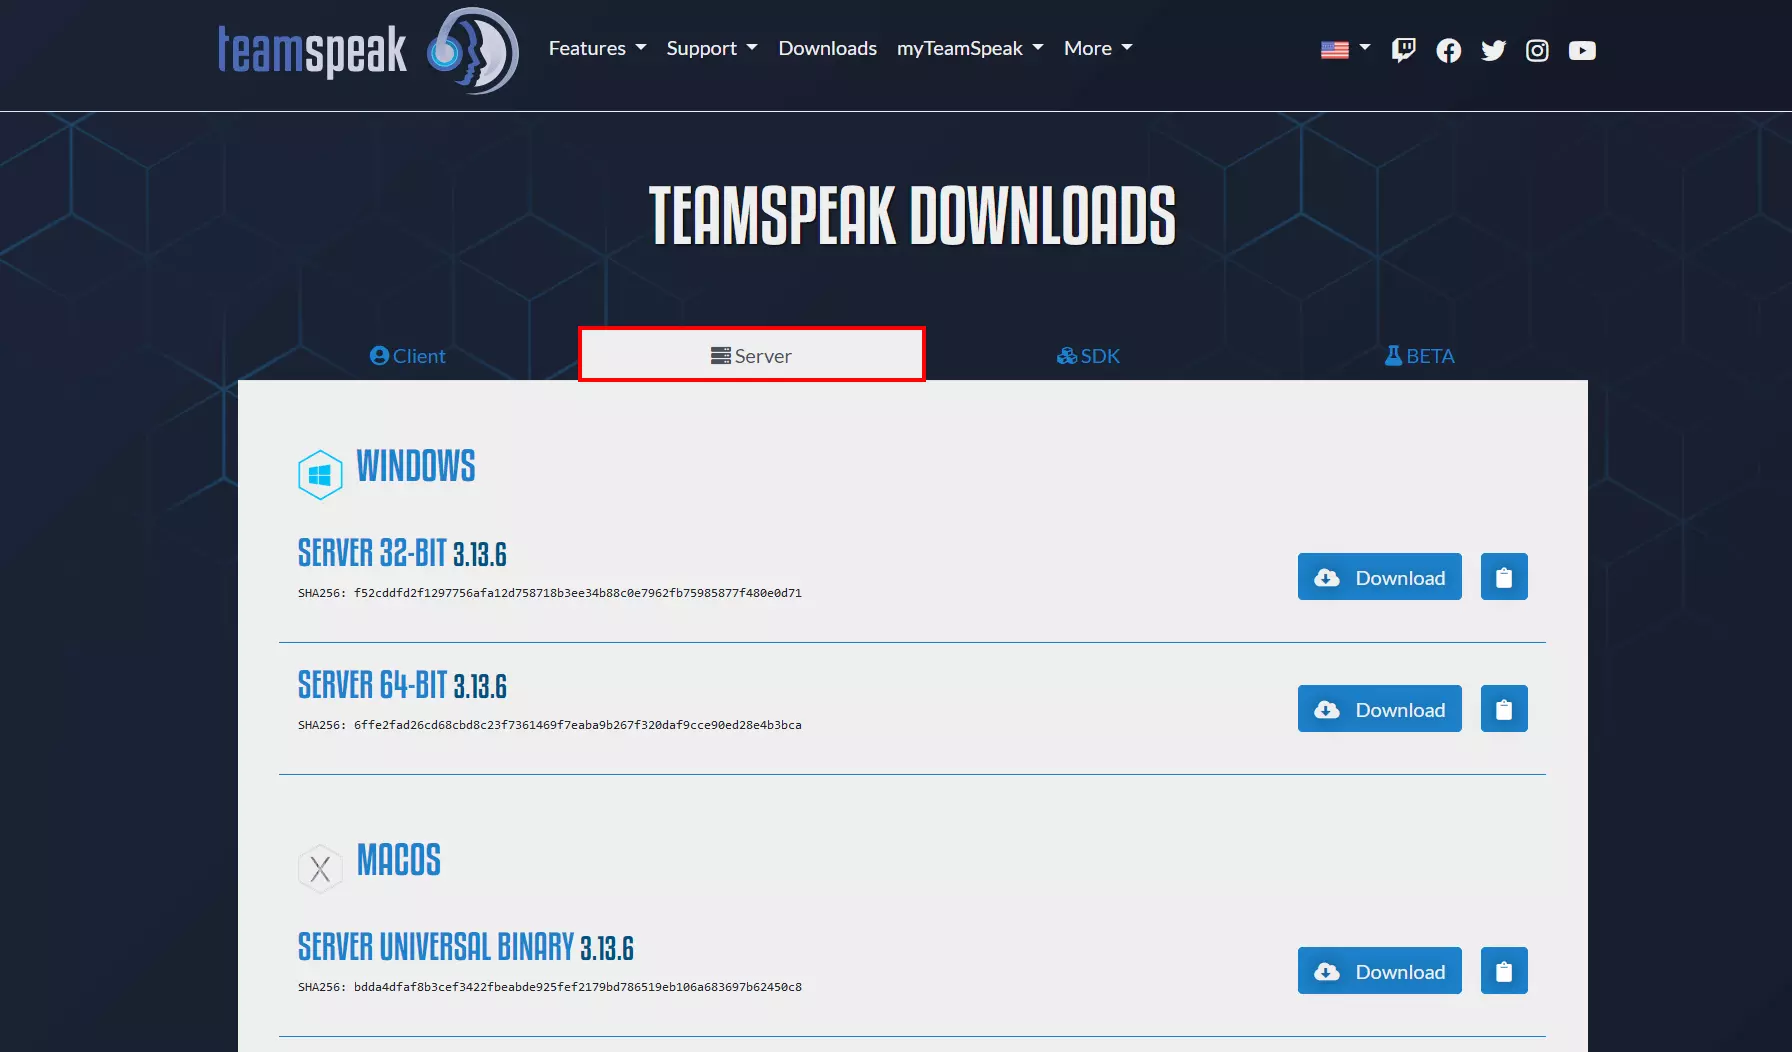
Extract the downloaded ZIP file into the directory of your choice.
Step 3: Run the TeamSpeak server and accept the licence agreement
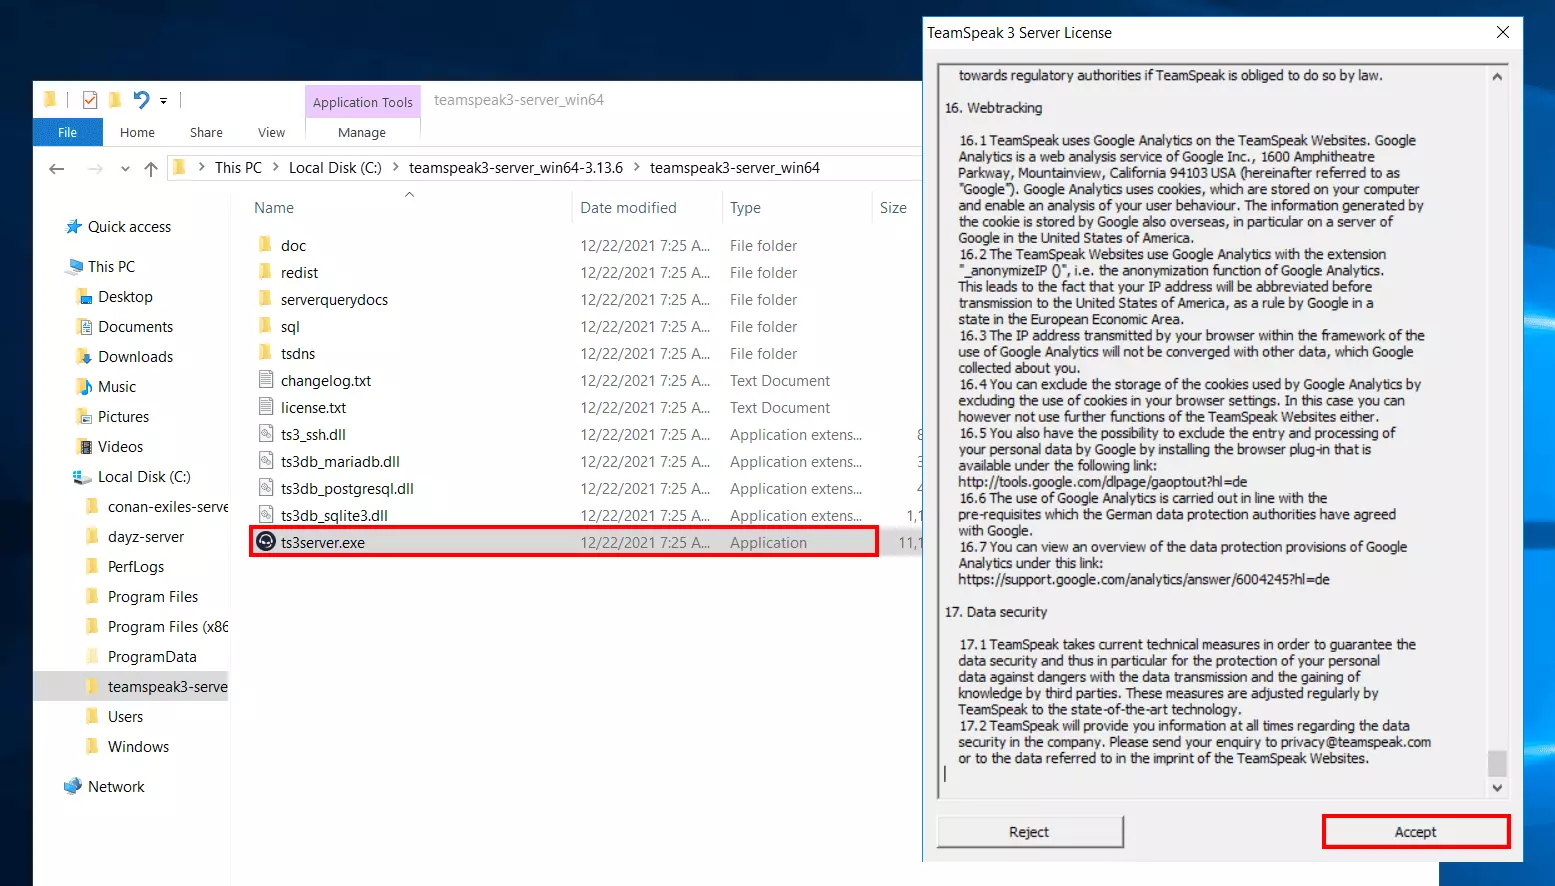
In the extracted directory, you will find, among other things, the executable file ts3server.exe. Run this file by double-clicking it, then accept the licence agreement by clicking ‘Accept’.
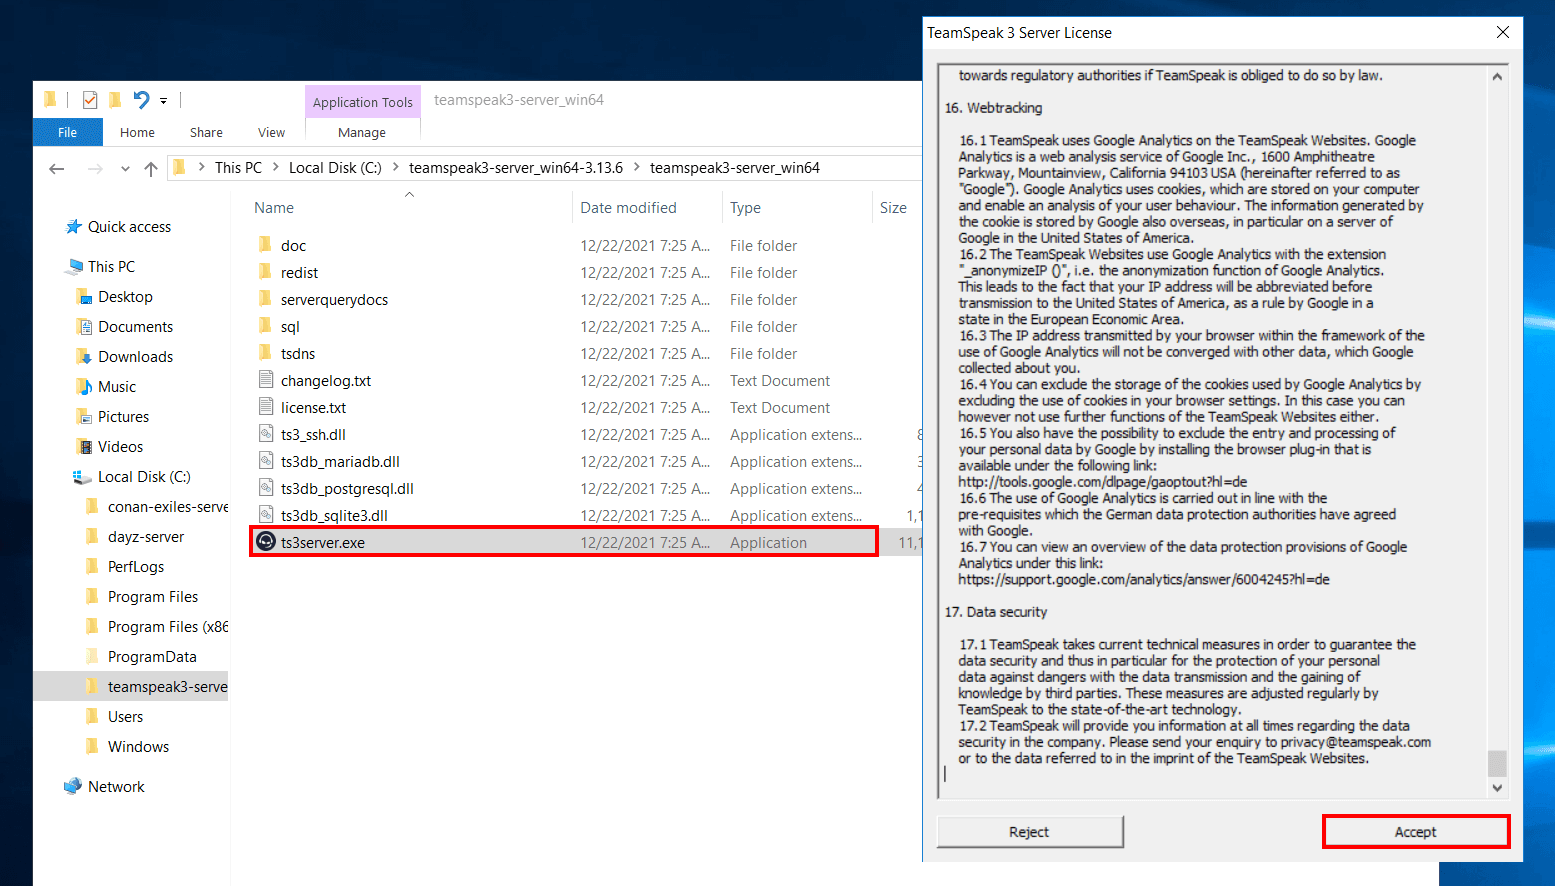
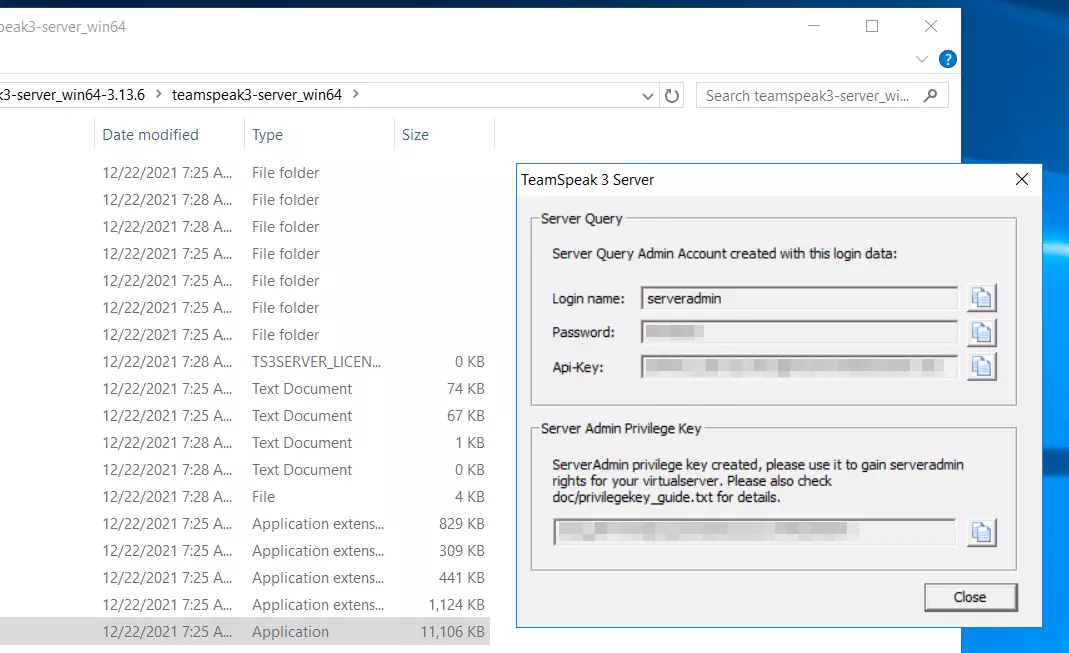
The program then displays the administrator data as well as the API and privilege key (authorisation key) for your TeamSpeak server. Click the folder icon to copy each entry and save them in any text file.

Step 4: Start the TeamSpeak client and enter the privilege key
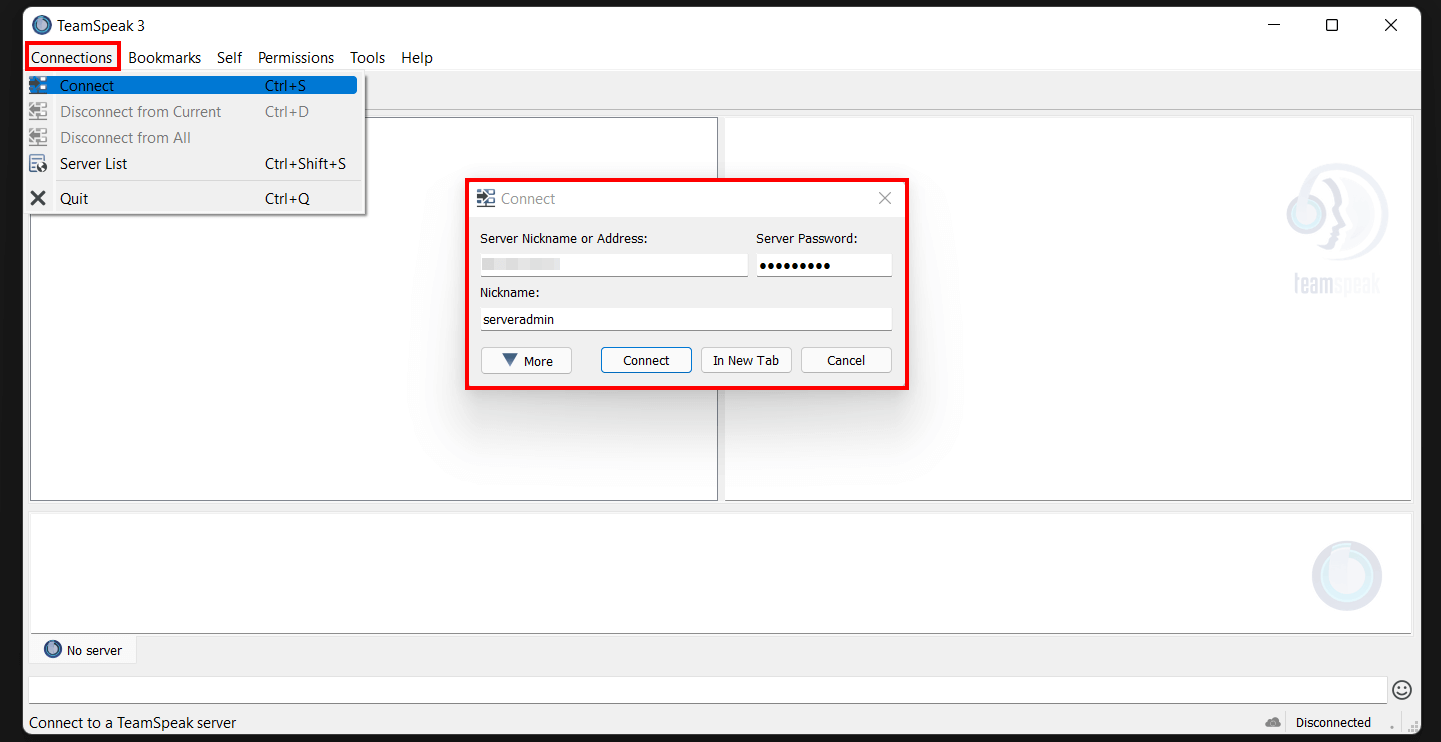
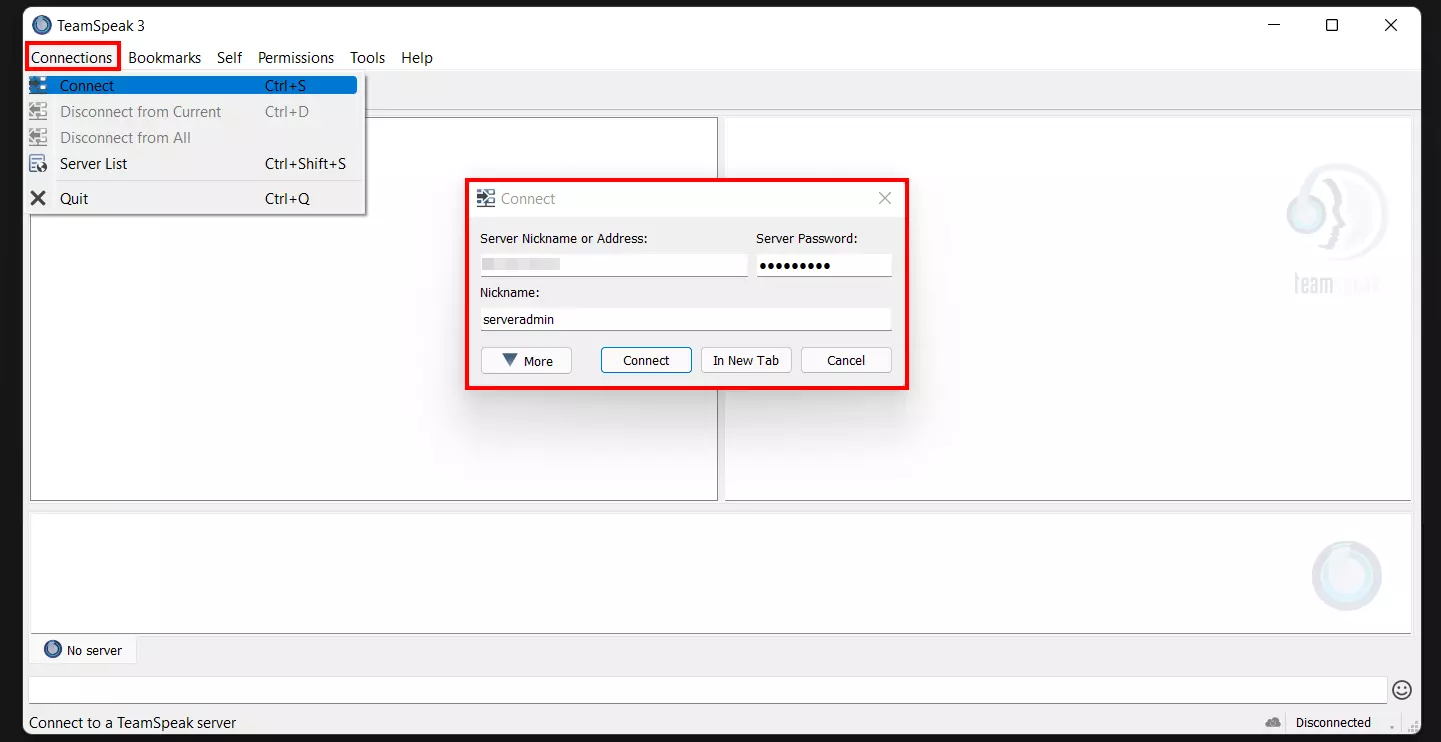
In the next step, start the TeamSpeak client on your server and select ‘Continue without login’. Choose a custom nickname, then click ‘Connections’ and ‘Connect’ one after the other.
Next, you need the unique IP address of your server as well as the password and login name (by default: ‘serveradmin’) that were generated earlier when you ran the TeamSpeak server. Enter these three values and finally click ‘Connect’.
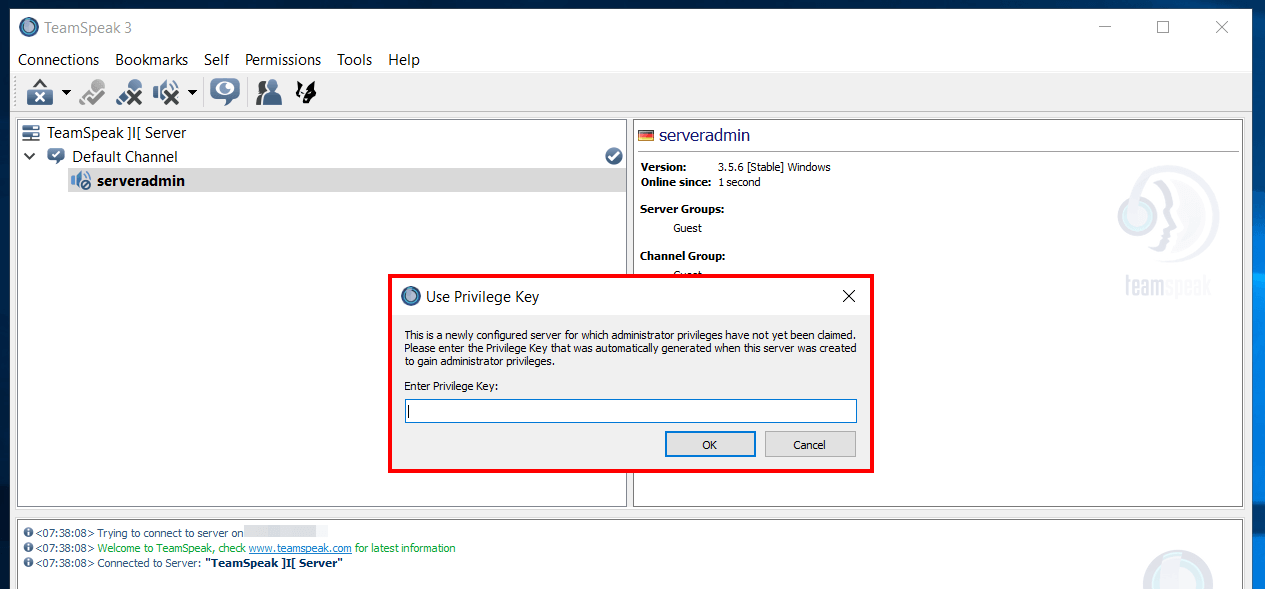
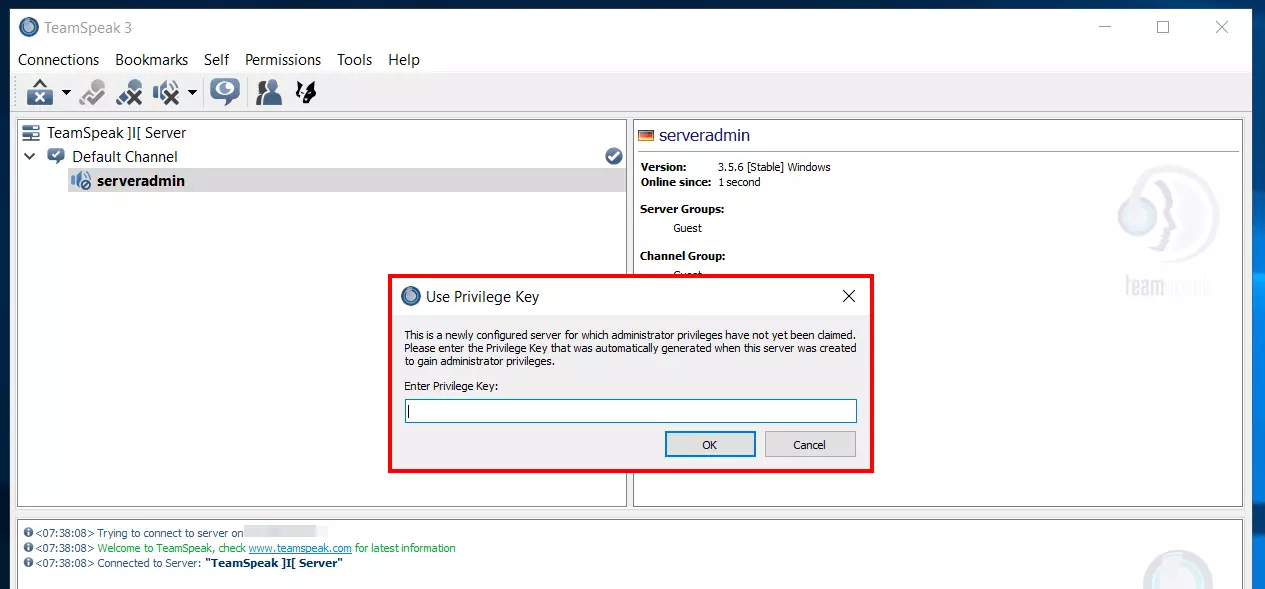
The next step is the prompt for the privilege key (Server Admin Privilege Key). Once you enter it successfully, you receive administrator rights for the TeamSpeak server.
Step 5: Set up the TS3 server
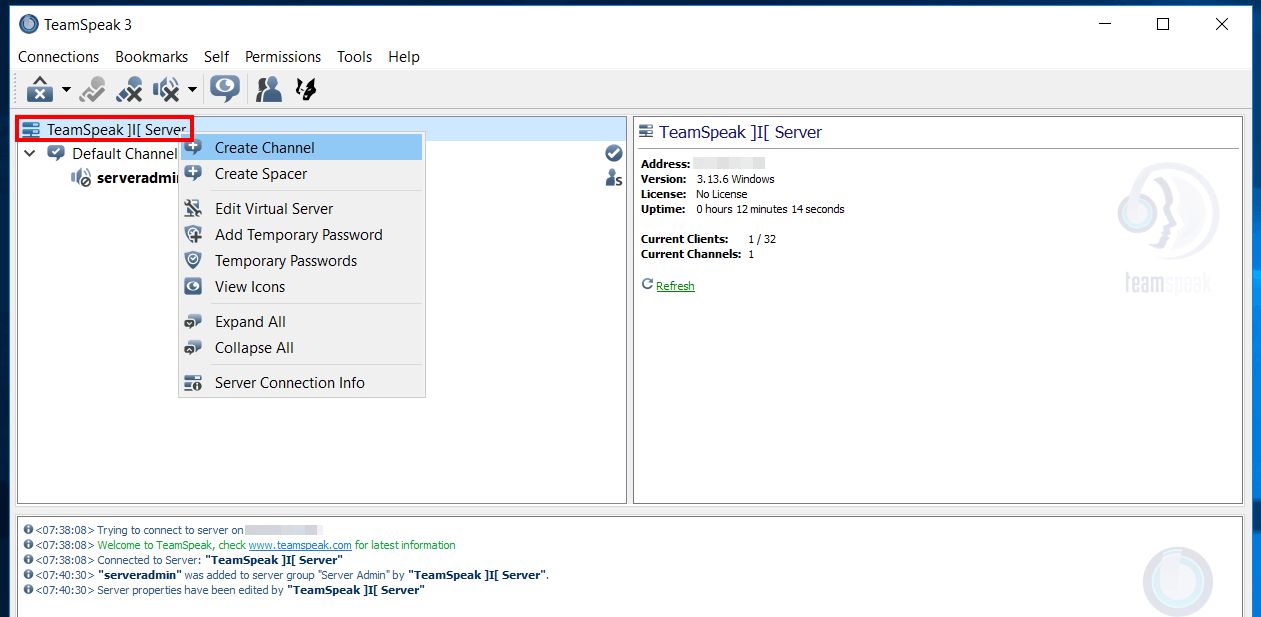
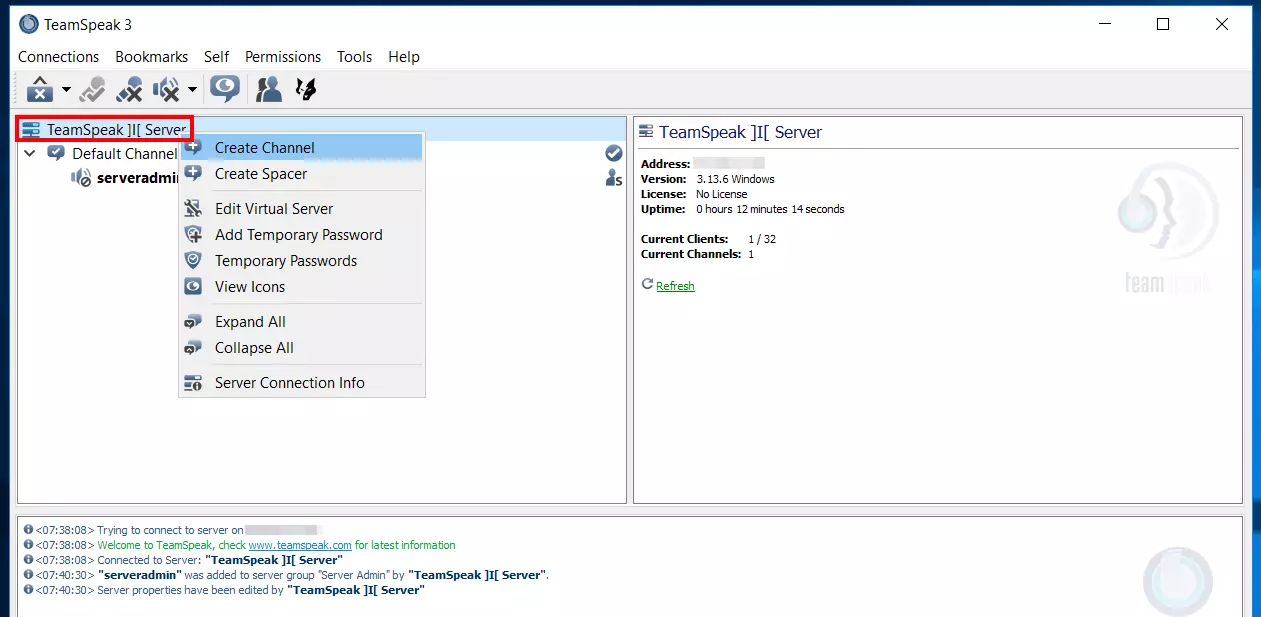
With administrator rights, you can now customise the TeamSpeak server to suit your needs. For instance, to create a new channel, right-click the server entry in the left window, which is labelled “TeamSpeak]|[Server” by default, and select ‘Create Channel’ from the menu. You can give the channel a custom name and an optional password. Additionally, you can specify whether the channel is:
- Temporary (it remains until the last client leaves),
- Semi-permanent (it remains until the next server restart),
- or Permanent (it stays until manually deleted).
If you want to change the server name or the welcome message, right-click and select ‘Edit Virtual Server’. Here you can also adjust, among other things, the number of allowed clients or the server icon.
Step 6: Open ports
To enable communication with the TeamSpeak server, several ports need to be opened in the firewall. For standard operation, only two ports are absolutely required:
- UDP port 9987 (incoming): Main port for voice transmission. Without this port, no one can connect to the server.
- TCP port 30033 (incoming): Required for file uploads and downloads.
- UDP ports 2011–2110 (incoming): TeamSpeak uses UDP 2011–2110 to communicate with the public server list.
- TCP port 443 (outgoing): If you use a licence for your TeamSpeak server, you must open TCP port 443 so the licence data can be verified.
To open the required ports, you need to create the appropriate rules in your firewall settings. IONOS customers can configure firewall rules for incoming connections directly through the Cloud Panel:
- Log in to the Cloud Panel.
- Open the ‘Server & Cloud’ section.
- Select the server on which the TeamSpeak server is running.
- In the left-side menu, click ‘Network’ and then ‘Firewall Policies’.
- Select the operating system and add the rule(s) under ‘Incoming’.
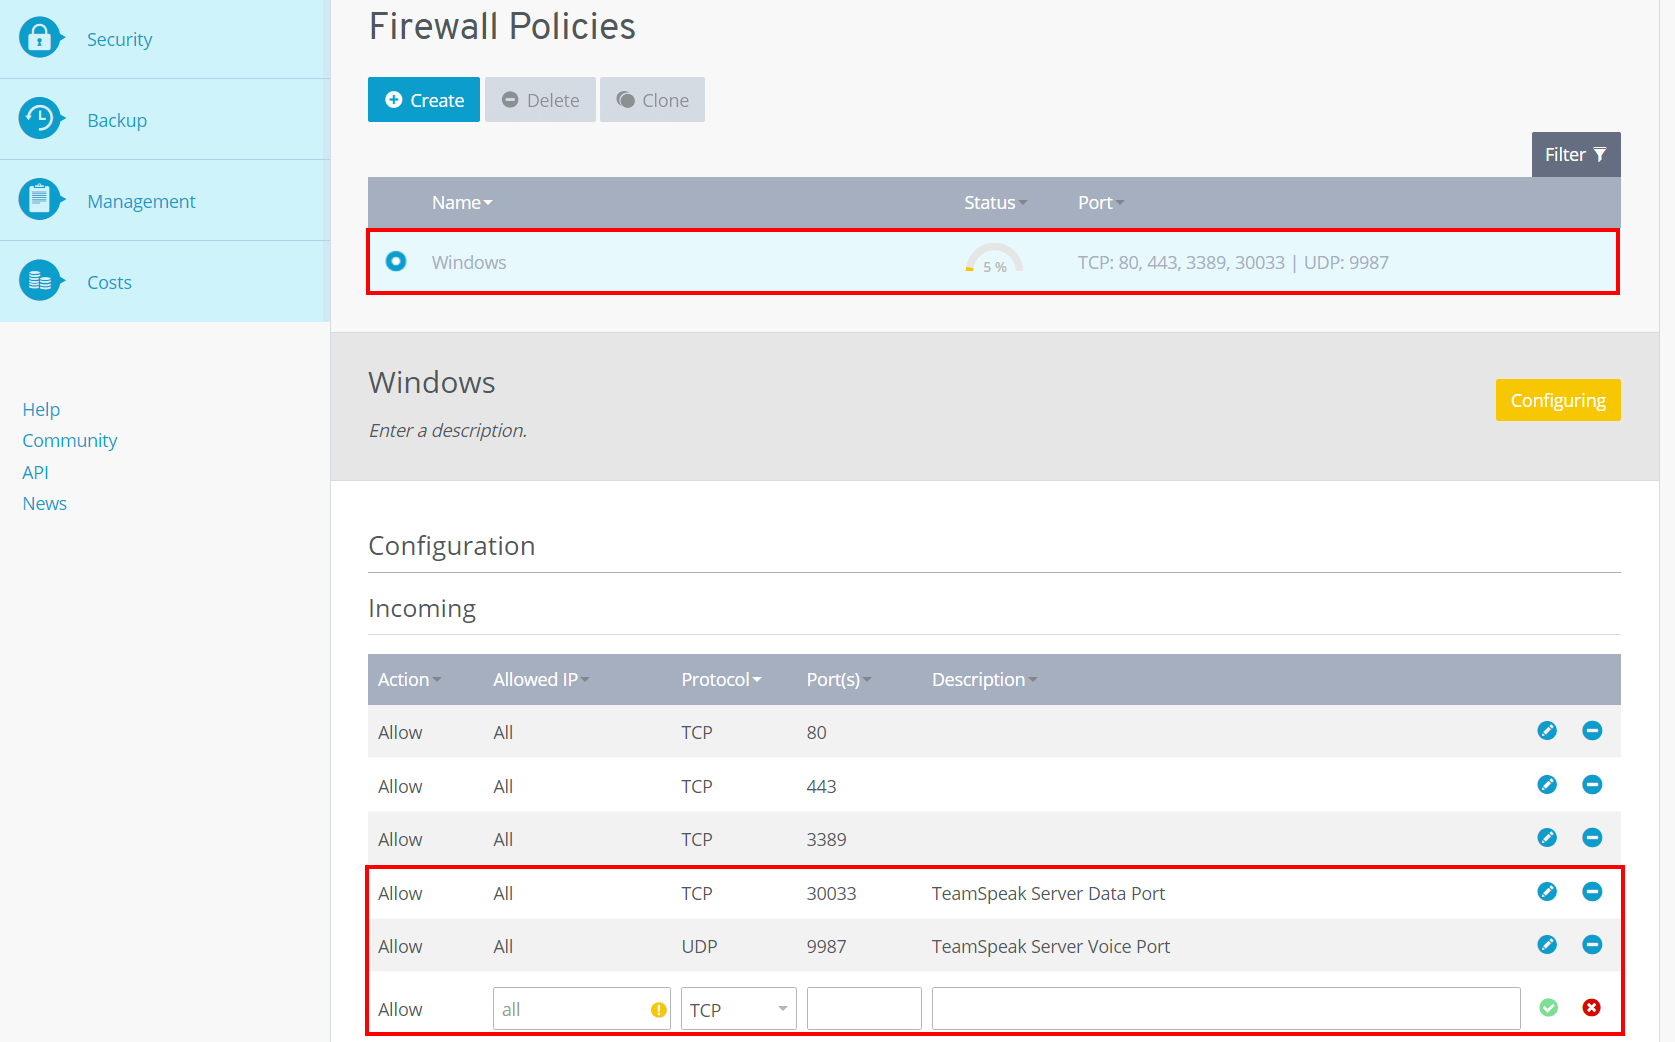
Opening the ports takes some time. Under ‘Status’ you can see the progress of the configuration. In some cases, you may need to restart the server after setup so the opened ports are applied as intended.
Step 7: Establish a client connection to your own TeamSpeak server
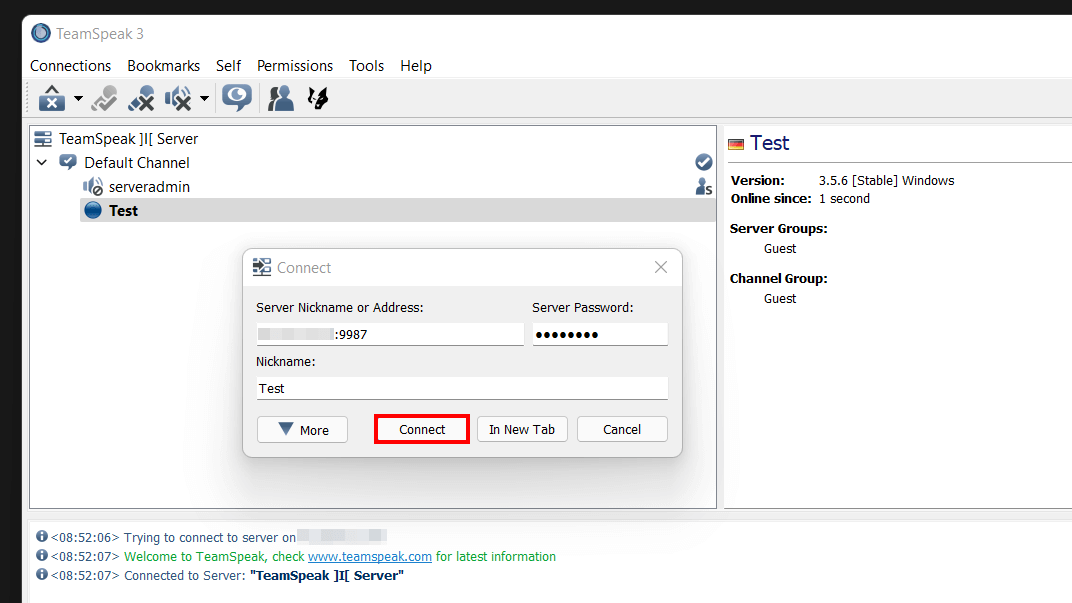
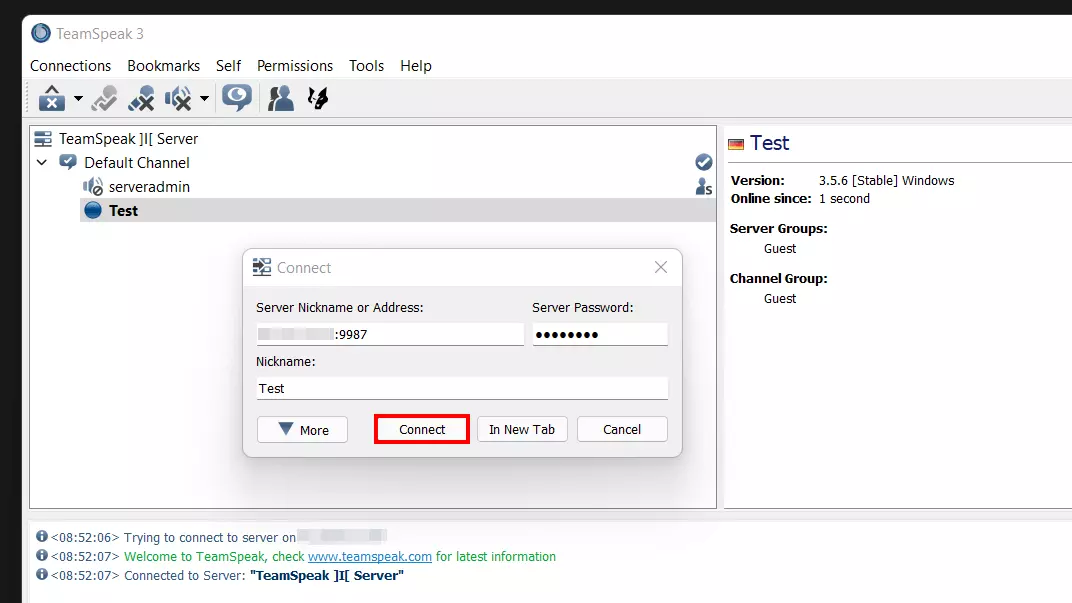
You can now join your TeamSpeak server anytime and from anywhere. To do this, simply open the VoIP program’s client software on the device of your choice and, under the ‘Connections’ menu, click ‘Connect’. Enter the server address and add the voice port, preceded by a colon:
IP address of your server:9987If you changed the default port, replace ‘9987’ with the port you configured. Alternatively, you can also use a domain if you have set one up for your server.
If one has been set, enter the server password and choose a nickname. As soon as you click ‘Connect’, the connection to the server will be established.