How to install n8n on CasaOS step by step

n8n is a workflow automation tool that lets you connect different apps and services with each other. CasaOS allows you to install and manage n8n using a simple web interface rather than working in Docker. In this guide, you’ll learn how to install n8n on CasaOS step by step.
Step 1: Check requirements and choose the right server
Before you install anything, make sure you have a server that’s powerful enough to run CasaOS and n8n. You’ll need:
- Linux server (ideally with Ubuntu 22.04 or 24.04)
- Root access or sudo permissions
- A stable internet connection
- Optional: a domain for external access later
n8n can run on modest hardware, but the right setup depends on how you plan to use it. A few personal workflows need much less power than a live setup with several automations running at the same time. The following scenarios can help you choose a suitable starting point.
n8n is not the only automation platform out there. Other options include Zapier and Make. Zapier and Make focus heavily on easy cloud-based automation, while n8n gives you more control and flexibility through self-hosting. If you’re already using Zapier, migrating to n8n gives you more control over your data, workflows and costs.
Use case 1: Personal use or lightweight automations
If you want to use n8n by yourself, a modest server setup is usually enough. This works well for automating emails, social media tasks, RSS feeds as well as API connections or notifications. These n8n workflows are simple in nature and don’t run continuously at a high frequency. Here the server load remains low, so you usually do not need much CPU, RAM or storage. RAM is more important than raw CPU power because CasaOS and n8n both need enough memory to run smoothly.
Use case 2: Startups and regular automations
For startups, side projects or teams that plan to use n8n more regularly, it’s worth planning for a little more performance. Once several workflows run in parallel or external APIs are used more often, your server has to handle a higher load. Typical uses cases include automated lead processing, CRM synchronisation or simple internal tools. More CPU cores and extra RAM keep n8n responsive. If you plan to expand your setup later, choosing a server with a bit more headroom from the start is usually the better option.
Use case 3: Business workflows with regular daily use
Small and medium-sized businesses often use n8n for recurring business tasks. These can include automated data flows, integrations between systems or internal workflows. Stability is crucial here. More RAM ensures that multiple processes can run at the same time without bottlenecks. You should also plan enough storage space, especially if your workflows process logs, files or larger amounts of data.
Use case 4: High-volume workflows and heavier workloads
If you use n8n heavily, choose a more powerful system. This applies to data-driven processes, multiple parallel workflows, larger integrations or setups that run continuously. In these environments, many processes may run at the same time, and short load spikes are common. Strong CPU performance, plenty of RAM and generous storage help keep the system stable as your workflows grow.
An overview of setup recommendations
| Use case | Recommended setup | Typical usage |
|---|---|---|
| Personal use / lightweight automations | 2–4 vCores CPU, 4 GB RAM, 80–120 GB NVMe | Individual workflows, social media automations, email notifications, small API integrations |
| Startups / regular automations | 4 vCores CPU, 4–8 GB RAM, 120 GB NVMe | Lead processing, CRM sync, marketing automations, multiple parallel workflows |
| Business workflows / regular daily use | 6 vCores CPU, 8 GB RAM, 240 GB NVMe | Business processes, data integrations between tools, recurring workflows used by several team members |
| High-volume workflows / heavier workloads | 8+ vCores CPU, 16 GB RAM, 320+ GB NVMe | Many parallel workflows, data-heavy processes, API-heavy integrations, continuous operation |
Step 2: Install CasaOS
Before you install n8n, you need CasaOS as the management interface. CasaOS lets you install and manage applications like n8n in just a few clicks, so you do not need to work directly with Docker or complex server commands for every step.
First, connect to your server. This is usually done with SSH. Open a terminal and enter the following command:
ssh root@YOUR-SERVER-IPReplace YOUR-SERVER-IP with your server’s actual IP address. Then confirm the connection and enter your password.
If you don’t have direct root access, log in with a regular user account and run administrative commands with sudo.
Once you’re connected to your server, install CasaOS with this command:
curl -fsSL https://get.casaos.io | sudo bashThis downloads the official installation script and runs it automatically. CasaOS installs and configures the required components for you. You’ll see several status messages in the terminal while the setup runs. It’ll usually take just a few minutes.
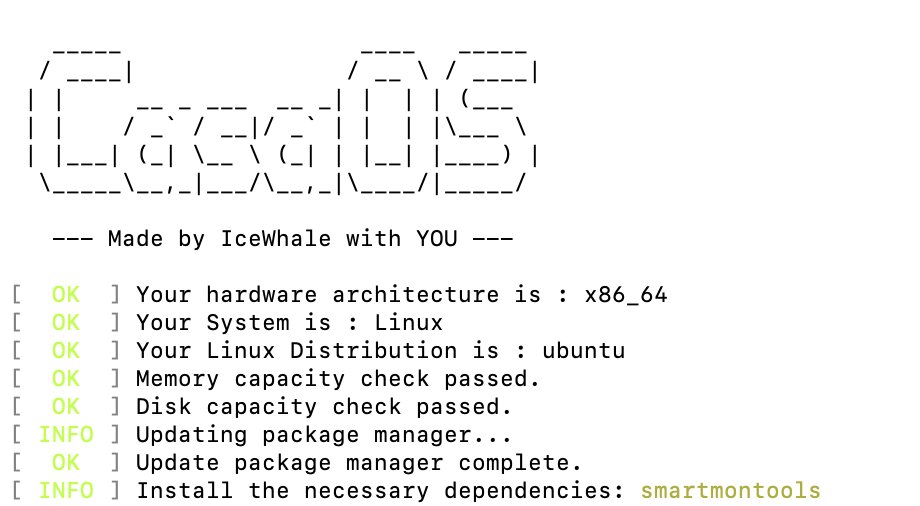
After installation, open your browser. Enter your server’s IP address in the address bar to open CasaOS:
http://YOUR-SERVER-IPIf CasaOS or n8n won’t open in the browser, your firewall may be blocking access. Check your server’s firewall settings and allow the needed port, such as port 80 for CasaOS or port 5678 for n8n. After that, try opening the page again.
Step 3: Log in to CasaOS and familiarise yourself with the interface
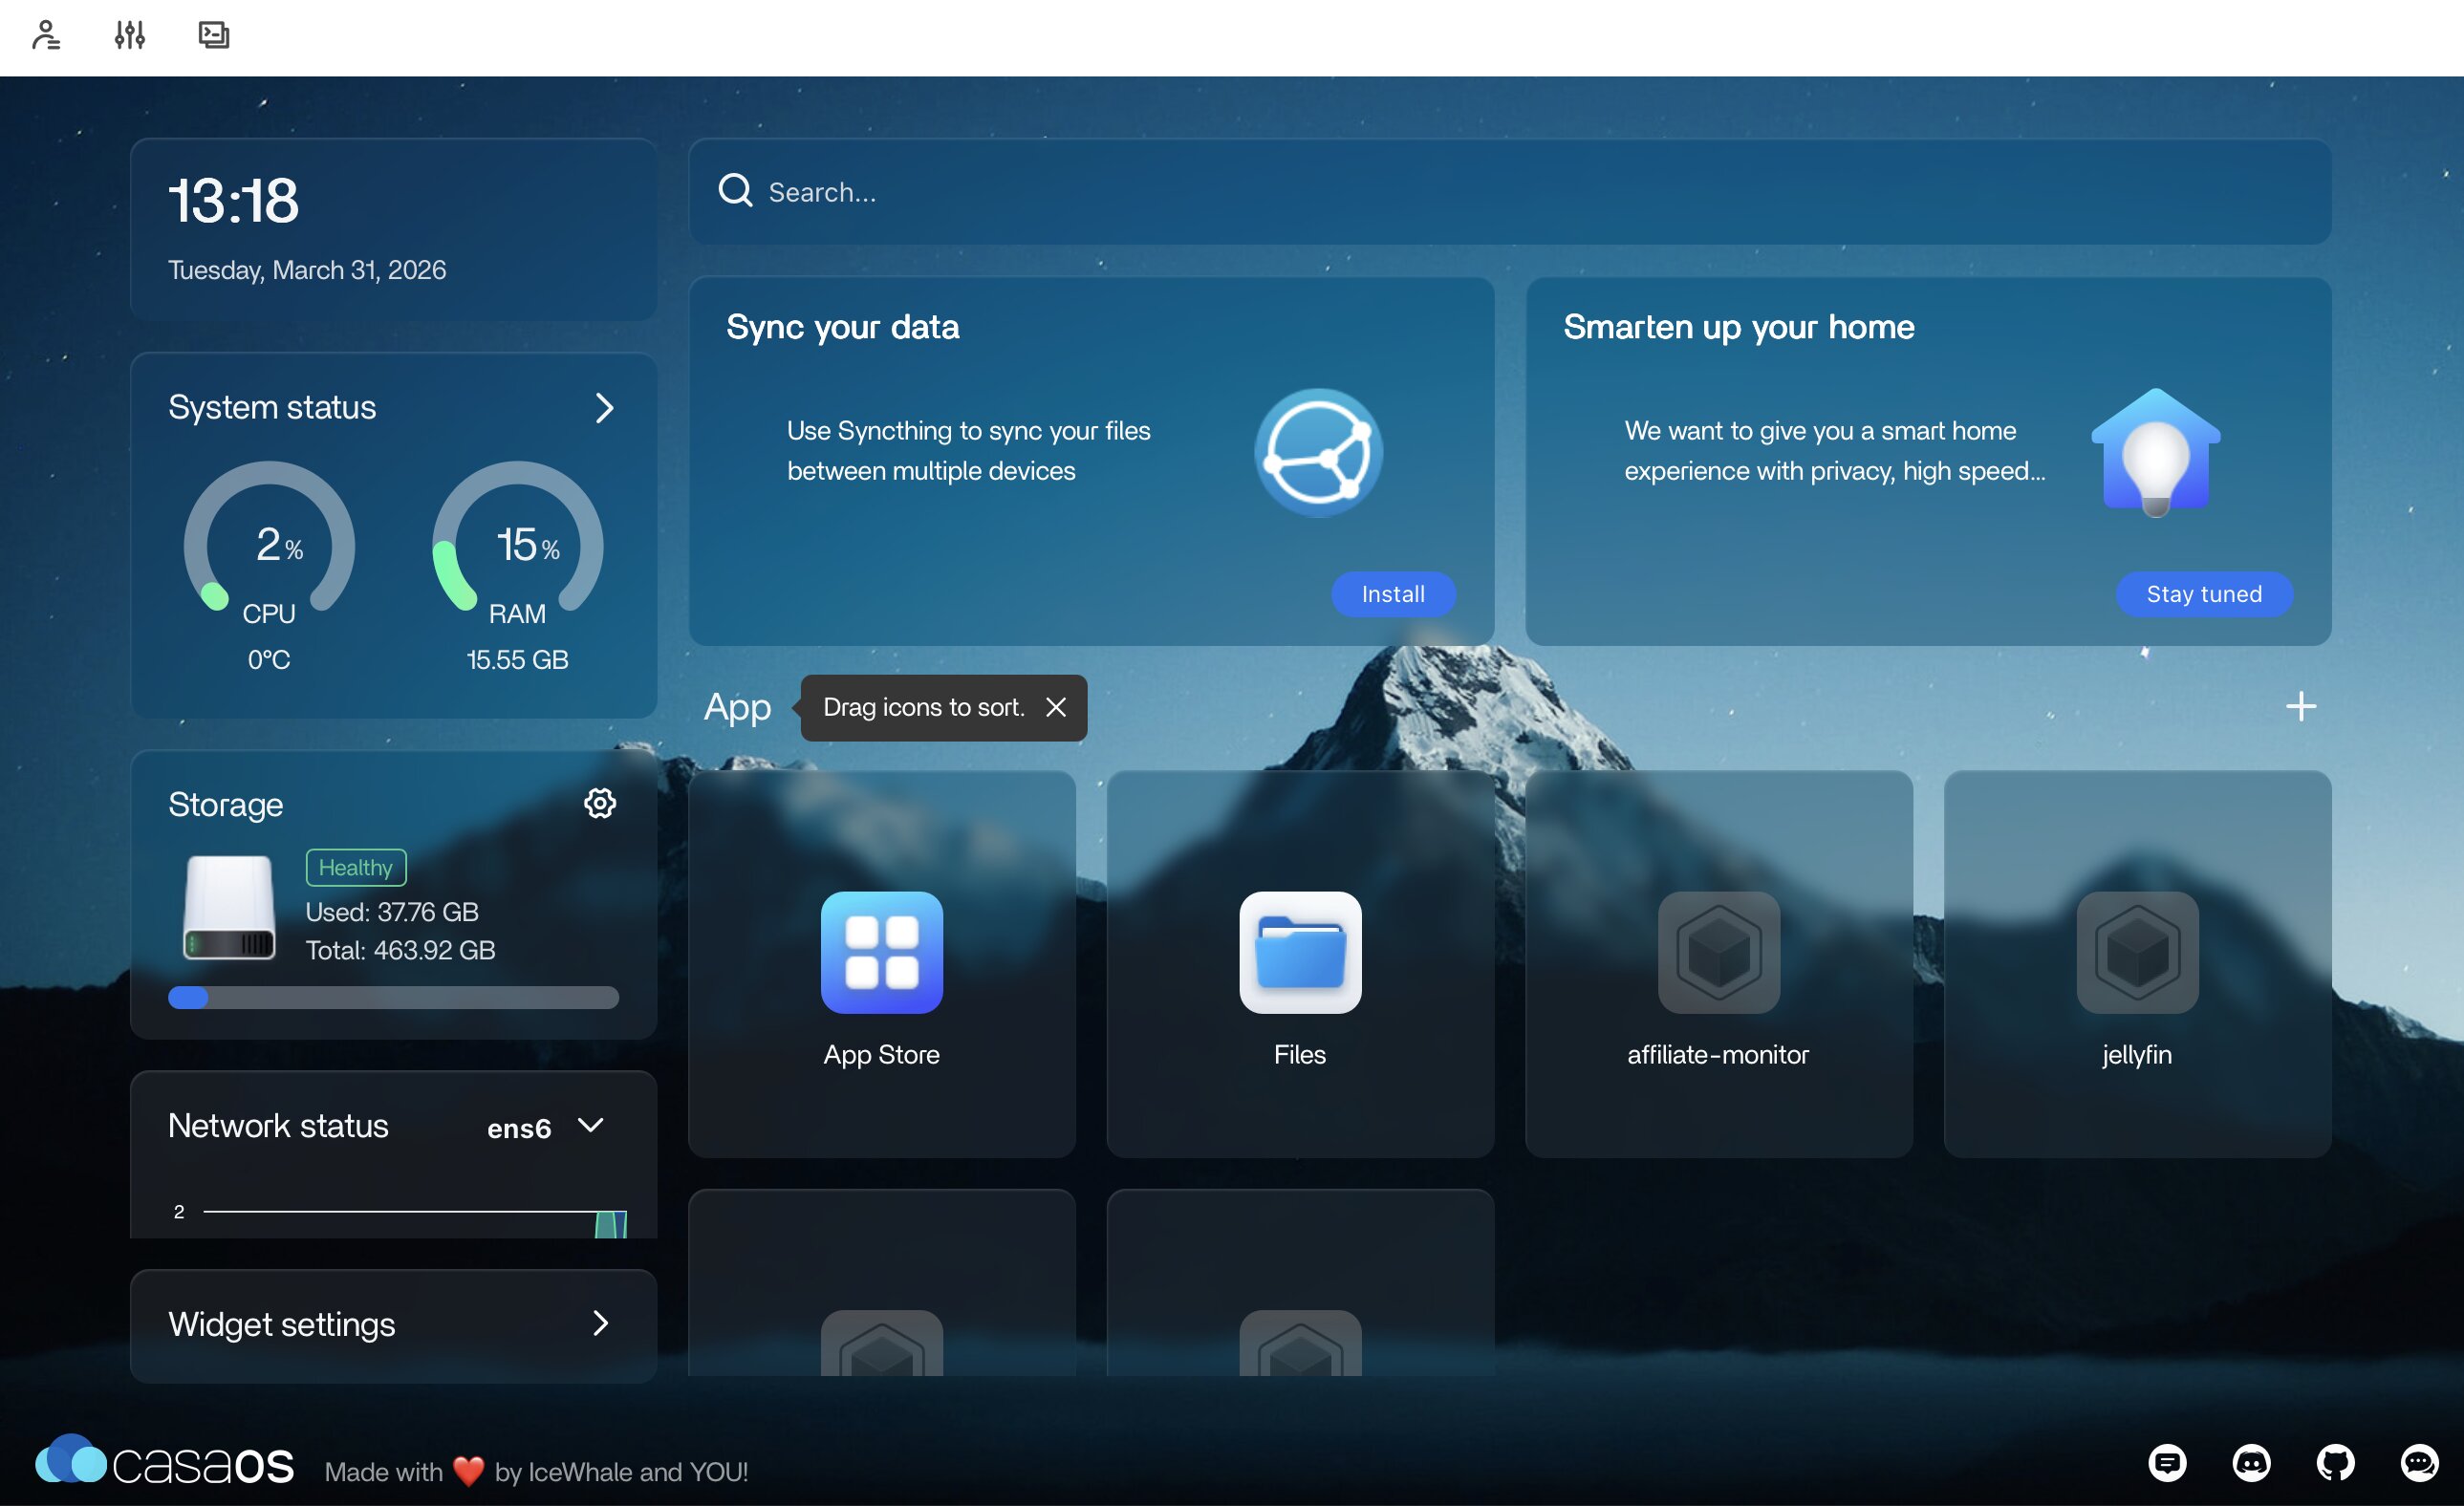
After you enter the server IP address your browser, the CasaOS interface will open. The first time you access it, CasaOS will guide you through setup. Create a user, set a secure password and log in. After logging in, you’ll see the main CasaOS dashboard. The interface’s design is deliberately kept simple, so you can find your way around quickly even if you’ve never used it before.
The main areas are:
- App Store: Install new applications like n8n in a few clicks
- Installed Apps: View and manage the apps already running on your server
- System overview: Check server load, including CPU, memory and storage usage
From the dashboard, you can check your server status and manage your installed apps in one place.
Step 4: Install n8n through the App Store
After you’ve logged in to CasaOS, you can install n8n directly via the interface. Open the App Store from the CasaOS dashboard and enter ‘n8n’ in the search bar. When n8n appears in the search results, click the app.
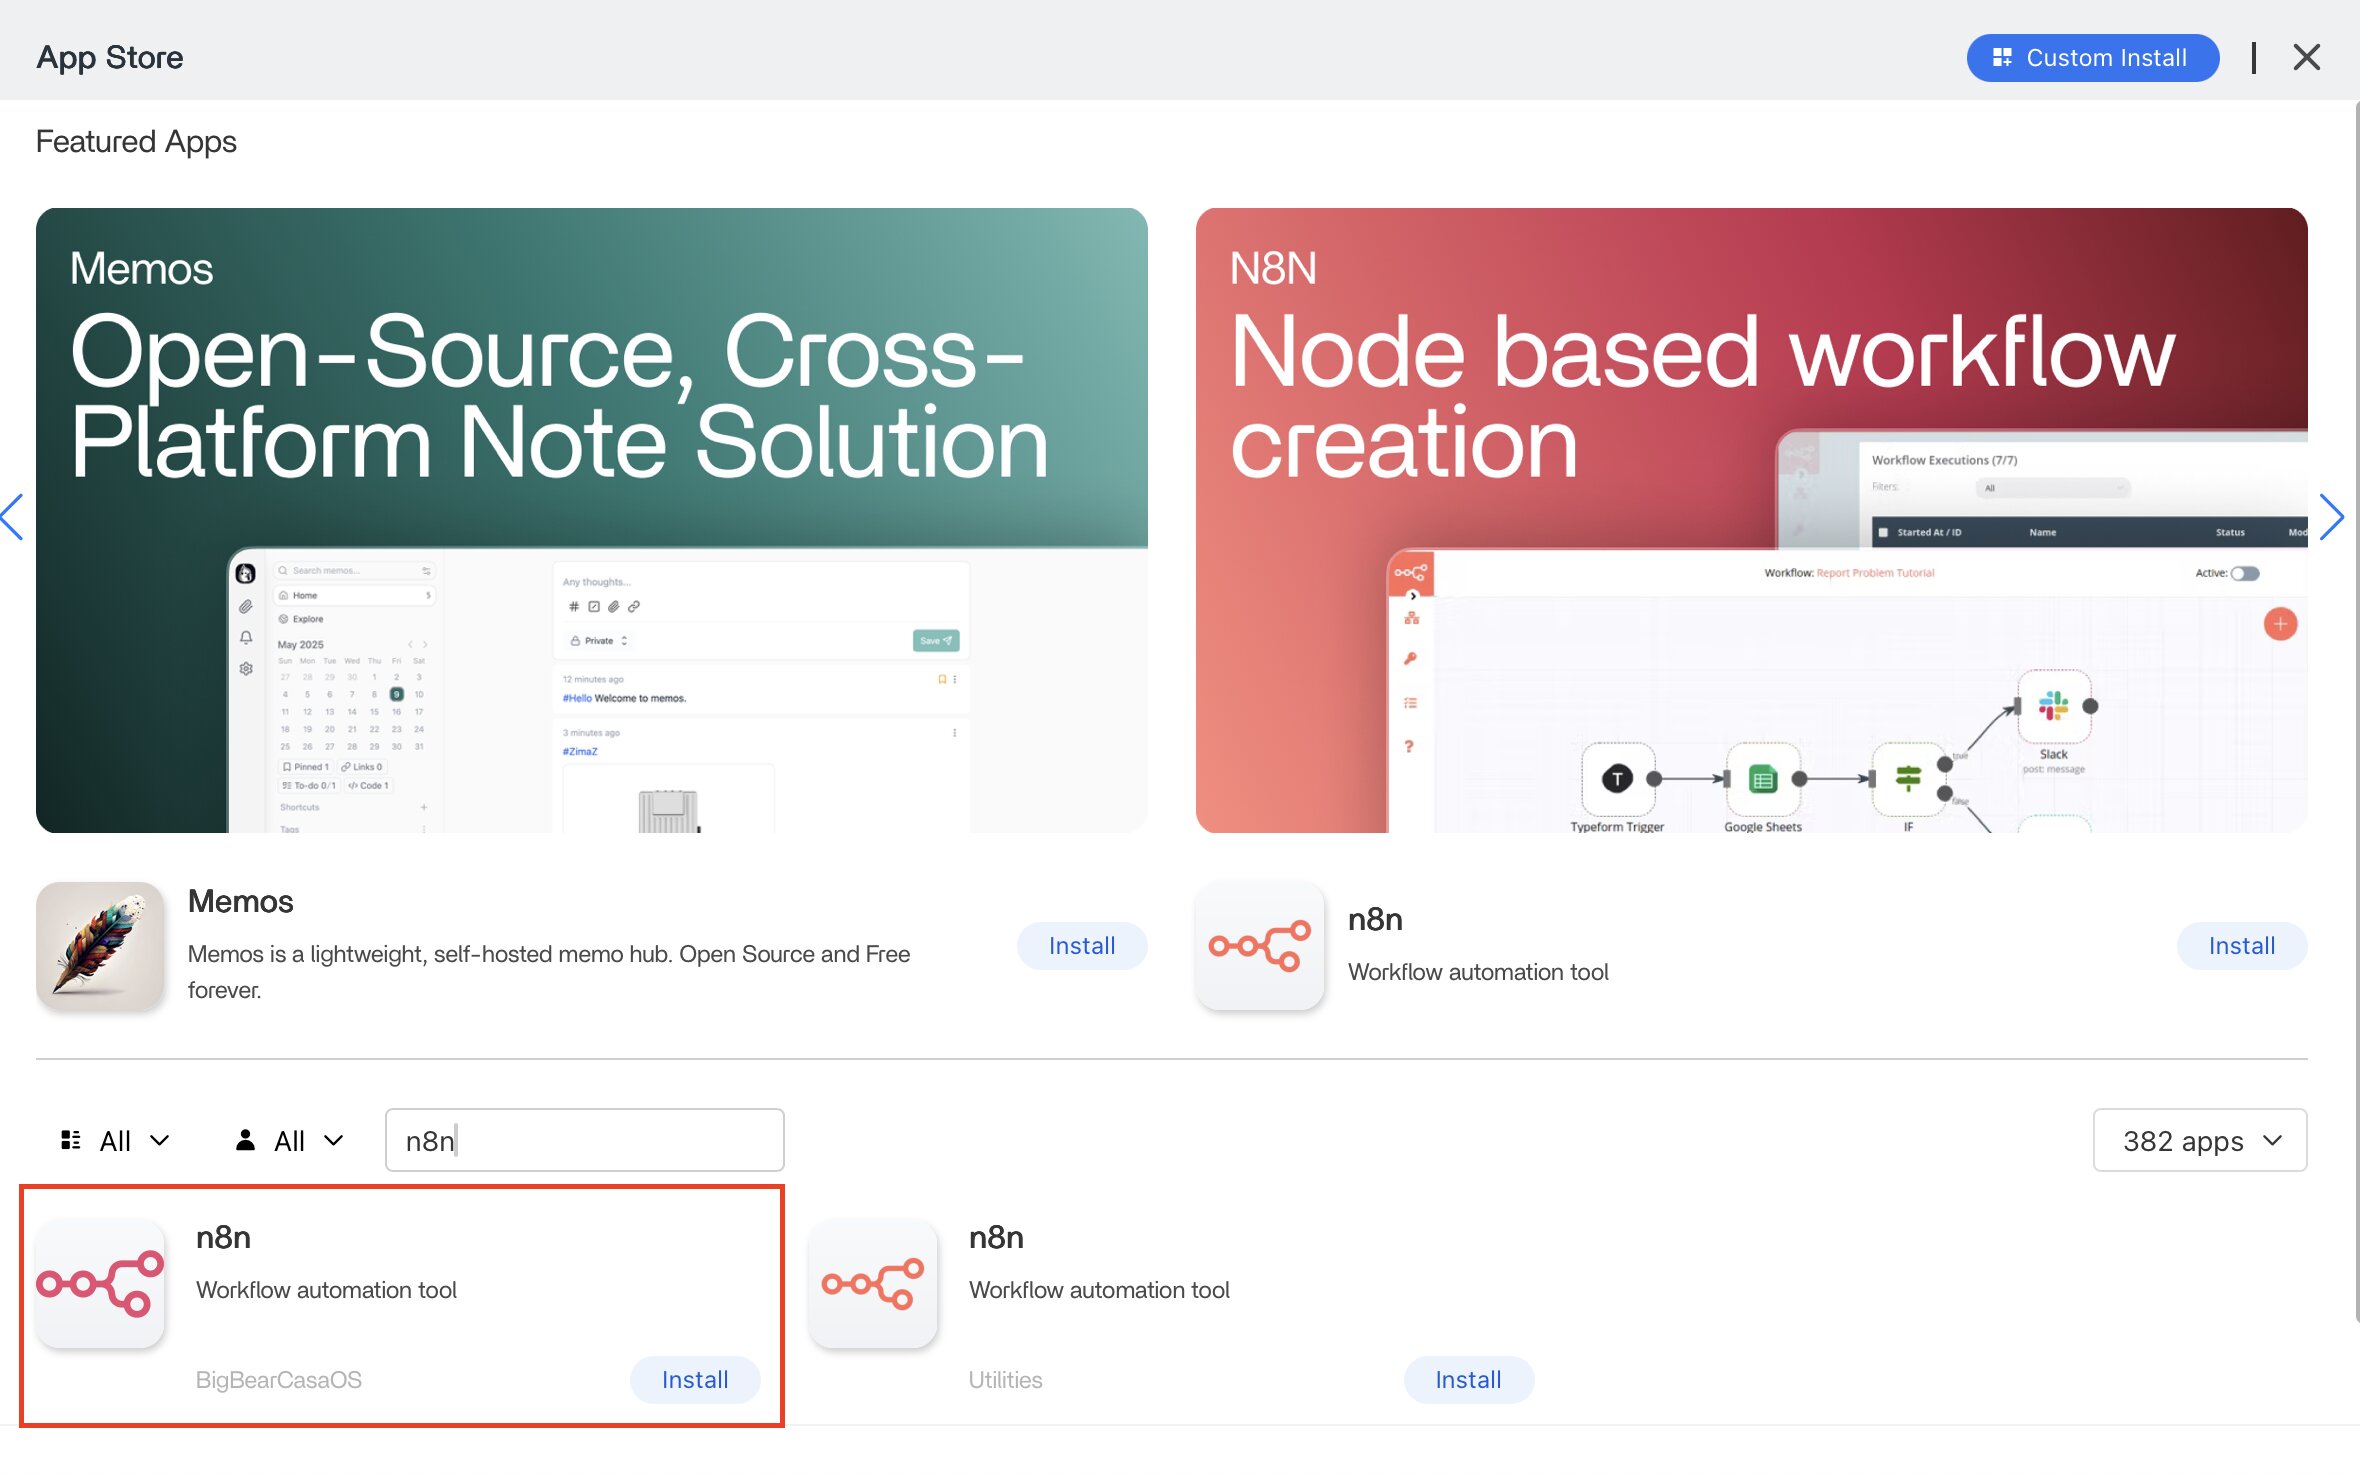
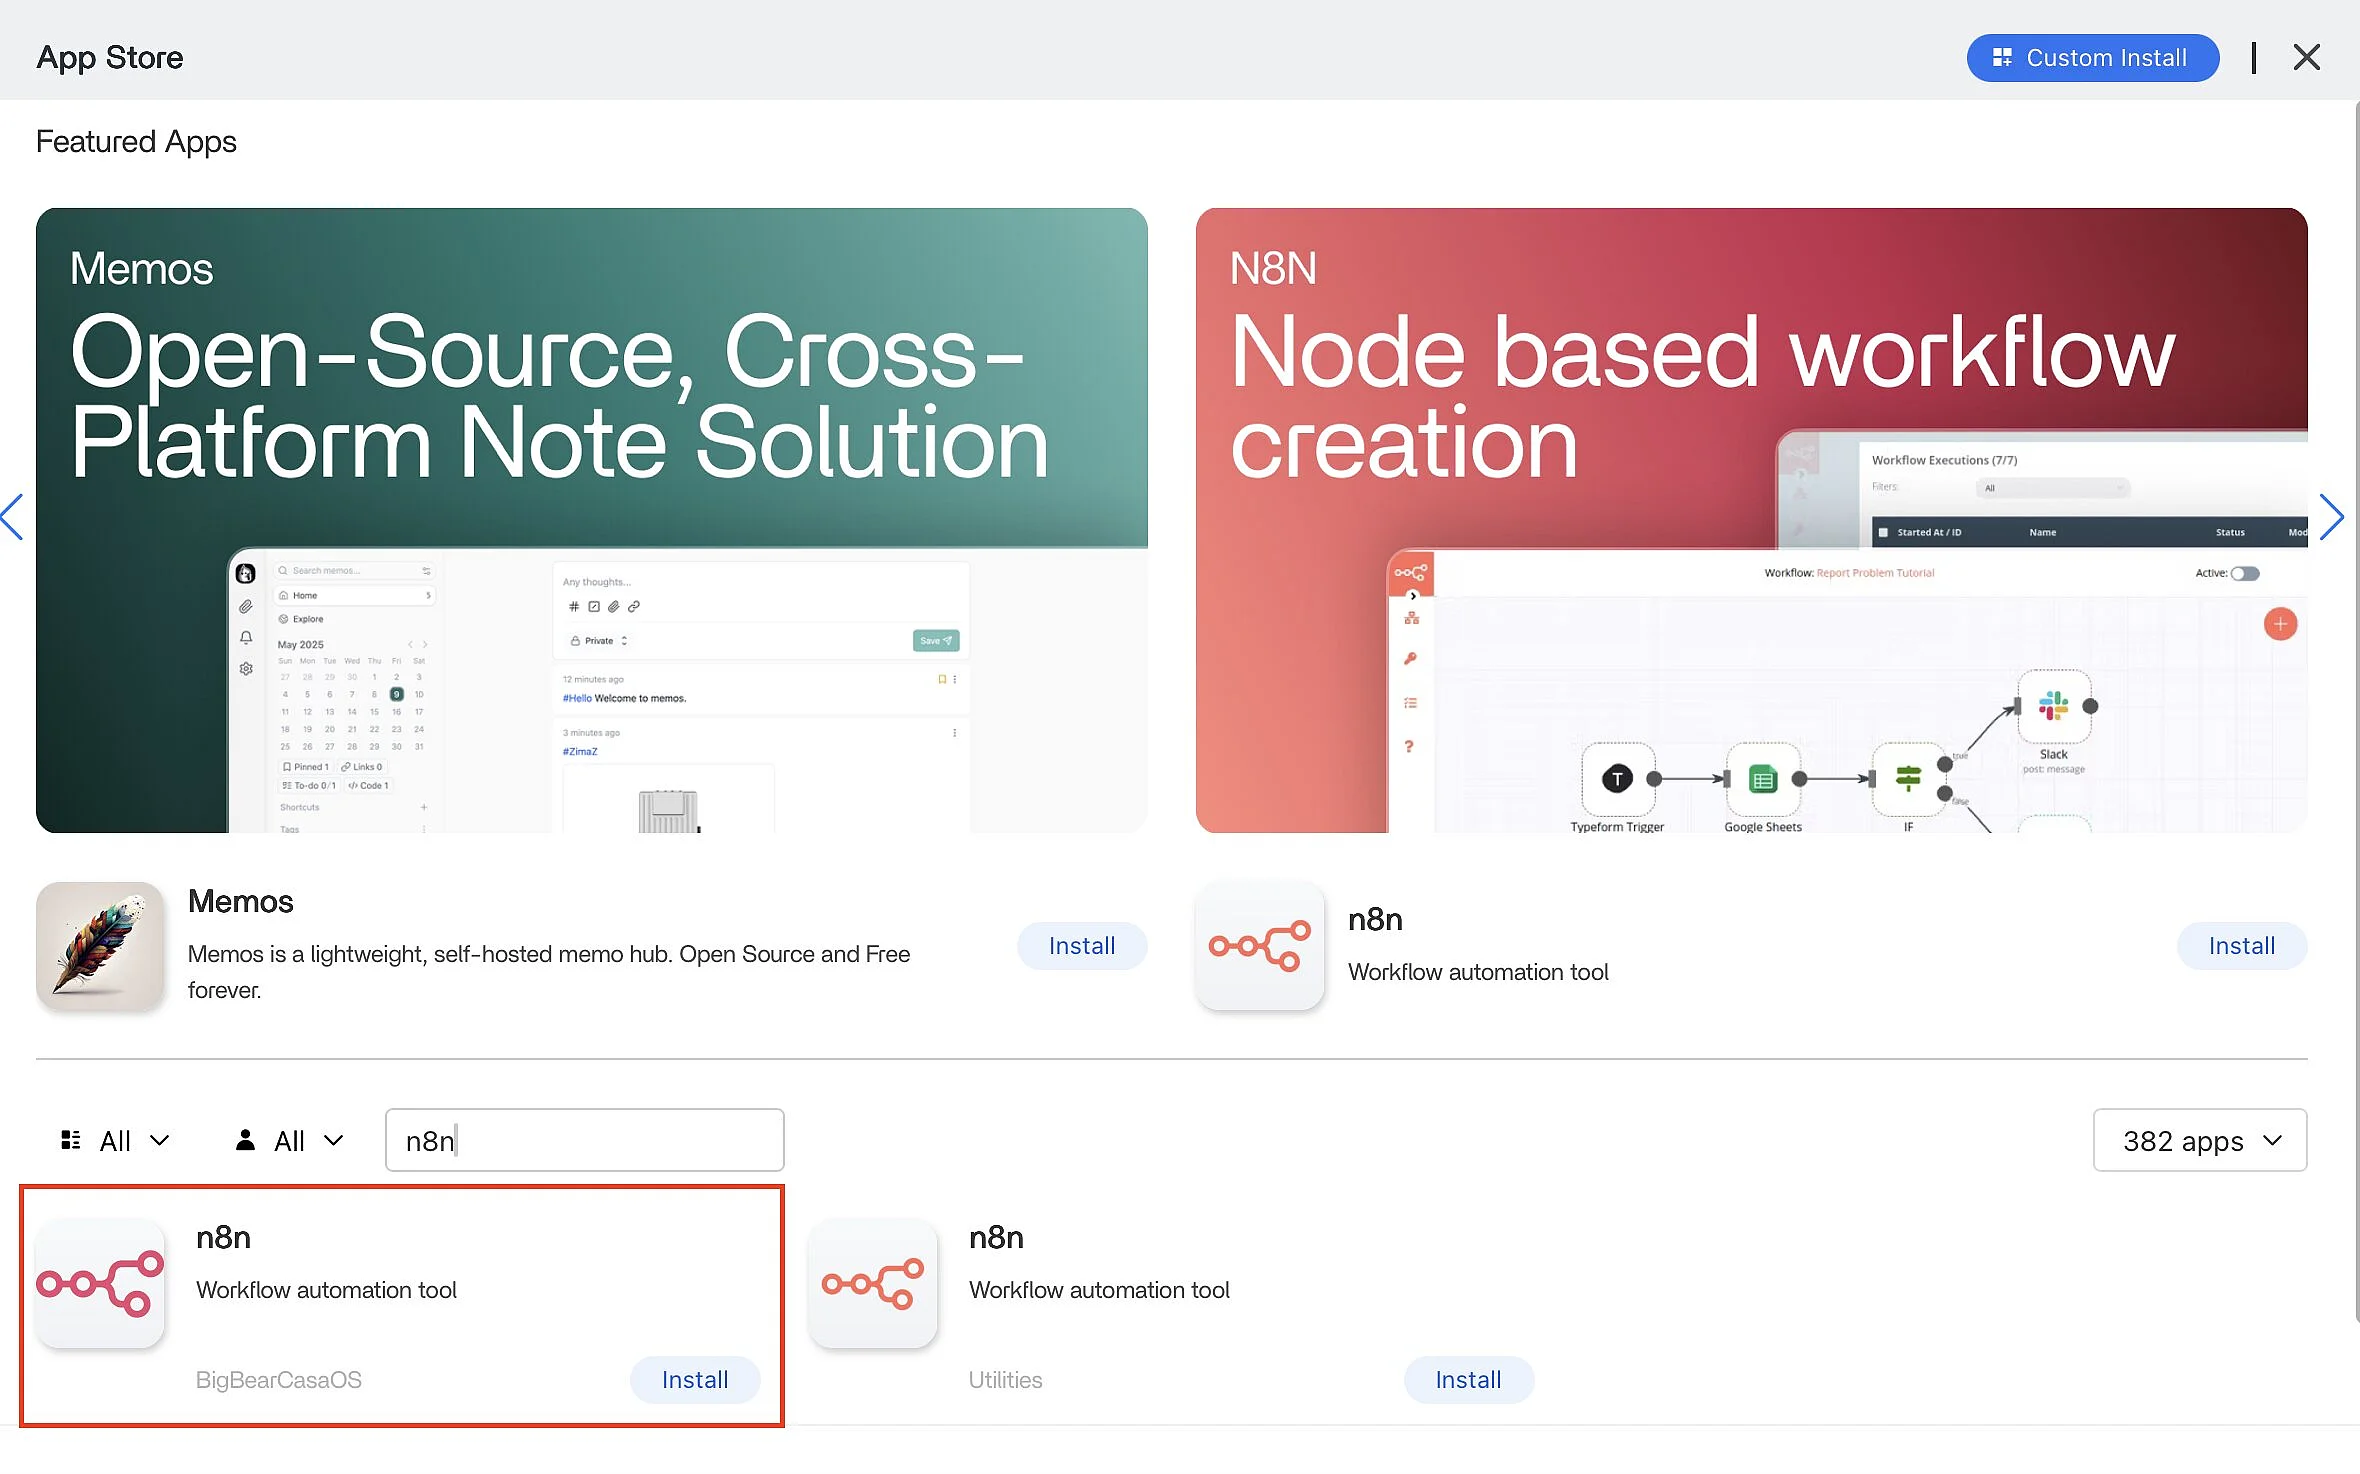
CasaOS will open the n8n setup page. Click Install to start the installation.
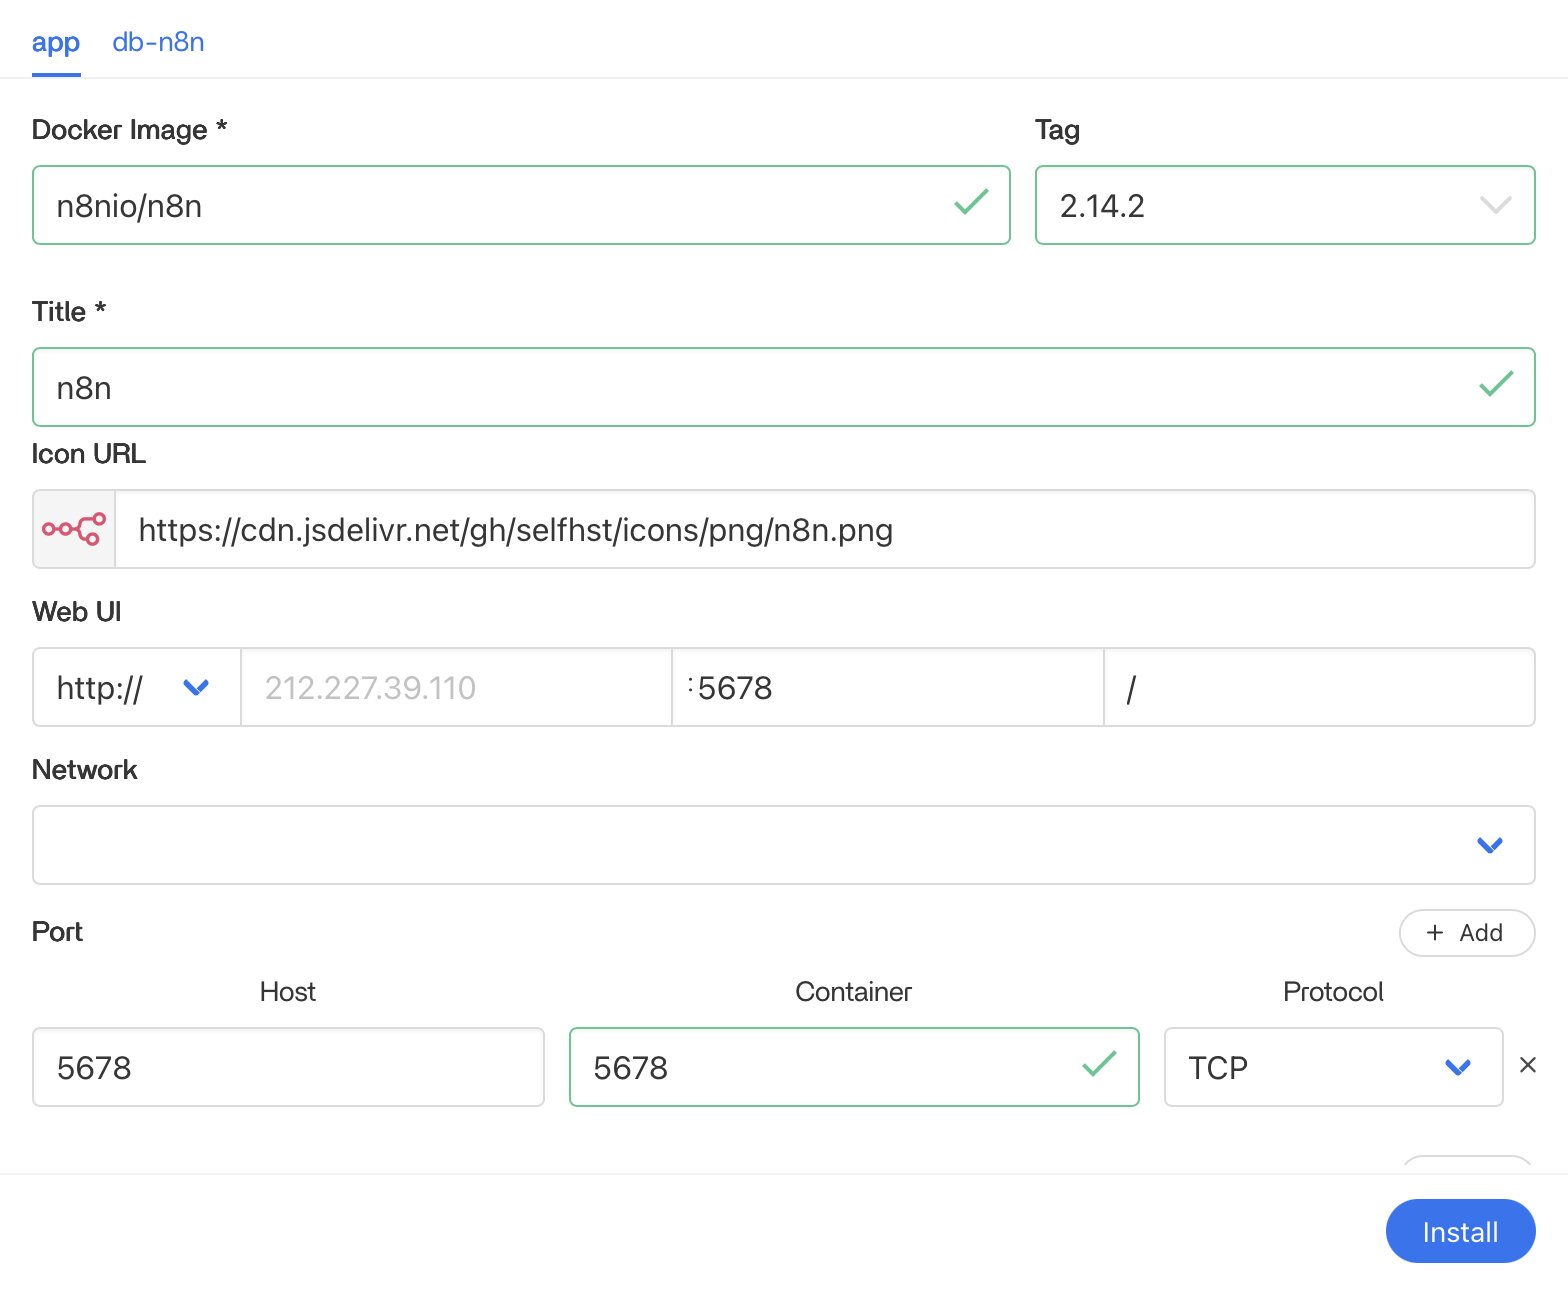
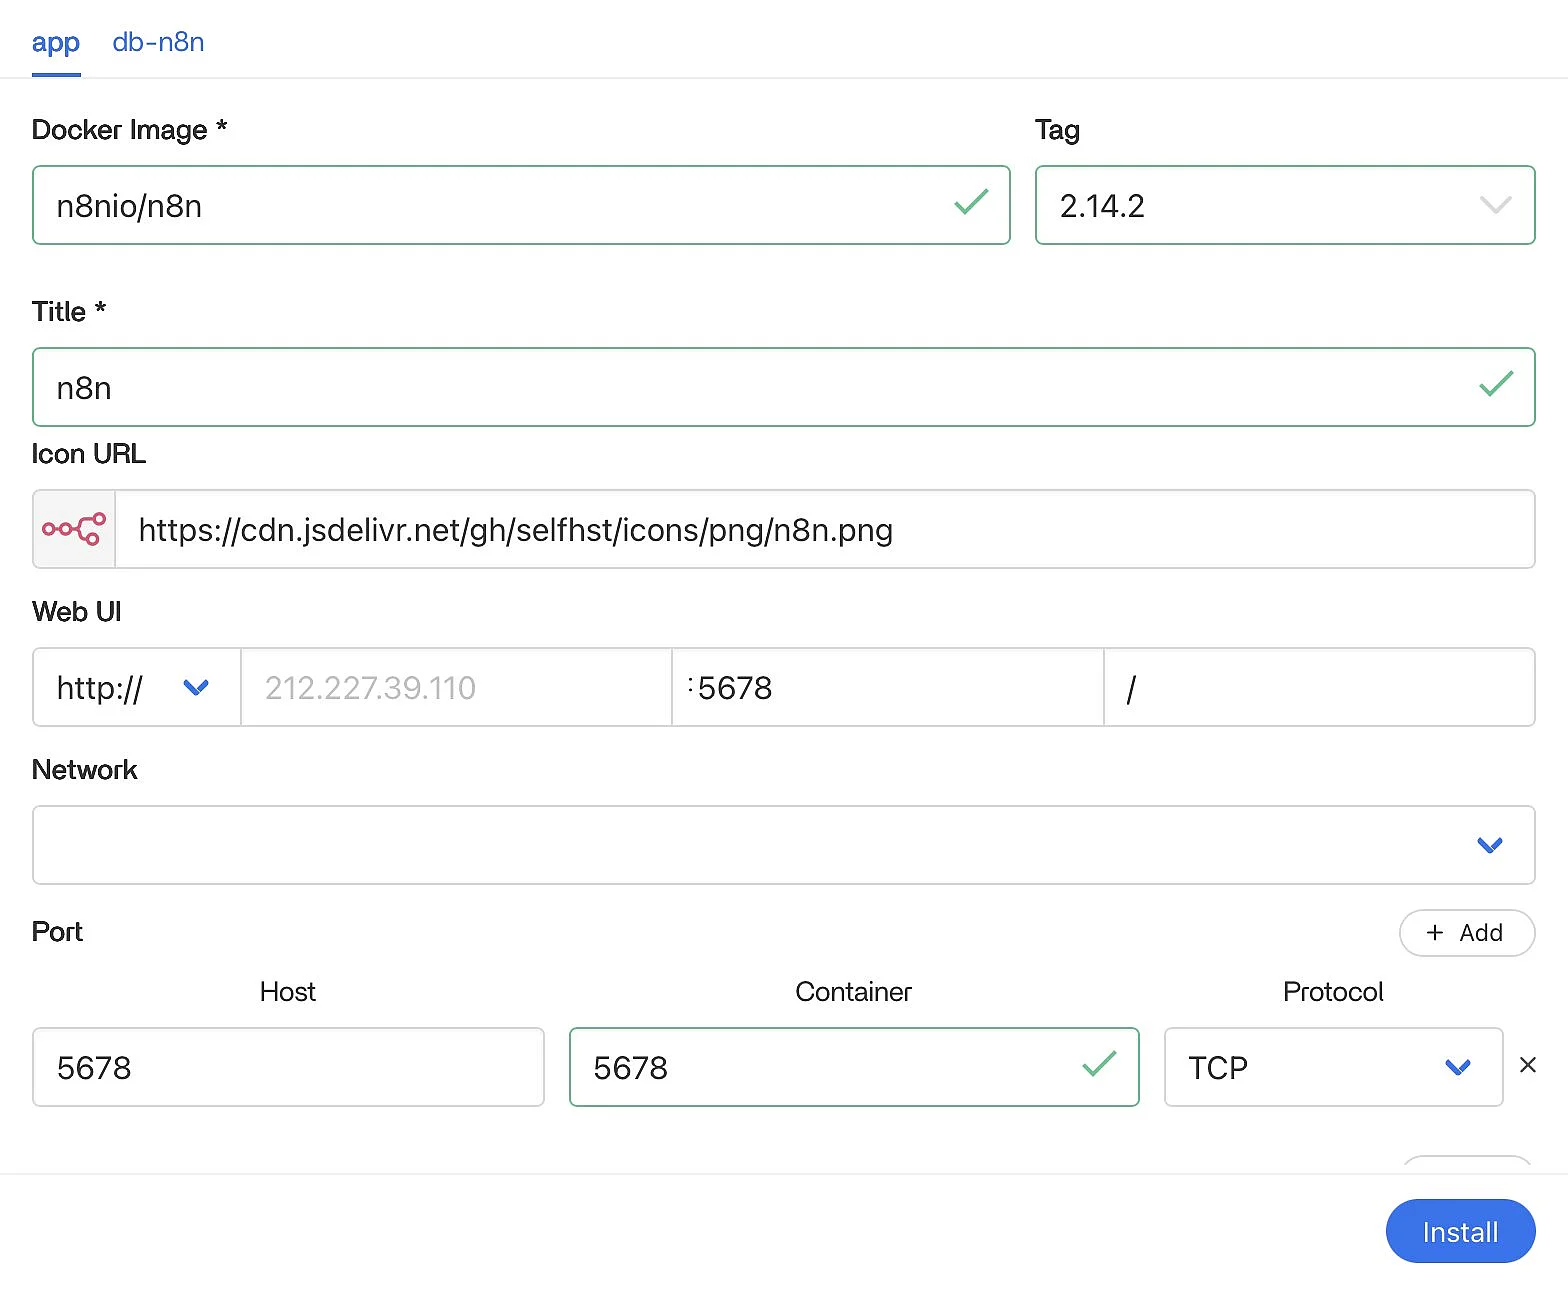
CasaOS now takes care of installing n8n with Docker for you. It downloads the Docker image, creates the Docker container and applies the basic settings automatically. After a short time, you’ll see n8n in your installed apps. Use the n8n tile in CasaOS to start the app and open the n8n interface.
There are other ways to install n8n besides CasaOS. For more workflows, users or webhook traffic, you may prefer to install n8n on Kubernetes. You can also set up n8n with CapRover or install it on Plesk if you already use one of those platforms.
Alternative: Install n8n manually with Docker as a custom app
If n8n does not appear in the App Store or if you want more control over the setup, you can add it as a custom app. Open the App Store and click Custom Install or + Add App (depending on your CasaOS version). Then select the option to add an app using a Docker configuration (Compose / YAML). CasaOS will open a setup screen where you can add your Docker configuration. Paste in this code:
services:
  n8n:
    image: docker.n8n.io/n8nio/n8n
    restart: unless-stopped
    ports:
      - "5678:5678"
    environment:
      - N8N_HOST=n8n.yourdomain.ie
      - N8N_PORT=5678
      - N8N_PROTOCOL=http
    volumes:
      - n8n_data:/home/node/.n8n

volumes:
n8n_data:This configuration ensures n8n starts as a container, opens the default port 5678 and stores your n8n data in a persistent volume. After you paste the code, save the custom app and start the installation.
CasaOS will create the container and add n8n to your app overview. After a few moments, n8n is ready to use.
This setup is enough for initial testing. If you want to use n8n regularly, you should also set up a domain, enable HTTPS and configure the correct webhook URL. Step 6 explains how to do this.
Step 5: Start n8n and open the interface
Once the installation is complete, go to the Installed Apps in the dashboard. There you’ll see all the apps that are currently installed on your server. Find n8n in the list. In most cases, it is already running after installation. If it is not, start it from the CasaOS interface and then open the app.
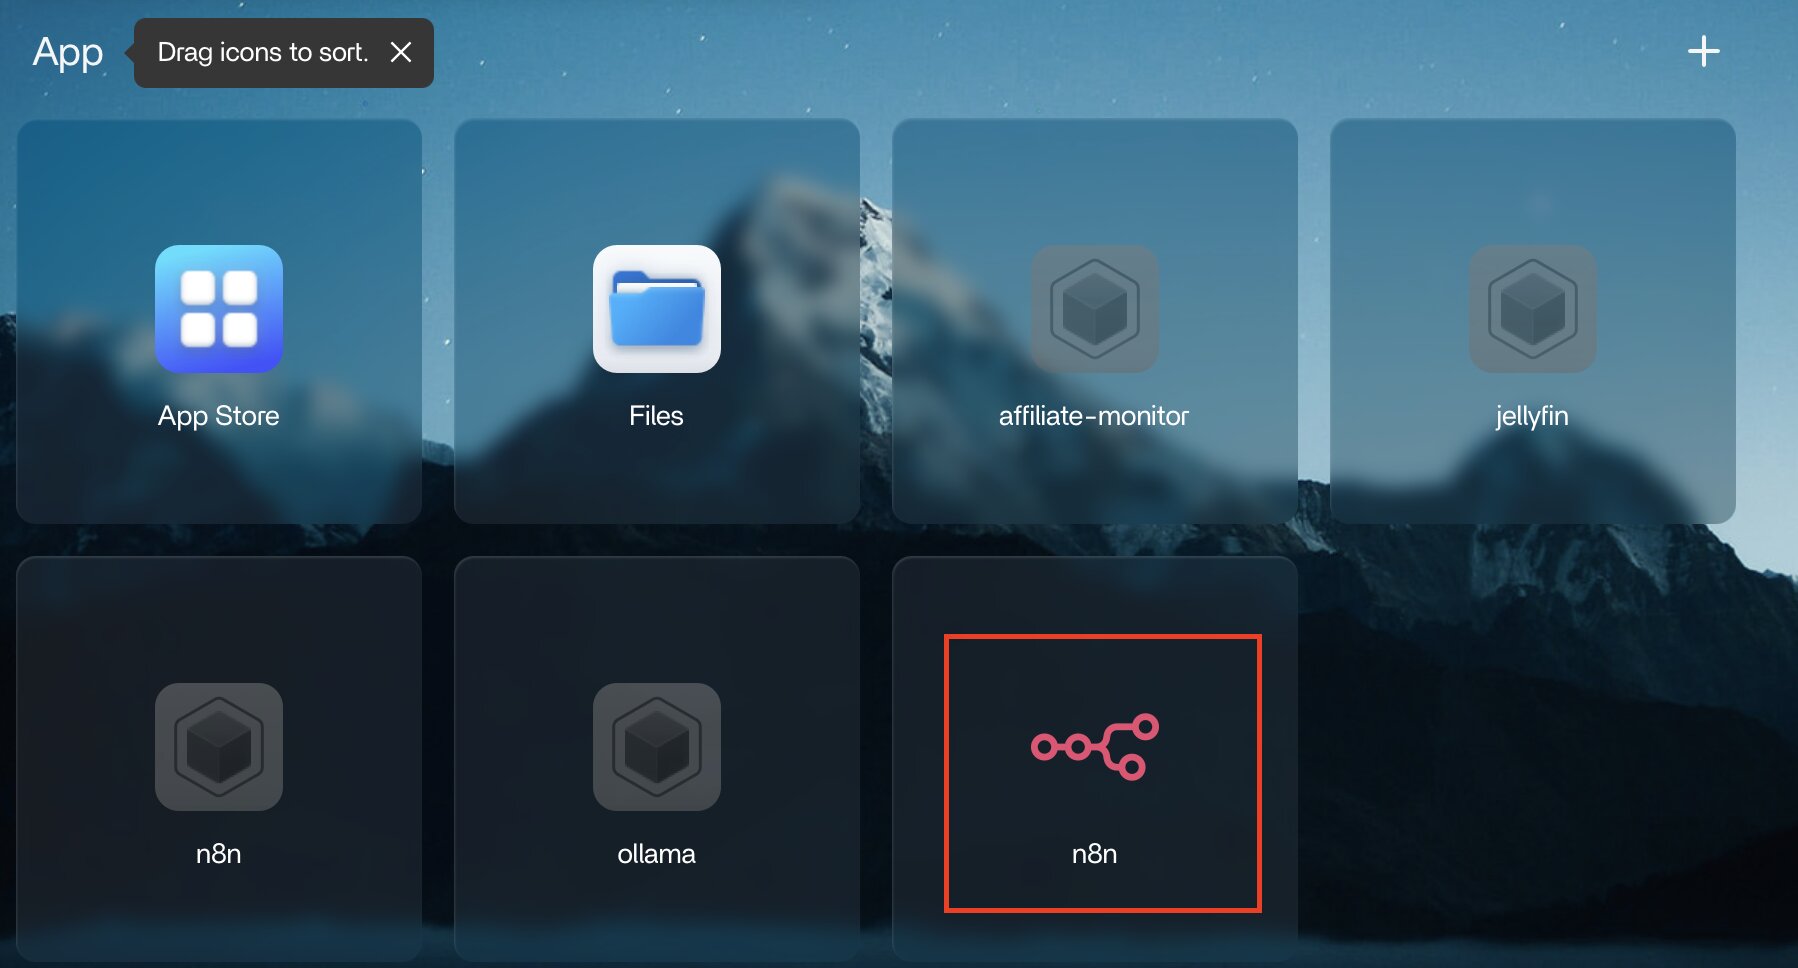
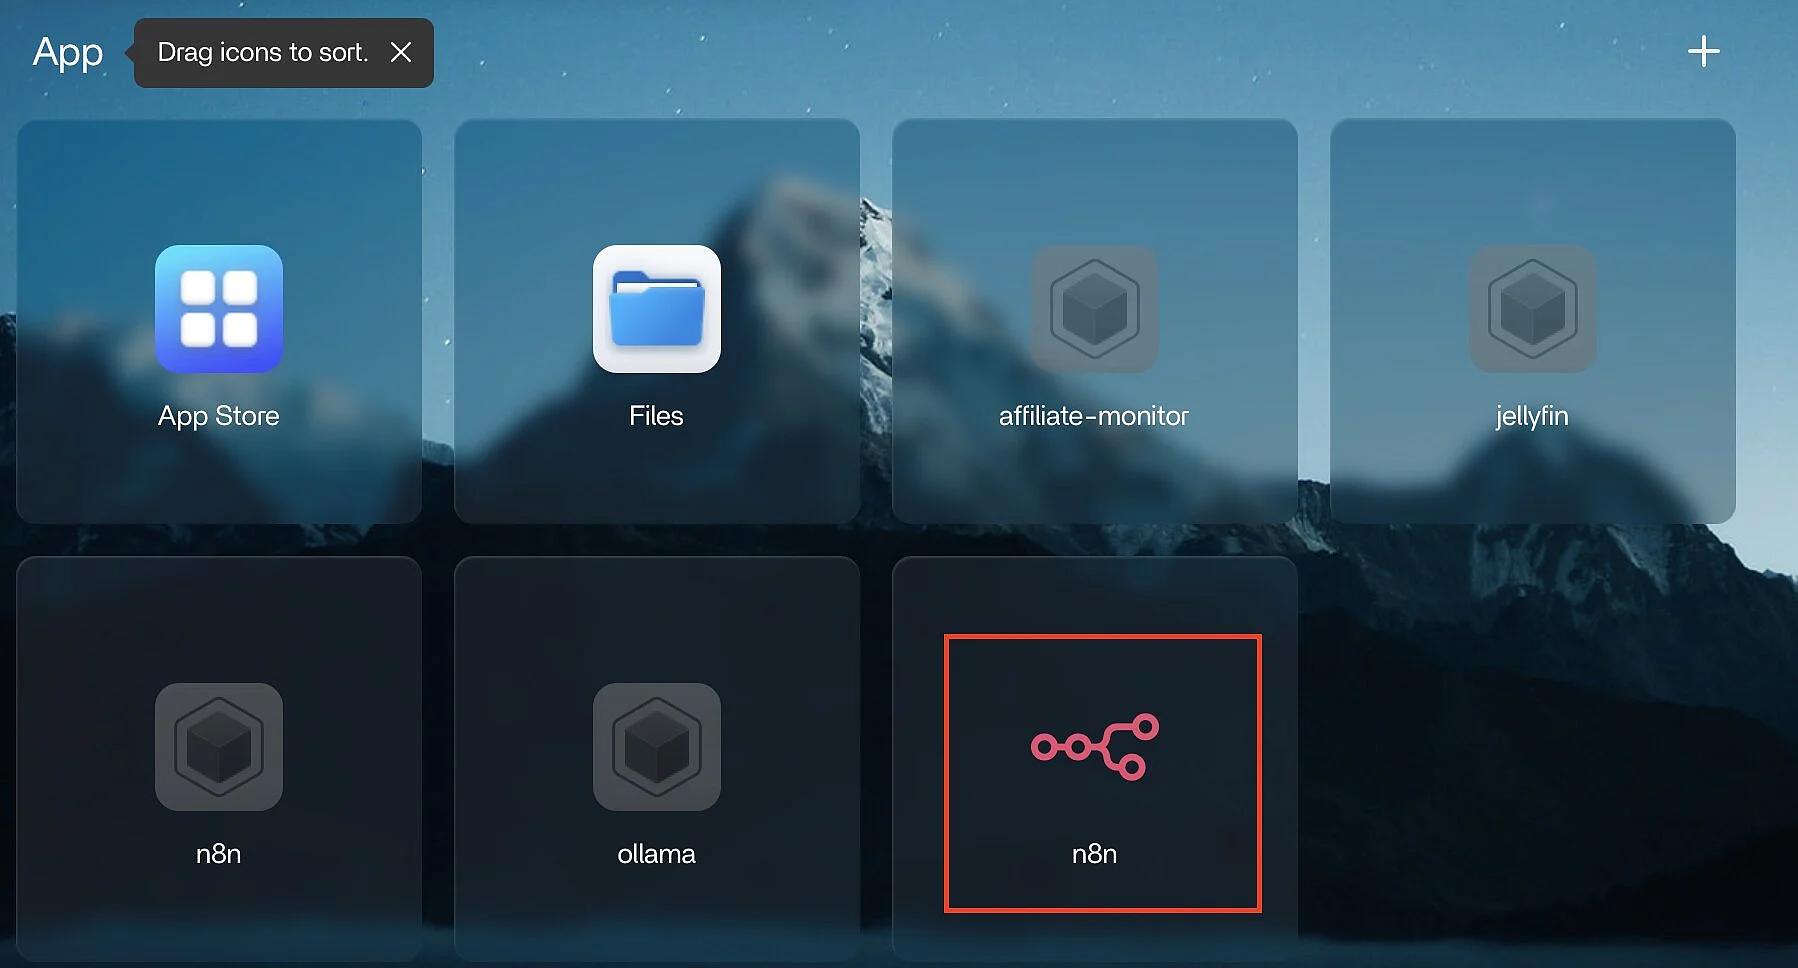
When n8n is running, open it in your browser with this address:
http://YOUR-SERVER-IP:5678Replace YOUR-SERVER-IP with your server’s actual IP address. Port 5678 is the default port for n8n, so make sure to include it.
If everything has been set up correctly, the n8n interface will open. The first time you open it, you’ll usually see the n8n editor or a short setup page. From there, you can create your first workflow.
Step 6: Prepare n8n for everyday use
After installing and opening n8n in CasaOS, it’s worth adjusting a few settings before you start using it regularly. This is especially important if n8n needs to be accessible from outside your local setup. Configuring it correctly first helps avoid issues with webhooks, external access and security later.
Set up a domain or subdomain
By default, n8n is available through your server’s IP address over an unencrypted HTTP connection. That is fine for initial testing, but it is not ideal for everyday use. Instead, you should access n8n through a fixed domain and secure the connection with HTTPS. HTTPS encrypts the connection, prevents browser security warnings and helps webhooks work more reliably.
Start by creating your own domain or subdomain like n8n.yourdomain.ie. Then point it to your server’s IP address with a DNS record usually an (A record). Once the DNS record is active, you can open n8n through your domain instead of entering the server IP address.
Set up a reverse proxy
You’ll also need a reverse proxy so the domain works with n8n. A reverse proxy receives requests for your domain and forwards them to the n8n port on your server. nginx and Caddy are two solid options. A reverse proxy can also handle HTTPS certificates for you.
For encryption, you can use Let’s Encrypt. This free service issues valid SSL certificates and renews them automatically. Many reverse proxies support Let’s Encrypt directly, so setting up HTTPS is usually straightforward.
Set environment variables
You should also set a few environment variables so n8n knows which public address to use and how to create webhook URLs. A typical configuration is as follows:
N8N_HOST=n8n.yourdomain.ie
N8N_PROTOCOL=https
WEBHOOK_URL=https://n8n.yourdomain.ie/
N8N_PROXY_HOPS=1
These values tell n8n that is available through your domain over HTTPS. In CasaOS, you can add them in the n8n app settings. To do this, open Installed Apps, select n8n, and enter the values in the environment variables section. Then save the changes and restart the container so the new settings apply.
If you plan to use n8n regularly, you should also set N8N_ENCRYPTION_KEY. n8n uses this key to encrypt sensitive data, including login credentials and API keys. If you do not set your own key, n8n will generate one automatically. A fixed key is safer for self-hosted setups because it keeps credential handling consistent if the container changes later.