How to connect Telegram to a self-hosted n8n setup

Integrating Telegram into a self-hosted n8n setup lets you add messages and notifications directly to your automation workflows. This guide shows you how to connect Telegram with n8n step by step and build your first simple workflows for incoming and outgoing messages.
Benefits of integrating Telegram with n8n
Telegram is an excellent choice for integrating with n8n because it provides a fast, reliable, and direct communication channel. Messages are usually delivered in real time, so you can react quickly to events in your workflows. Compared to email or other notification systems like Discord, which can also be connected to n8n, Telegram messages are more visible and often noticed faster on mobile devices. This makes Telegram ideal for time-critical alerts, status updates, and confirmations.
Another advantage is its simple communication structure. Messages, files, images, and links can be sent easily and processed further in workflows. For example, you can automatically send content from APIs, databases, or other tools like Jira with n8n to Telegram without developing additional interfaces. Incoming messages can also trigger further automations, making interactive processes possible.
For self-hosted n8n setups, Telegram is practical because you do not need additional infrastructure for notifications. You can connect existing workflows directly to a messenger you already use every day. Team communication is also easy to manage by sending messages to groups or channels, so several people can stay informed about important events at the same time.
Step 1: Meet the requirements
Before you start the actual setup, you should briefly check whether all the basics are in place. This saves a lot of time later, because the most common errors with Telegram triggers are not caused by the workflow itself, but by missing prerequisites such as an n8n URL that isn’t publicly accessible or a bot that hasn’t been created yet. The following requirements should be met:
- A self-hosted n8n instance: Your n8n environment must already be running and accessible via a browser.
- A public URL for n8n: For incoming Telegram events, n8n requires an externally accessible HTTPS address for triggers.
- A Telegram account with existing login credentials: You need valid credentials that you can store in n8n and an access token generated via BotFather.
- Access to your n8n configuration: If your instance is running behind a reverse proxy, you should be able to adjust environment variables such as
WEBHOOK_URL,N8N_HOST, andN8N_PROTOCOL. - Optionally, a chat or group for testing: This lets you try out the integration right away without affecting any production workflows.
If you want to self-host n8n Telegram, there are several installation options available. An n8n Docker installation is flexible and ideal for custom setups or servers with direct access. For simple graphical management, you can alternatively use an n8n Plesk installation, where containers are conveniently set up via the interface. Solutions like n8n with CasaOS also offer a quick start with an app-store-like user experience. If, on the other hand, you value scalability and high availability, you can install n8n with Kubernetes to run more complex workloads reliably.
Step 2: Prepare Telegram credentials
To integrate Telegram with n8n, you need valid credentials that n8n can use to authenticate with Telegram. These credentials allow n8n to send messages and, when using a trigger, receive incoming messages.
If you already have a Telegram account, you have covered the basic requirement. However, Telegram does not connect directly to n8n. Instead, it uses the Bot API, which requires an access token. This token acts as a unique key that n8n can use to communicate with Telegram. In many cases, this access may already exist, for example if Telegram is already used in other tools or automations. In that case, you can reuse the existing token and store it directly in n8n.
If no access token exists yet, you first need to create one as part of an n8n Telegram bot. This step is usually quick to complete. Treat the access token like a password. Anyone with access to it can send or process messages on behalf of your integration. Store it securely and do not share it publicly.
Step 3: Make n8n correctly reachable for webhooks
If you use Telegram in n8n only to send messages, storing the credentials in n8n is enough. In this case, n8n actively establishes the connection to Telegram, so no additional configuration is required.
However, if you want to process incoming messages and use Telegram as a trigger, your n8n instance must be reachable from the outside. Telegram sends new messages to n8n through webhooks, which are public URLs that external services can call. n8n creates these webhook URLs automatically based on your configuration. If your instance runs behind a reverse proxy, however, n8n may only know its internal address unless additional settings are configured. As a result, webhooks may be created but not work from the outside.
The following Docker Compose example shows how to configure your n8n instance so that it generates the correct public webhook URLs and external services like Telegram can reliably reach them:
services:
    n8n:
        image: n8nio/n8n:latest
        ports:
            - "5678:5678"
        environment:
            - N8N_HOST=n8n.example.com
            - N8N_PROTOCOL=https
            - WEBHOOK_URL=https://n8n.example.com/
            - N8N_PROXY_HOPS=1
        volumes:
- ./n8n_data:/home/node/.n8nFor production environments, it’s recommended to use a fixed image version (for example, n8nio/n8n:2.15.0) to avoid unexpected changes from automatic updates. Changes to environment variables such as N8N_HOST only take effect after the container has been restarted. Therefore, after every configuration change, run the command docker compose down && docker compose up -d.
Step 4: Store Telegram credentials in n8n
Next, connect Telegram to your n8n instance. To do this, store the previously prepared credentials once in n8n. n8n saves them as credentials, so you can reuse them in any workflow later without entering the token again.
Proceed as follows:
- Open your n8n interface in the browser.
- Create a new workflow to set up or test the integration.
- Add a Telegram node.
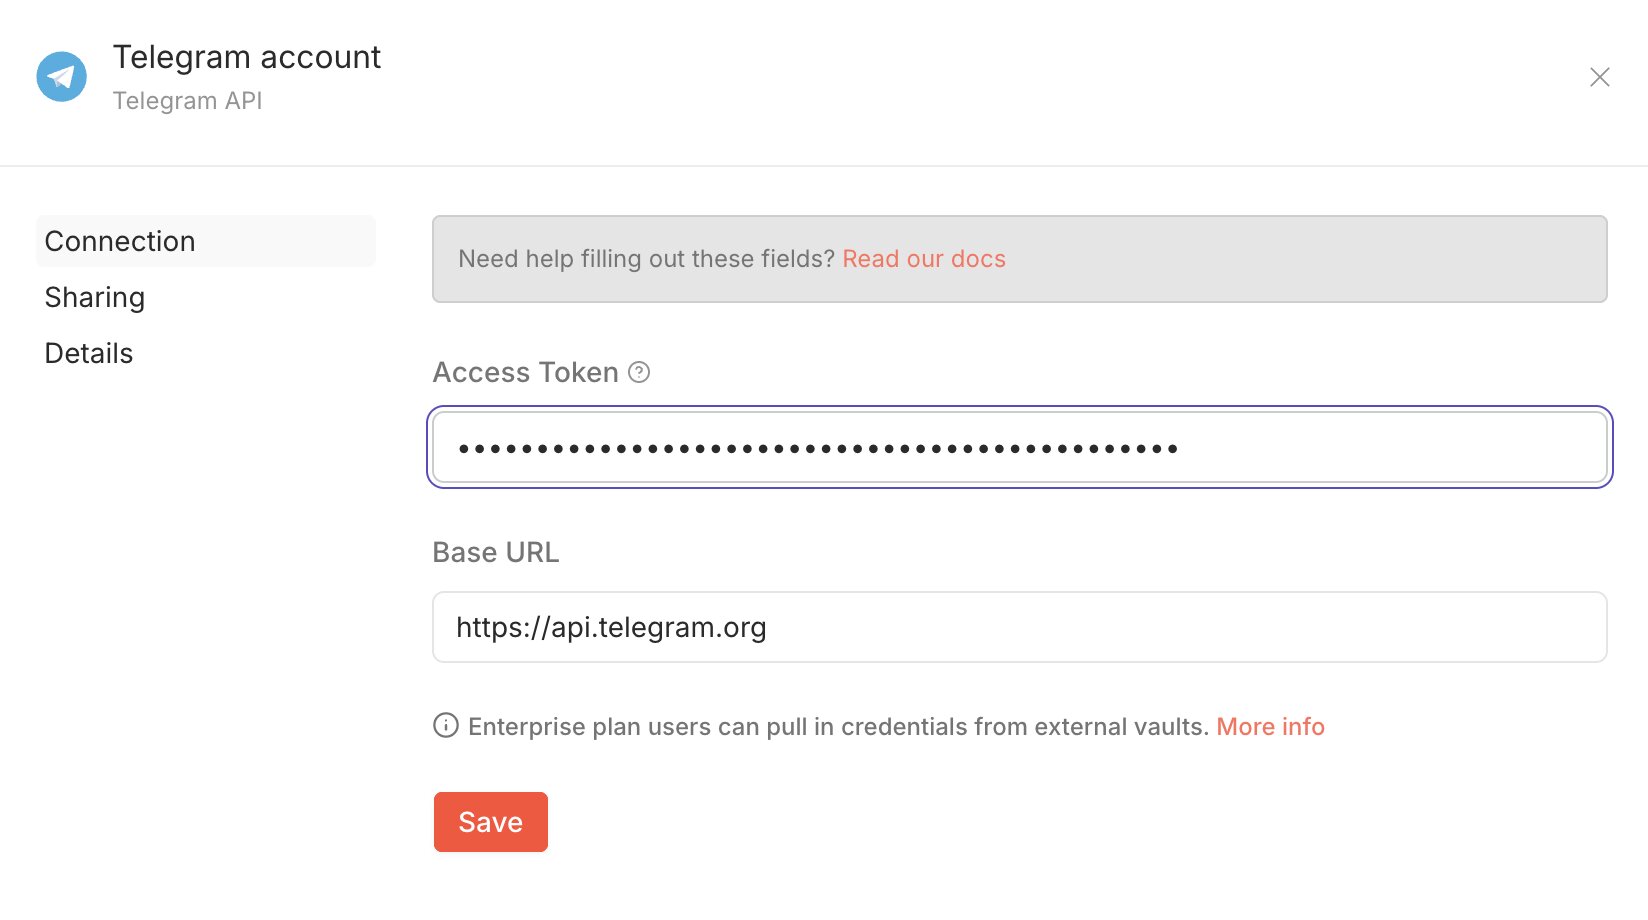
- In the ‘Credentials’ section, click ‘Create new credential’.
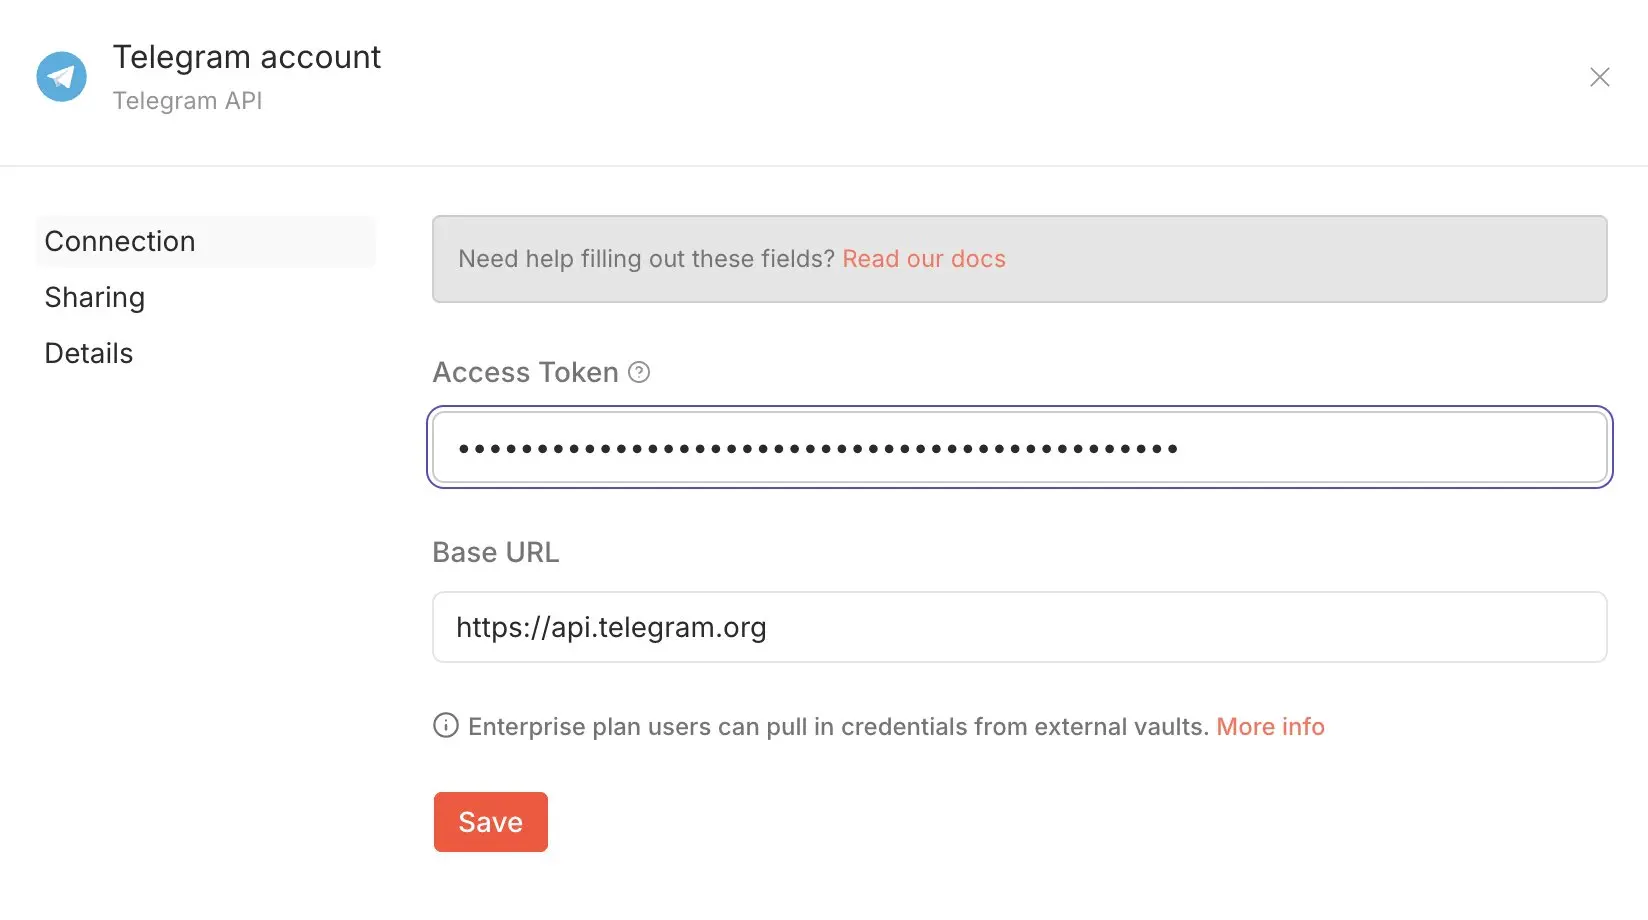
- Enter your existing access token in the ‘Access Token’ field.
- Save your entry.
After saving, the connection to Telegram is available immediately. You can now select and use the credentials in any other workflow. This step only needs to be completed once. After that, you can use Telegram as often as you like in new or existing workflows.
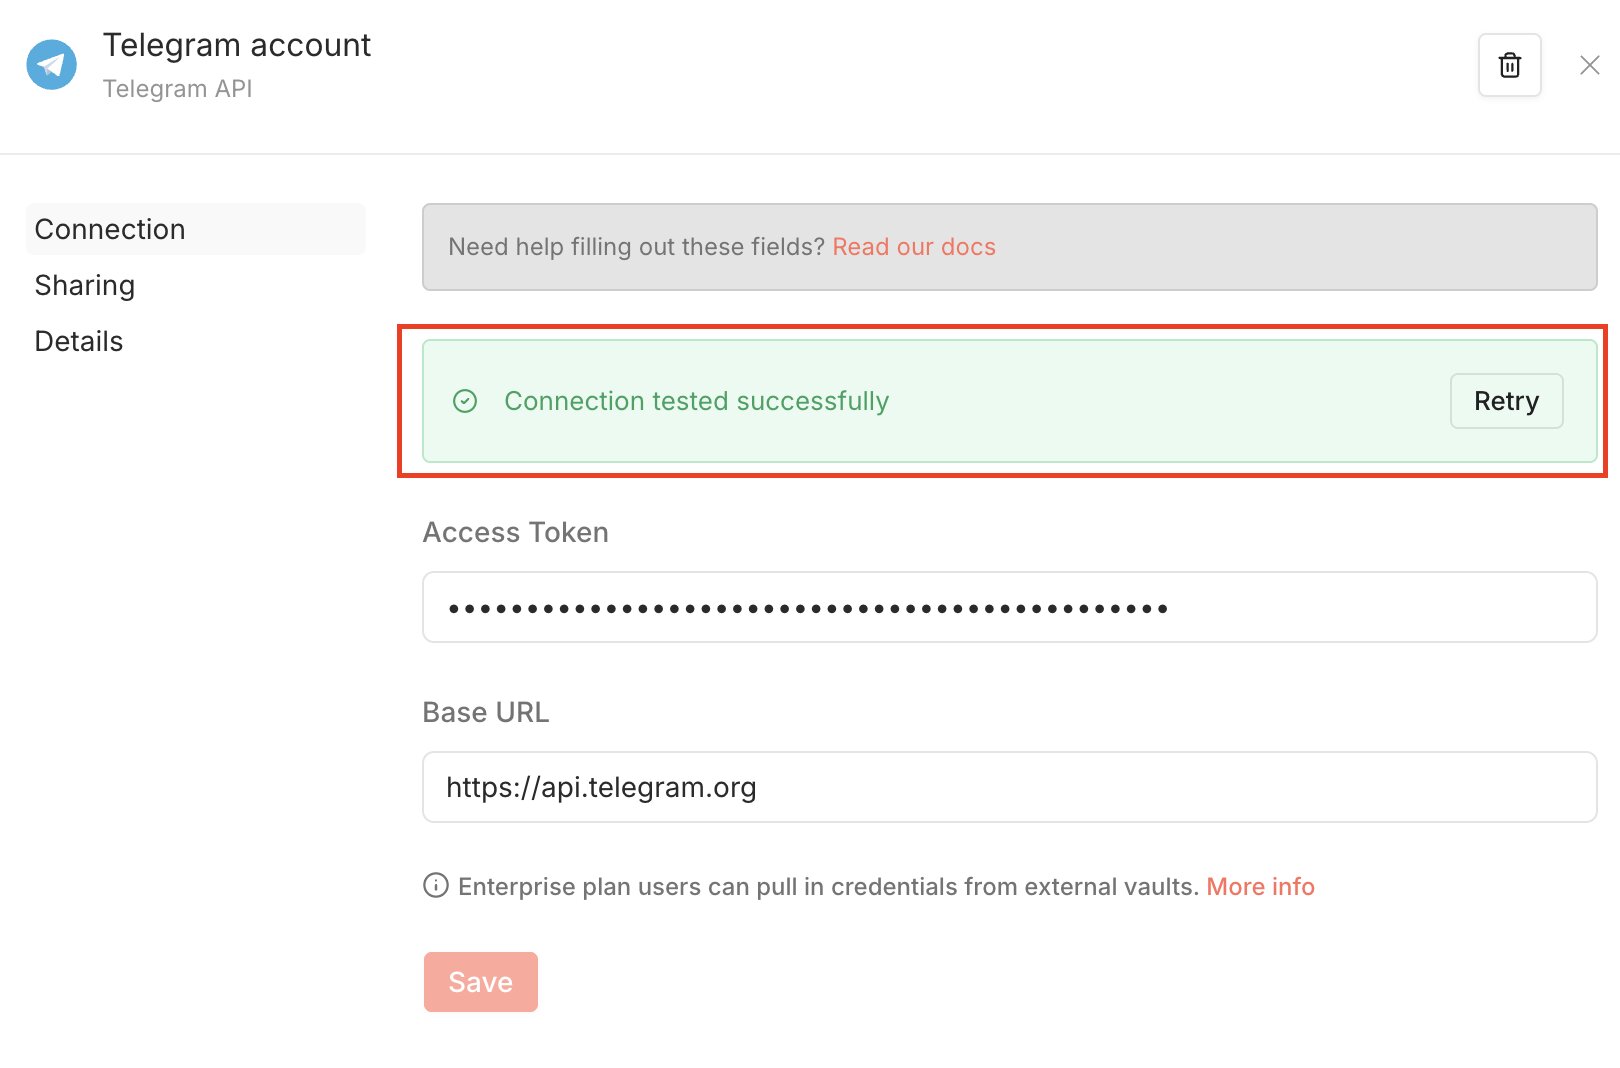
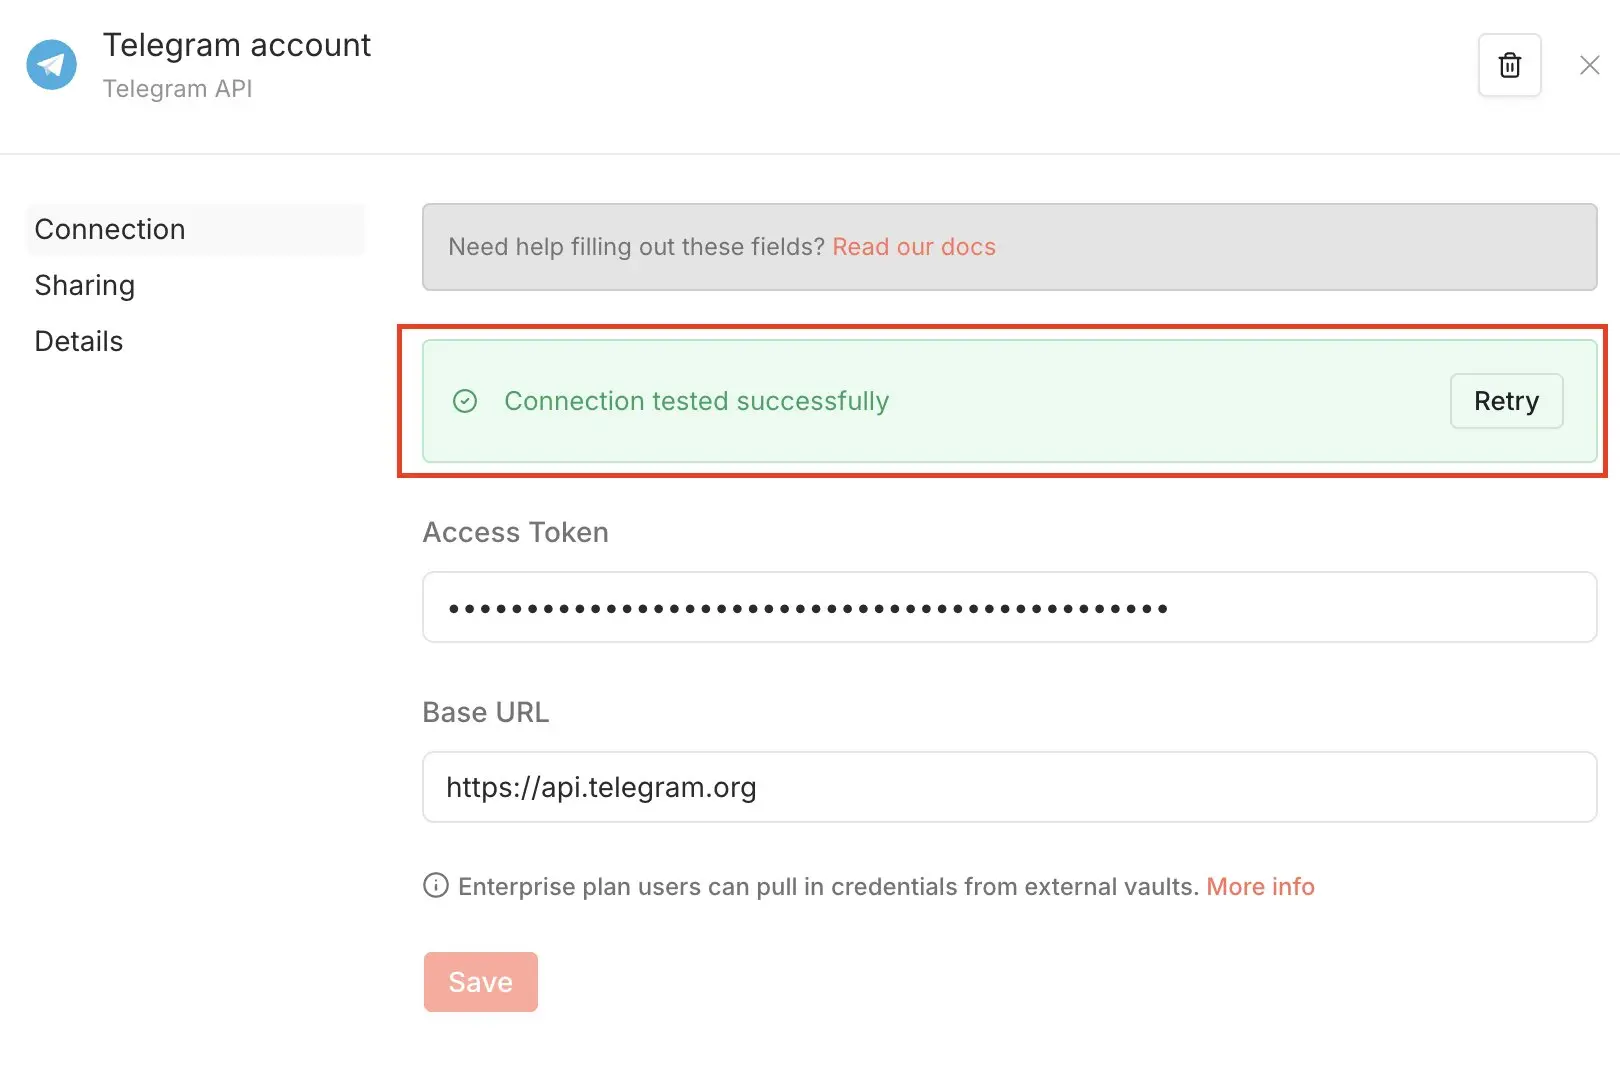
n8n then tests the connection immediately and displays the result:
Step 5: Send your first Telegram message from n8n
To test the integration, it’s a good idea to first create a very simple workflow that sends a message to Telegram. This lets you quickly check whether the connection between n8n and Telegram is working correctly, without having to use more complex triggers or logic right away.
The basic structure of the workflow looks like this:
Manual Trigger -> Telegram
This means the workflow starts manually and then sends a message through the Telegram node. First, add a Manual Trigger node. This lets you run the workflow with a click. Then add a Telegram node and connect both nodes.
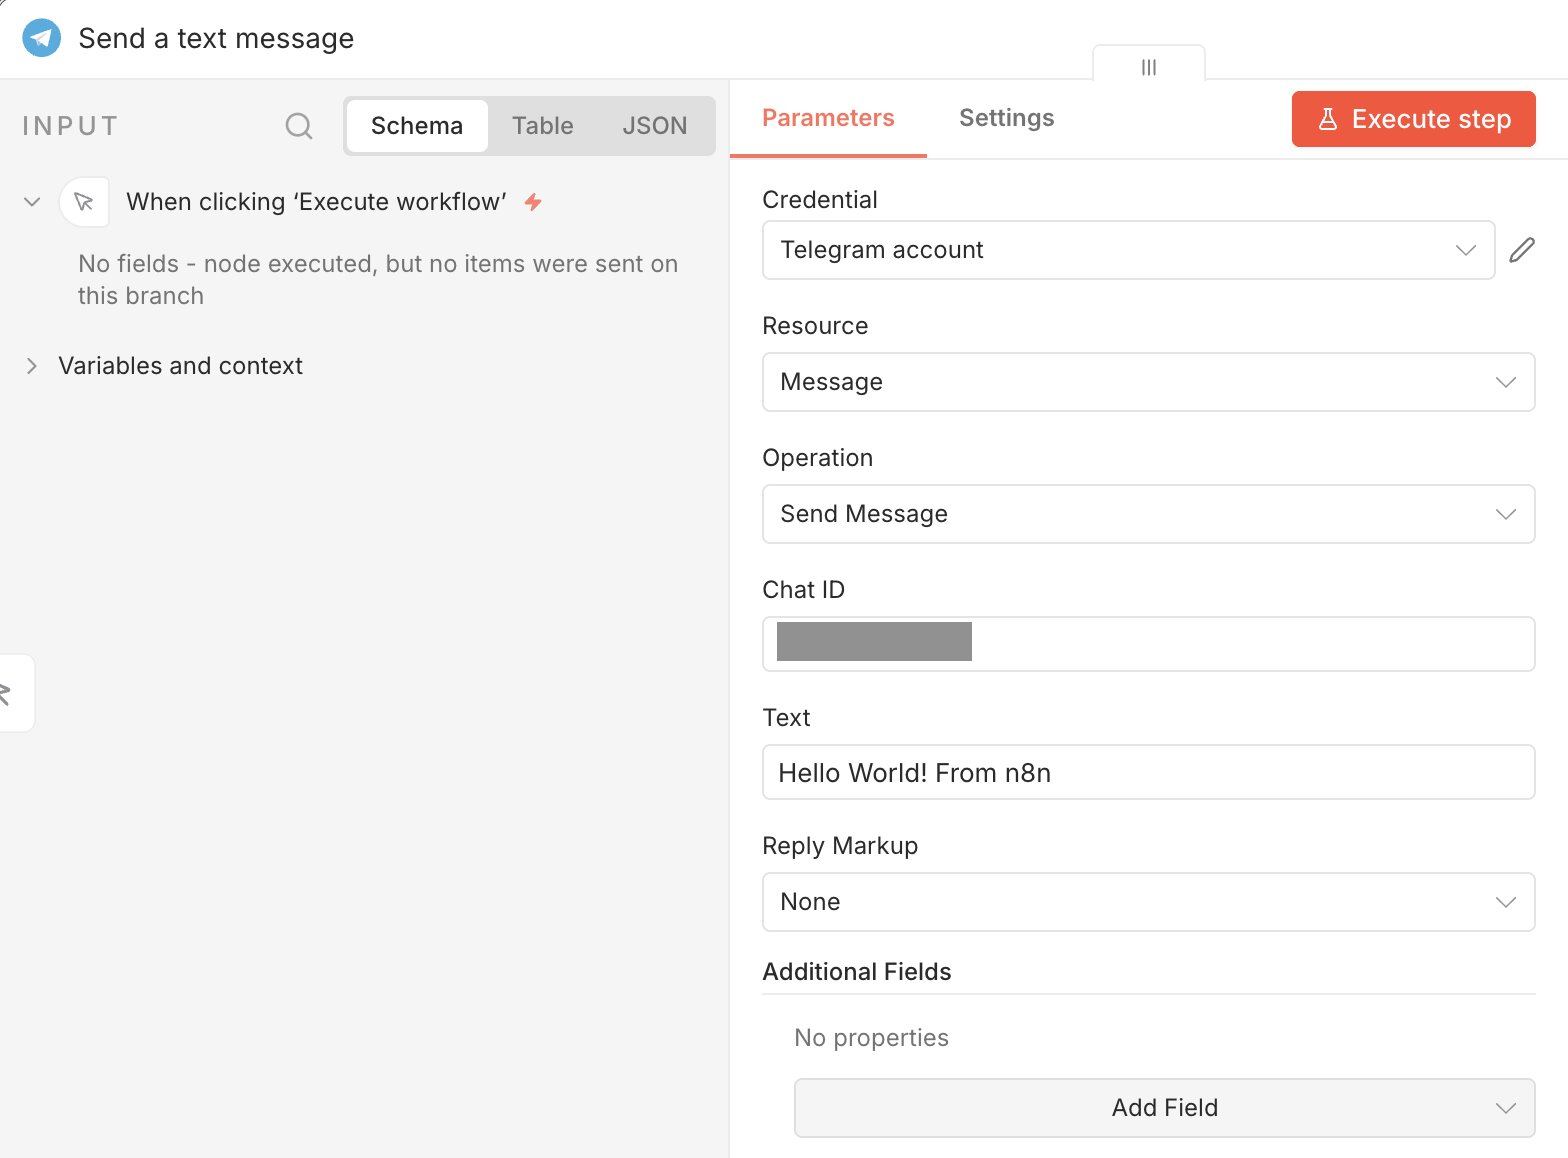
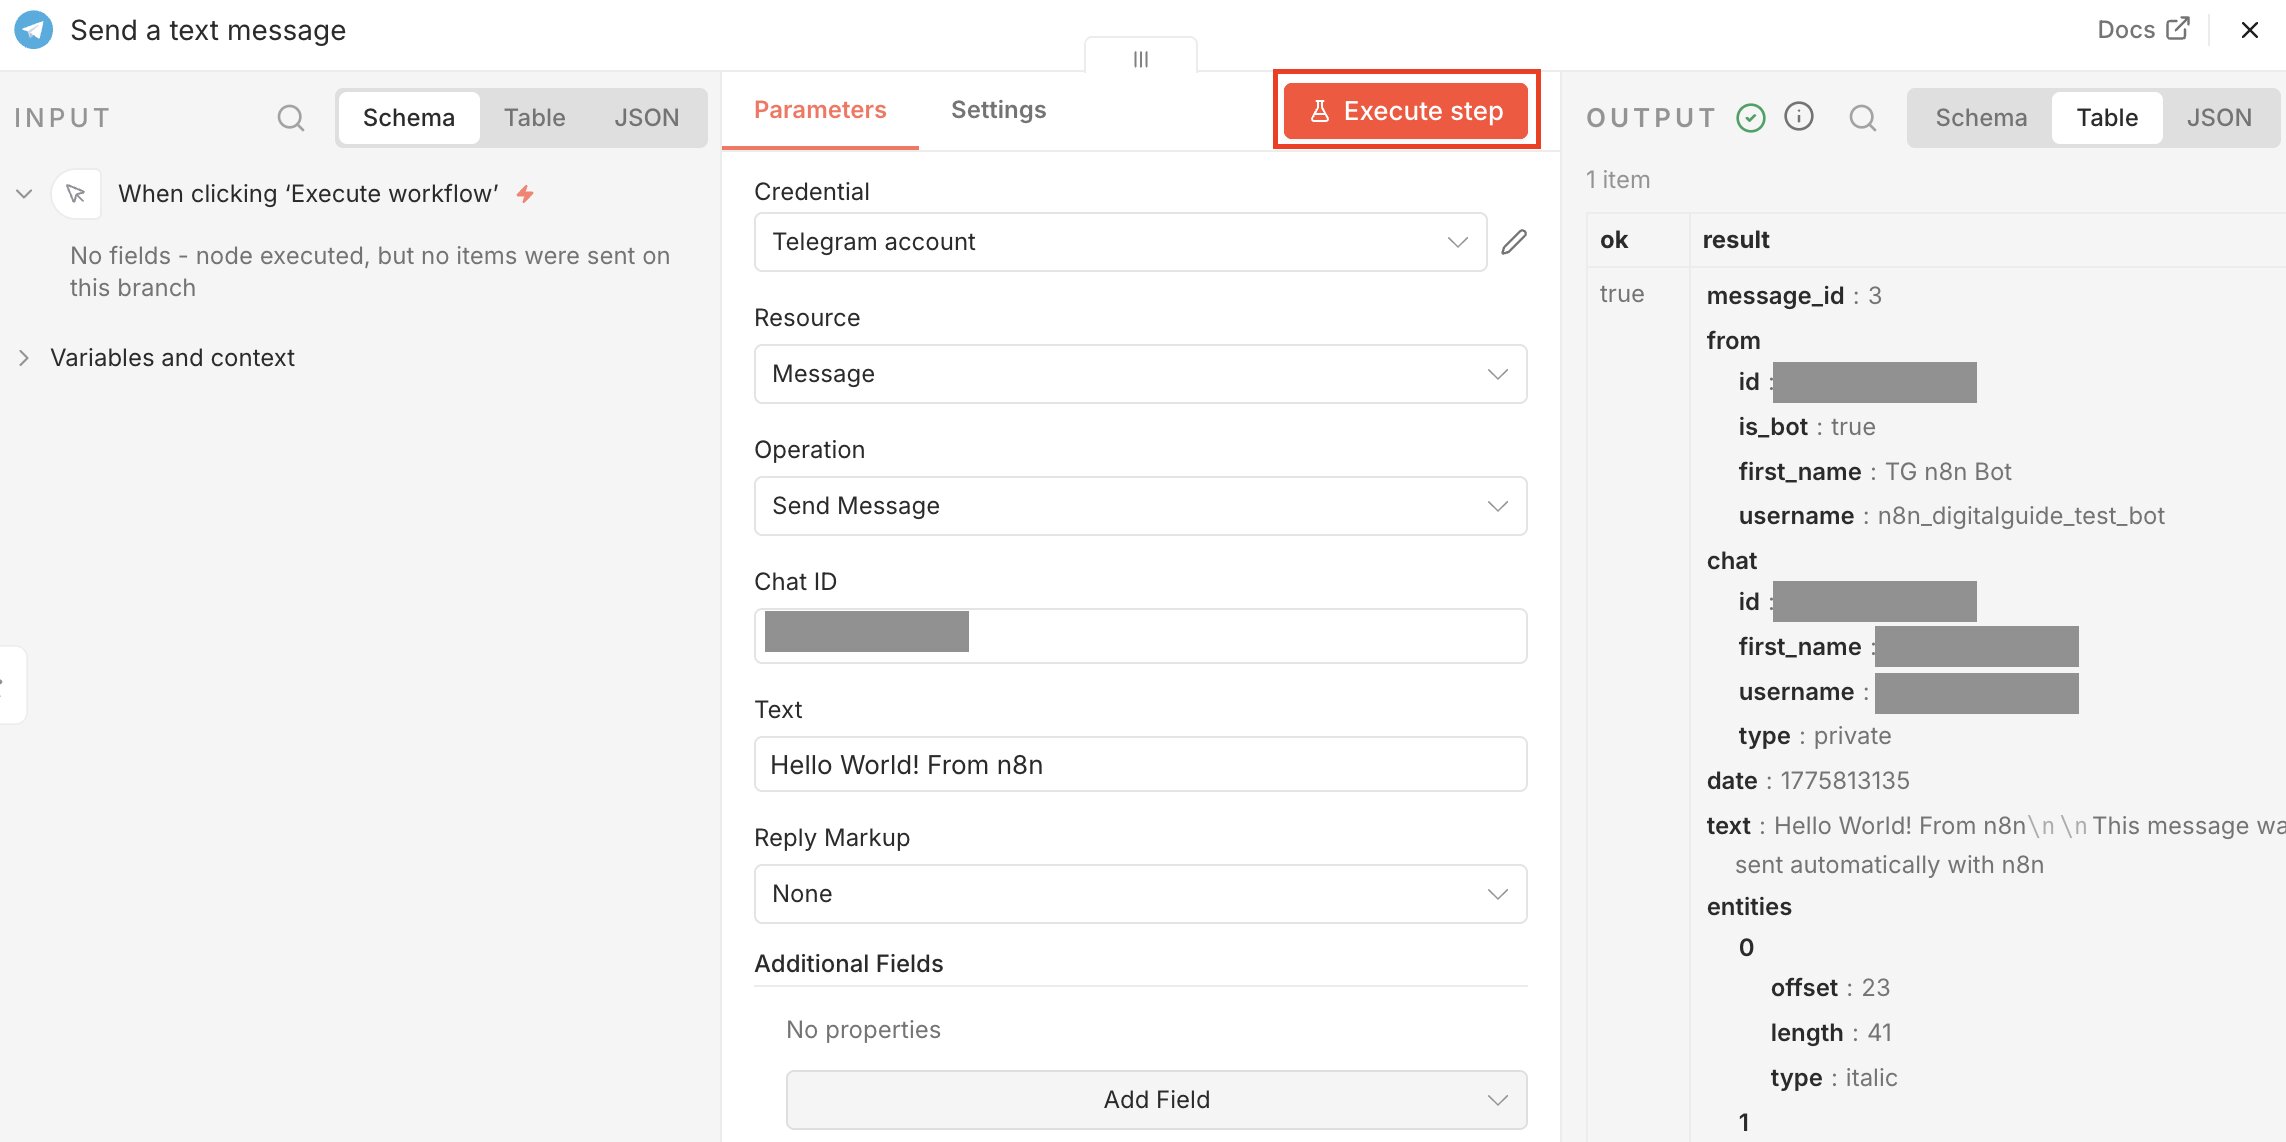
In the Telegram node, select the Telegram credentials you created earlier so n8n knows which login details to use. Then configure the node by selecting ‘Message’ as the Resource and ‘Send Message’ as the Operation. Next, specify the destination. Enter either a chat ID or a channel name, for example ‘@channelname’. This determines where the message will be sent. For testing, you can use any message text. In this example, we’ll use: Hello World! From n8n.
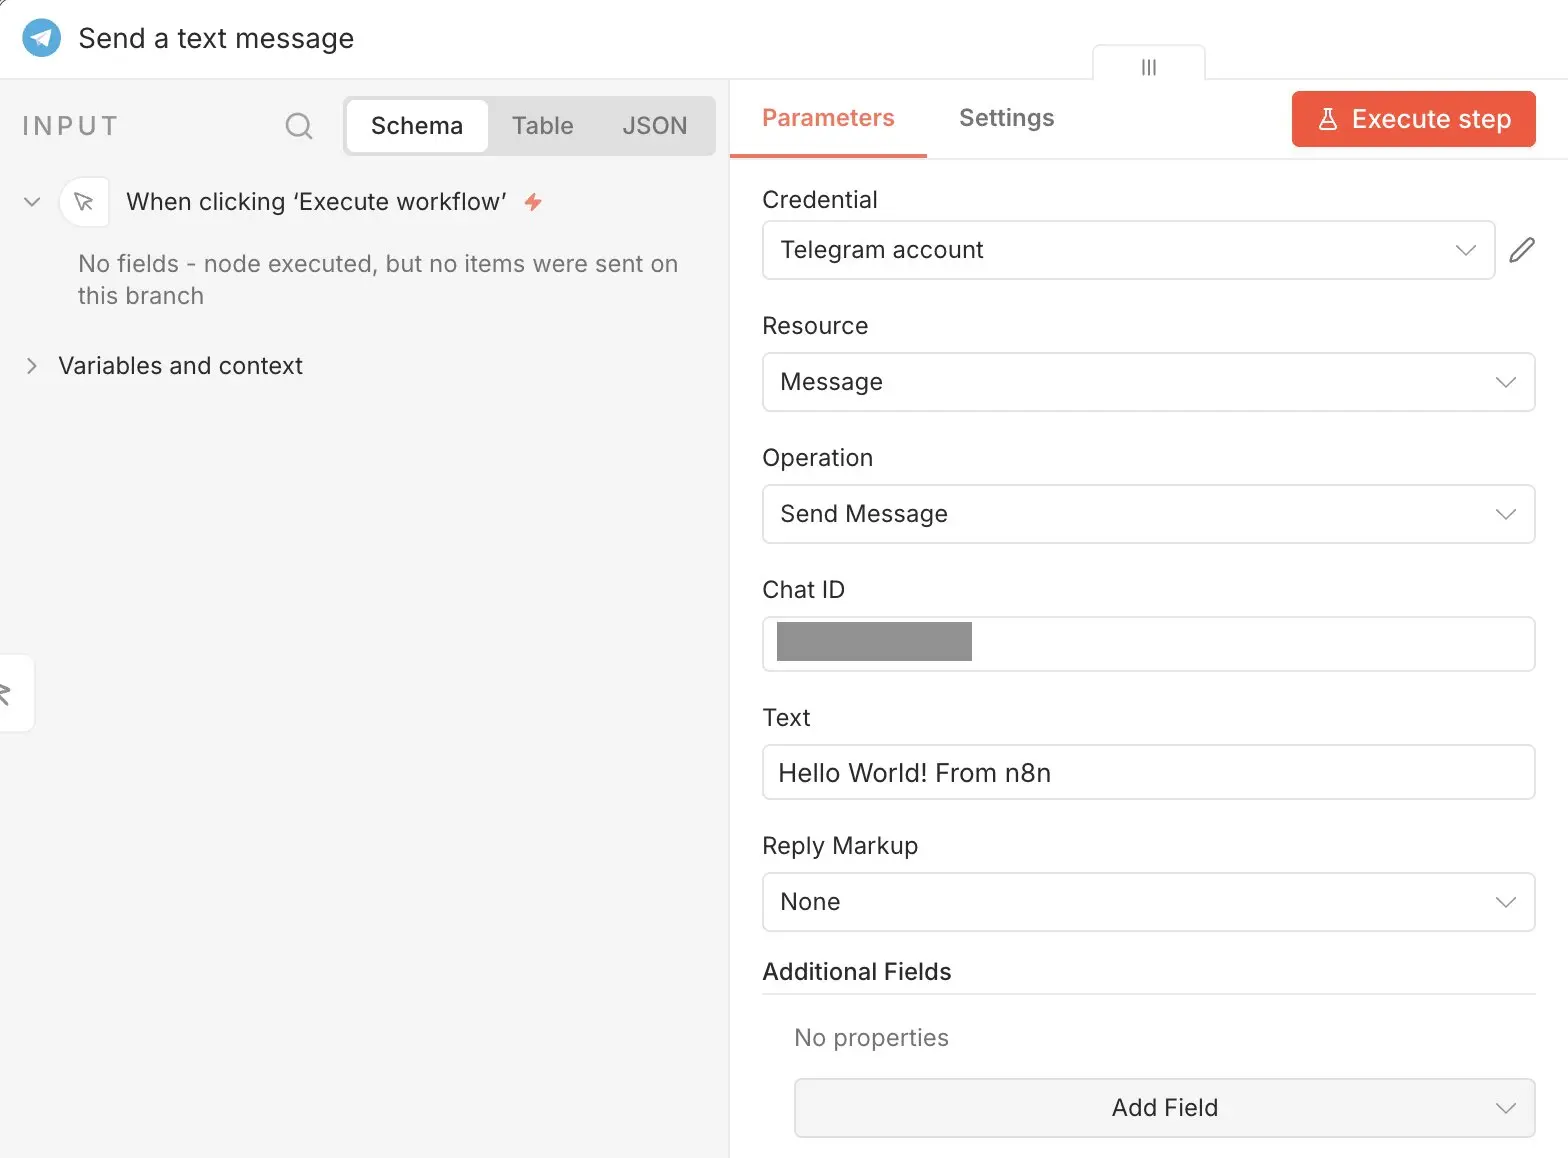
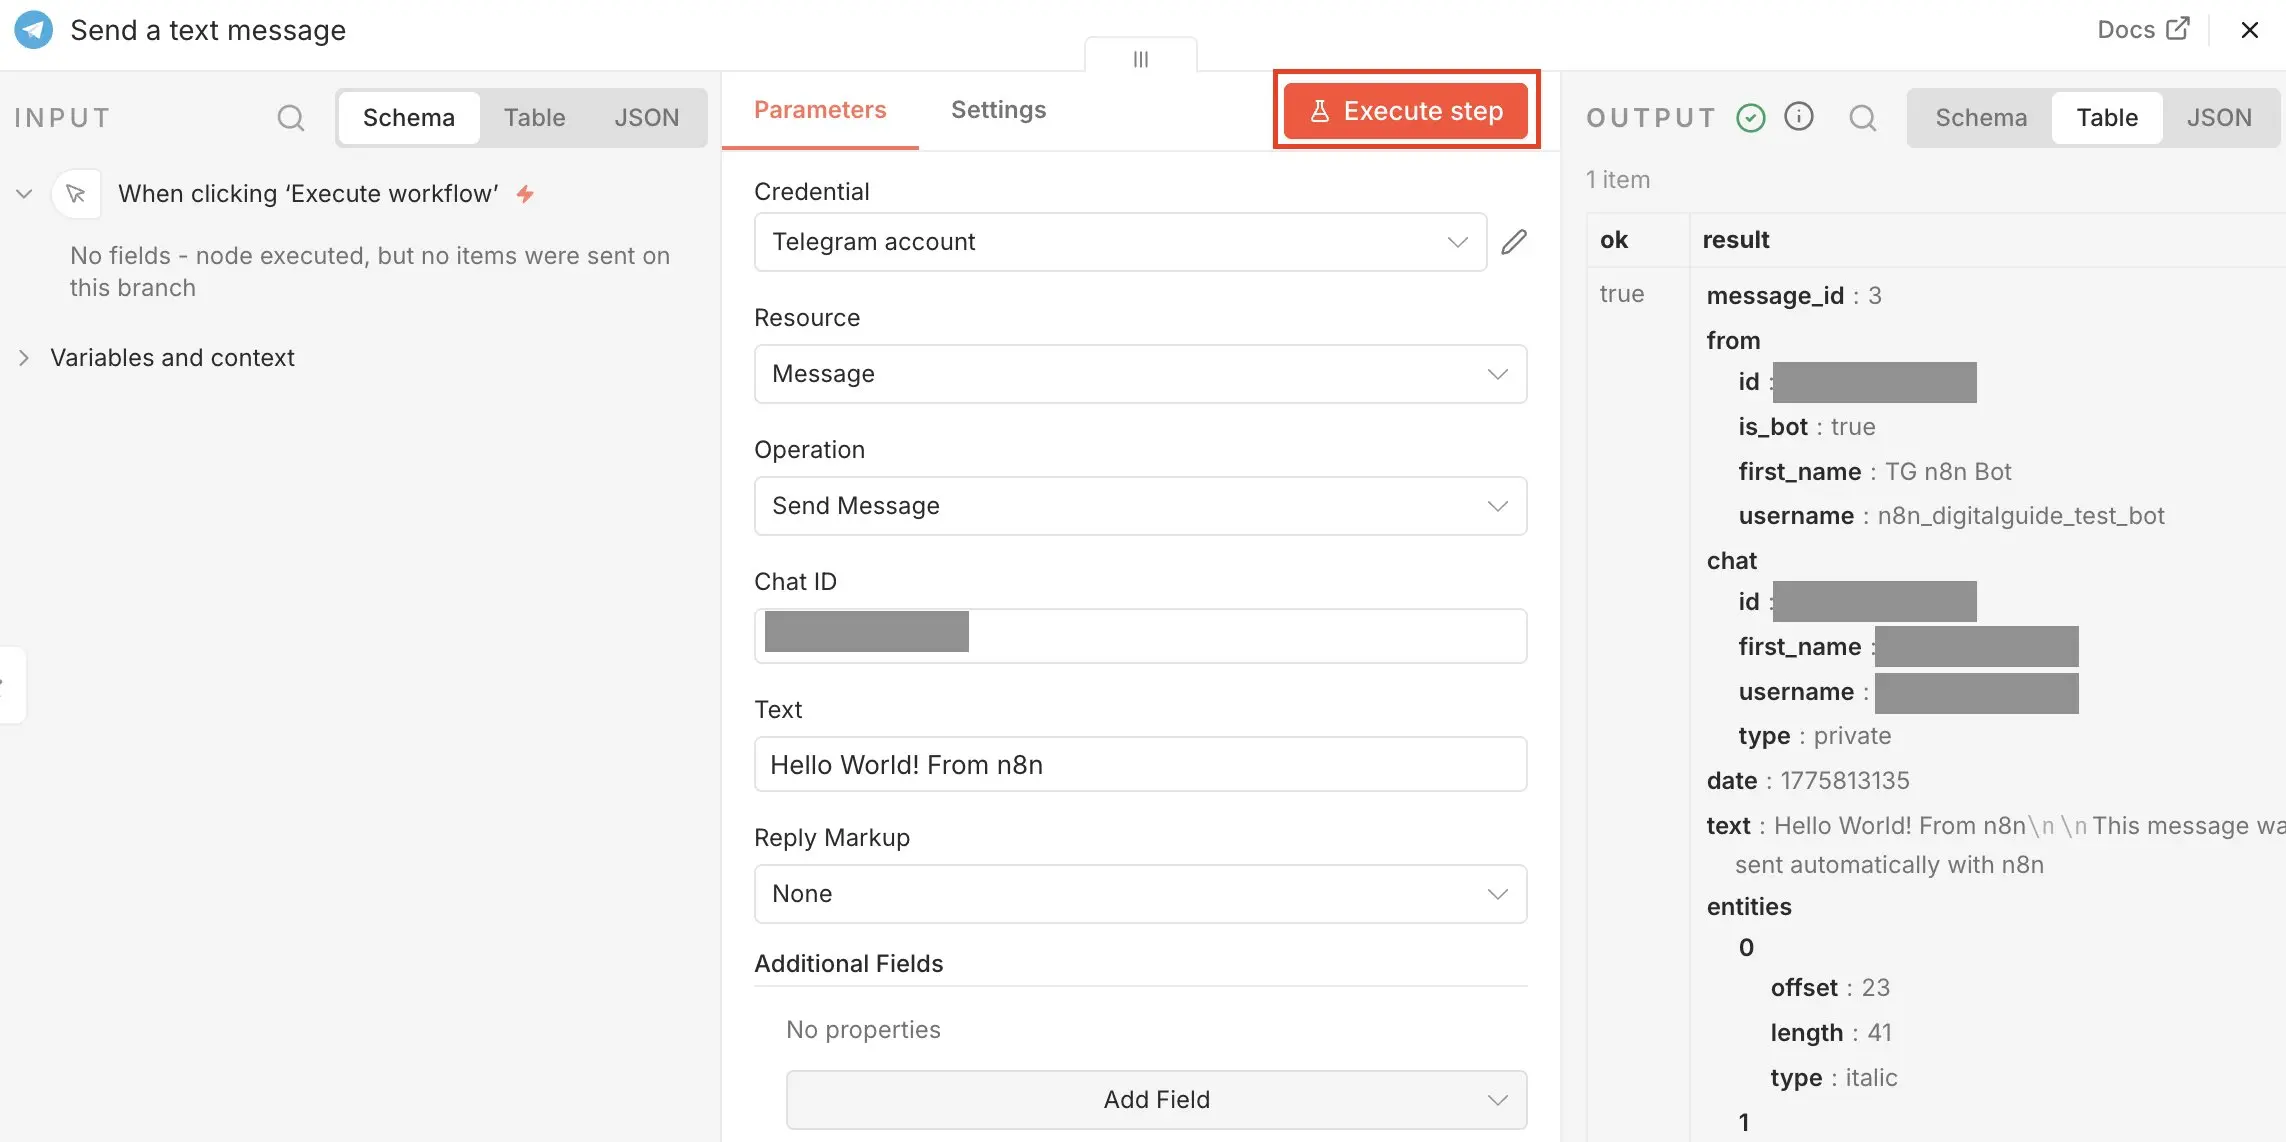
You can test whether sending works in the completed workflow by running the step with a click on ‘Execute step’:
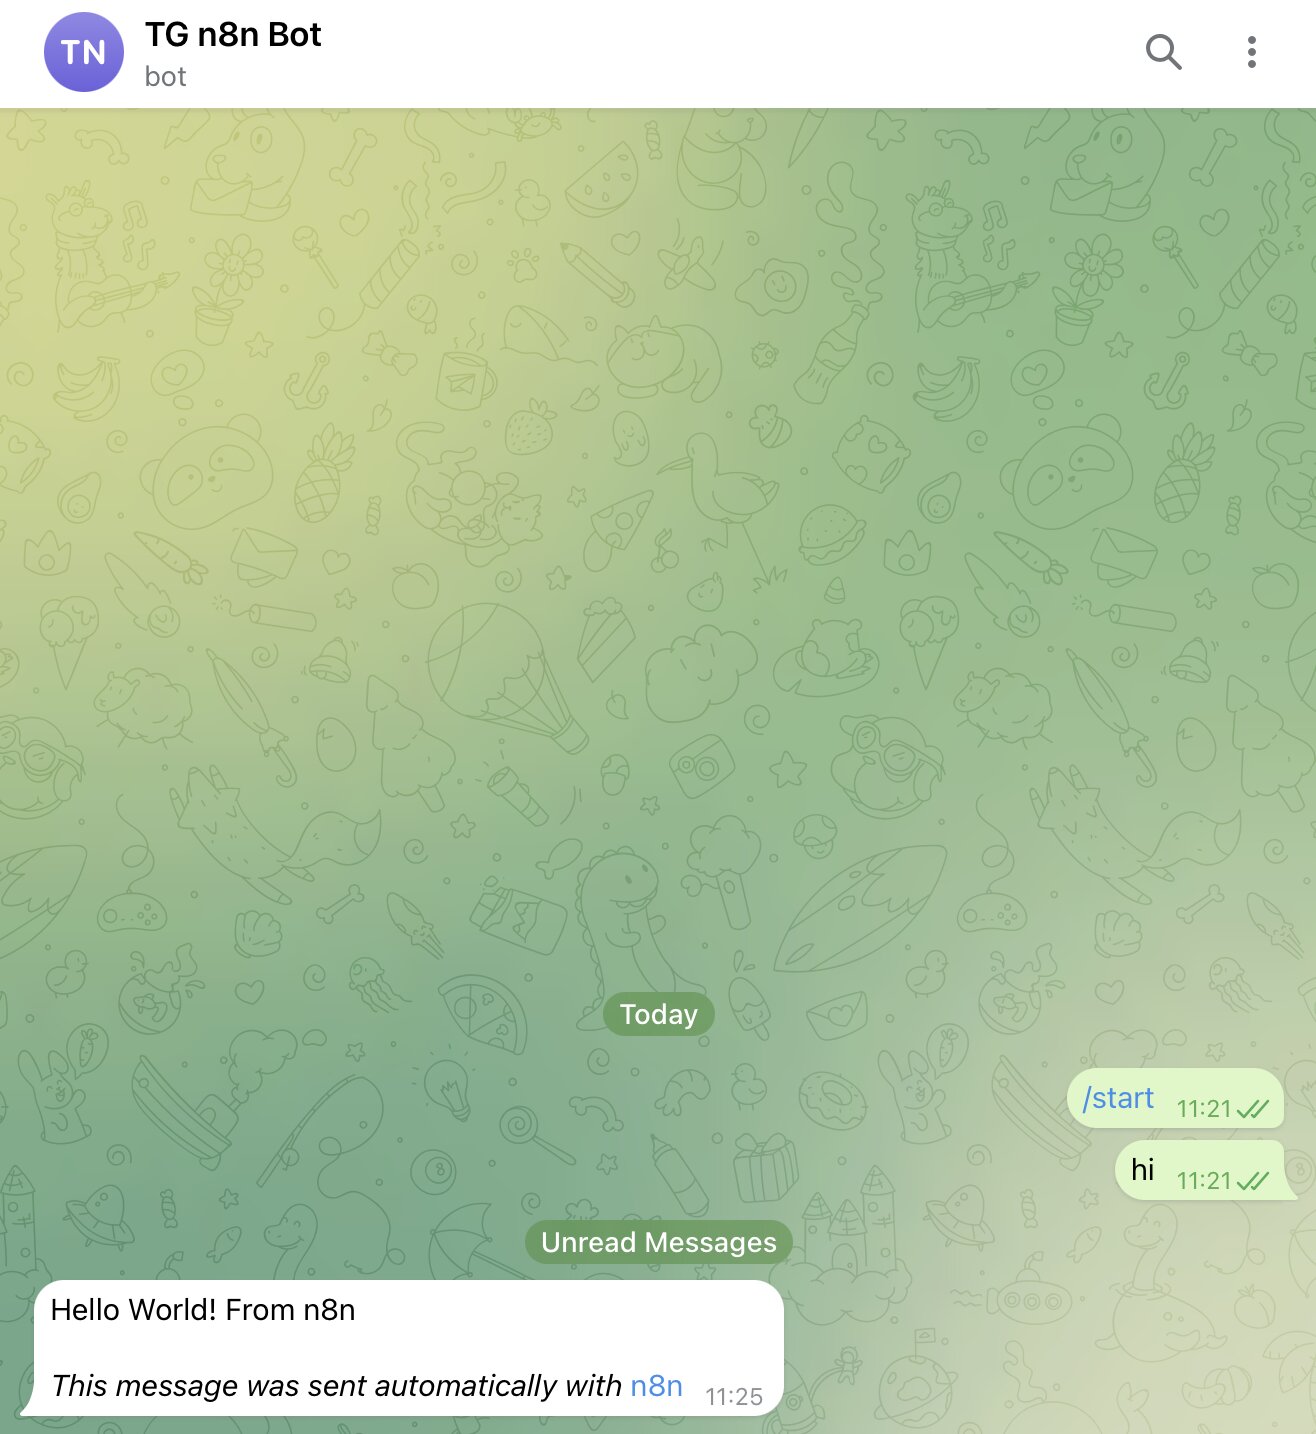
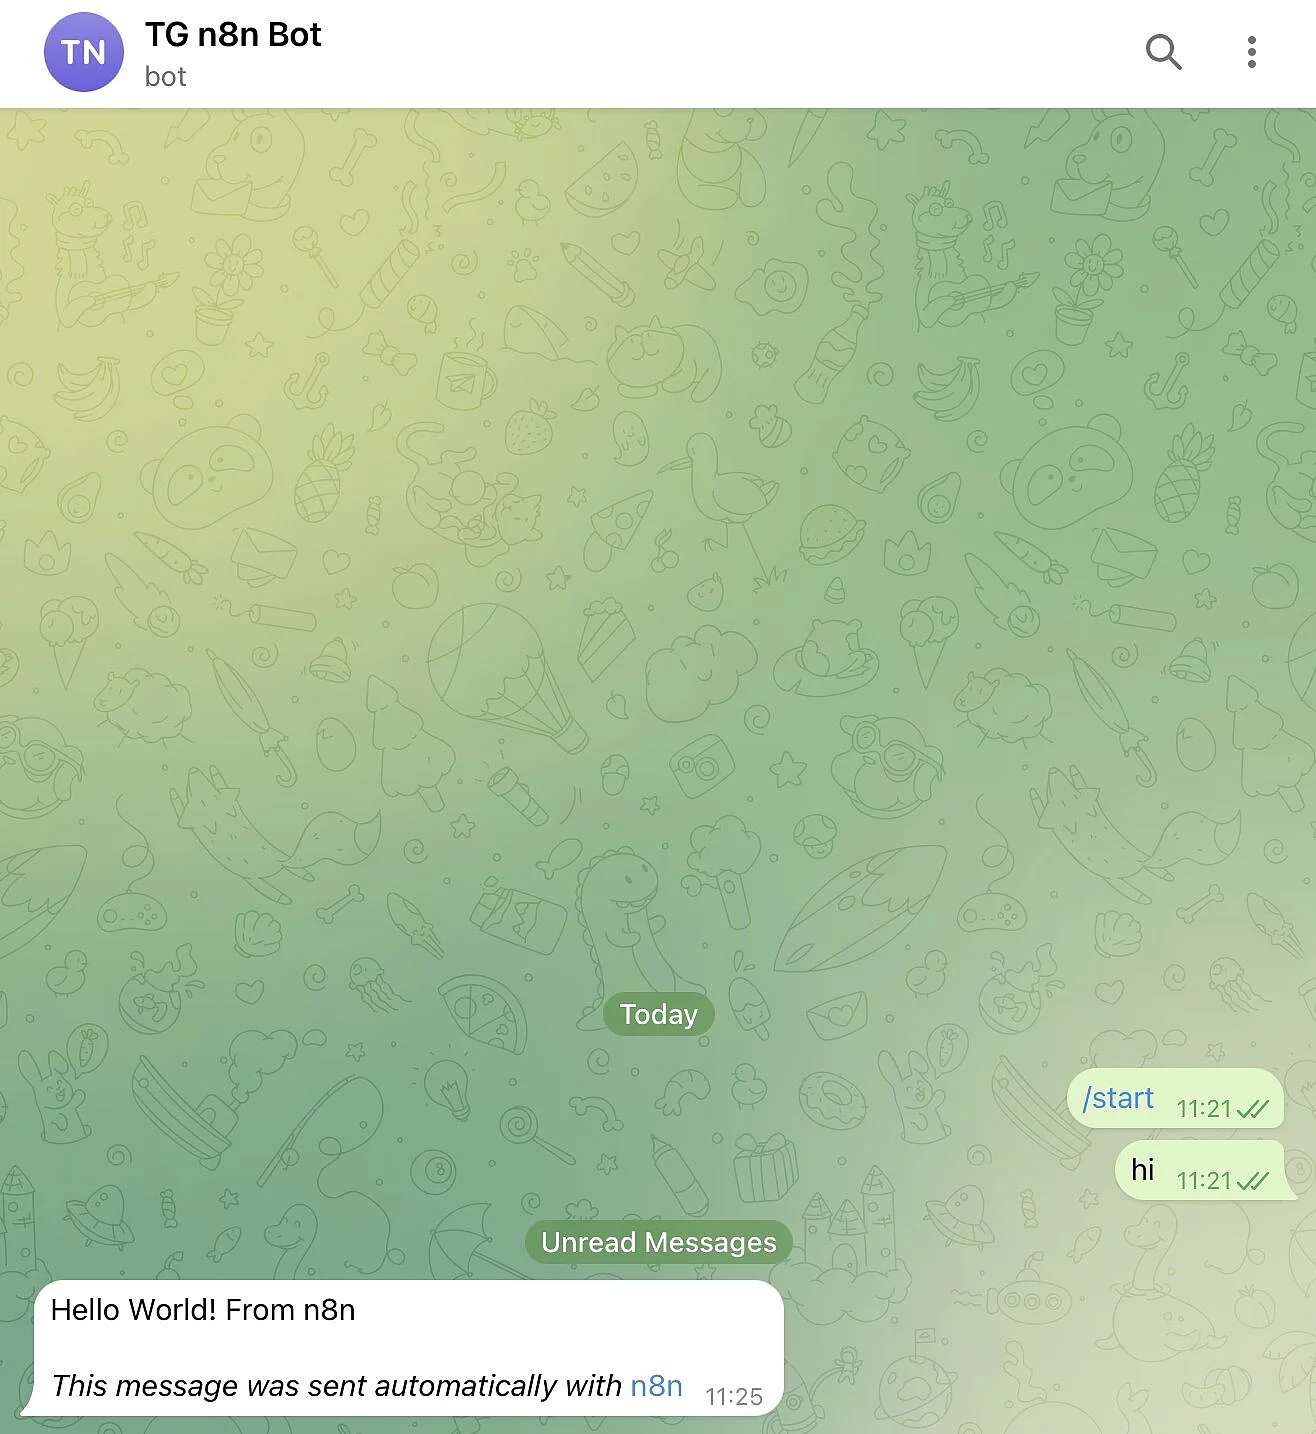
Then start the workflow manually. If everything is set up correctly, the message will appear in Telegram immediately.
Step 6: Process incoming Telegram messages
If you want to use Telegram as an input channel, not just for sending messages, use the Telegram Trigger. This node starts your workflow automatically whenever a new message arrives in Telegram. You can then process the incoming message and send a reply.
A simple workflow looks like this: Telegram Trigger -> Telegram
In this example, the workflow replies directly to an incoming message. First, add a Telegram Trigger node to your workflow. Then select the credentials you created earlier so n8n can access Telegram. Next, choose the desired event, such as receiving new messages.
Then add a Telegram node and connect it to the trigger. In this node, select the relevant send operation, for example ‘Send Message’.
To send the reply to the correct chat, use the chat ID from the trigger data. This lets the workflow reply automatically to the same chat where the original message was received, so you do not need to enter the chat ID manually.
After a test run, n8n displays the received data in the output area of the Telegram Trigger node. There you can see which information is available, such as the message text, the chat ID, and other metadata.
Step 7: Use the workflow in production
Once your workflow is working, you can activate it. n8n will then process incoming messages continuously and automatically send replies or notifications. Since the workflow has only been saved as a draft so far, you need to publish it first. To do this, click ‘Publish’. In older n8n versions, use the activation toggle instead.
Telegram only allows one registered webhook per bot. When you switch from the test URL to the production URL, Telegram overwrites the previous webhook. As a result, the other URL no longer receives events. For this reason, always test trigger workflows in a separate, inactive workflow.
This makes Telegram a permanent part of your automation setup and turns it into a communication interface for your n8n workflows.
Three practical ideas for Telegram workflows with n8n
Telegram is ideal as an interface for notifications and interactions within n8n. Using n8n Telegram is especially useful wherever information needs to be available quickly or where you have to react directly to events.
Example 1: Report server or website outages
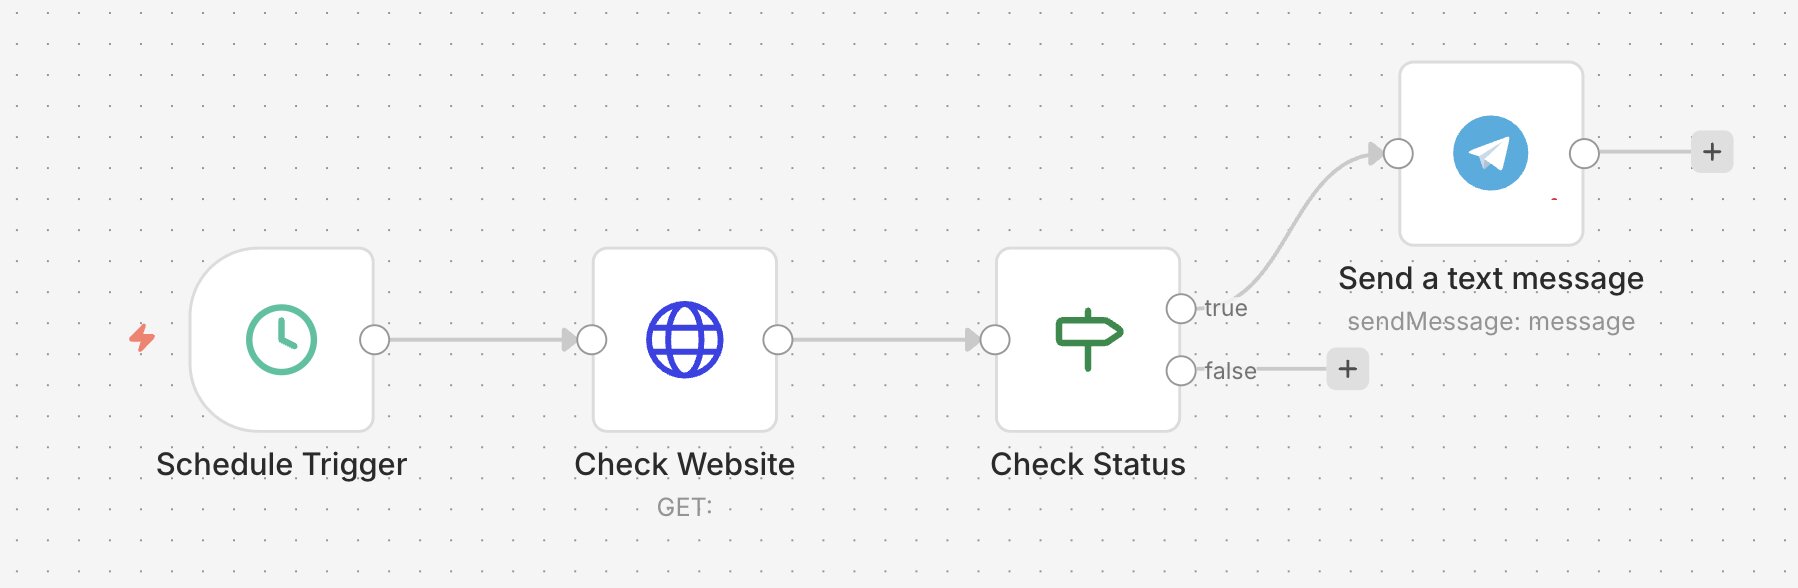
With n8n, you can regularly check a website or server and have Telegram automatically notify you if there are any issues. To do this, set up a workflow that runs at fixed intervals, for example every five minutes. An HTTP Request node then calls the desired website and checks whether it is reachable. Next, an IF node evaluates whether the status code indicates a problem, such as an error or timeout. In case of an error, n8n automatically sends a message to Telegram, so you are notified immediately. This way, you can detect outages early without having to monitor the systems manually.
Example 2: Use Telegram as an input channel for queries
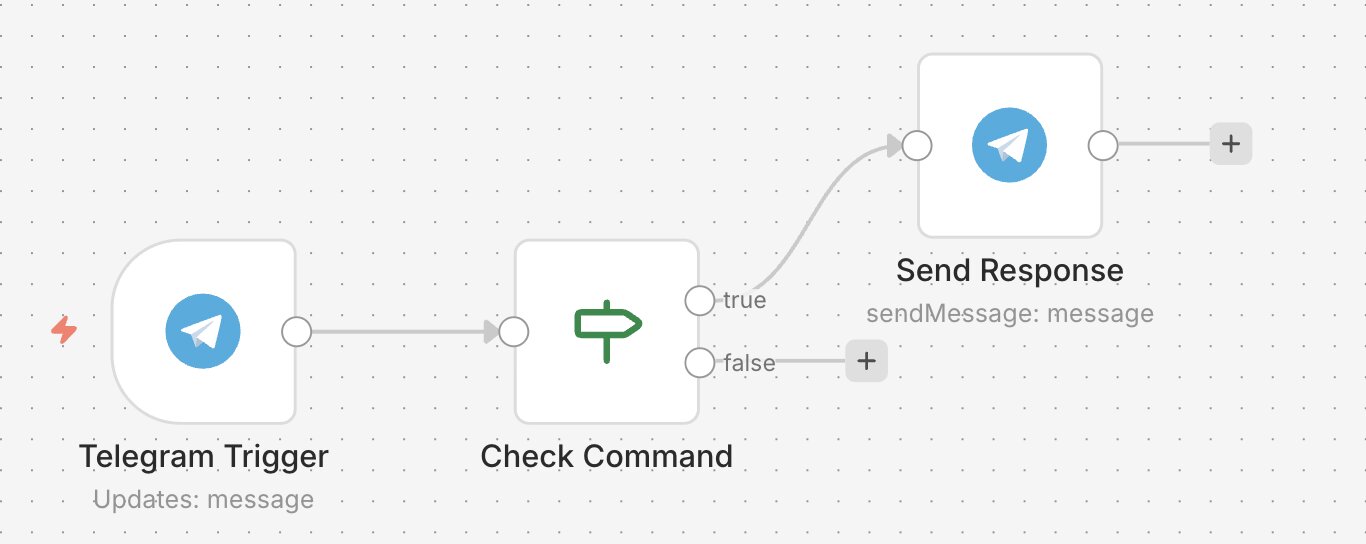
Telegram can also serve as a simple and direct input interface for your workflows. In this scenario, an incoming message automatically starts a workflow in n8n. The content of the message is then evaluated, for example with an IF or Switch node. Depending on the content, different actions can be executed, such as retrieving data from an API or a database. The results are then sent back to Telegram as a message. This creates a simple, interactive flow where you can query information directly via chat. This way, you can quickly access data without having to log in to other systems.
Example 3: Automatically forward new requests or events
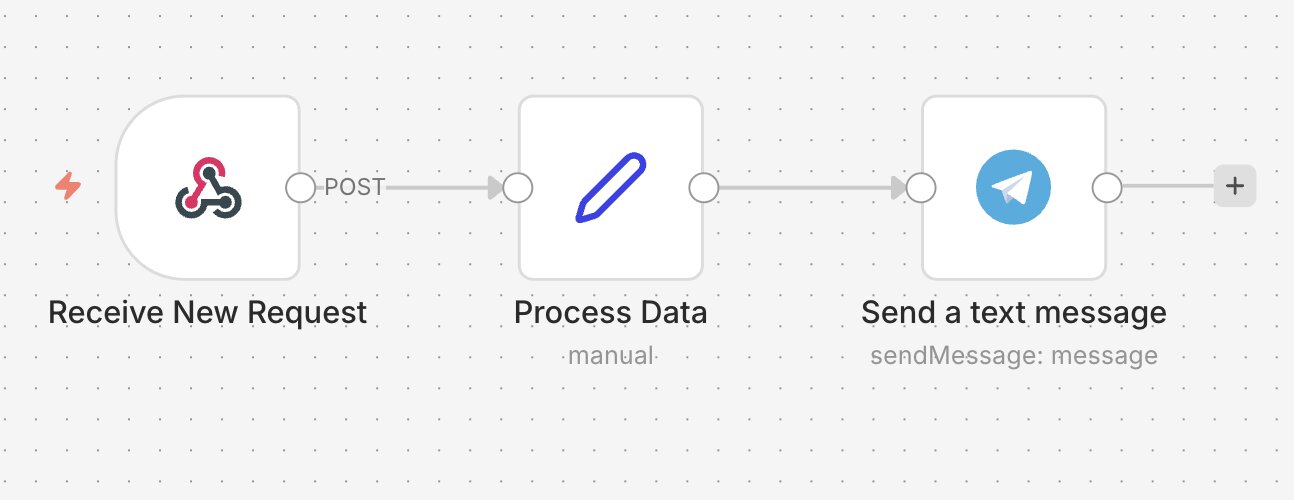
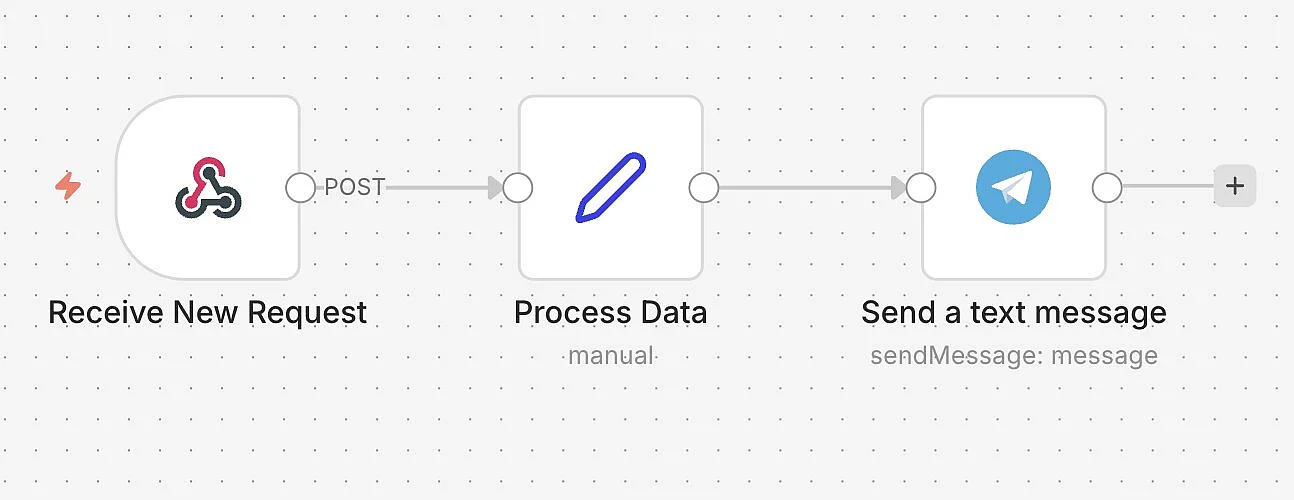
Another common use case is the automatic forwarding of events from other systems to Telegram. For example, as soon as a new request comes in via a form or an order is created in the shop, n8n can process this information. The workflow is started either via a webhook or a specific app trigger. The relevant data is then prepared and converted into a clear, understandable message. This message is automatically sent to a Telegram chat or group. In this way, you or your team always stay up to date without constantly having to check different systems. This is especially helpful in small teams, enabling fast response times and better oversight.