

O que é remote desktop e como ele pode ser usado?

O uso de conexões de área de trabalho remota já é uma prática padrão em muitas profissões e se tornou indispensável, especialmente para serviços de terminal e tarefas de helpdesk. O controle por desktop remoto também facilita e torna mais prático acessar o computador do escritório a partir de casa. Como o processo de configuração nem sempre é simples, este artigo explica, passo a passo, como estabelecer uma conexão de remote desktop.
Experimente seu vServer de graça agora - Teste um servidor virtual por 30 dias!
- Recursos dedicados
- Tráfego ilimitado
- Consultor pessoal
O que significa remote desktop?
Uma conexão de remote desktop (ou, em português, de área de trabalho remota)possibilita conectar o seu próprio computador (cliente) a outro computador (servidor). Se os requisitos técnicos forem atendidos, os usuários podem estabelecer uma sessão de área de trabalho remota de praticamente qualquer lugar. Dependendo das permissões concedidas, eles recebem acesso total ao computador remoto. Você pode imaginar assim: do computador de casa, é possível usar o acesso remoto para acessar todos os programas, arquivos e recursos de rede do computador do escritório, como se você estivesse sentado à sua mesa.
Quais são os requisitos para uma conexão de remote desktop?
Para estabelecer uma conexão de remote desktop, é preciso atender a vários requisitos técnicos. O acesso remoto só funciona se o computador de destino estiver conectado à mesma rede ou à internet. Verifique se o servidor está ligado quando você tentar se conectar e se possui uma conexão de rede ativa. Além disso, o acesso via área de trabalho remota deve estar habilitado no servidor. Também é recomendável garantir que a rede relevante possa ser acessada de fora e que você tenha permissão para iniciar uma sessão de desktop remoto. Normalmente, isso exige uma conta de usuário válida e a respectiva senha no computador remoto.
Observe que você não pode se conectar a um computador que esteja em modo de suspensão ou hibernação. Portanto, certifique-se de que as configurações relevantes estejam desativadas.
Como configurar o Windows Remote Desktop
A Microsoft oferece aplicativos de remote desktop usando seu protocolo de rede próprio, o Remote Desktop Protocol (RDP). Em essência, o RDP é a ferramenta de controle para serviços de terminal (Remote Desktop Services) e garante que os comandos de remote desktop sejam executados. Ele controla tanto o servidor de terminal quanto o cliente de terminal, gerenciando a transmissão do conteúdo da tela, bem como as entradas de teclado e mouse pela rede. Não é necessária uma versão de servidor do Windows.
Opção 1: Assistência Remota do Windows
A Assistência Remota do Windows é uma forma de habilitar o acesso via remote desktop. Ela permite que os usuários convidem uma pessoa externa para o sistema. Isso é especialmente útil em sessões de manutenção remota, nas quais técnicos se conectam a um sistema local e podem realizar reparos de software ou configurações do sistema em nome do usuário.
Etapa 1: certifique-se de que o Remote Desktop está habilitado. Para isso, faça o seguinte:
- Abra as Configurações, selecione “Sytem” no menu à esquerda, role para baixo e selecione “Remote Desktop”.
- Habilite o Remote Desktop alternando o botão para “Ativado”.
- Selecione “Confirmar” na caixa de diálogo que se abre. Um novo item de menu com o nome do seu PC aparece nas Configurações.
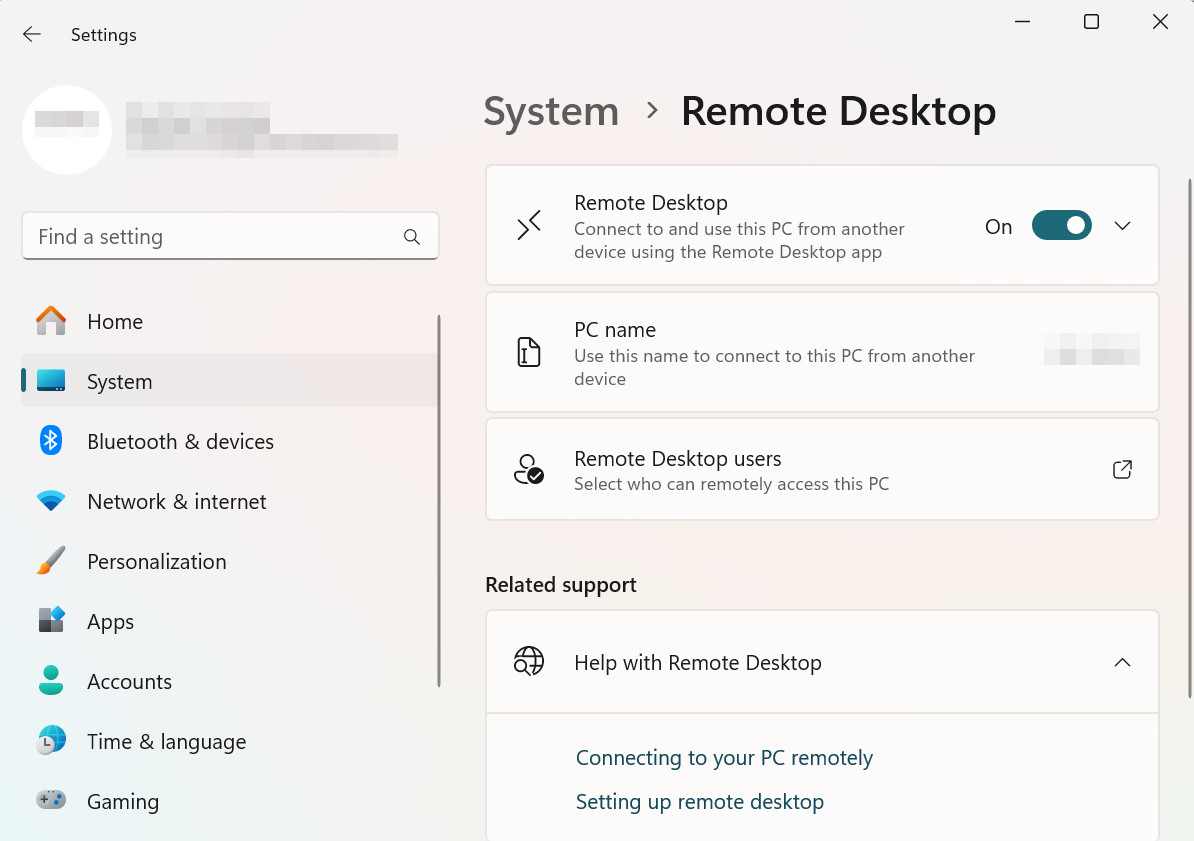
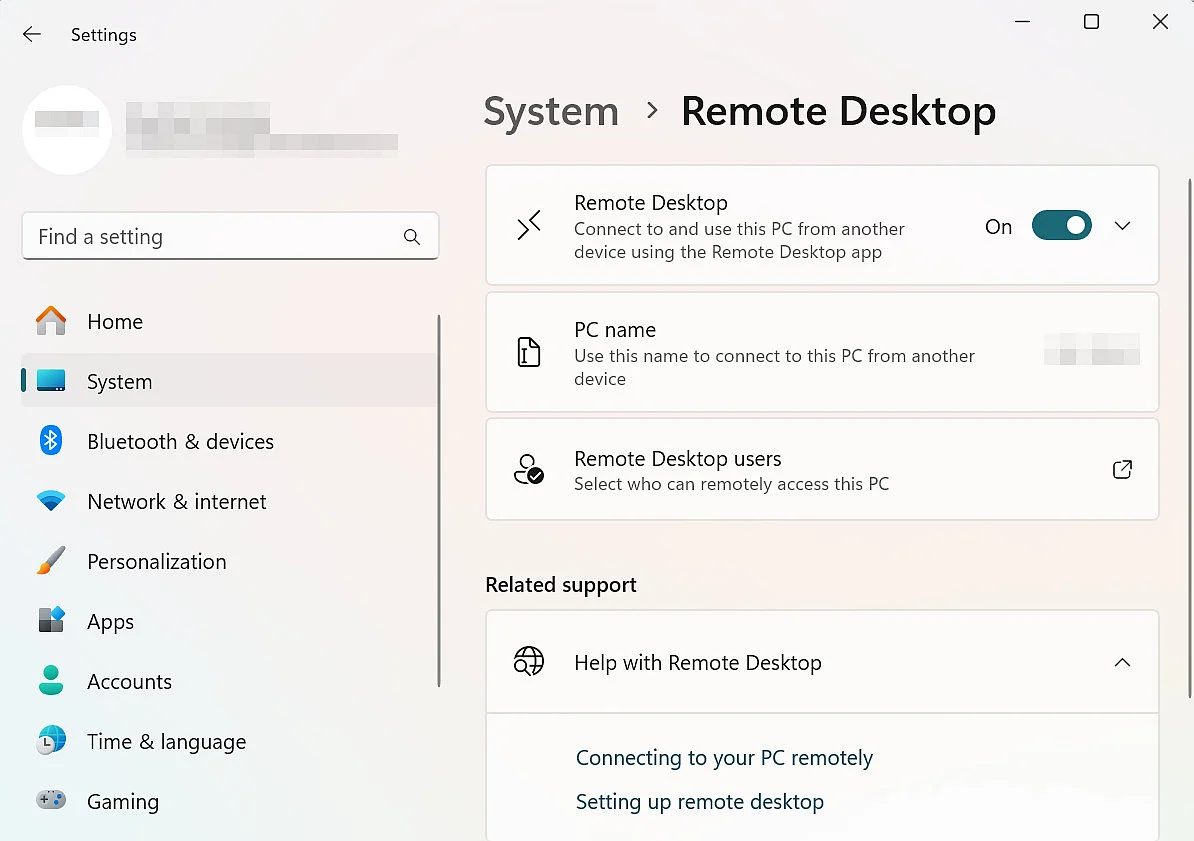
Confirme o aviso de segurança exibido.
Etapa 2: agora convide uma pessoa externa. Para isso, digite “msra” na caixa de pesquisa na parte inferior da tela ou siga estas etapas:
- Use a caixa de pesquisa para abrir “Control Panel” -> “System and Security”.
- Em “System”, selecione o link “Start Remote Assistance”.
Isso abrirá uma janela de aviso. Nela, selecione “Invite someone you trust to help you” para solicitar assistência.
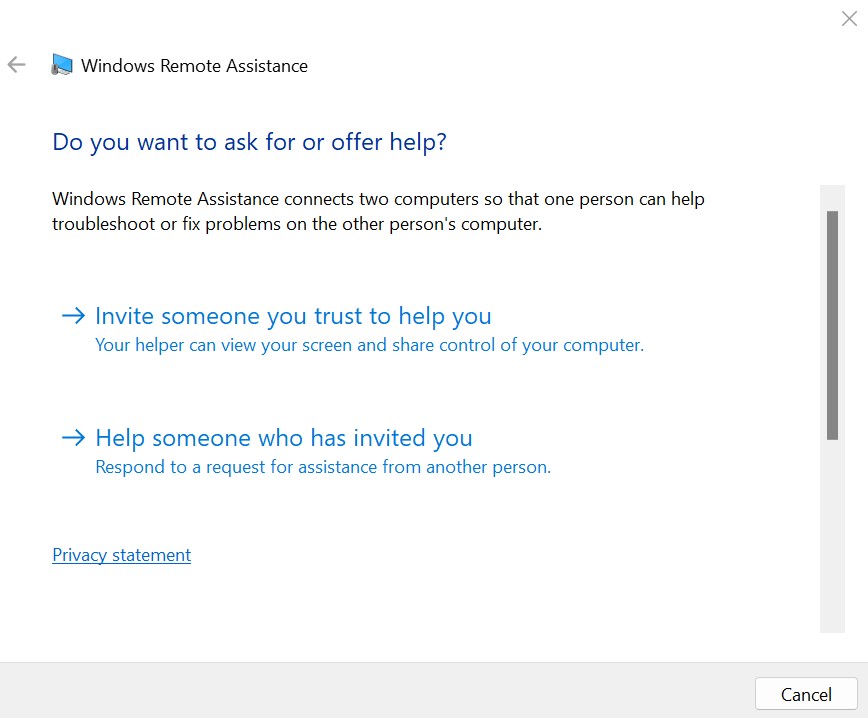
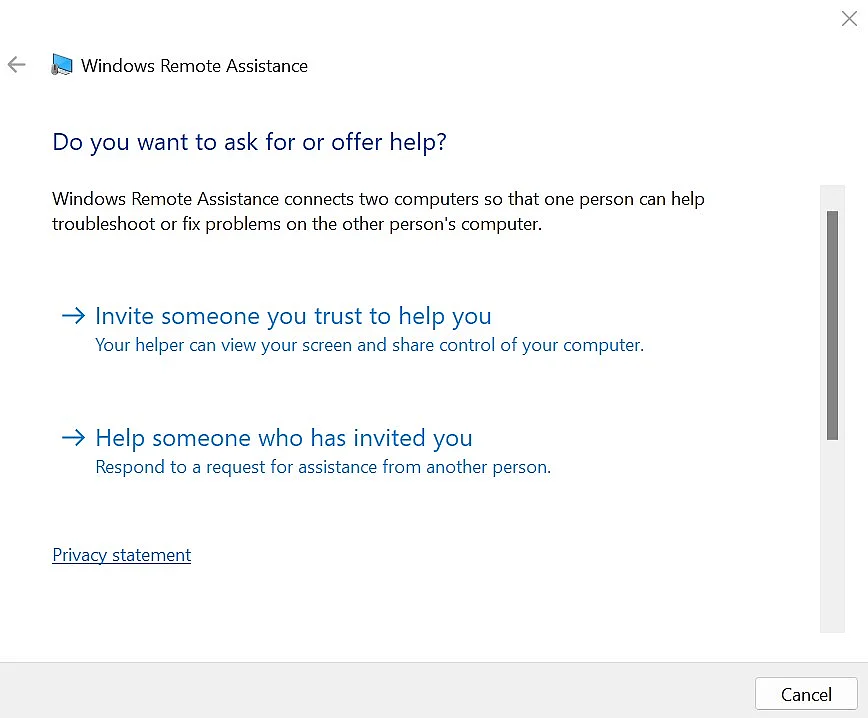
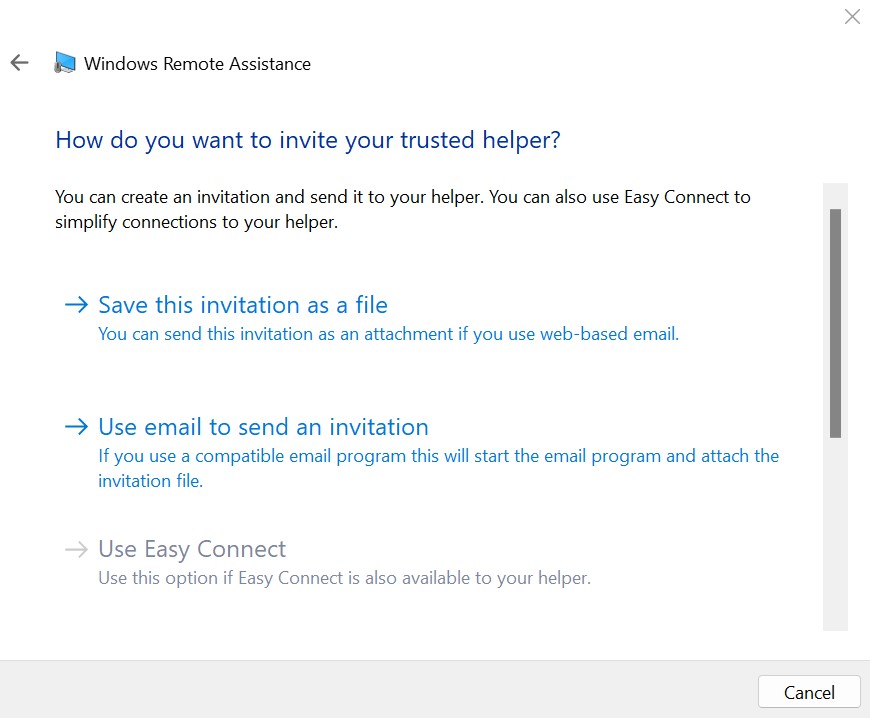
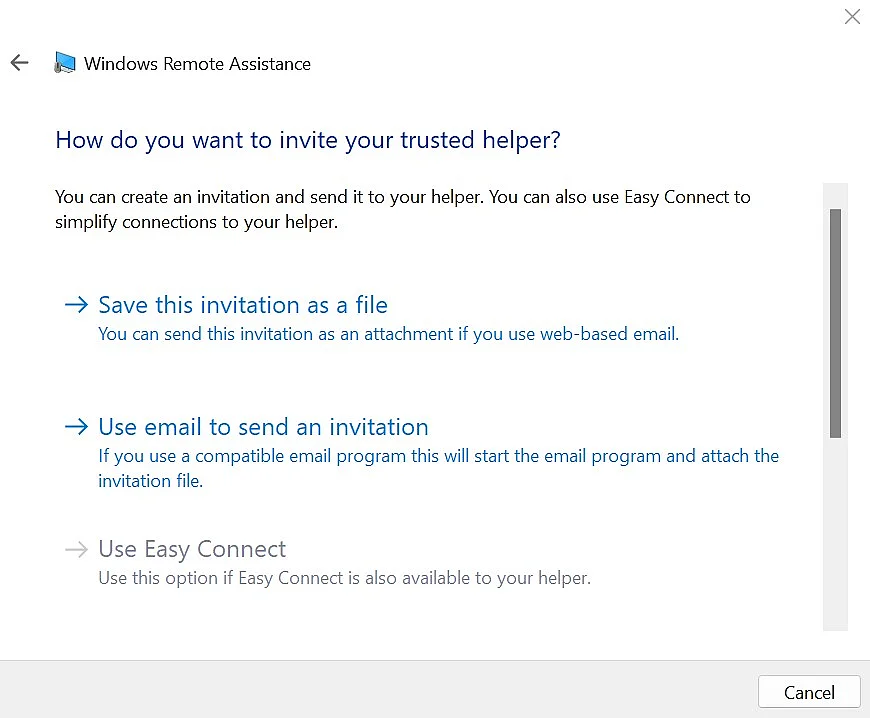
Etapa 3: agora você pode enviar um convite para a pessoa externa. Para isso, o Windows sugere vários métodos:
- “Save this invitation as a file”: você salva o arquivo de convite no computador e depois o envia manualmente como anexo de e-mail.
- “Use email to send an invitation”: se você tiver um programa de e-mail compatível, ele será aberto automaticamente e o arquivo poderá ser enviado diretamente.
Às vezes, a opção Easy Connect é exibida, mas muitas vezes não pode ser selecionada porque ela não funciona mais nas configurações atuais do Windows.
Uma caixa de diálogo é aberta automaticamente. O Windows exibe uma senha única com tempo limitado e solicita que você a encaminhe. Envie a senha única e o arquivo de convite separadamente para a pessoa que você deseja convidar.
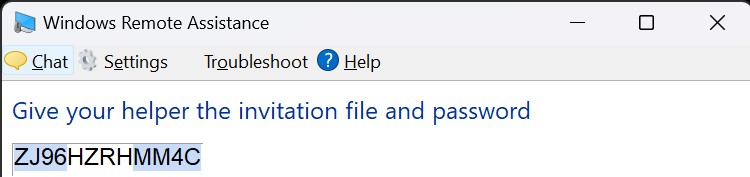
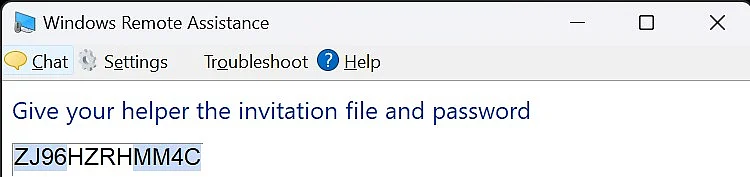
Etapa 4: a conexão é estabelecida. A pessoa externa agora pode visualizar sua área de trabalho remota e solicitar controle. Com sua aprovação repetida, ela recebe controle total. Usando a senha que você forneceu, a pessoa externa agora pode se conectar ao computador remoto e inserir a senha na janela exibida.
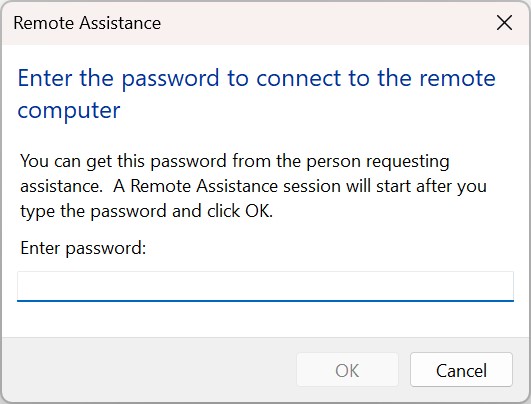
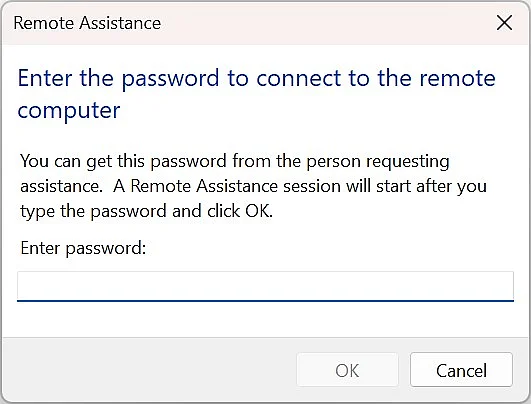
Etapa 5: você será solicitado a confirmar a conexão. Clique em “Yes” para prosseguir. Qualquer transferência de controle exige sua aprovação explícita.
Etapa 6: a conexão é estabelecida. A pessoa externa agora pode visualizar sua área de trabalho remota e solicitar controle. Com sua aprovação repetida, ela recebe controle total.
Em versões mais recentes do Windows (Windows 10/11 e posteriores), o Assistência Rápida é uma ferramenta da Microsoft integrada que permite ajudar outra pessoa pela internet ou por uma conexão de rede, ou controlar remotamente o PC dela. Basta iniciar o app e compartilhar um código de segurança, que a outra pessoa usa para compartilhar a tela e, se necessário, conceder a você o controle.
Opção 2: conexão de remote desktop do Windows
Com uma conexão remote desktop, você pode entrar em um sistema host sem que outra pessoa participe ativamente da sessão. Nessa configuração, o sistema local atua como um servidor, permitindo que você faça login como se fosse um usuário local. Essa opção é particularmente útil no home office, por exemplo, quando você quer acessar o PC do escritório a partir de casa. No entanto, ela exige uma edição compatível do Windows no sistema host: Windows Pro, Education ou Enterprise. Dispositivos com Windows Home não podem hospedar conexões remote desktop; eles apenas oferecem suporte à assistência remota.
Seu nome de usuário e a senha associada já devem estar configurados na lista de usuários do servidor host. Uma conexão remote desktop só pode ser estabelecida com suas credenciais.
Etapa 1: assim como no método anterior, o acesso por remote desktop deve estar ativado. Você encontra a opção correspondente em Settings → System → Remote Desktop.
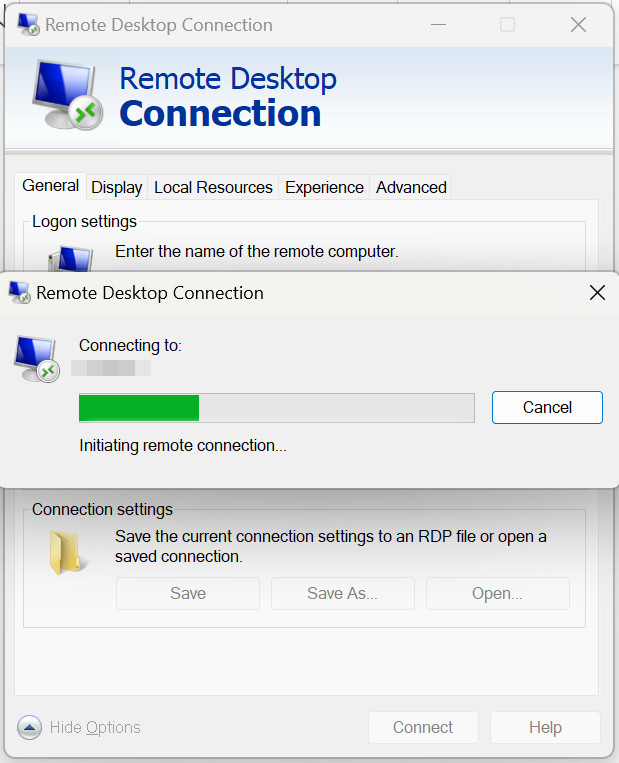
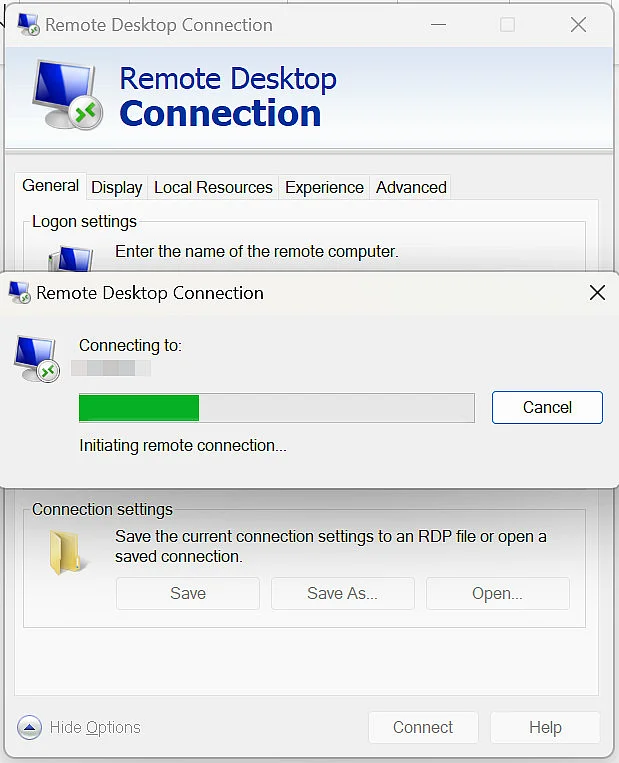
Etapa 2: inicie o cliente do Remote Desktop Protocol (RDP) pesquisando por “Remote Desktop Connection” ou digitando mstsc na caixa de pesquisa. Isso abrirá a janela Remote Desktop Connection.
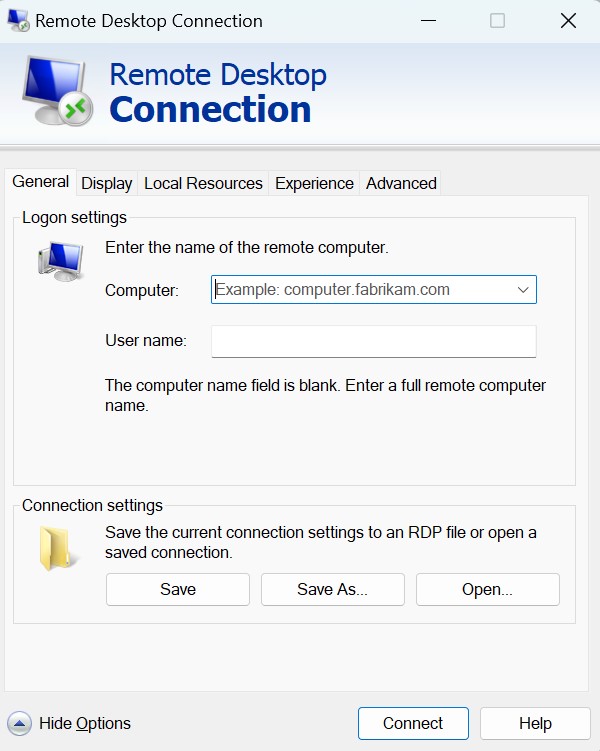
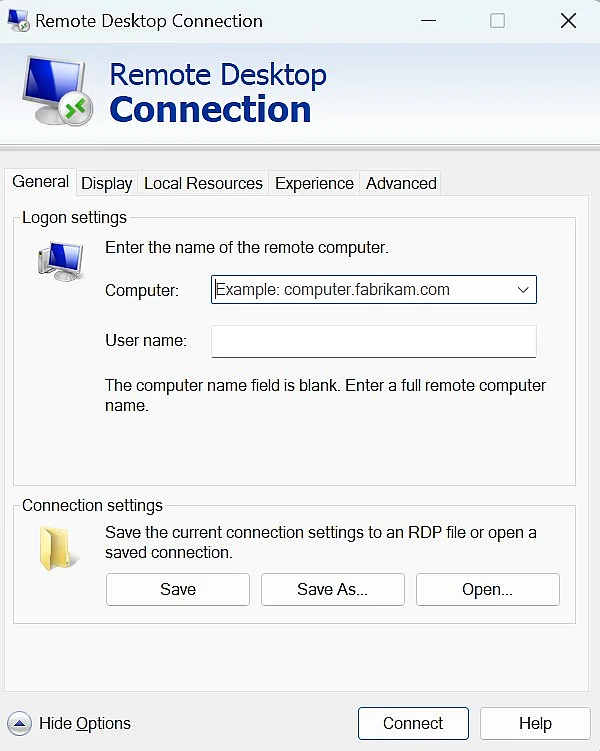
Etapa 3: na janela, insira o nome do computador de destino e seu nome de usuário nesse sistema.
Para estabelecer uma conexão remote desktop na rede local, basta inserir o nome do computador ou o endereço IP interno do sistema de destino. Para conexões pela internet, use o endereço IP público do computador host ou o nome do host apropriado configurado para acesso remoto.
Etapa 4: na janela que se abre automaticamente, insira o nome de usuário e a senha correspondente para o acesso por remote desktop no sistema de destino. Em seguida, confirme o aviso de segurança do certificado. Depois que a autenticação for bem-sucedida, a remote desktop connection completa do sistema de destino será exibida, permitindo que você a use como se fosse um computador utilizado localmente.
Problemas frequentes do Windows com o firewall e o roteador Wi-Fi
O Windows tem um firewall ativo habilitado por padrão, que protege seu computador contra acesso não autorizado. No entanto, com a assistência remota ou uma conexão remote desktop, essa proteção pode impedir que as conexões sejam estabelecidas, especialmente para acesso pela internet.
Problema 1: Firewall
Depois que você ativa a Área de Trabalho Remota nas configurações do Windows, o Windows normalmente cria as regras de firewall necessárias automaticamente. A porta TCP 3389 para RDP é aberta, portanto, ajustes manuais, como os exigidos em versões anteriores do Windows, geralmente são desnecessários. No entanto, ainda é útil verificar o firewall manualmente se:
- A Área de Trabalho Remota não pode ser acessada apesar de estar ativada,
- há software de segurança adicional instalado, ou
- as configurações de Política de Grupo substituem a configuração do firewall.
Nesses casos, verifique se “Remote Desktop” e “Remote Assistance” estão habilitadas em “Control Panel” -> “System and Security” -> “Windows Defender Firewall” -> “Allow an app through Windows Firewall”.
Problema 2: roteador Wi‑Fi
Um roteador Wi-Fi também pode representar um desafio e impedir que uma conexão remote desktop seja estabelecida. Se o computador de destino estiver atrás de um roteador, ele normalmente bloqueia conexões de entrada vindas da internet por padrão. Para habilitar o acesso direto via RDP, você precisará:
- configurar uma regra de encaminhamento no roteador para a porta TCP 3389, ou
- usar uma conexão VPN.
Por motivos de segurança, você deve evitar expor o Remote Desktop diretamente na internet. Em vez disso, use uma conexão VPN para acessar sua rede local com segurança.
O TeamViewer é uma alternativa à Microsoft
O remote desktop da Microsoft pode ser um pouco complicado de usar e exige algum conhecimento prévio. No entanto, existem várias alternativas fáceis de usar, especialmente populares entre iniciantes. Estabelecer uma conexão de desktop remoto por provedores terceirizados costuma ser mais simples do que usar os serviços da Microsoft, pois, em geral, não exige ajustes no firewall ou no roteador.
TeamViewer é uma das ferramentas de remote desktop mais populares, usada por pessoas físicas e empresas no mundo todo. Com apenas alguns cliques, você pode realizar sessões de suporte remoto ou apresentações de forma rápida e fácil.
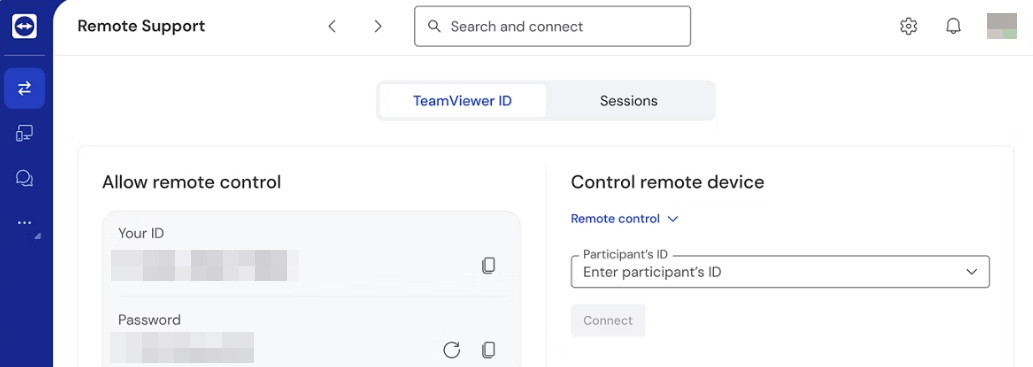
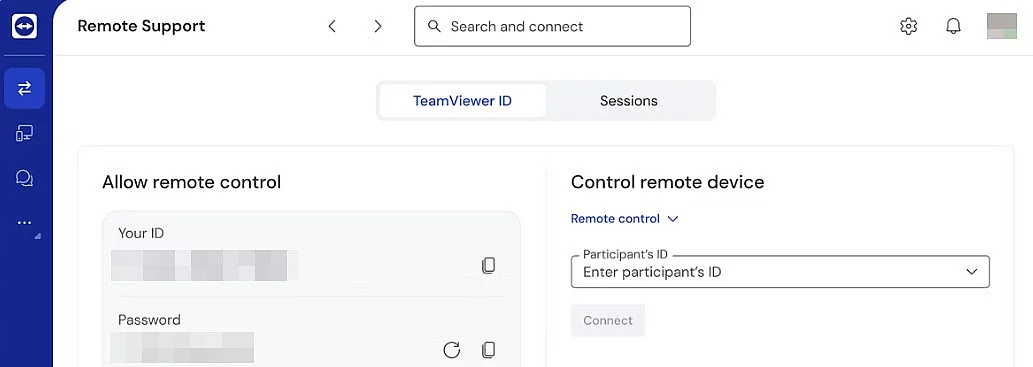
Quando o download estiver concluído, você pode iniciar o TeamViewer imediatamente e começar. Ao abrir, um ID e uma senha temporários são gerados automaticamente. Eles podem ser visualizados a qualquer momento na janela de exibição e compartilhados com seus contatos.
Para estabelecer uma conexão de remote desktop, basta inserir o ID do seu contato no campo “ID do participante” e, em seguida, a senha correspondente. Se você precisar de ajuda, o processo é igualmente simples: compartilhe seu número de ID e senha com seu contato. Recursos adicionais, como transferência de arquivos, chat, comunicação por áudio e vídeo e gerenciamento de contatos, aprimoram ainda mais a experiência. Se a interface ou o conjunto de recursos não atender às suas preferências, você pode explorar uma das muitas alternativas ao TeamViewer.
Conexões de remote desktop com Linux e macOS
Não seria útil se usuários do Windows pudessem acessar sistemas Linux ou macOS com a mesma facilidade? Você pode! As conexões de remote desktop não se limitam mais a sistemas Windows. Hoje, computadores Linux e macOS também podem ser controlados remotamente de maneira confiável e segura. Para isso, estão disponíveis tanto protocolos multiplataforma quanto clientes nativos. A solução certa depende do sistema operacional, do uso pretendido e dos requisitos de segurança.
Remote desktop no Linux e uso do RDP em vez do VNC clássico
Para distribuições Linux modernas, como Ubuntu 22.04 LTS ou 24.04 LTS, recomenda-se usar um servidor compatível com RDP. Isso permite acessar o sistema Linux diretamente com o cliente Windows Remote Desktop, sem precisar de software visualizador adicional. Uma solução bem consolidada é o xrdp, que oferece suporte nativo ao protocolo RDP. A instalação é simples e requer apenas algumas etapas. Abra o Ubuntu e digite os seguintes comandos, um a um, na janela do terminal:
Etapa 1: atualizar o sistema
sudo apt update && sudo apt upgradeEtapa 2: instalar o xrdp
sudo apt install xrdpEtapa 3: ativar o serviço
sudo systemctl enable xrdp
sudo systemctl start xrdpEtapa 4: ajustar o firewall (se estiver ativo)
sudo ufw allow 3389/tcpDepois, você poderá fazer login usando a Conexão de Área de Trabalho Remota do Windows (mstsc), inserindo o endereço IP ou o nome do host do sistema Linux.
Remote desktop no macOS usando o Microsoft Remote Desktop
O macOS não oferece seu próprio servidor RDP, mas pode ser usado facilmente como cliente RDP. Para isso, a Microsoft oferece o Windows App, um aplicativo gratuito de remote desktop disponível na Mac App Store. O app se integra perfeitamente ao ambiente do macOS e oferece suporte, entre outras coisas, ao modo com vários monitores, à área de transferência e ao redirecionamento de arquivos e recursos.
Após a instalação, insira o endereço IP ou o nome do host do computador de destino e, em seguida, faça login no sistema remoto usando as credenciais apropriadas.
O macOS também oferece duas opções remotas nativas. O Compartilhamento de Tela simples é um recurso integrado que permite que outro Mac veja e controle sua tela quando o compartilhamento estiver ativado. Além disso, o Apple Remote Desktop, disponível como software profissional separado, permite gerenciar e administrar remotamente vários Macs. Essa solução paga foi projetada principalmente para profissionais de TI e empresas.