How to install Apache Tomcat on CentOS 7
Learn how to install and use Apache Tomcat on CentOS 7. Apache Tomcat is a Java Servlet container developed by Apache to which allows you to deploy Java servlets and JSPs. Apache Tomcat also functions as a web server, which is able to support small to medium-sized websites.
This tutorial also covers how to install and use the Tomcat Web Admin Manager, which allows you to manage Tomcat and virtual hosts from a web browser.
Requirements
- A Cloud Server running Linux (CentOS 7)
- If you have a firewall, you will need to allow access to port 8080.
- Unlimited traffic
- Fast SSD NVMe storage
- Free Plesk Web Host Edition
Install Tomcat
Installing Tomcat on CentOS 7 requires one simple command:
sudo yum install tomcatThis will install Tomcat and its dependencies, including Java.
There are several additional packages which many users, particularly those who are new to Tomcat, will find useful. Install them with the command:
sudo yum install tomcat-webapps tomcat-admin-webapps tomcat-docs-webapp tomcat-javadocThis will install:
- The Tomcat root webpage (tomcat-webapps)
- The Tomcat Web Admin Manager (tomcat-admin-webapps)
- The official online Tomcat documentation (tomcat-docs-webapp and tomcat-javadoc)
If your server is running Apache, stop it with the command:
sudo systemctl stop httpdStart Tomcat with the command:
sudo systemctl start tomcatAnd enable Tomcat to automatically start if the server is rebooted:
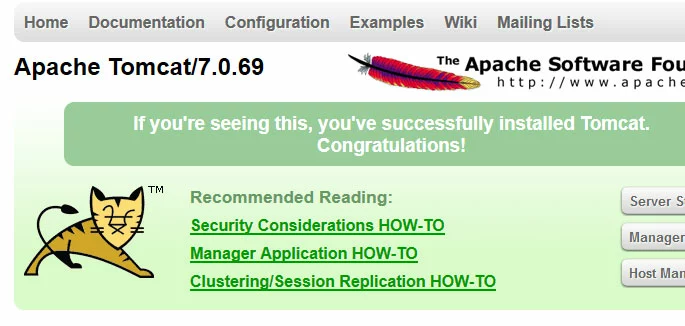
sudo systemctl enable tomcatYou can verify that Tomcat is running by visiting the URL http://example.com:8080 in a web browser. You will see the Tomcat welcome page, which includes links to the Tomcat documentation which you installed in the previous step.
Use the Tomcat Web Admin Manager
In order to use Tomcat's web management interface, you will need to create a user. Open the tomcat-users.xml file with the command:
sudo nano /usr/share/tomcat/conf/tomcat-users.xmlScroll down to below the line which reads <tomcat-users> and add the information for your user account:
<user username="[username]" password="[password]" roles="manager-gui,admin-gui"/>For example, to add the user jdoe with password En4EW25eI0 this section will read:
<tomcat-users>
<user username="jdoe" password="En4EW25eI0" roles="manager-gui,admin-gui"/>
Save and exit the file. Restart the Tomcat service for the changes to take effect:
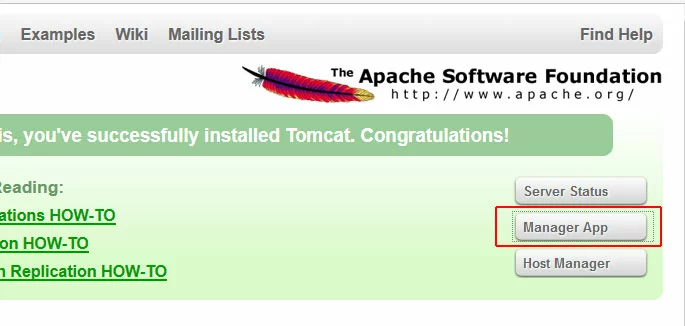
sudo systemctl restart tomcatIn a browser, visit the URL http://example.com:8080 to see the Tomcat welcome page. Click the Manager App link.
You will be prompted to log in with the username and password you created.
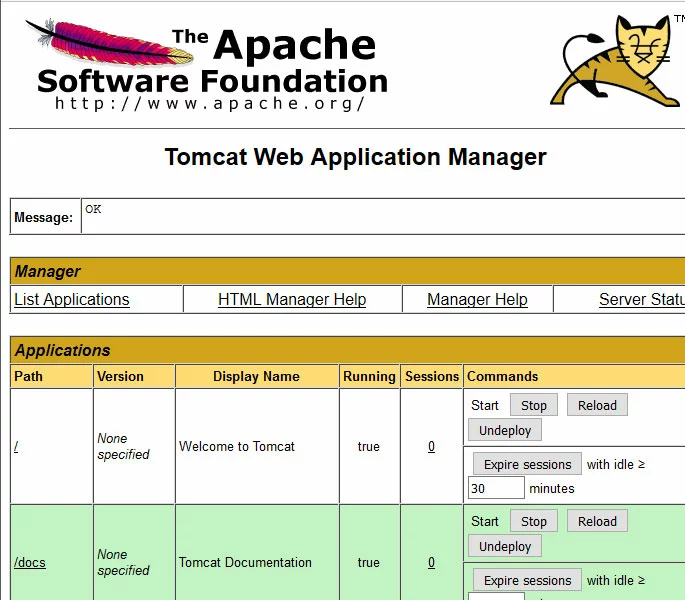
From this page you can stop, reload, and run diagnostics on various Java applications.
- Dedicated enterprise hardware
- Intel® Xeon® or AMD processors
- Leading security technologies
Manage Virtual Hosts
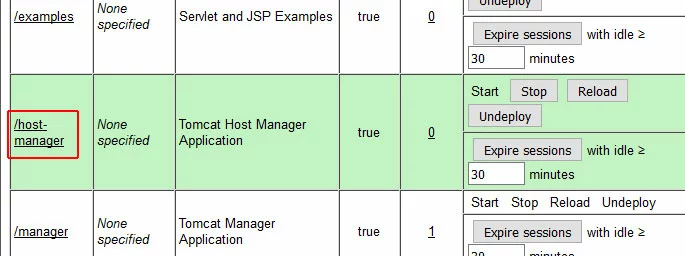
To manage virtual hosts through the Web Application Manager, scroll down and click the /host-manager link.
This will take you to the Tomcat Virtual Host Manager, where you can add and manage virtual hosts to your Tomcat server.


