How to install and run an Apache web server
Do you want to check your new website’s appearance without publishing it? Or perhaps you want to test your self-programmed scripts offline before they go live. A local test server is an indispensable tool that allows users to do just that. With Windows, it’s quick and easy to set up an Apache HTTP server for free. In this detailed, step-by-step introduction, we’ll show you how.
The Apache HTTP server at a glance
Apache is a free, open-source web server software, which was developed by the Apache Software Foundation and is available free for the internet community. The program generally listens to Port 80 to HTTP requests and provides HTML documents. Thanks to its modular structure, a wide range of functions can also be embedded. A combination of databases such as MySQL and server-side script languages like PHP, Perl and Python are normally used to create dynamic pages. As the most popular web server in the world, the Apache HTTP server is part of a diverse software package, which also includes LAMP, MAMP, WAMP and XAMPP. In this tutorial, however, we will focus on how to install and configure the web server in single components.
Installation
All you need to get Apache on your Windows PC is the appropriate Apache software package for your operating system. The Apache Software Foundation only provides the source code on its website. You can also find executable binary files for Windows on community pages like Apache Lounge and Apache Haus. This tutorial is based on the Apache version 2.4.20 for 64-bit systems, which was obtained from Apache Lounge. To use Apache with a Windows operating system, no installation is required; instead, you can proceed as follows:
- Save the software package in the form of a ZIP file in any folder on your local Windows PC.
- Unzip the ZIP file by double-clicking the folder icon.
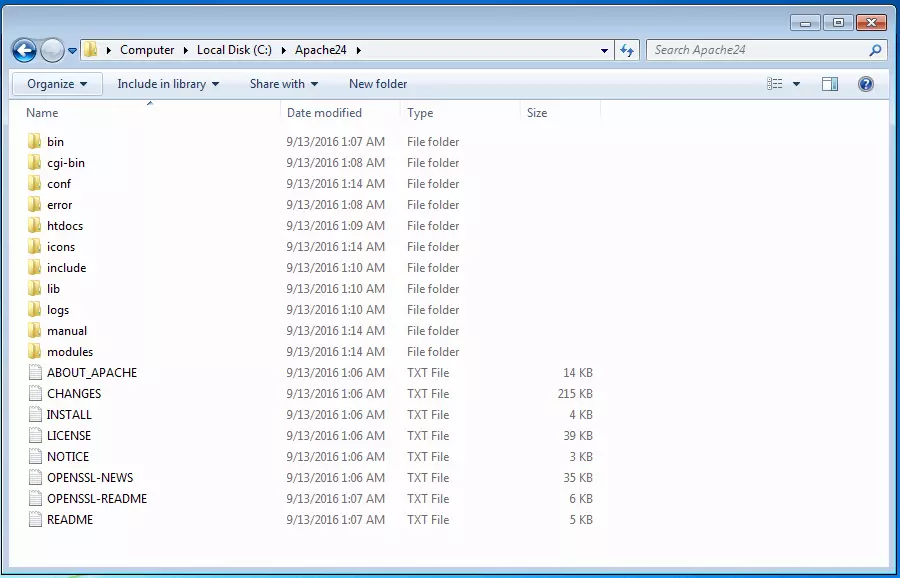
- Name the file Apache24 and copy it into the C:\ file.
You will now be able to find all the files needed to operate your local Apache web server in the C:\Apache24 file.
Trial run
Your system will then normally display two error messages, indicating that software components must be installed and the Apache web server is being blocked by the operating system’s firewall.
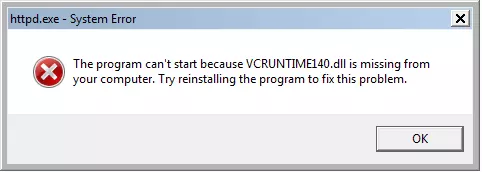
The httpd.exe system error
If you are installing Apache on your Windows PC for the first time, your system is likely to report that the VCRUNTIME140.dll file can’t be found and the web server therefore cannot be started.
These errors can be rectified by then installing the required software components. Apache is written in C++, meaning the program requires an appropriate run time environment when used on a Windows operating system. This is available through the compiler software Visual C++. Missing run time components can be installed with the Visual C++ Redistributable Packages. These are available to download for free from the Microsoft Website and can be installed by simply double clicking the .exe file.
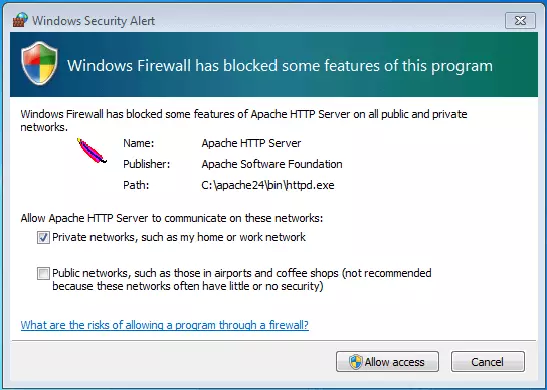
Windows security warning
Generally, PCs are safeguarded by a firewall, which prevents external programs gaining unauthorized access to a system via a network. If, however, you would like to make your local Apache HTTP server available on a home or work network, you need to explicitly authorize the communication with Apache. This can be done in the security message that follows, which reports that some of the web server’s functions are blocked by the Firewall.
If you wish to allow access to your server in one of the specified networks, check the corresponding box and click the ‘Allow access’ button. Administrative rights are usually required in order to do this.
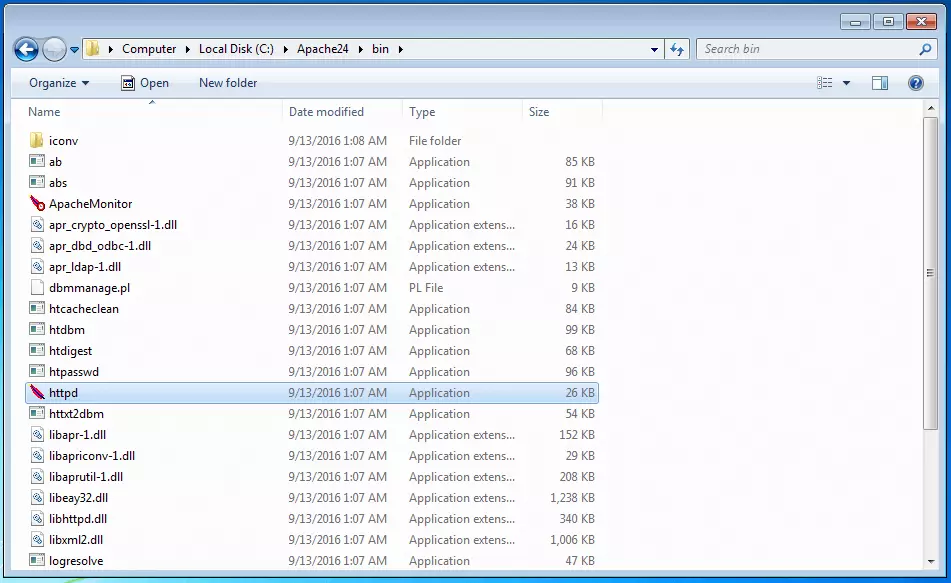
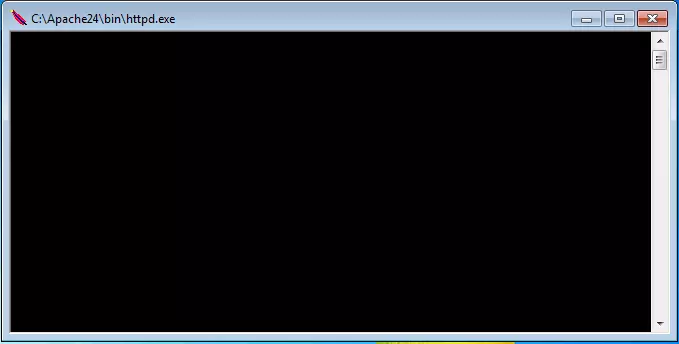
When you have installed the required run time components and adjusted the firewall settings to your particular model, the use of an Apache HTTP server in its standard configuration is no longer an obstacle. Restart the web server by double clicking the httpf file. A black command line window will open automatically. If you wish to end the Apache web server, close the window by clicking the ‘x’ in the upper right-hand corner.
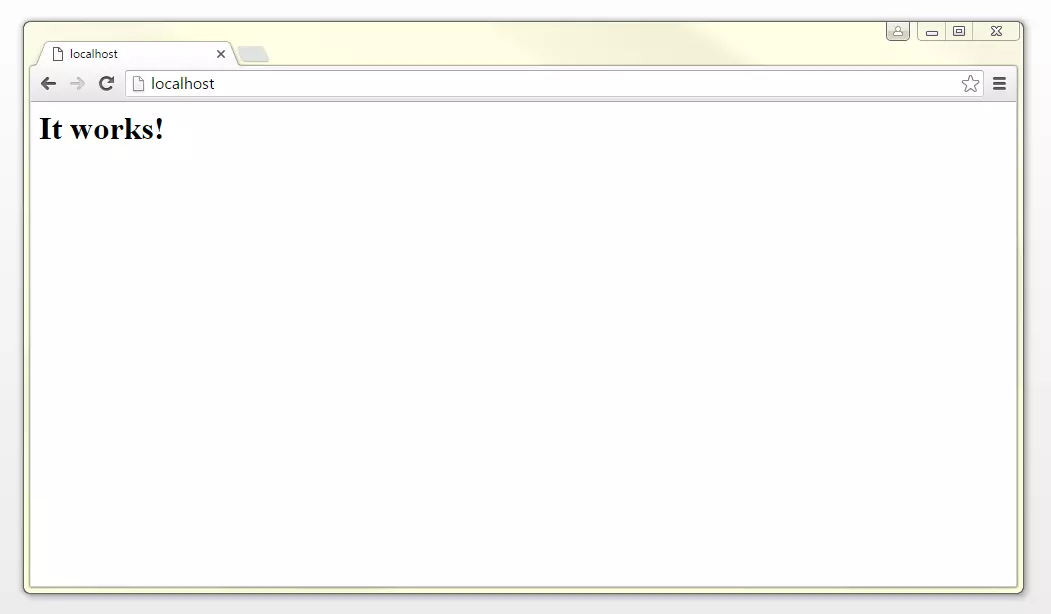
To access your web server, simple enter ‘localhost’ or the standard IP address, ‘127.0.0.1’ into the search bar of any web browser.
If all the settings have been correctly entered, the web browser will display a default index.html with the words, ‘It works!’ You can then configure your web server.
 mindscannershutterstock
Configuration
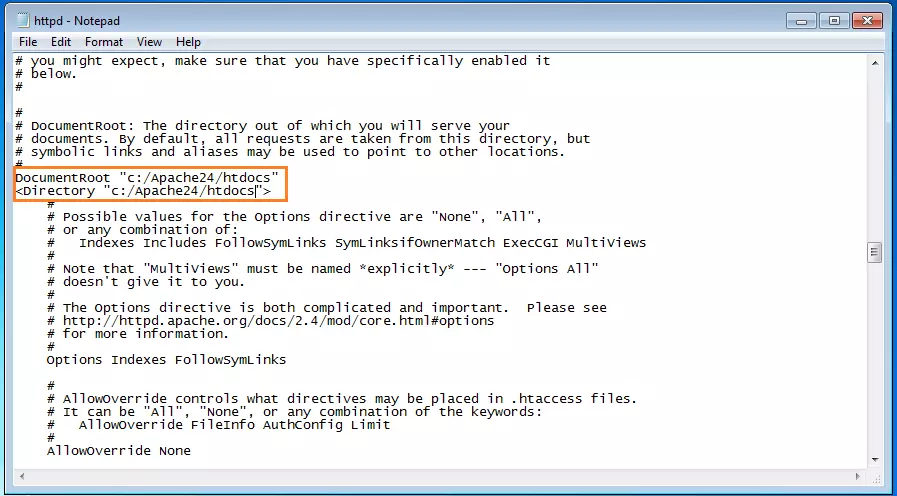
The Apache http server is generally preconfigured as a software package in such a way that makes it still functional without any further settings. All content that is to be accessed via a web server will be saved in a folder called ‘DocumentRoot’ in the httpd.conf configuration file. By default, this is the htdocs folder at C:\Apache24.
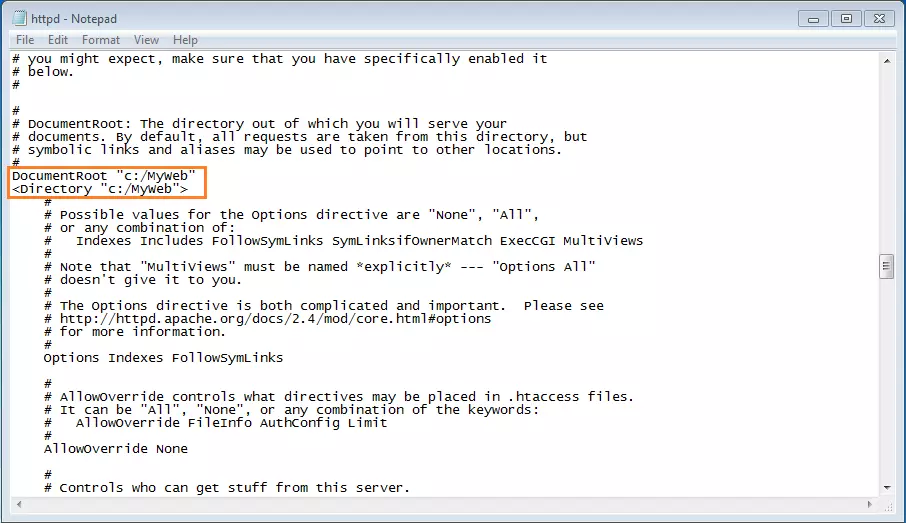
If you wish to save your website‘s documents and files in another folder, it must be entered in the httpd.conf as ‘DocumentRoot’ and ‘Directory’.
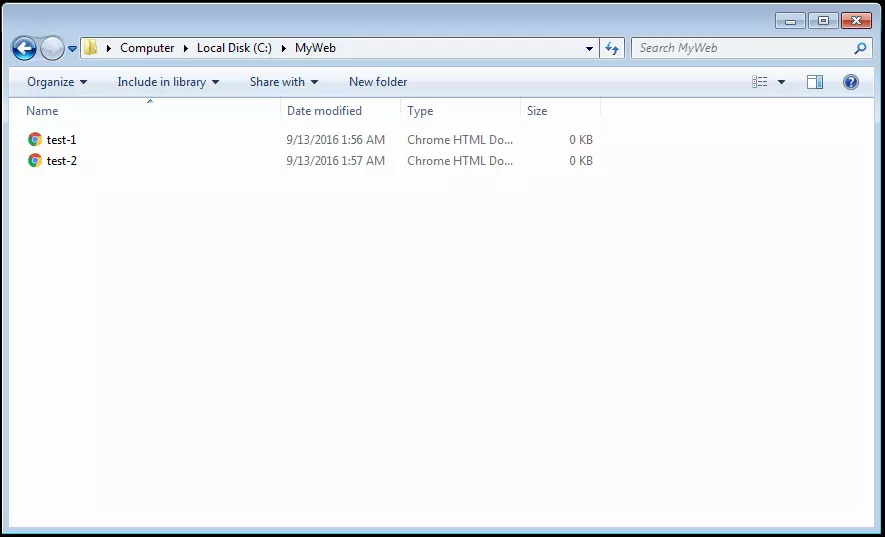
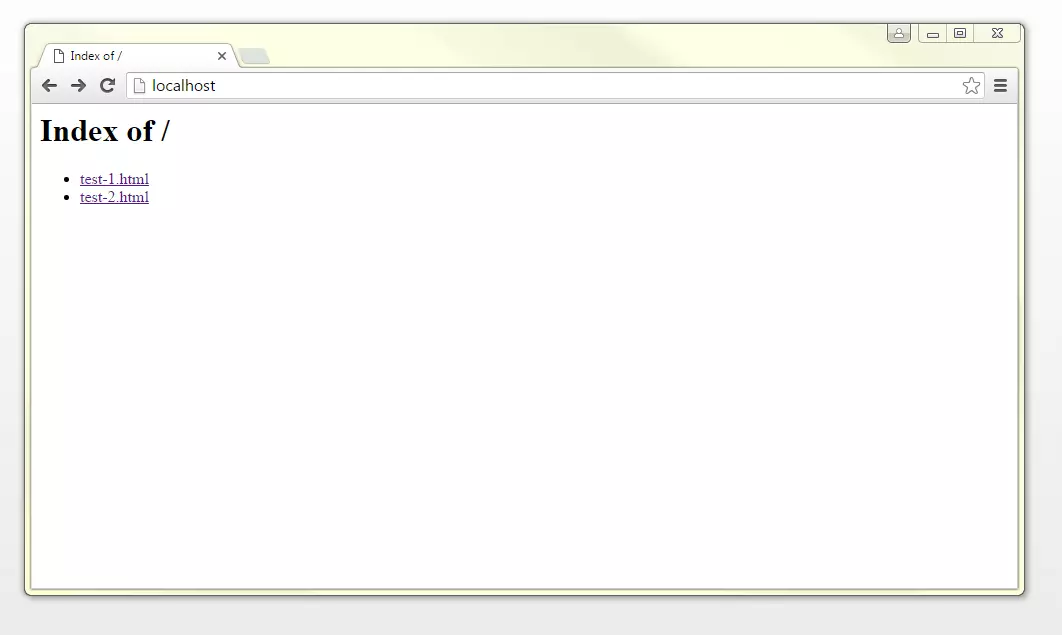
For this demonstration, we’ve created a new folder called ‘MyHomepage’ in the C:\ file. This is acting as a webpage folder for a fictional website. Two HTML documents: test-1 and test-2 have been saved in this file.
To access the web server, the Apache must first be restarted via localhost. The web browser will then display the website folder’s index with the HTML pages, test-1.html, and test-2.html.
