

How to install Portainer on Docker

Portainer is a convenient way to manage distributed container environments. The software is installed as a Docker container and thus runs pretty much everywhere. We show the installation routine and provide useful tips.
Use Portainer to manage your Kubernetes clusters – on a IONOS vServer.
What is Portainer?
We had already introduced Portainer as a flexible alternative to OpenShift. Unlike OpenShift, Portainer is not a Kubernetes distribution in its own right. Rather, the open source software centralizes and unifies the management of existing cluster infrastructures. A web-based graphical user interface is used for this purpose. In addition to the free “Community Edition” (CE), there is a paid version with enterprise support.
The main focus of Portainer is to unify the management of existing Kubernetes deployments. Portainer enables DevOps teams to centrally manage, configure, and secure multi-cluster environments. Development teams also benefit from the software; for example, Portainer facilitates deployment, management and troubleshooting of applications.
Conveniently, Portainer is not only suitable as a management interface for Kubernetes; cluster or container management based on Docker and Docker Swarm is also part of the functional scope. The software can be installed just about anywhere. Thus, the installation works in cloud environments, on edge devices as well as on your own on-premises computing infrastructure. We show how to install Portainer under Docker.
Follow our demonstrative Docker tutorial to set up Docker on your local system.
How do I install Portainer on Docker?
Let’s first look at the basic Portainer architecture. This comprises two components that are installed individually as Docker containers:
- A Portainer server as a centralized instance. The Portainer server contains a database and requires a storage layer to store data. The Portainer server manages the local Docker environment and, if necessary, other environments connected via agents.
- If necessary, multiple Portainer agents to manage additional environments. One instance of the Portainer agent runs on each cluster node to be managed.
Both Portainer server and agents run as containers on existing infrastructure. The agents communicate with the server; for this to work, the server and the agents must be on the same network. Furthermore, there are the edge agents, which run as instances on remote devices. What is special about edge agents is that they communicate with the server across network boundaries. An encrypted TLS tunnel is used for this.
Next, we demonstrate the installation of a Portainer server and agent under Docker (standalone). We refer to Portainer Community Edition (CE) version 2.9.3 and use Docker Desktop as a base. Docker Desktop runs on Windows and macOS; installation on Linux is nearly identical. Note that in production use, servers and agents run on different machines.
Installing Portainer Server under Docker Desktop
Since the Portainer server is available as a Docker image, installation turns out to be quite simple. We will guide you through the process step by step.
- First, we create a Docker volume that will contain the data managed by the Portainer server:
docker volume create Portainer_data- Next, we verify that the Docker volume named “Portainer_data” exists:
docker volume ls- Now let’s move on to the installation of the actual Portainer server. We start the server as a Docker container from its Docker image. Unless the image is local, it will be downloaded automatically:
docker run -d -p 8000:8000 -p 9443:9443 --name Portainer \
    --restart=always \
    -v /var/run/docker.sock:/var/run/docker.sock \
    -v Portainer_data:/data \
cr.Portainer.io/Portainer/Portainer-ce:2.9.3- Next, we check if the Docker container named “Portainer” is running:
docker psConfigure the Portainer server under Docker
If the Portainer server was installed correctly, the Portainer web interface is accessible on the local host at the specified port. In our case, it is port 9443. Now it is time to configure the Portainer server.
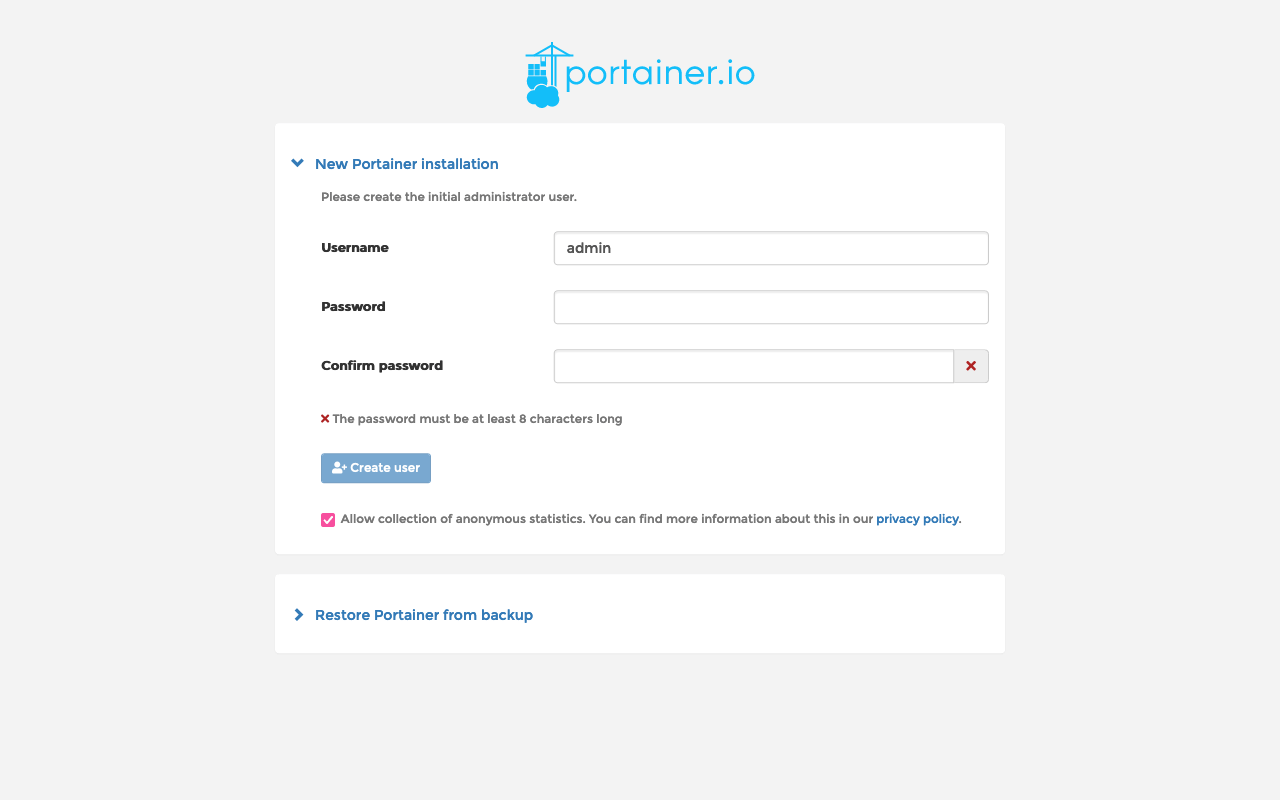
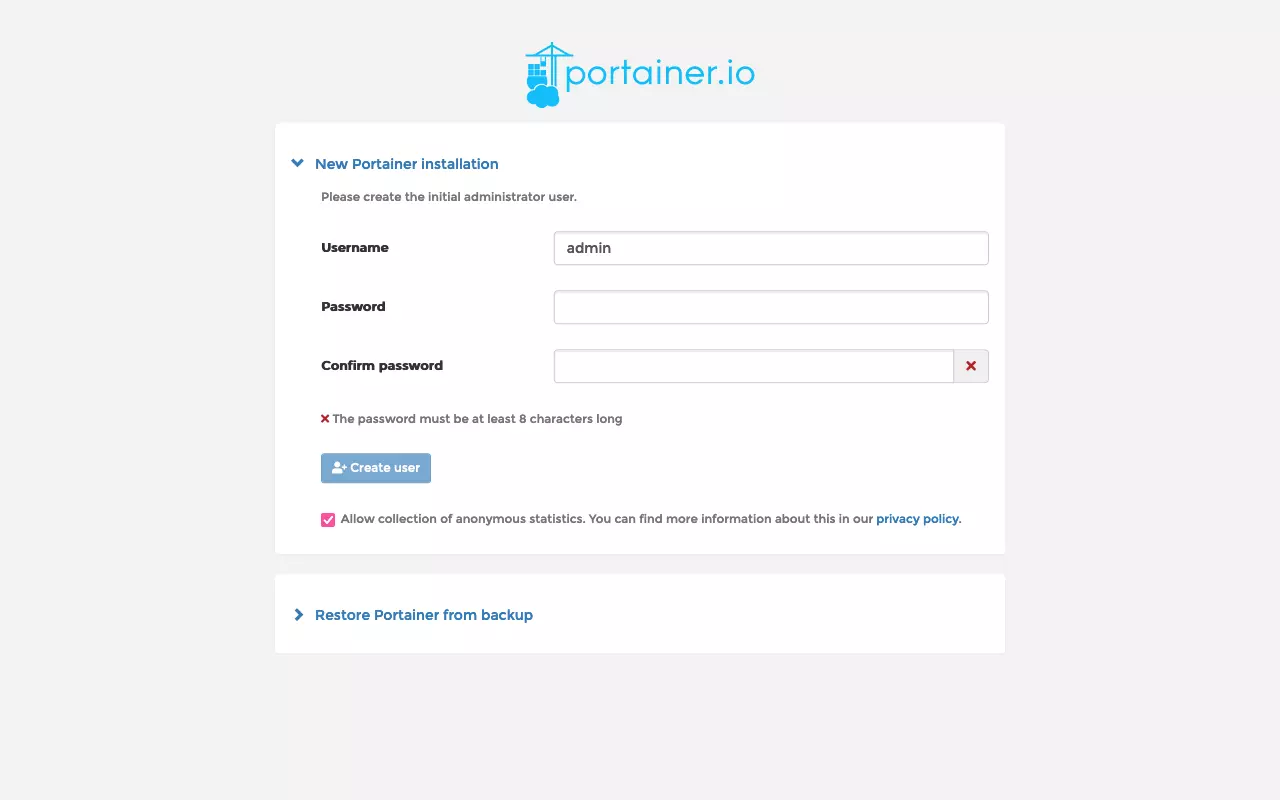
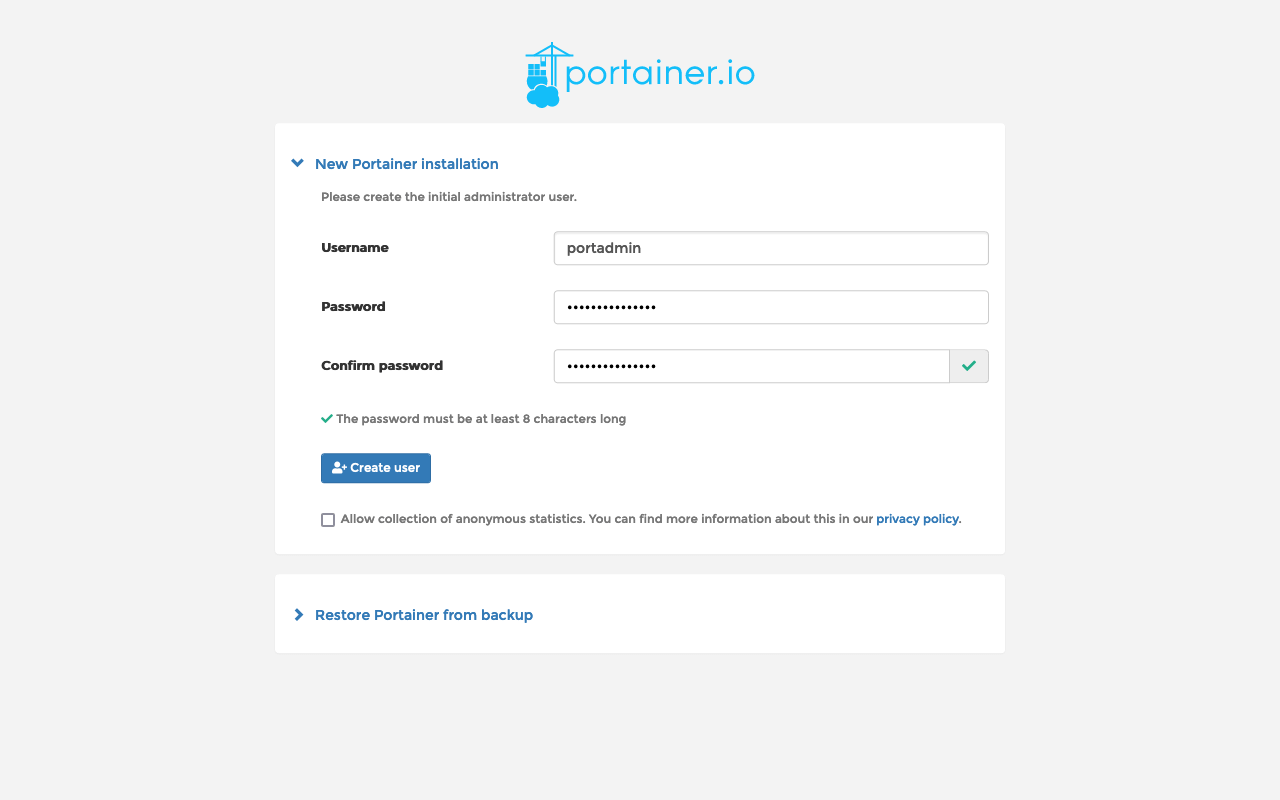
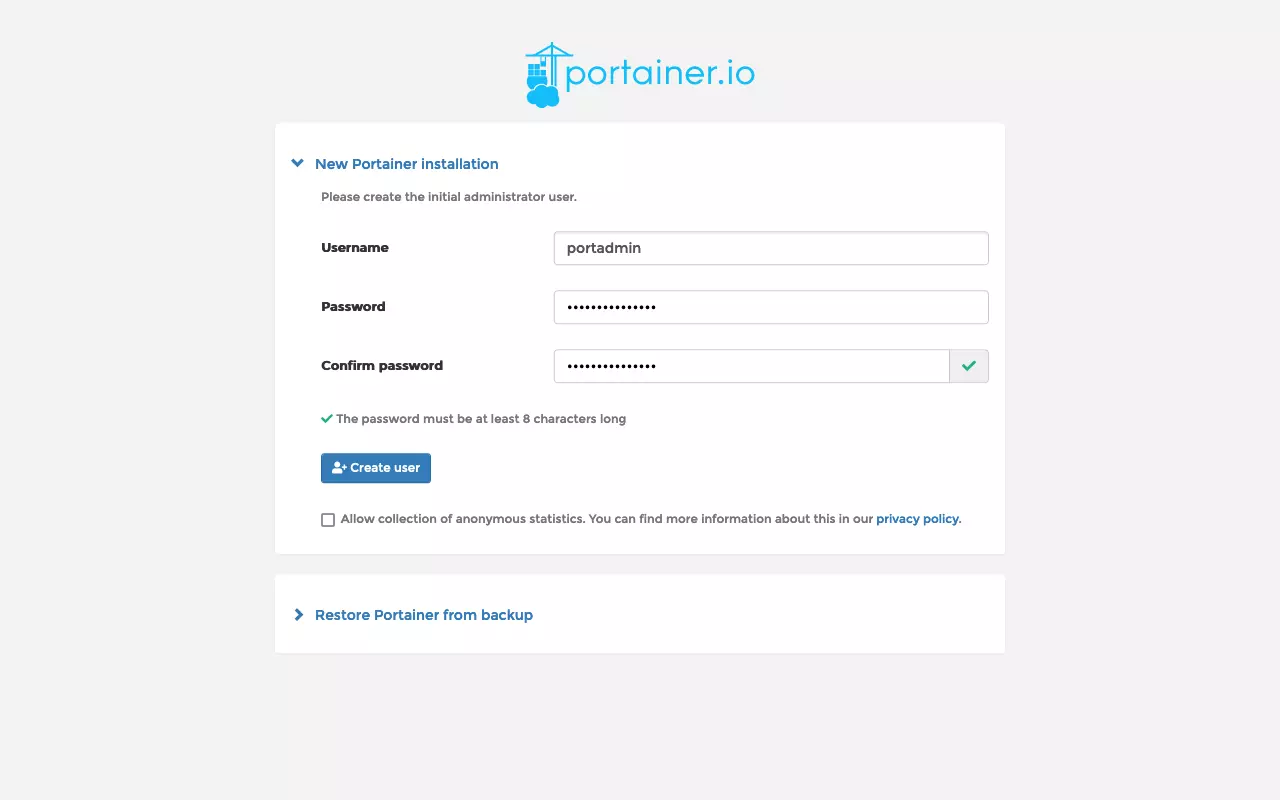
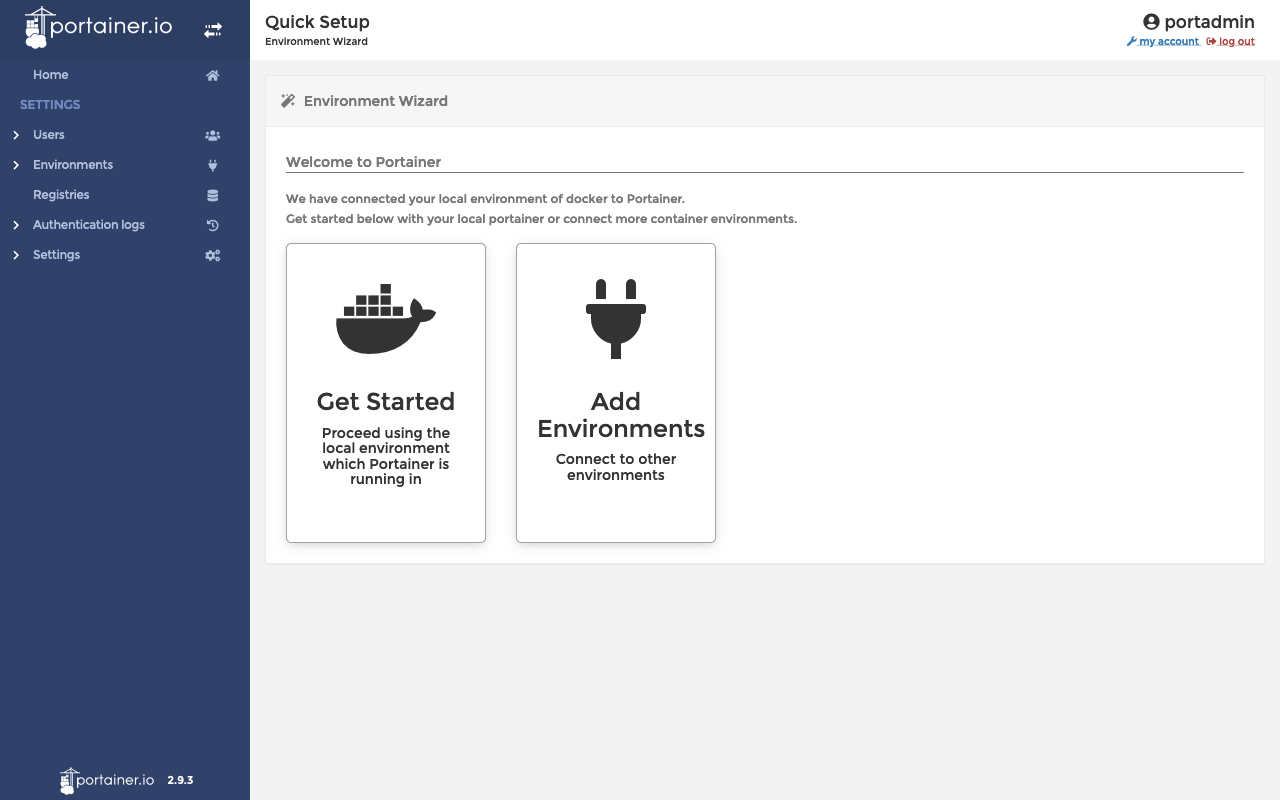
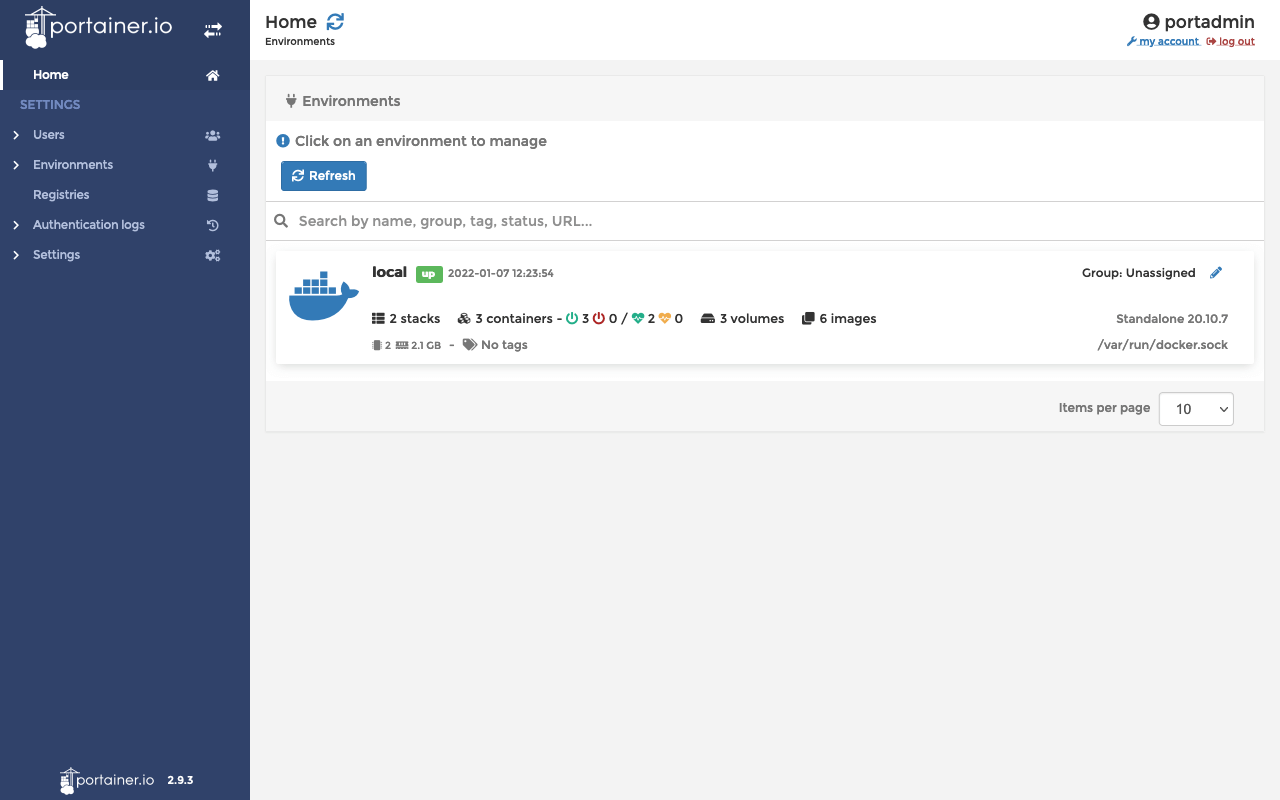
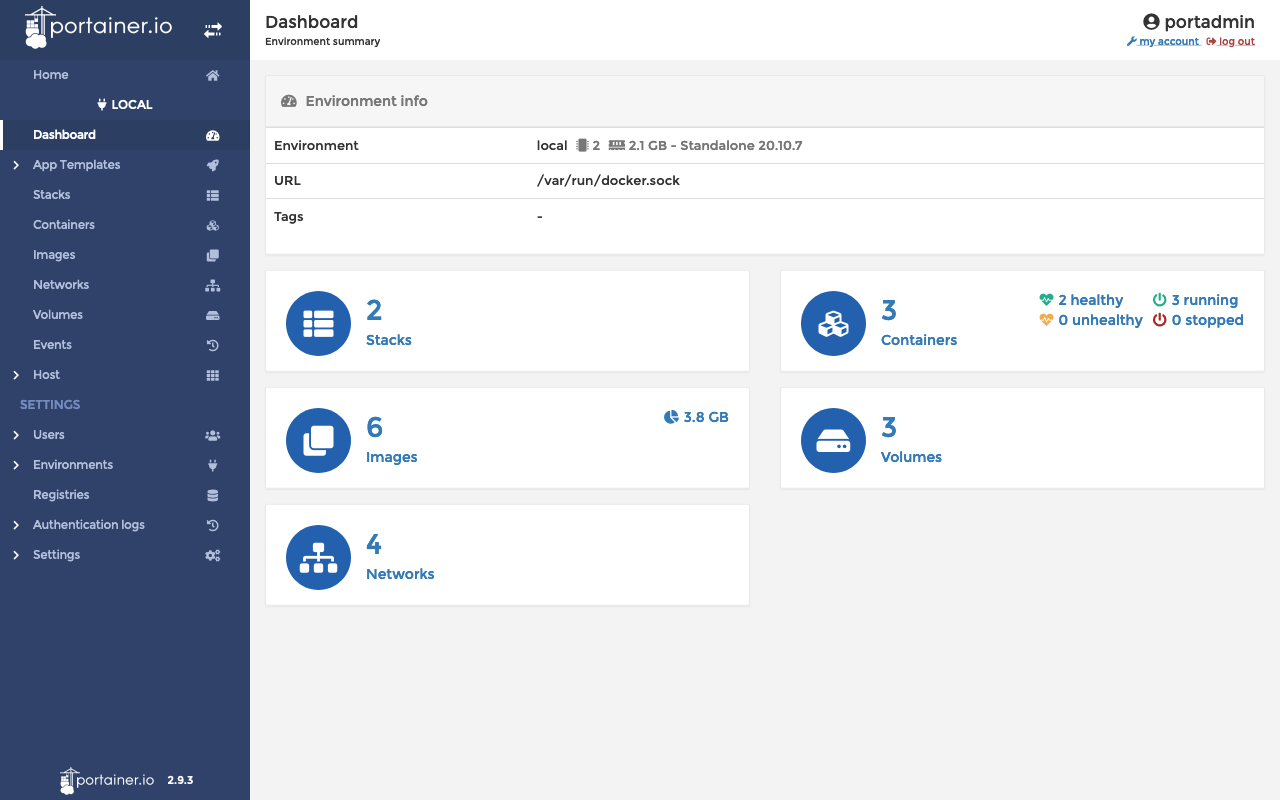
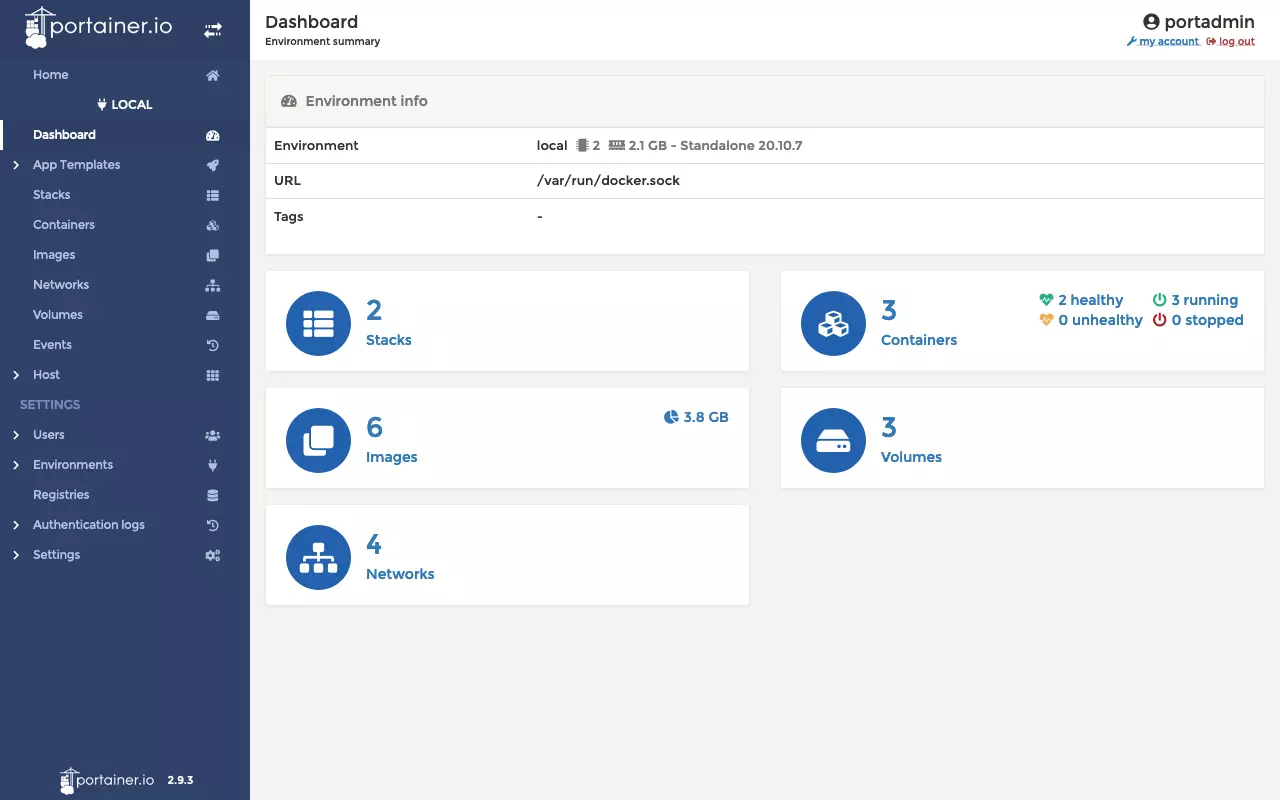
- First, we call up the Portainer web interface in the browser: https://localhost:9443.
- When using Portainer for the first time, we create an admin user account and then set up Portainer.
By default, the Portainer installation uses a self-signed SSL certificate to secure the web interface via HTTPS. When accessed, a warning message may be displayed in the browser, depending on the browser and operating system. This can be bypassed with a few clicks, as shown in the following screenshots.
Upgrade Portainer server under Docker Desktop
The Portainer server upgrade process is closely related to the installation routine. Therefore, we show the process here as well:
- First, we stop the running container of the Portainer server:
docker stop Portainer- Subsequently, we remove the container:
docker rm Portainer- In preparation for the upgrade, we download the latest Portainer server image:
docker pull cr.Portainer.io/Portainer/Portainer-ce:2.9.3- To perform the upgrade, we restart the Portainer server container from the current image:
docker run -d -p 8000:8000 -p 9000:9000 -p 9443:9443 \
    --name=Portainer --restart=always \
    -v /var/run/docker.sock:/var/run/docker.sock \
    -v Portainer_data:/data \
cr.Portainer.io/Portainer/Portainer-ce:2.9.3Installing Portainer agent under Docker
The Portainer agent is not needed for a local installation under Docker. If you want to manage multiple environments in a centralized way, you install the agent on each machine to be connected. Since the Portainer agent is available as a Docker container, installation is straightforward. All you need to do is run the following command on the target system:
docker run -d -p 9001:9001 --name Portainer_agent \
    --restart=always \
    -v /var/run/docker.sock:/var/run/docker.sock \
    -v /var/lib/docker/volumes:/var/lib/docker/volumes \
    cr.Portainer.io/Portainer/agent:2.9.3
Reviewer

Christian Heldmaier
Christian Heldmaier is an experienced online marketing and SEO specialist from Karlsruhe. He has been working as an SEO Manager at IONOS since July 2020.