

How to create a Discord server

A Discord server is a space for communities, teams or groups of friends to interact and collaborate. If you already have a Discord account, you can easily create a server and add different channels: text channels for messaging, voice channels for live chats, and topic channels to organize discussions around specific subjects.
- NEW: VM cloning, load balancing, block storage, and more
- Ideal for agentic AI, LLMs, and automation at scale
- Free 24/7 expert support and 99.99%+ uptime
- Unlimited traffic and no setup fees
How to create a Discord server
- Open the Discord app on your desktop or mobile device.
- Log in to your Discord account.
- Click the plus symbol on the left side.
- Select Create Server.
- Choose the name of your new Discord server.
- Click Create.


What is a Discord server?
A Discord server acts as a community space for like-minded individuals. The app allows you to create public servers where you can share ideas, news and interests. In a server, you can create multiple voice and text channels, invite friends or fans, and chat using voice and video calls.
Discord is especially popular among gamers, such as those with a Valheim server or a Minecraft server. It makes it easy to livestream multiplayer events and bring communities together. You can even create different Discord servers based on specific topics like movies, comics, games and music, so each community has its own channel(s).
Prefer TeamSpeak over Discord for messaging and voice chatting? Create a free TeamSpeak server and use it to share interests or information instead.
How to create a Discord server step by step
Setting up a Discord server is simple and free. You can also opt for premium features like higher sound quality for all chat members by subscribing to Discord Nitro.
Here’s how to create a free server:
Step 1: Open the Discord app on your desktop or mobile device and log in to your Discord account with your credentials.
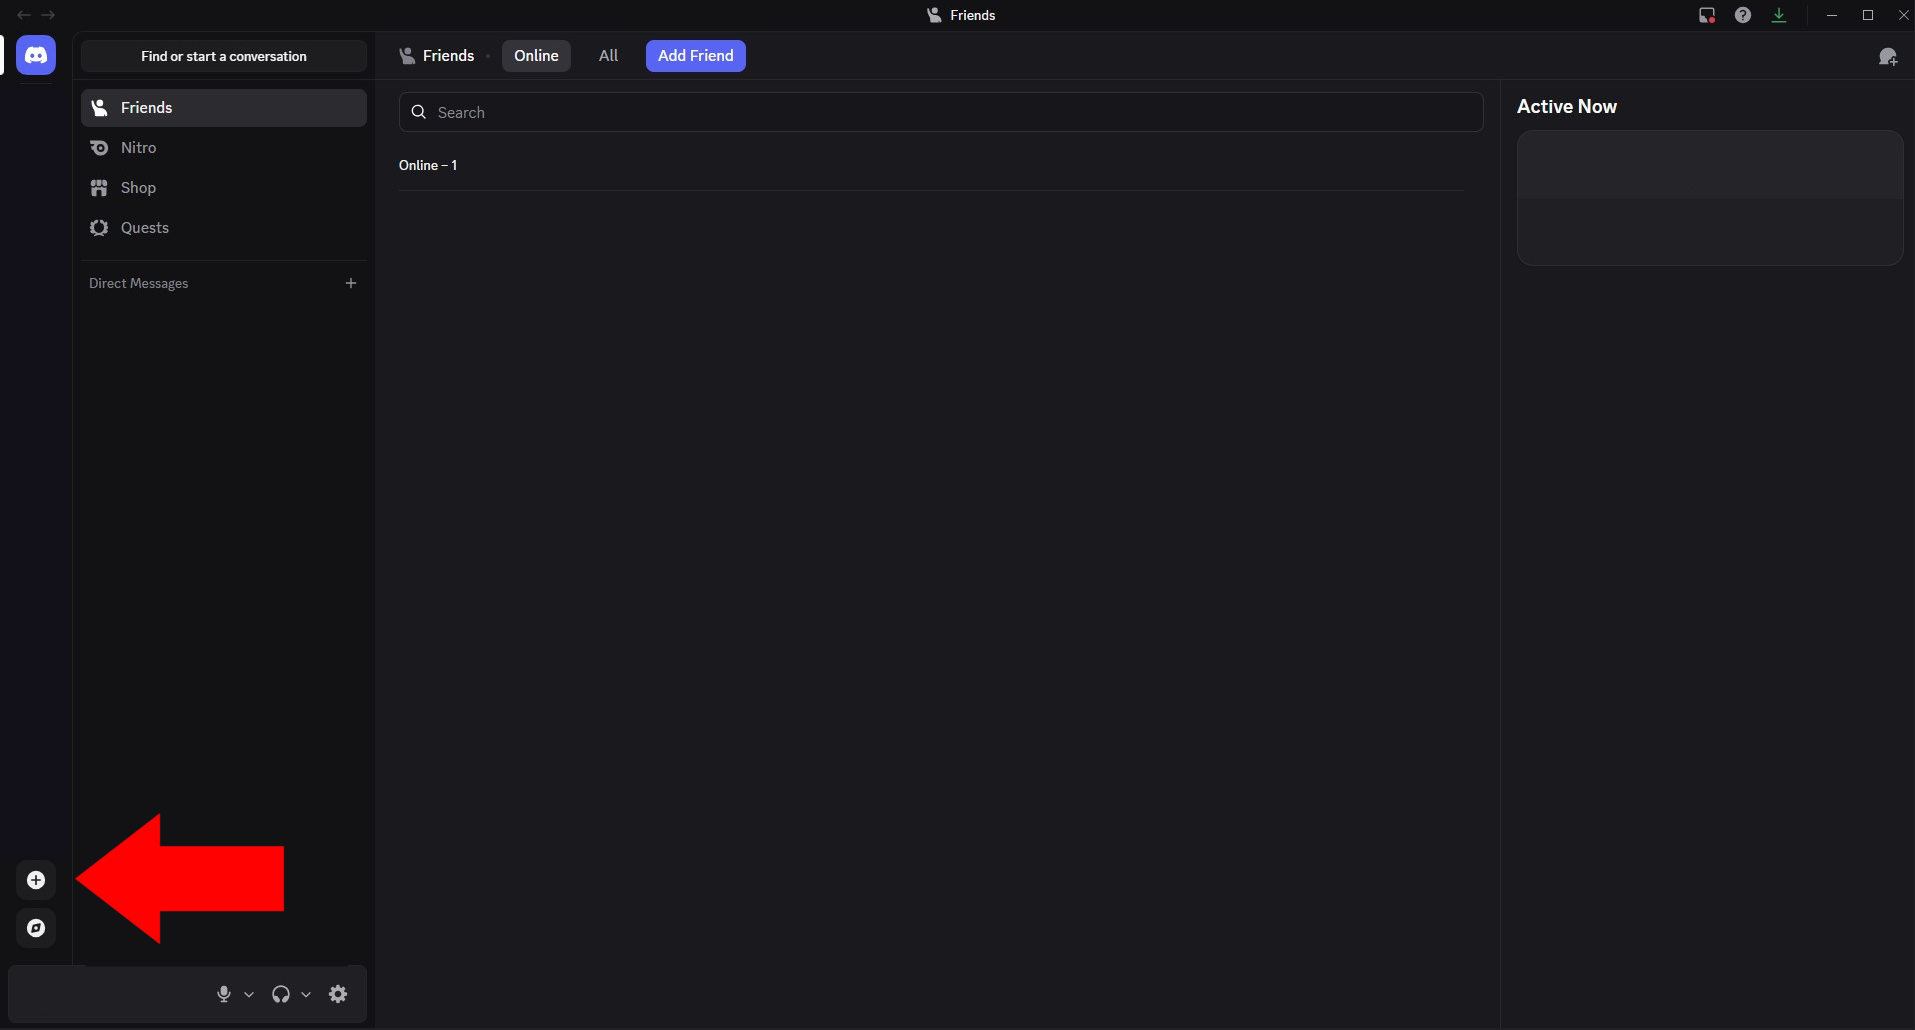
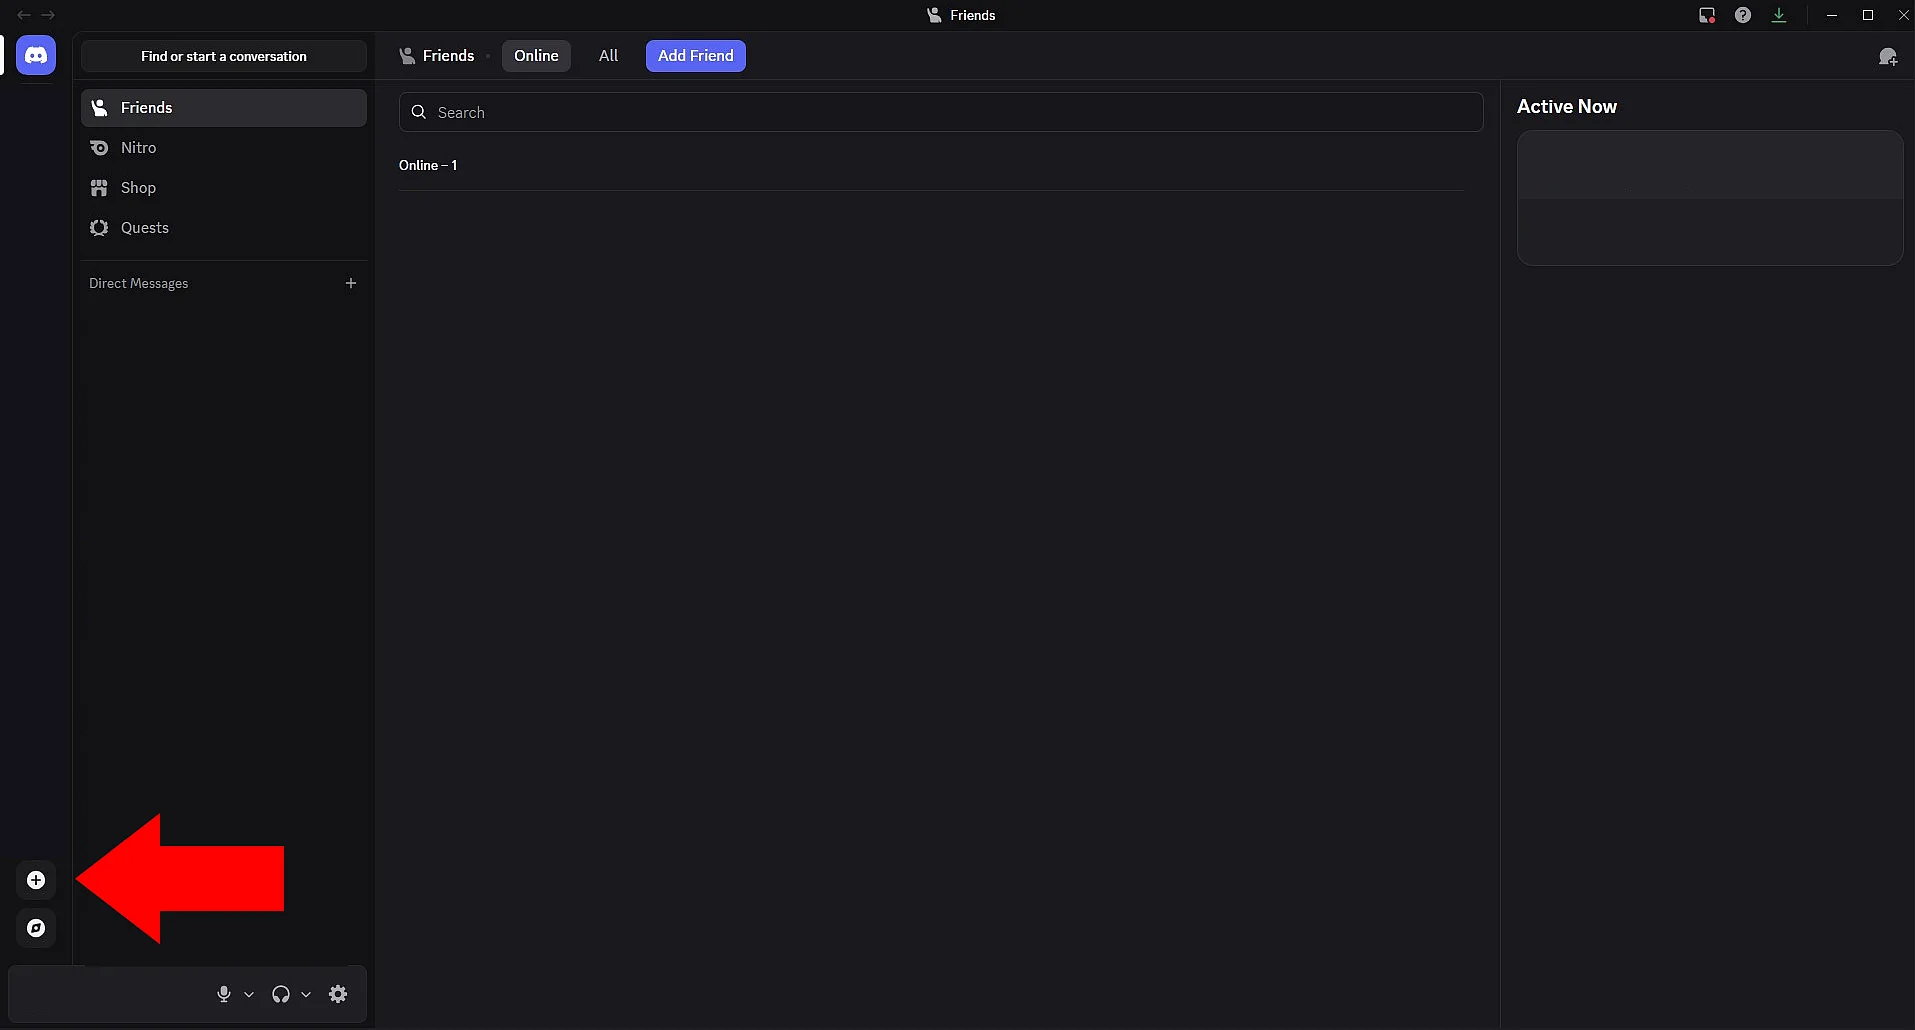
Step 2: Click the plus symbol to add a Server in the menu on the left. If you have a lot of contacts, it may be further down.
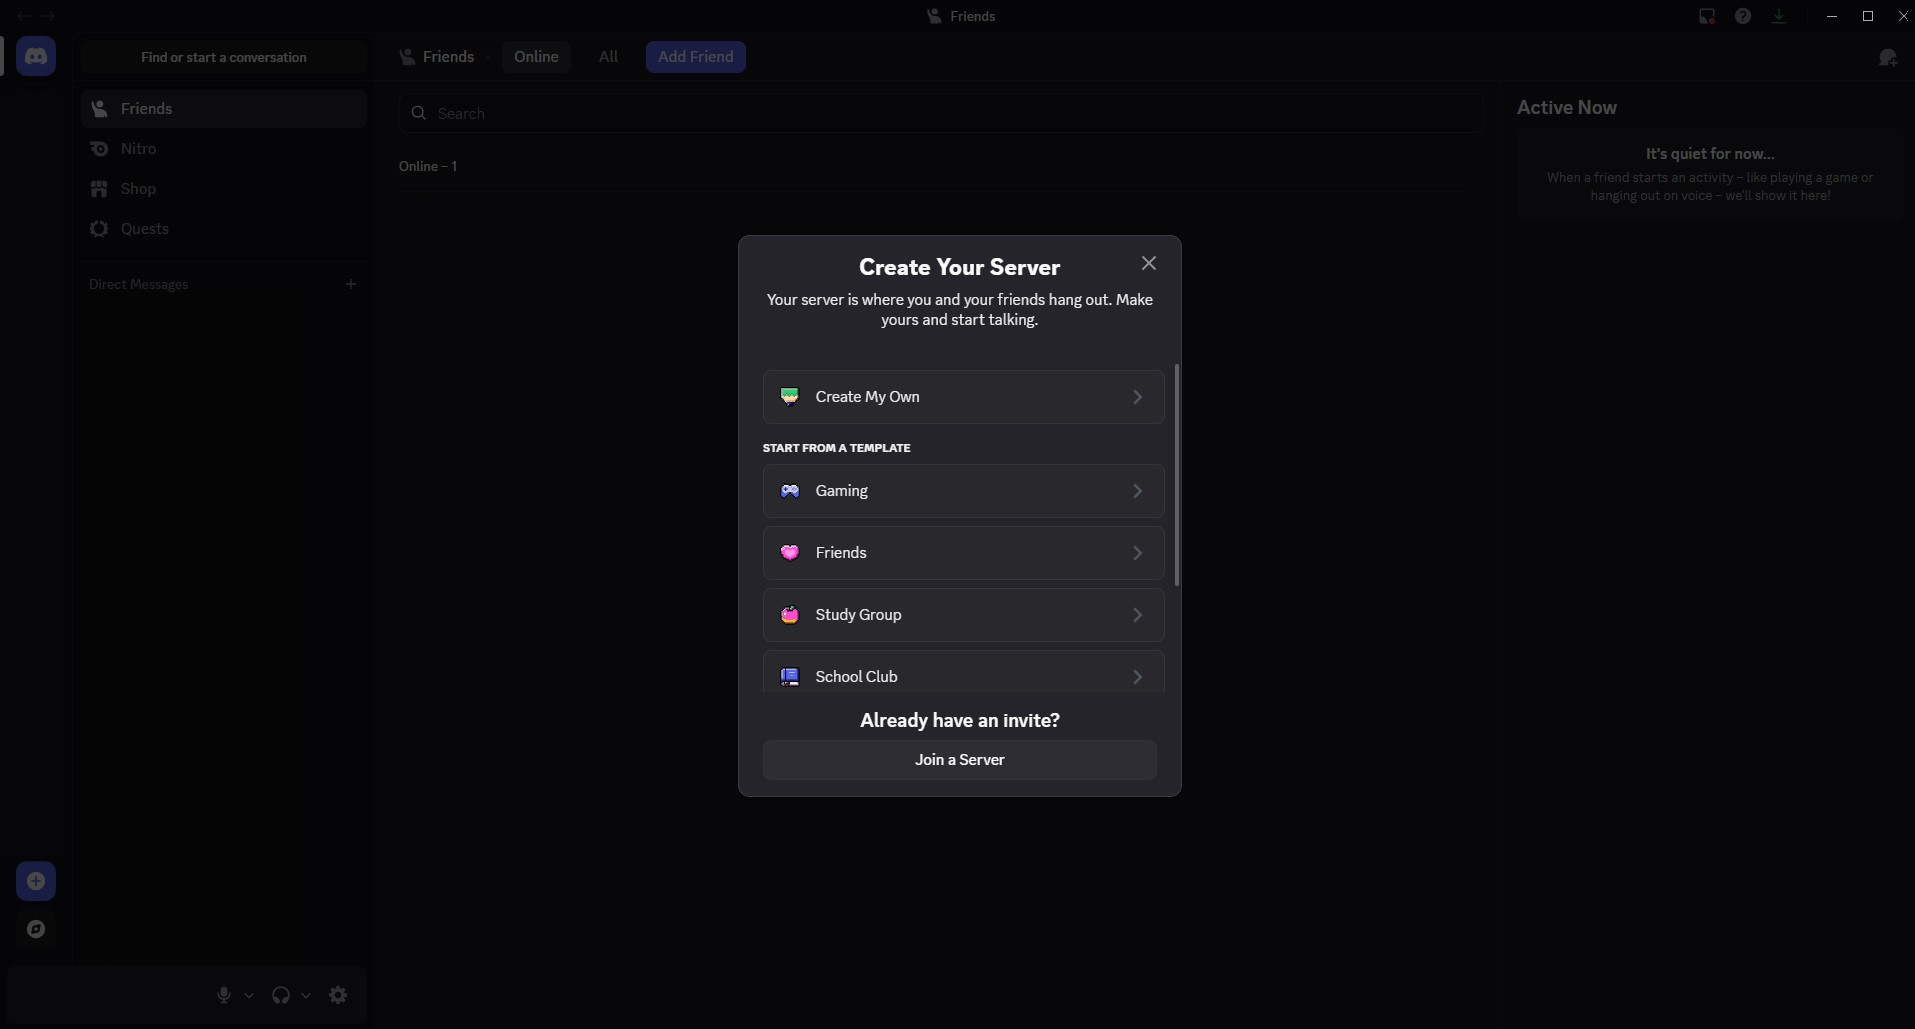
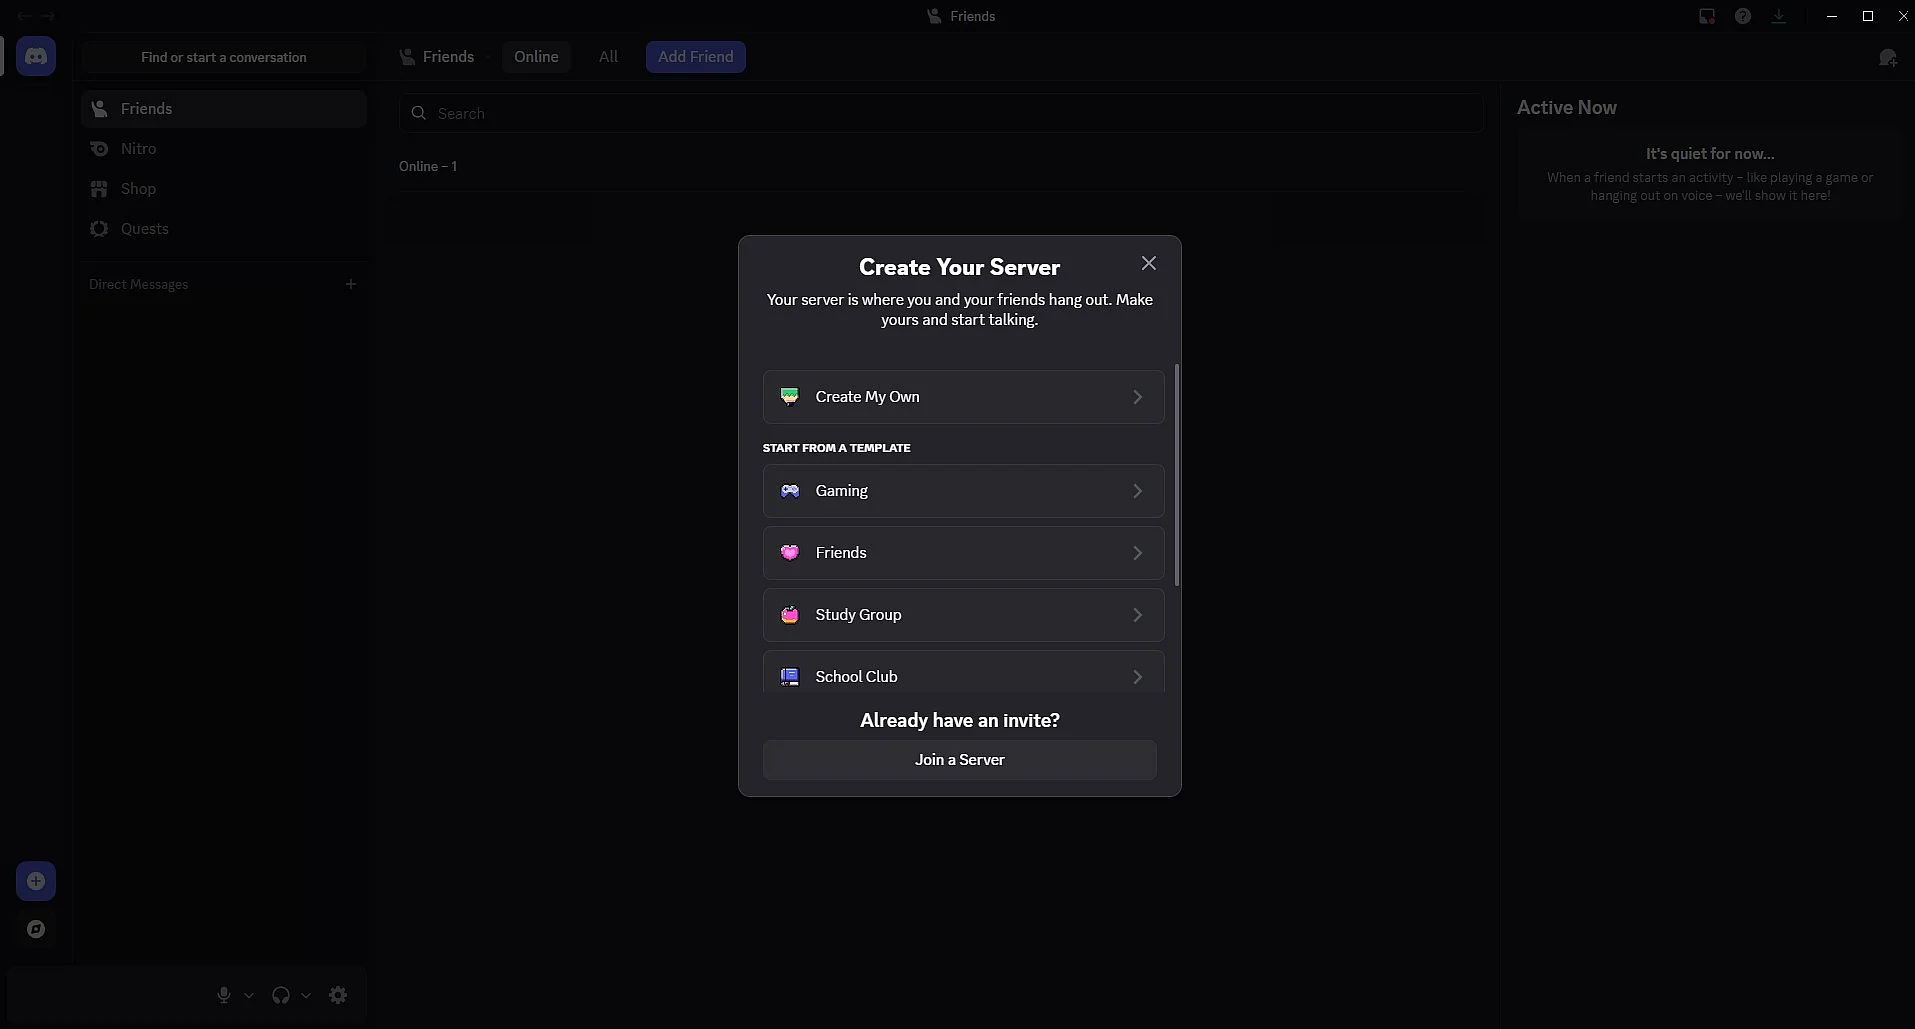
Step 3: A window will open where you can choose to create a server from scratch or from a template. Click Create My Own.
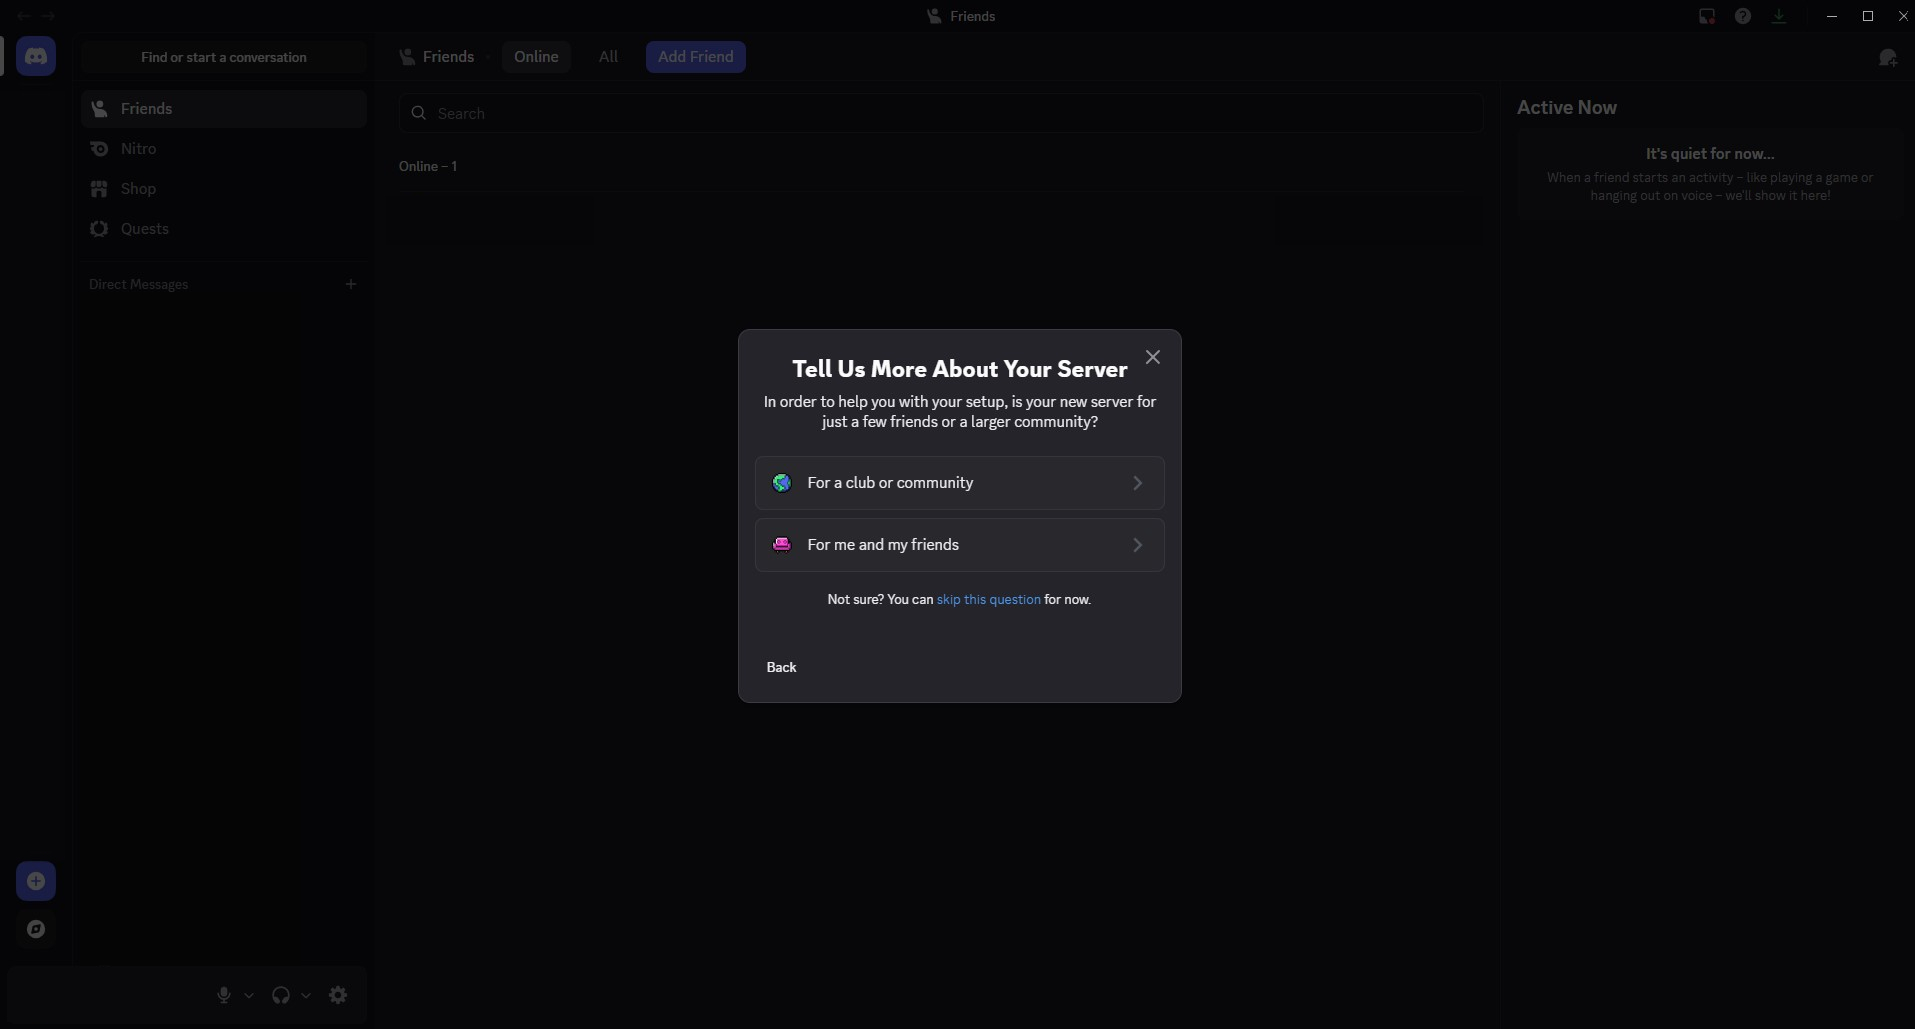
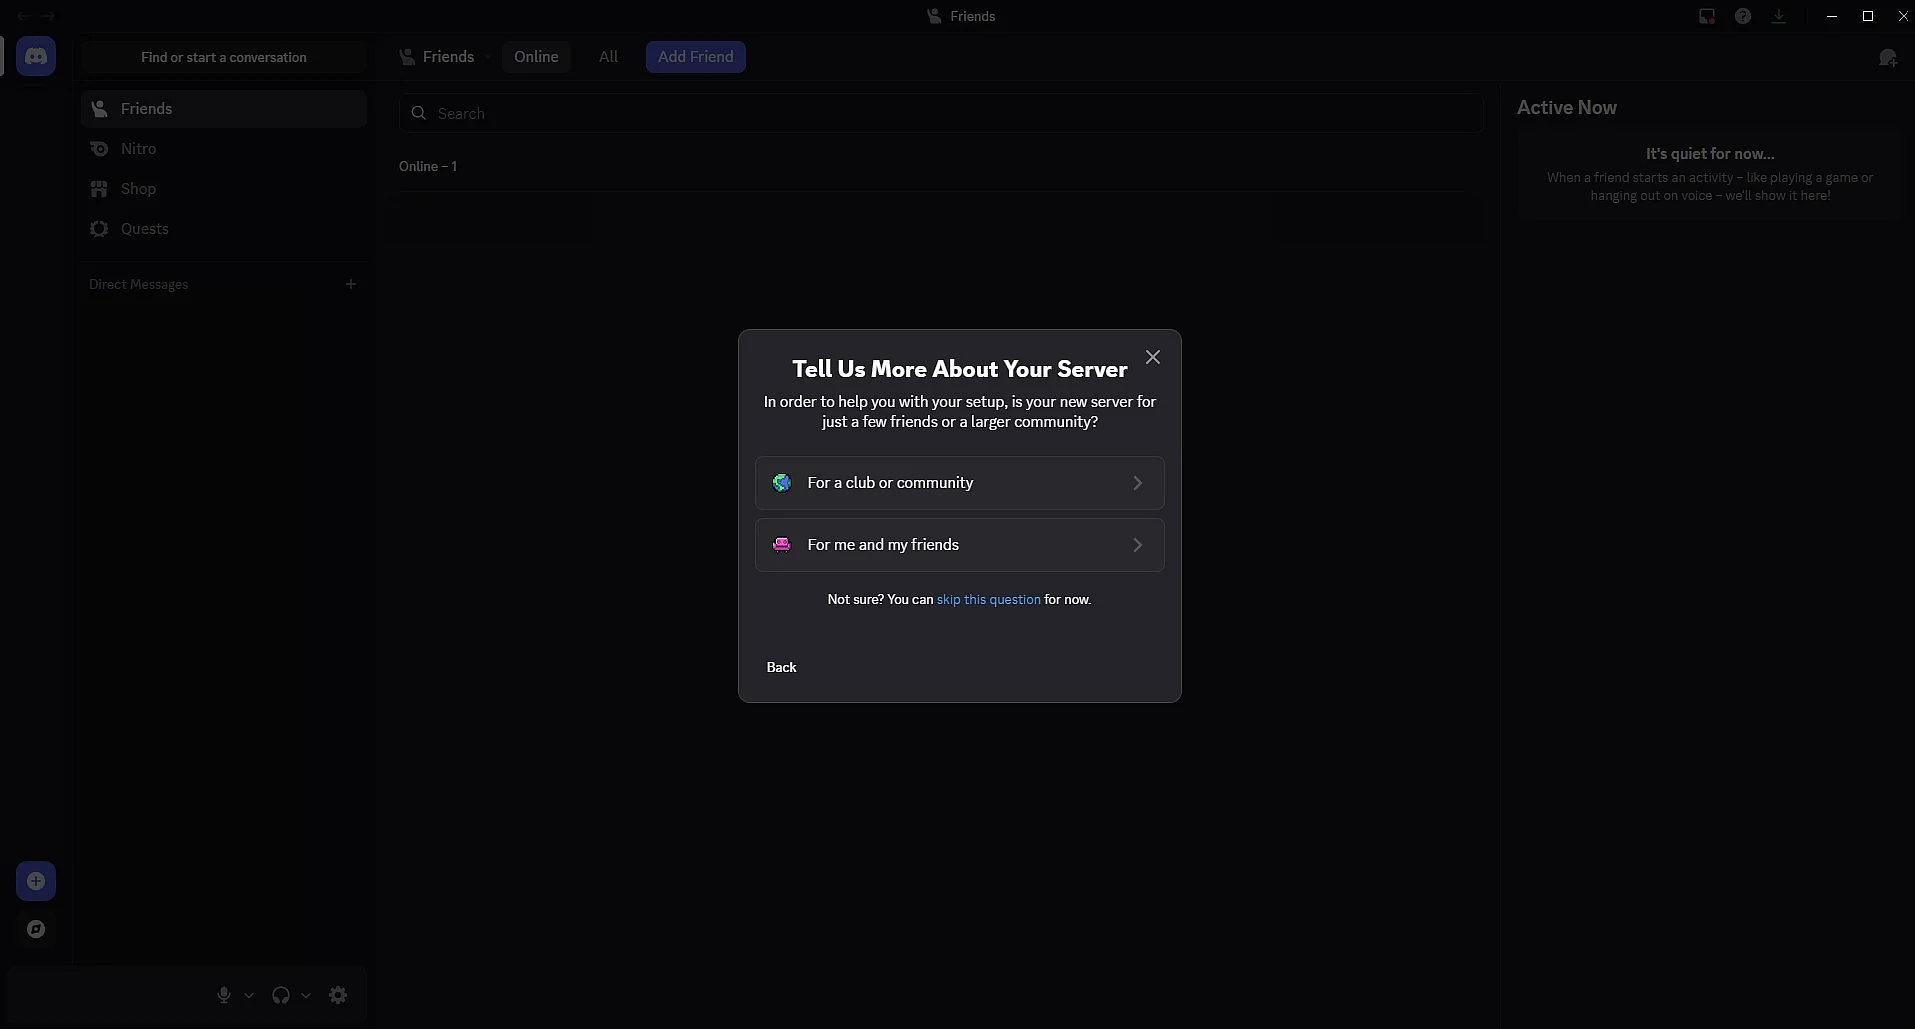
Step 4: Choose whether the server is for you and your friends or for an official club or community. You can also skip this step.
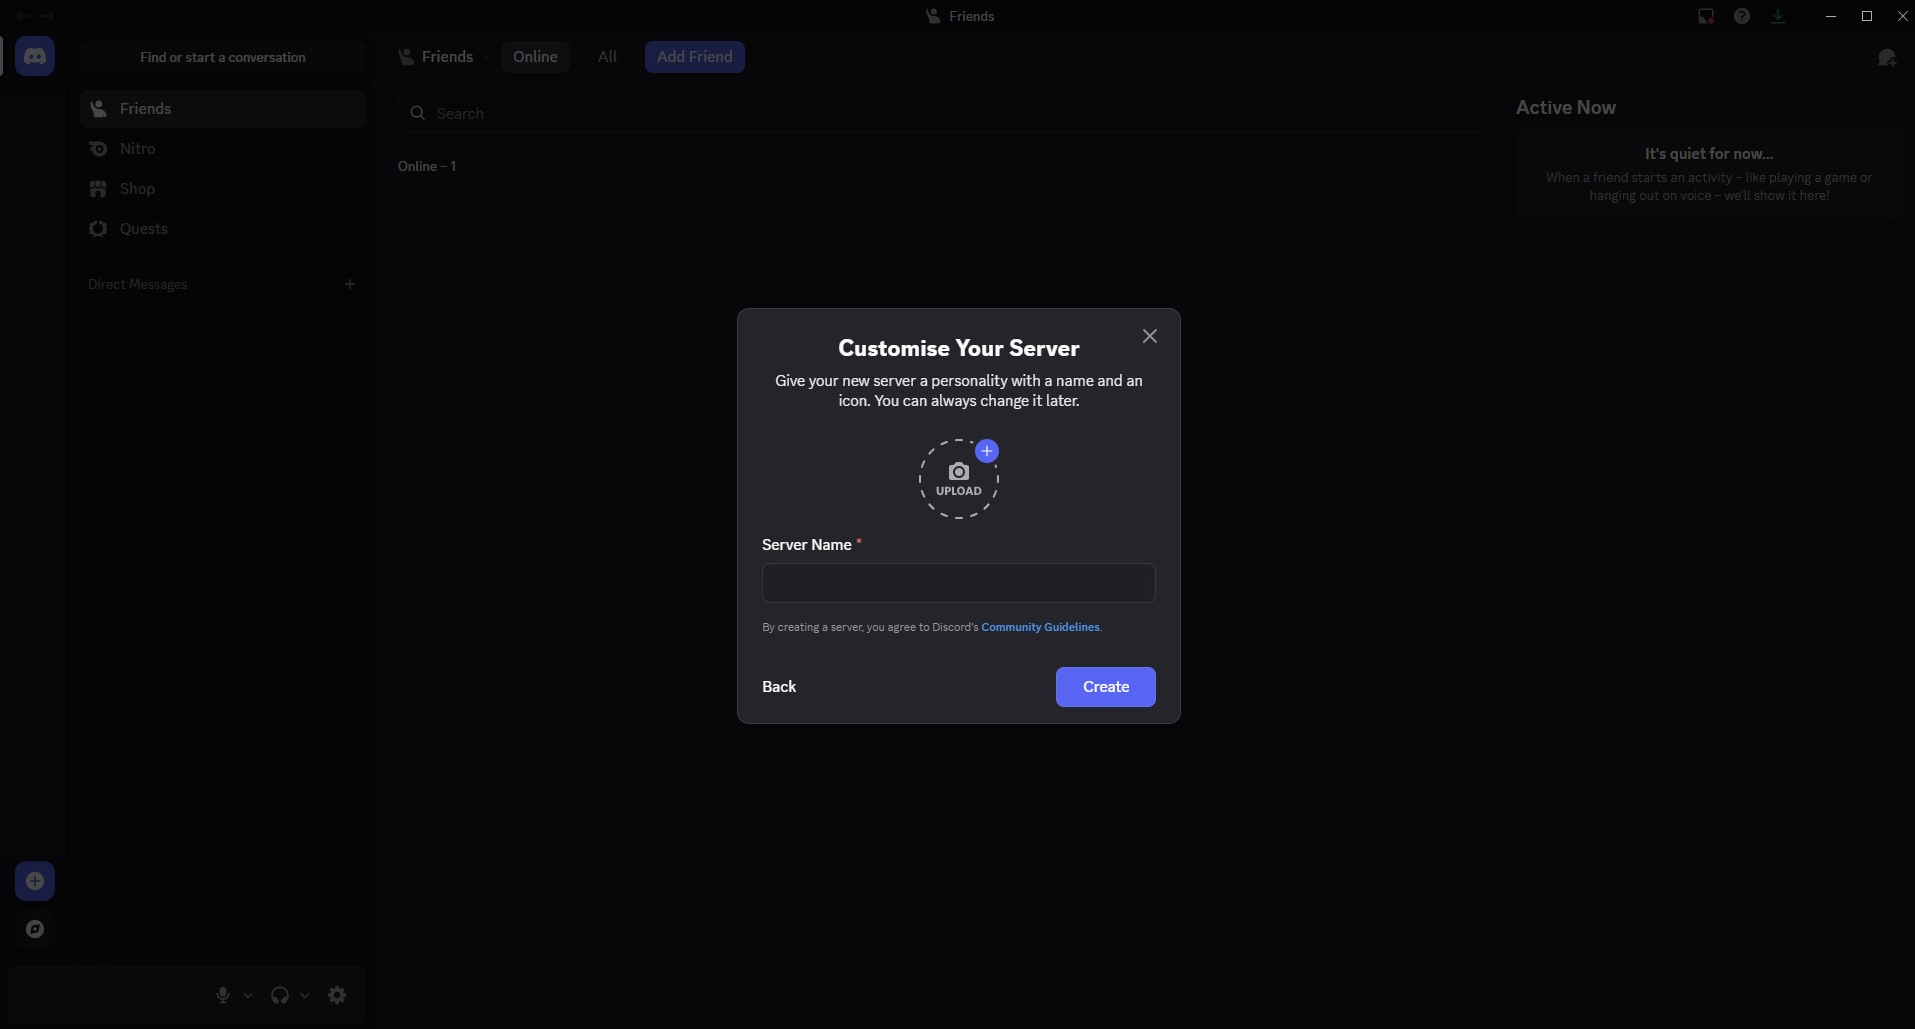
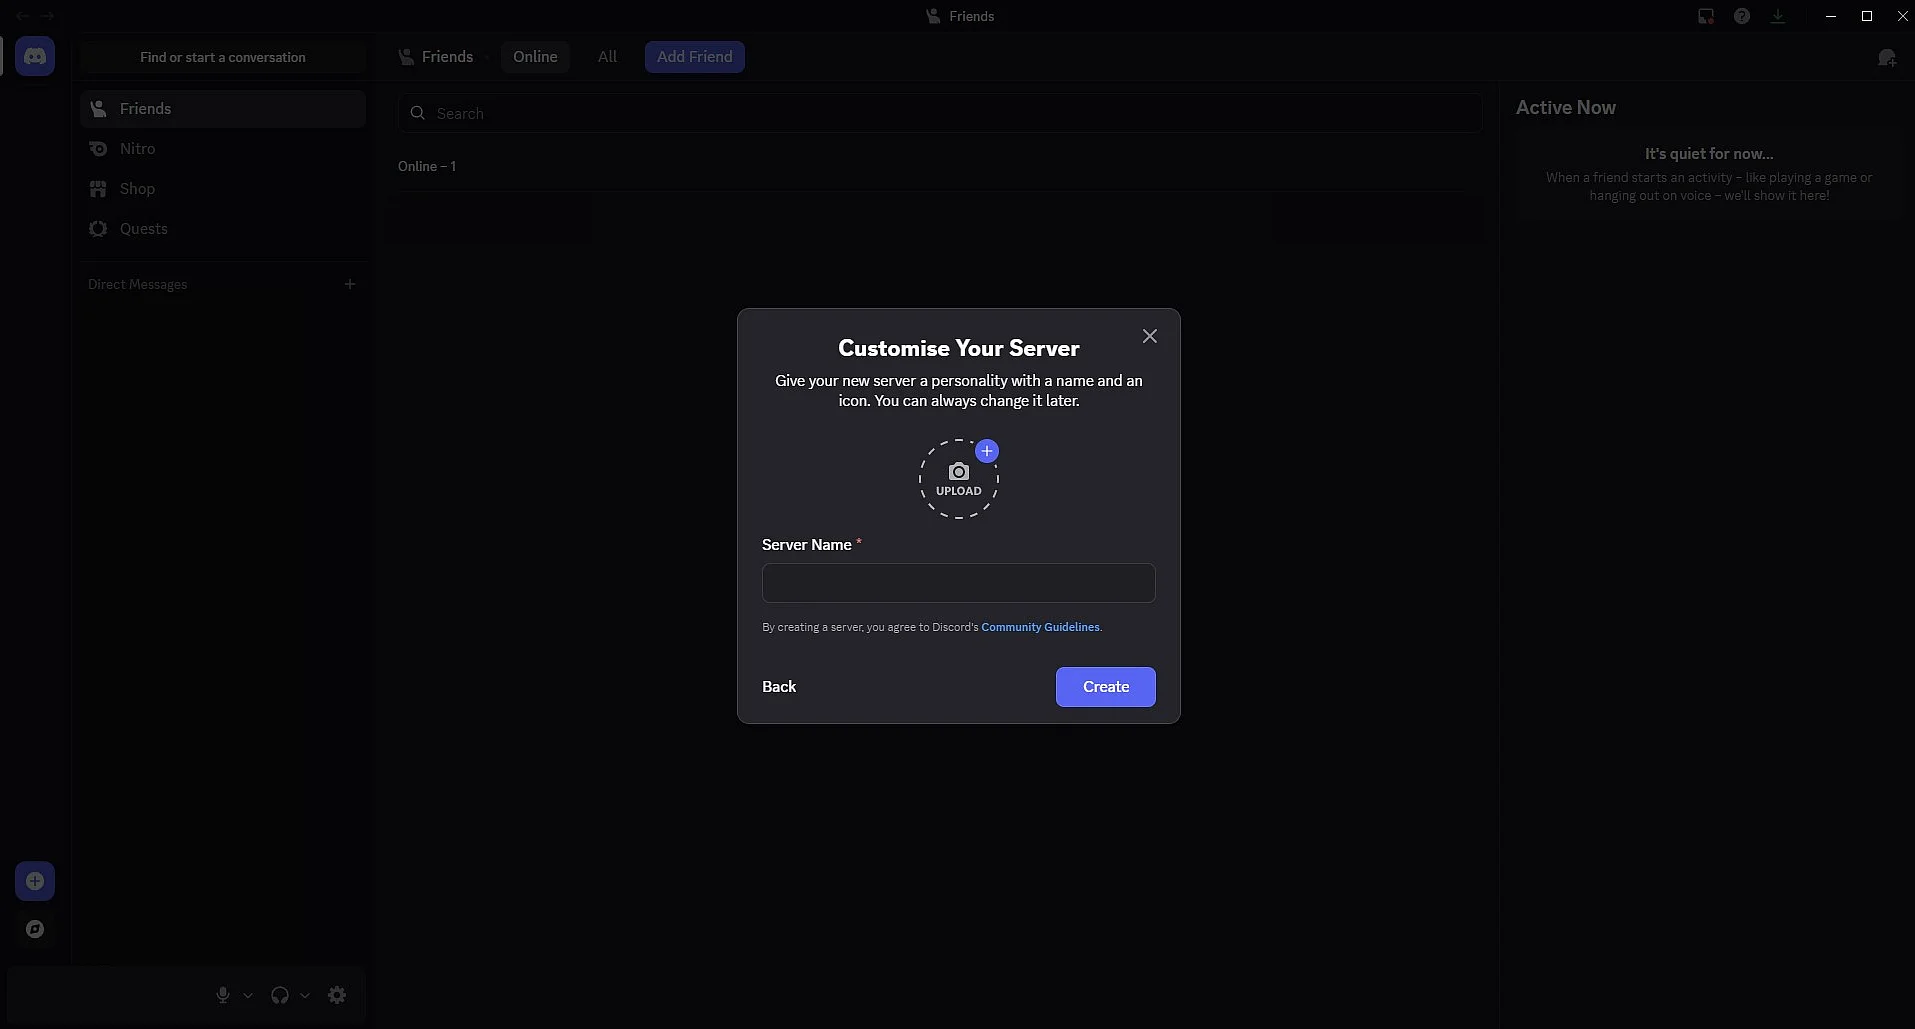
Step 5: A menu will appear where you can make initial changes to your server. After choosing a name and an image (optional), click Create. You can update these details at any time.
Step 6: Your server is now ready to use. You can start inviting your friends right away.
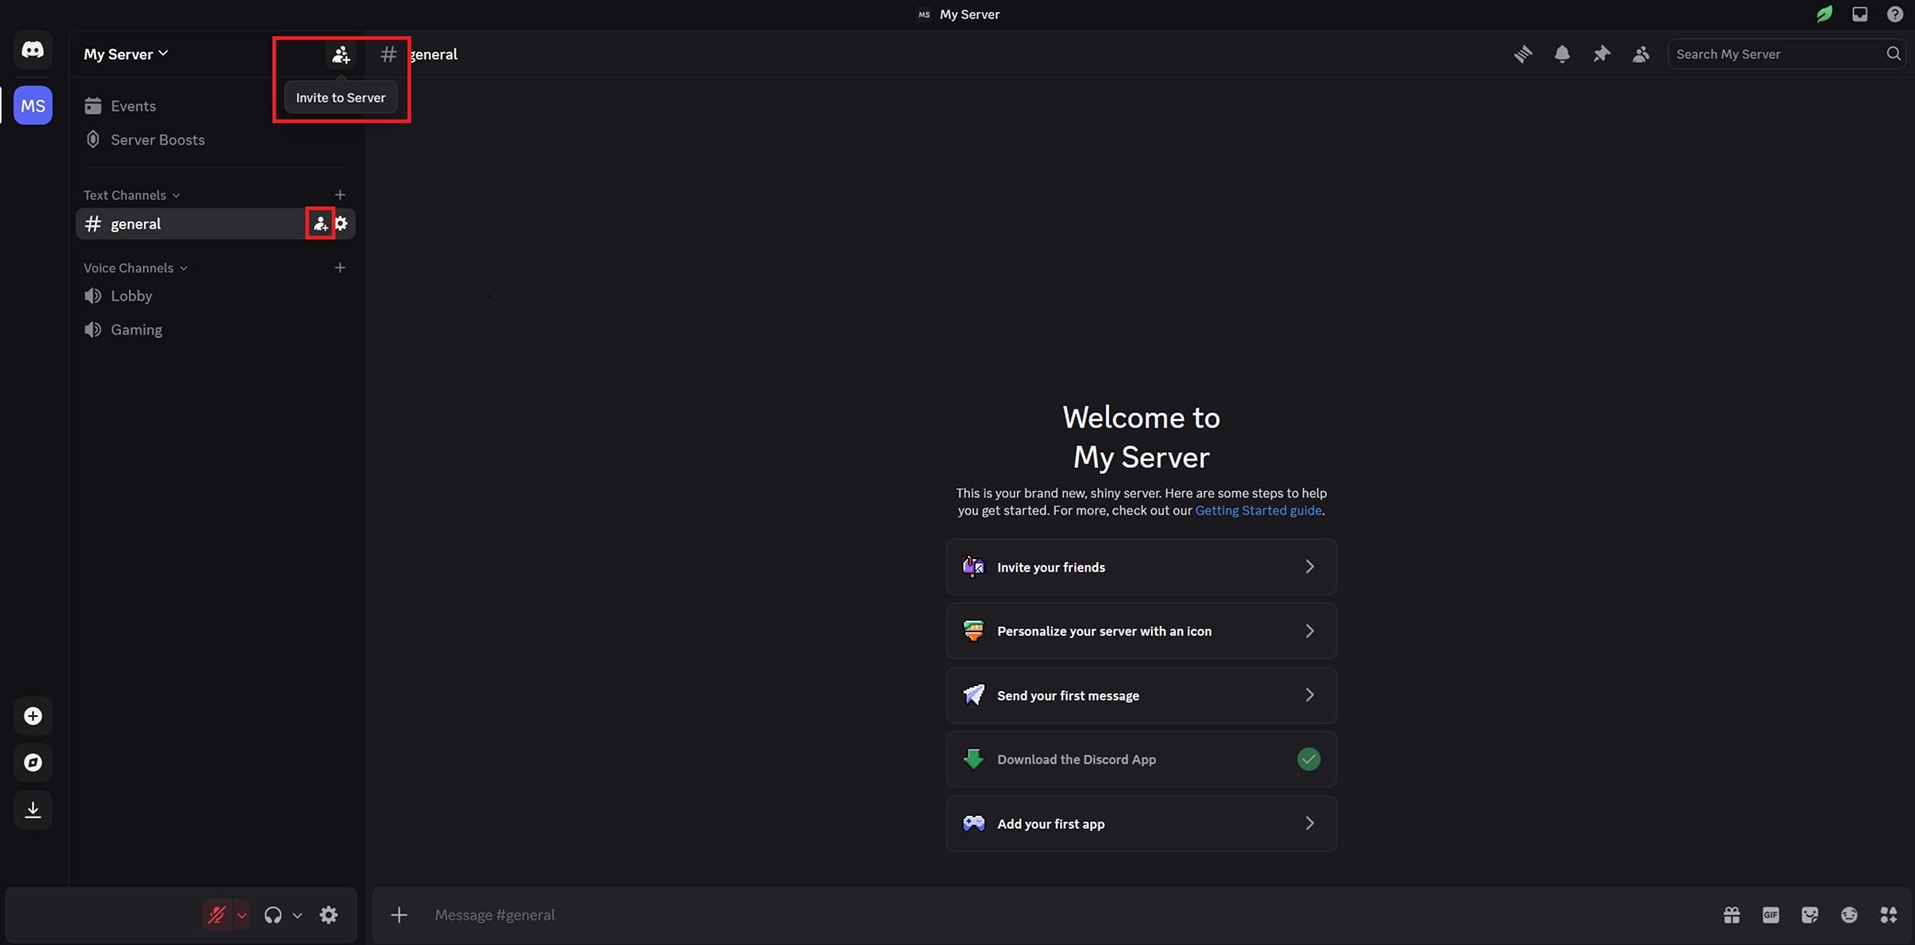
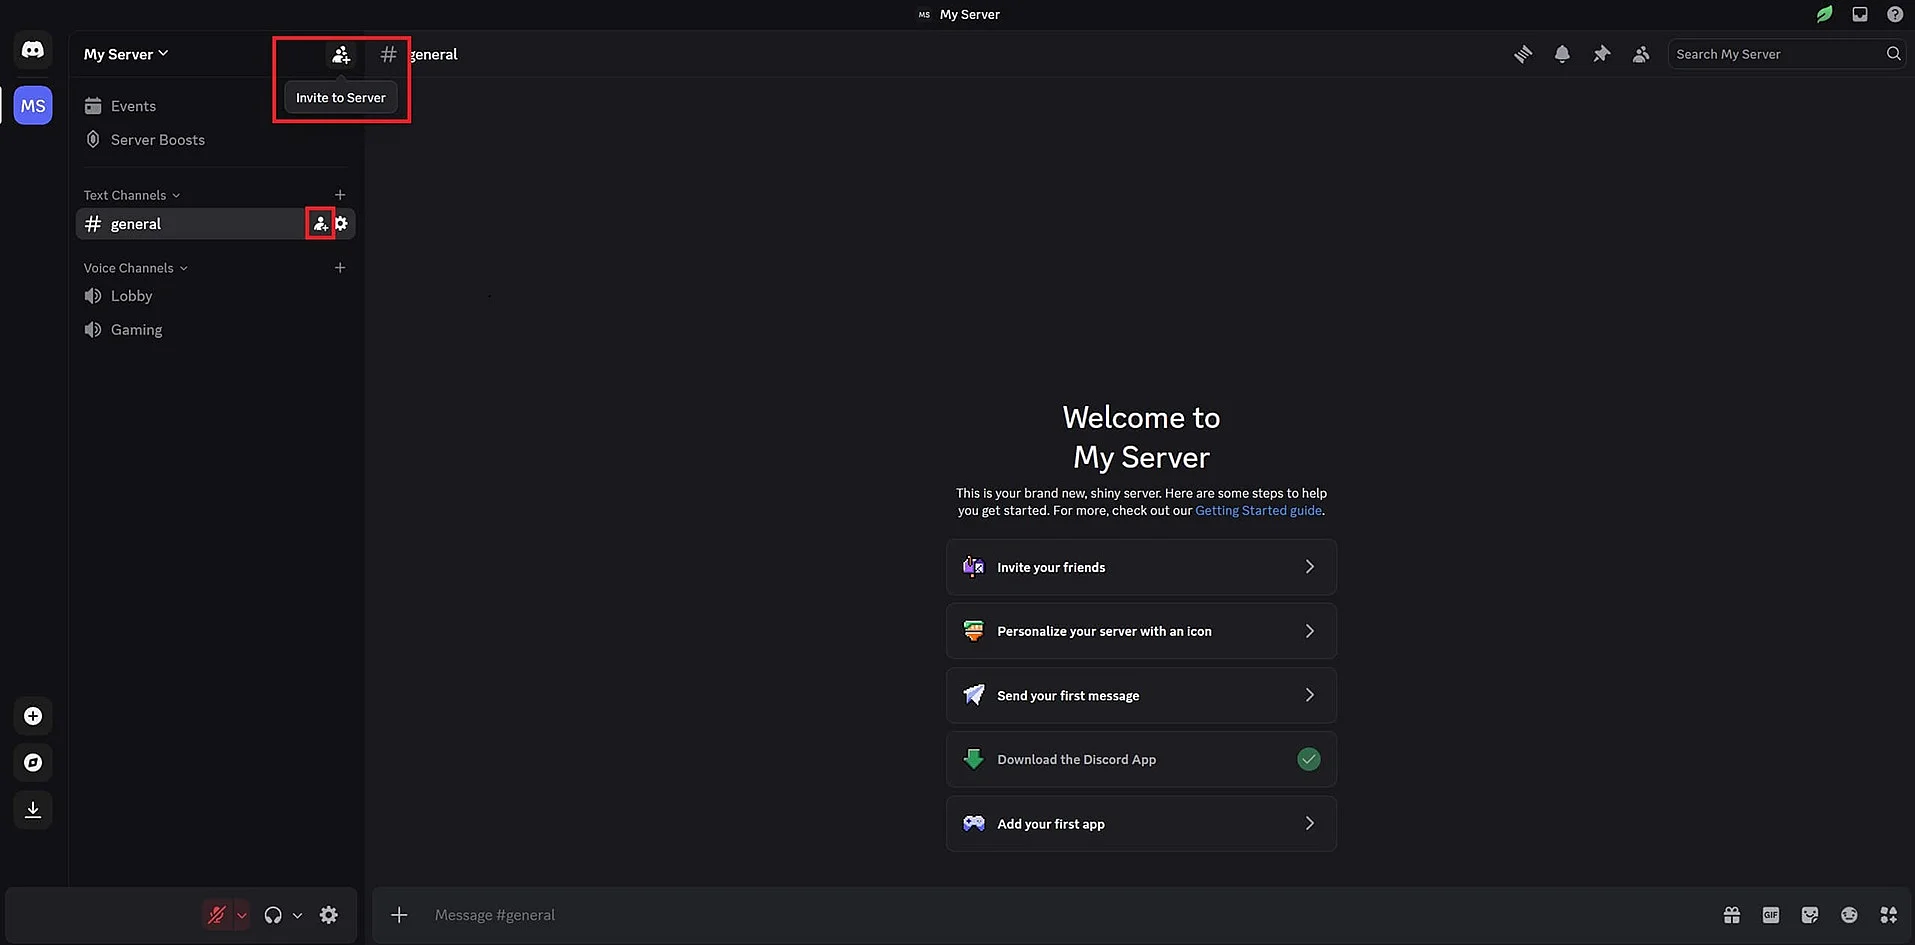
Step 7: To make changes to your Discord server, right-click its profile picture in the top left. This will open options like Invite to Server or Mute Server. You’ll also find the privacy and notification settings here.
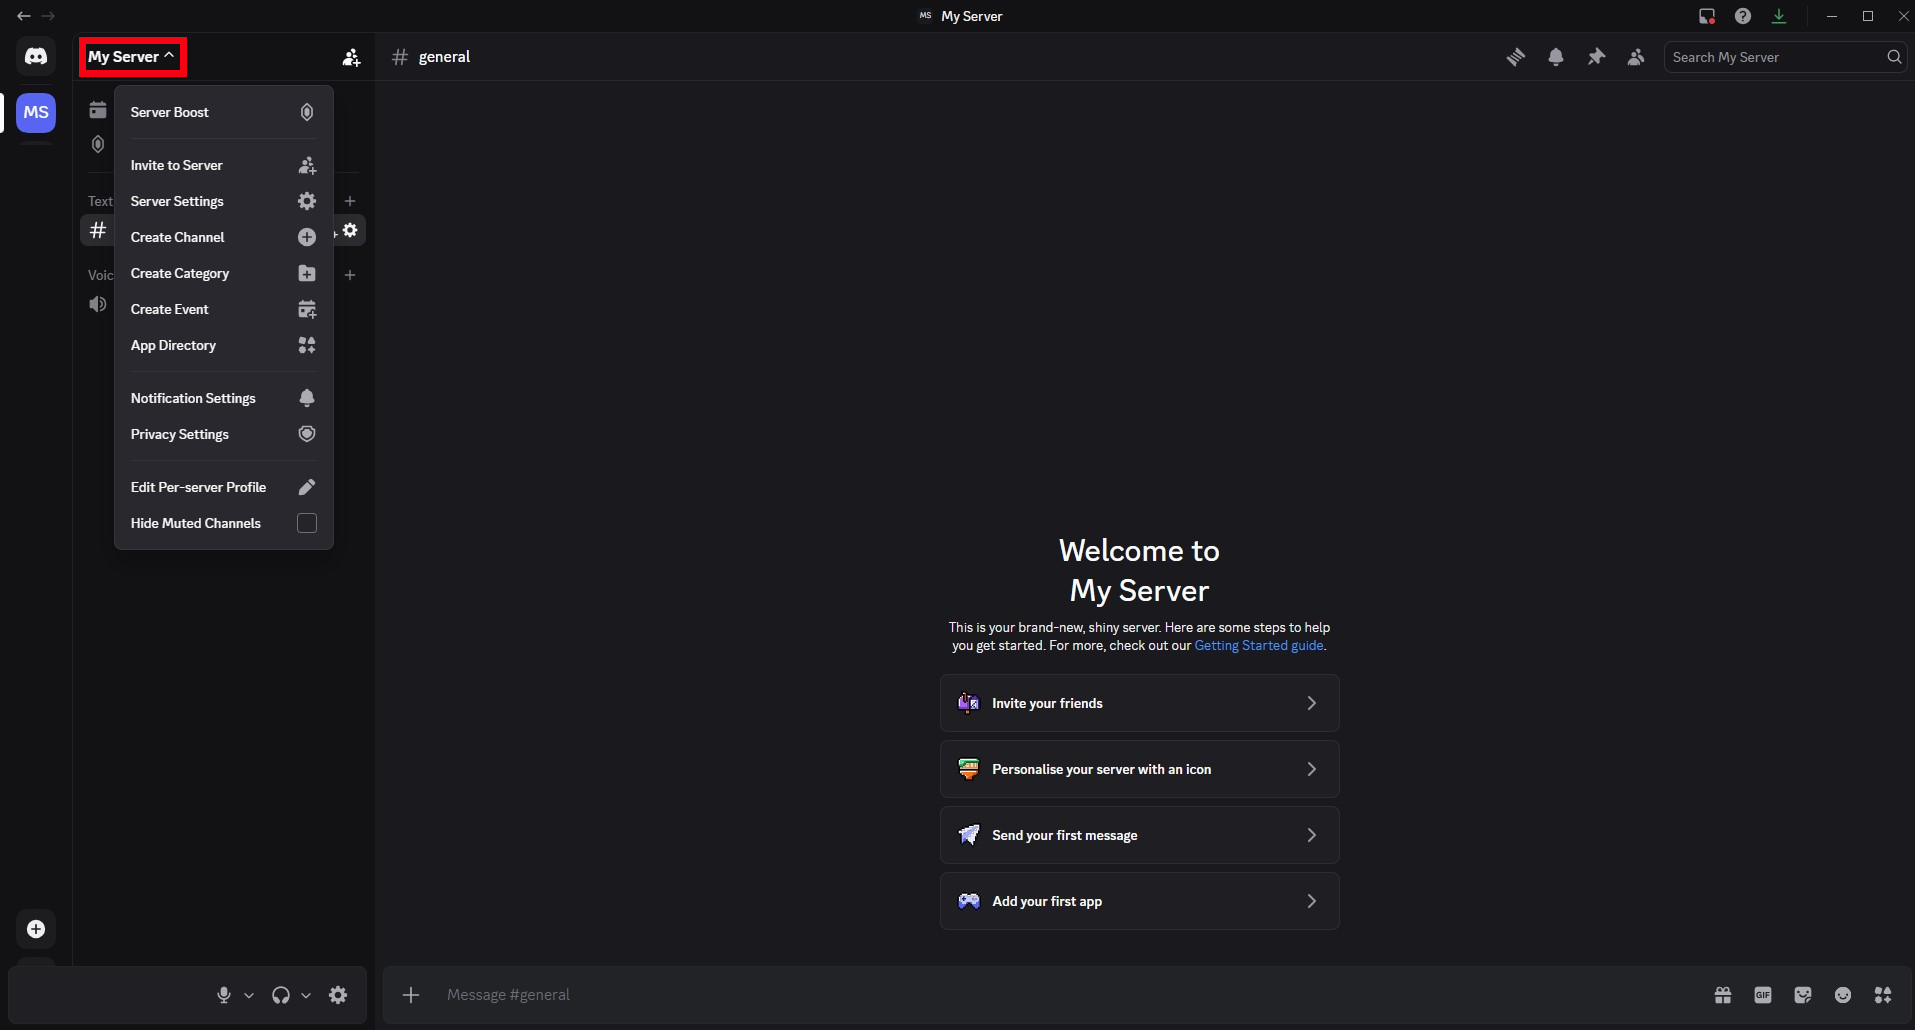
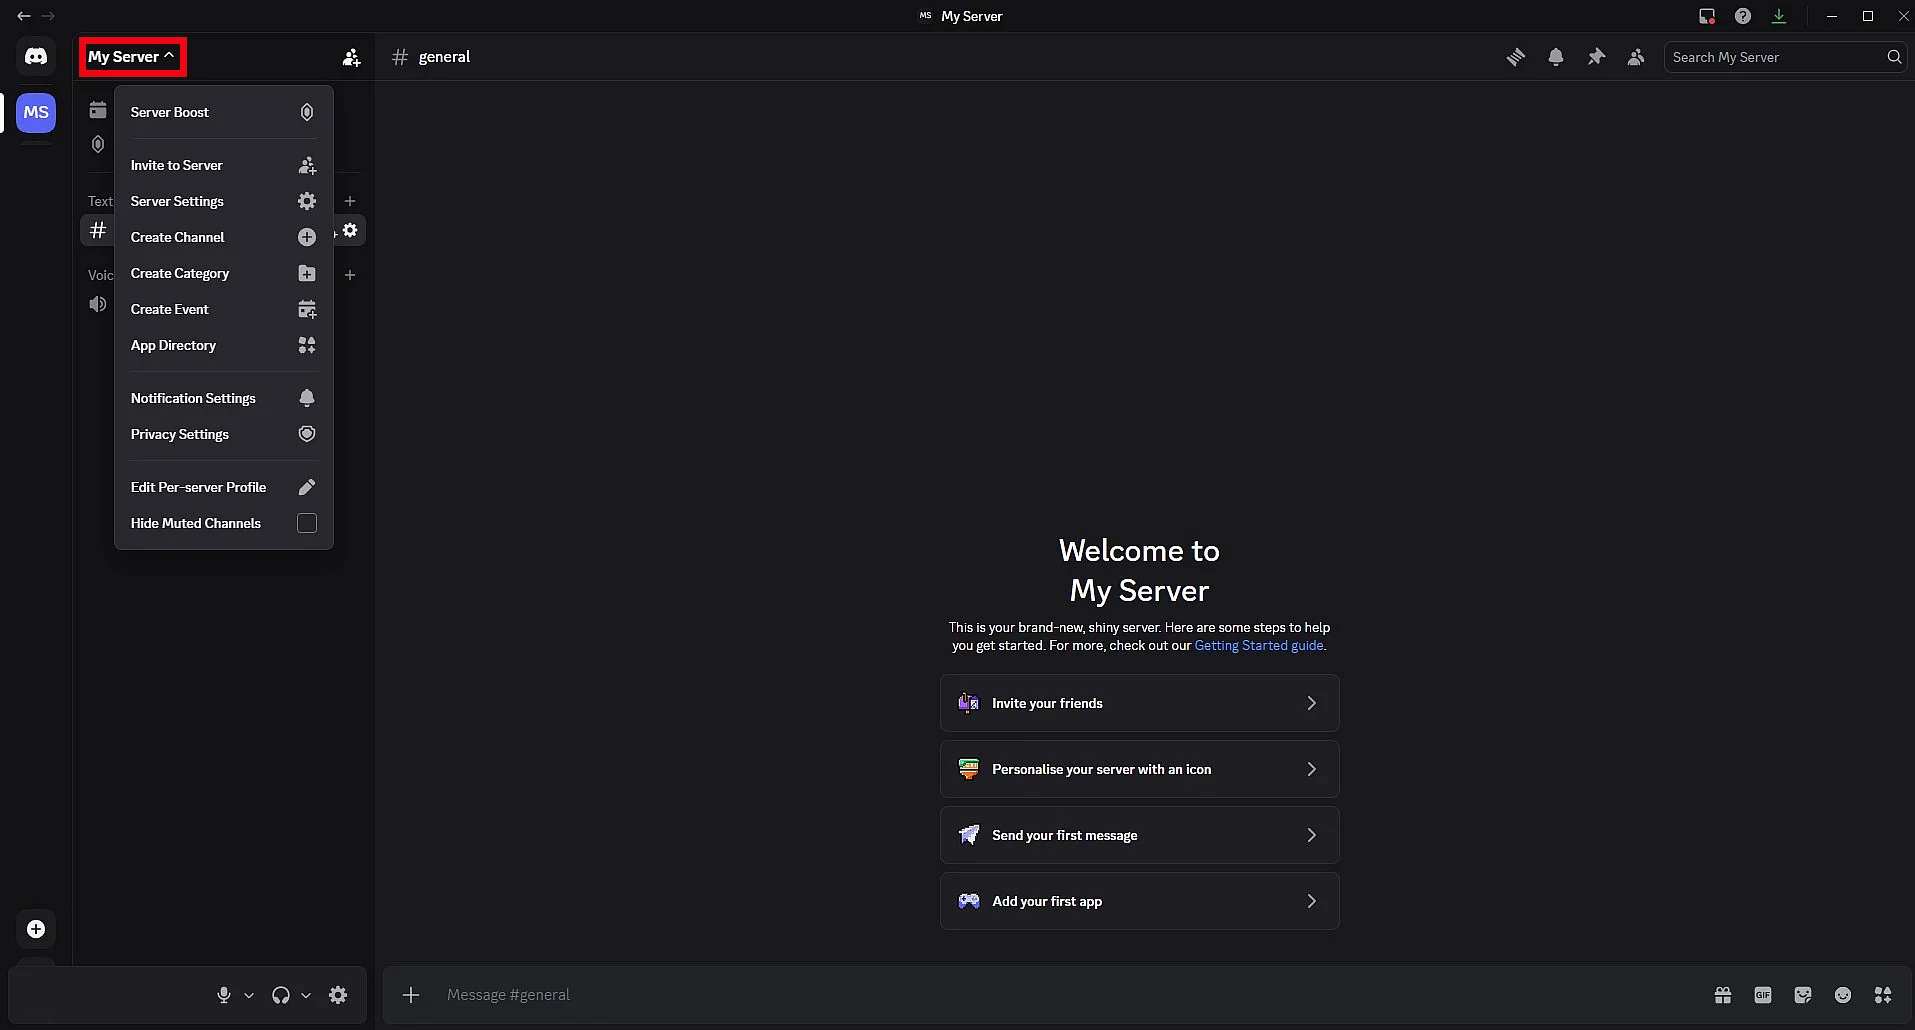
Step 8: Under General, you can create various topic-specific voice and text channels for your server. To do this, click the plus symbol next to Text channels and Voice channels.
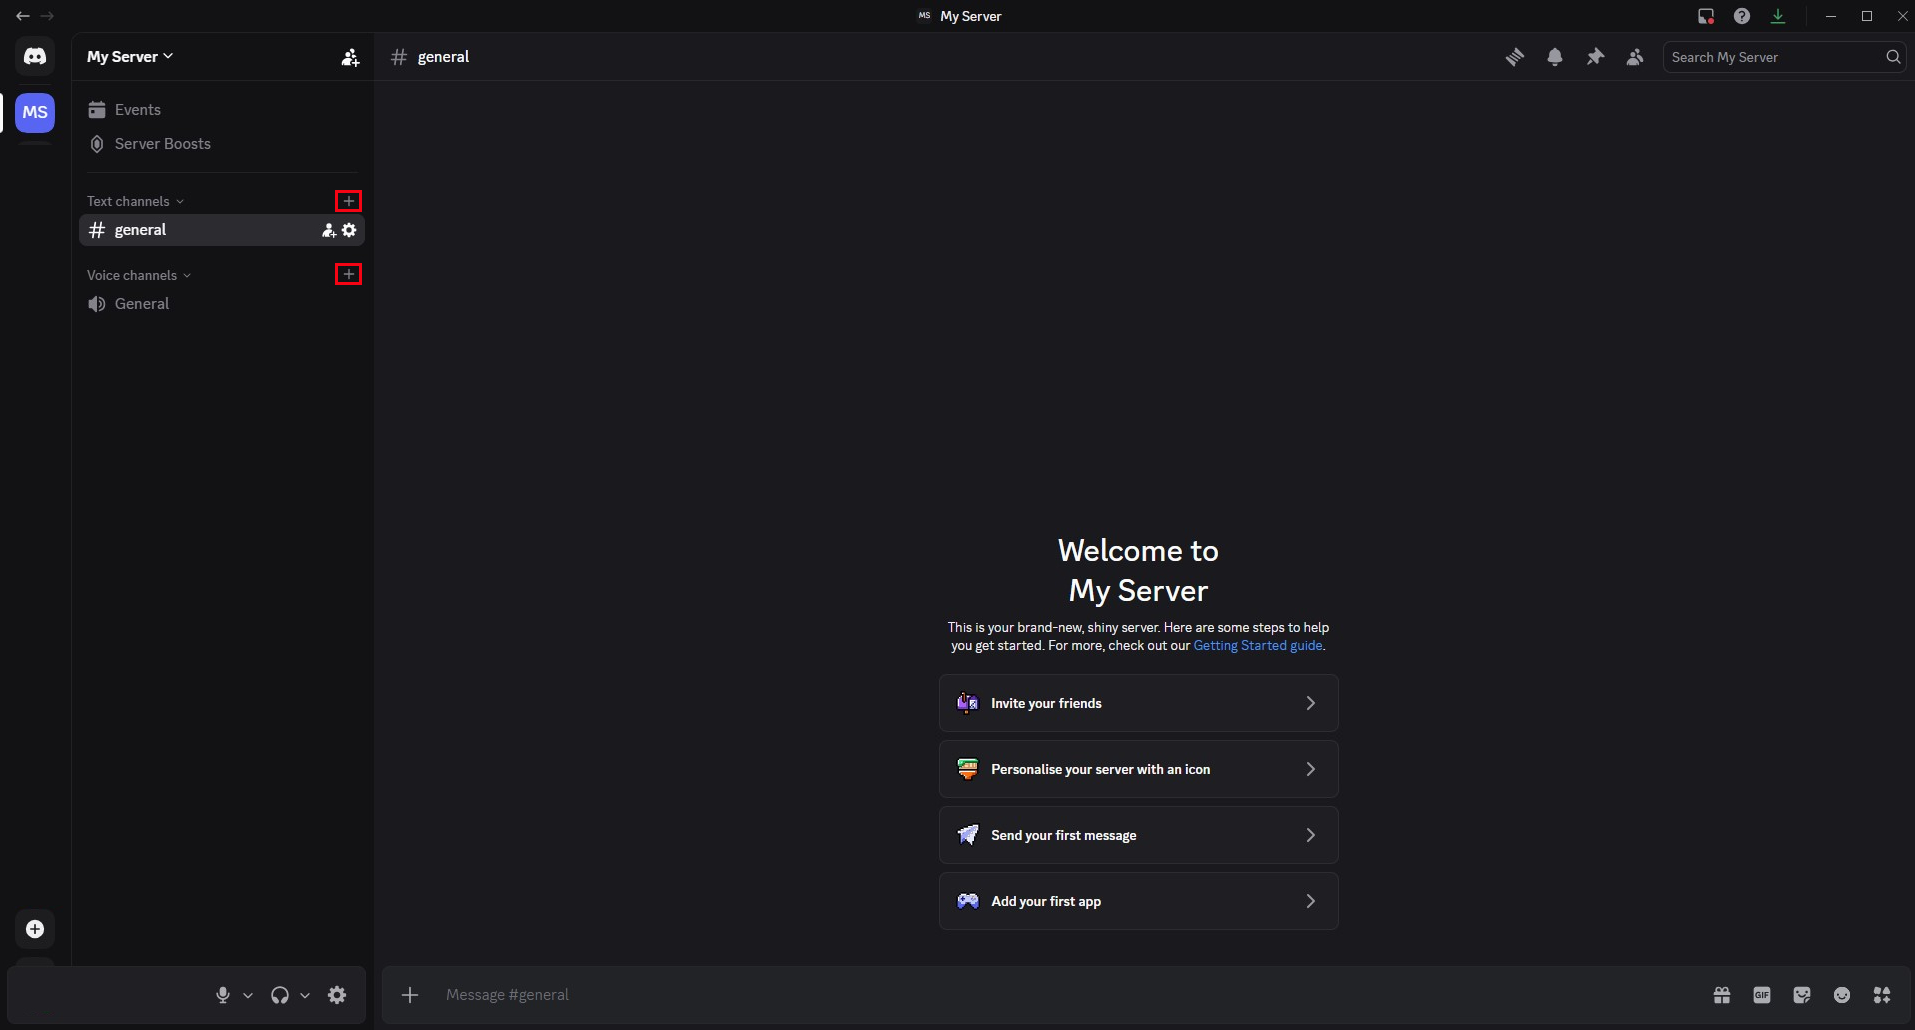
You can also create one or more Discord bots for your server. Bots can welcome new members, play music as a Discord music bot, analyze data or send group messages automatically.
Why is a Discord server worth creating?
You can organize group chats without your own server, but they are limited to 10 participants per chat. With a Discord server, you can have up to 25 participants in a video chat at once. Plus, you can create up to 500 channels per server, making it the perfect solution for larger community meetups.
Reviewer

Christian Heldmaier
Christian Heldmaier is an experienced online marketing and SEO specialist from Karlsruhe. He has been working as an SEO Manager at IONOS since July 2020.