

How do you set up an out-of-office message in Thunderbird?

Informing others when you’re temporarily unavailable is part of good email communication. This guide explains step by step how to set up your Thunderbird out-of-office messages using the available templates in Thunderbird.
- Build trust with email matching your domain (you@yourbrand.com)
- Free domain included to get your brand online instantly
- Work smarter with AI writing support
Not available by email? Thunderbird lets people know!
The Thunderbird email client, created by the Mozilla Foundation, is compatible with various operating systems. Its user-friendly design follows familiar conventions, making it easy to get started. You can also set up out-of-office messages in Thunderbird, though the process is slightly different from other email services like Microsoft Outlook or Gmail.
For Thunderbird’s out-of-office feature to function, the program must be running on the relevant computer. If this isn’t possible or preferred, you’ll need to configure the automatic reply directly through your email provider.
How to set Thunderbird out-of-office message quick guide
To add a Thunderbird out-of-office notice in Mozilla Thunderbird, proceed as follows:
- Compose your out-of-office message in Thunderbird as a new email and save it as a template.
- Open the filters section via the settings.
- Create a new filter for the desired mailbox and give it a clear, recognizable name.
- Configure the filter so that it runs without any conditions and performs the action “Reply with Template”.
- Enable or disable the filter using the checkbox in the filter dialog.
How to set Thunderbird out-of-office message step by step
In the following sections, we’ve summarized each step for creating your own Thunderbird away message in more detail.
Step 1: Compose the out-of-office message
Compose your Thunderbird away message like a new email by clicking the “New Message” tab.
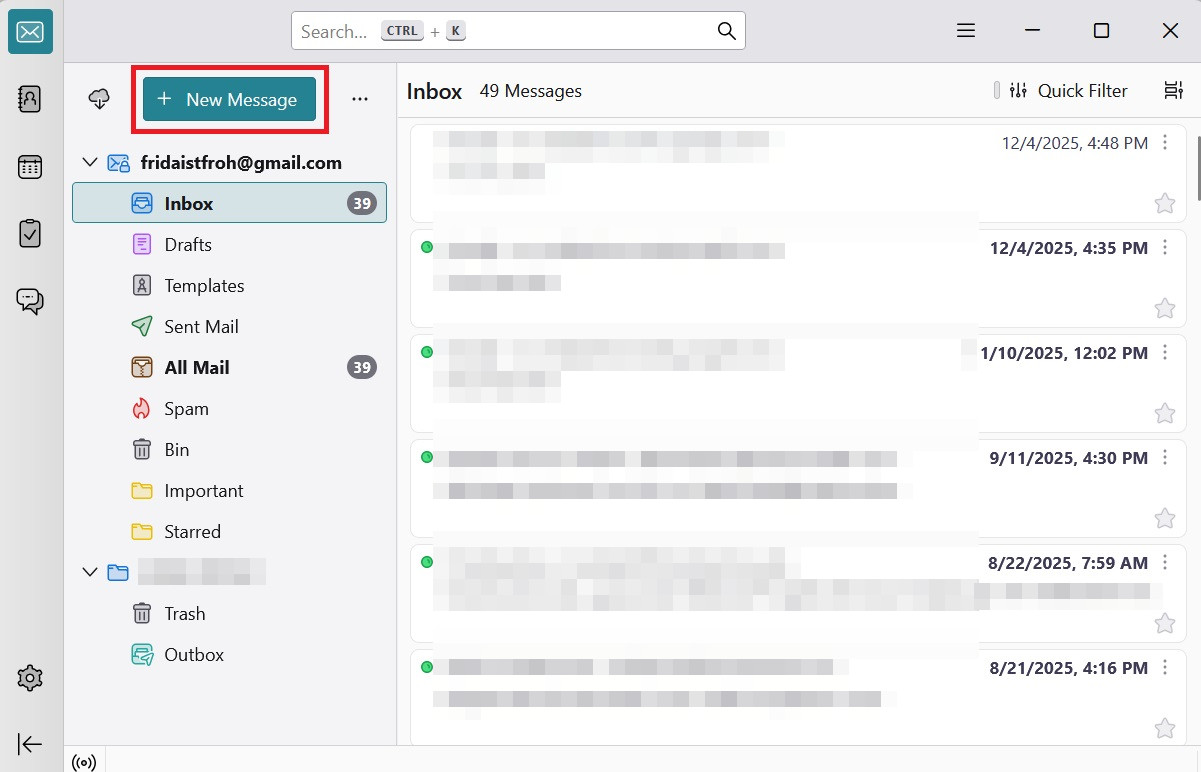
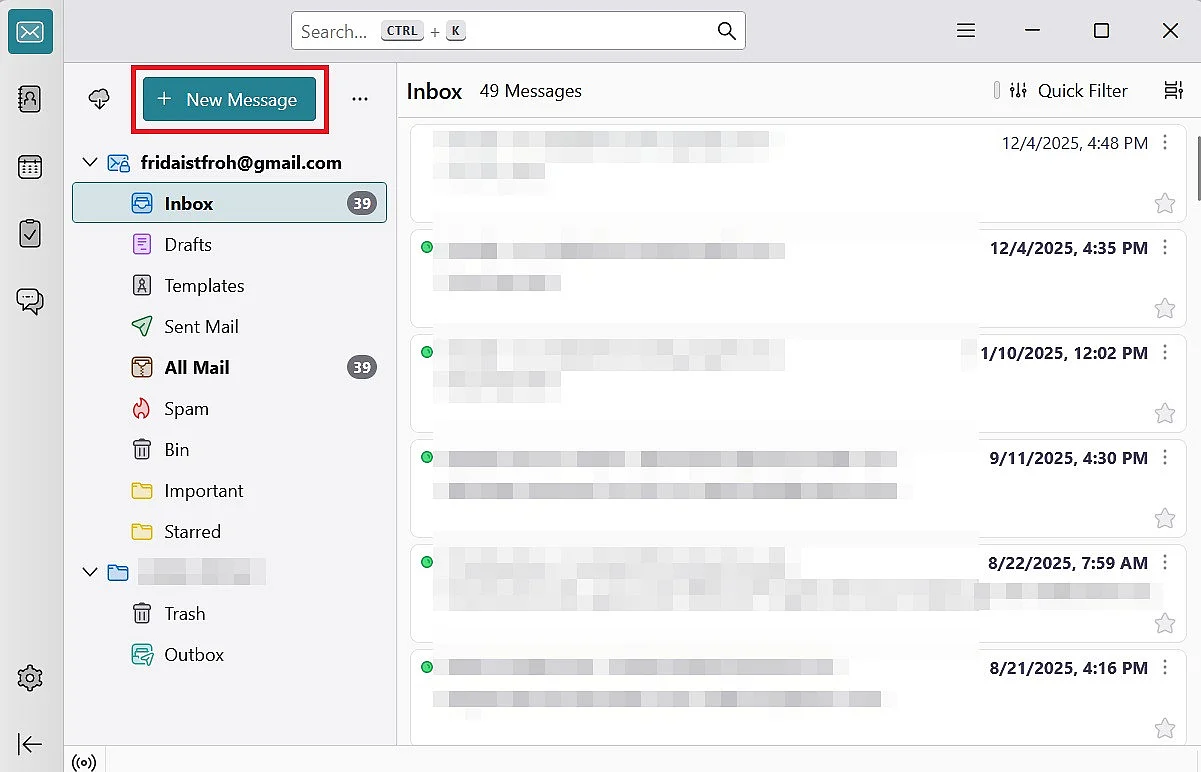
It’s best to write the message in a clear and structured way, including a greeting, the period of absence, and your email signature.
However, the next step differs from composing a regular email.
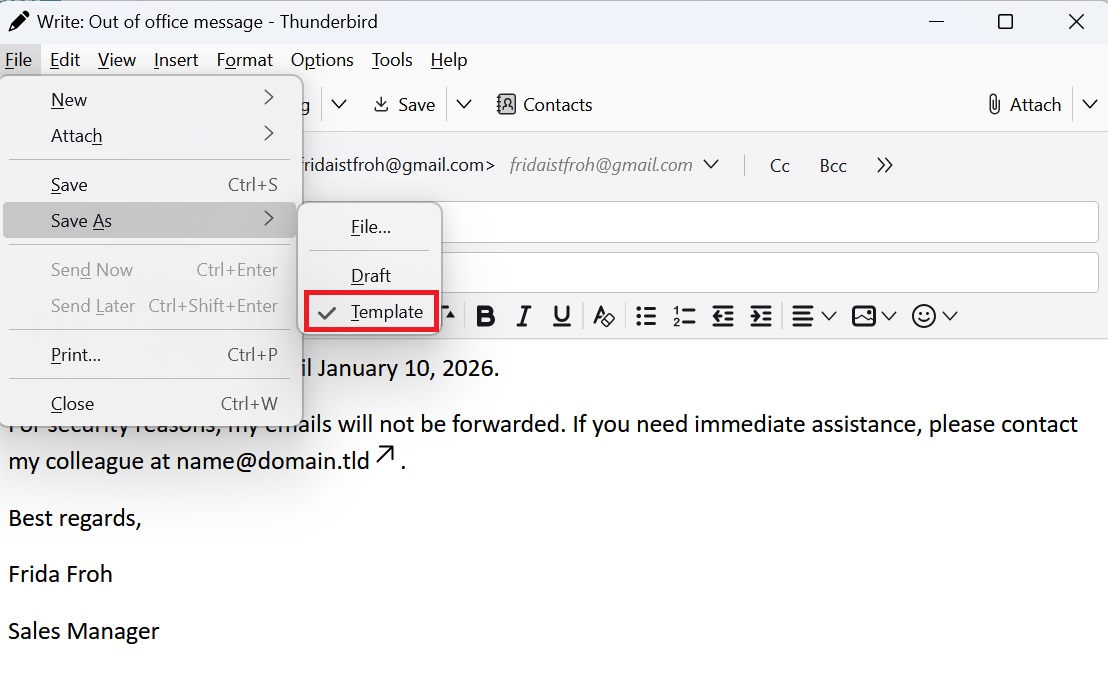
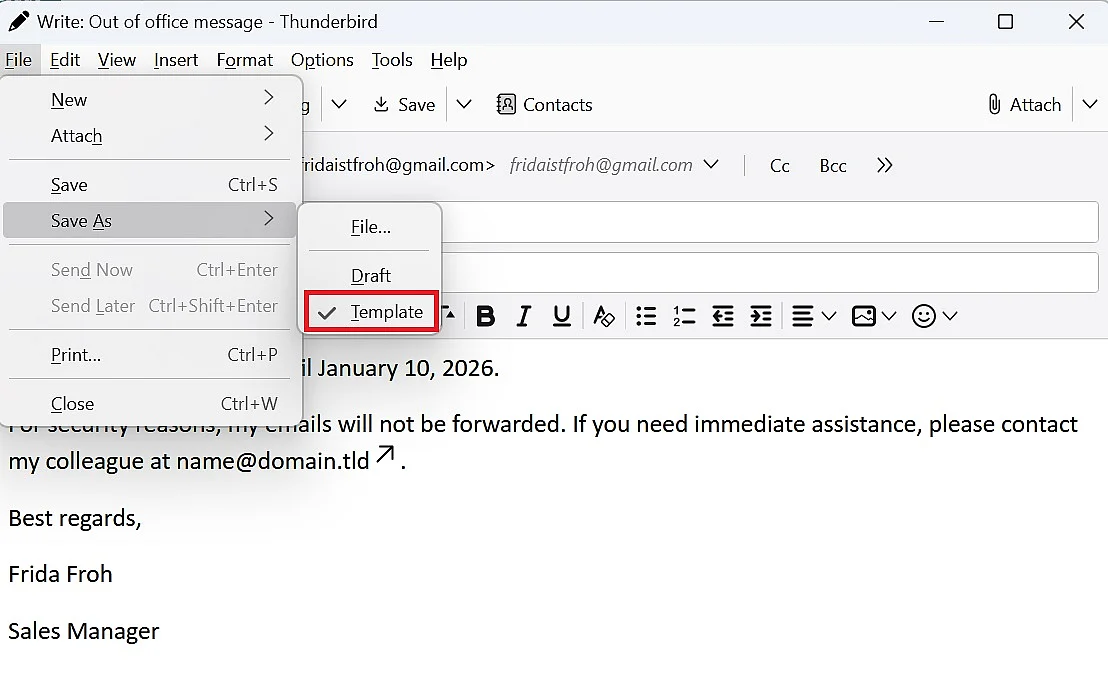
Saving the out-of-office email as a “Template” ensures that Thunderbird can access this text later.
Step 2: Set the correct filter
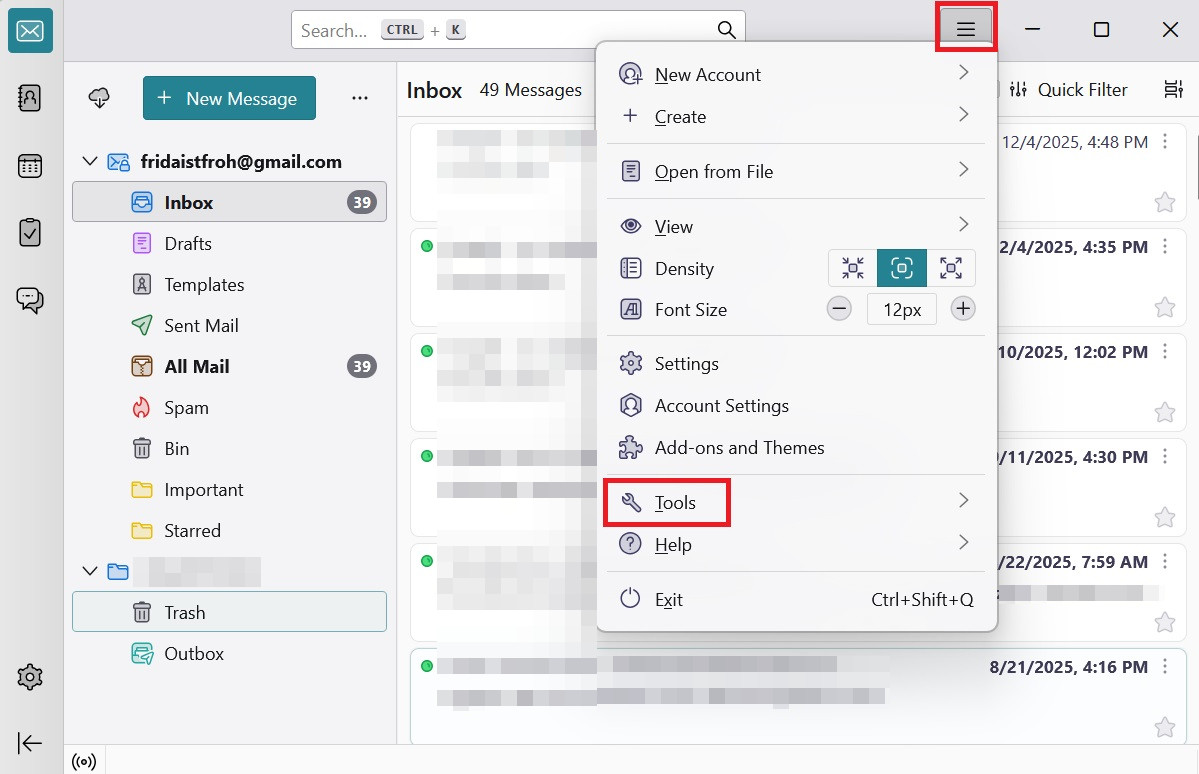
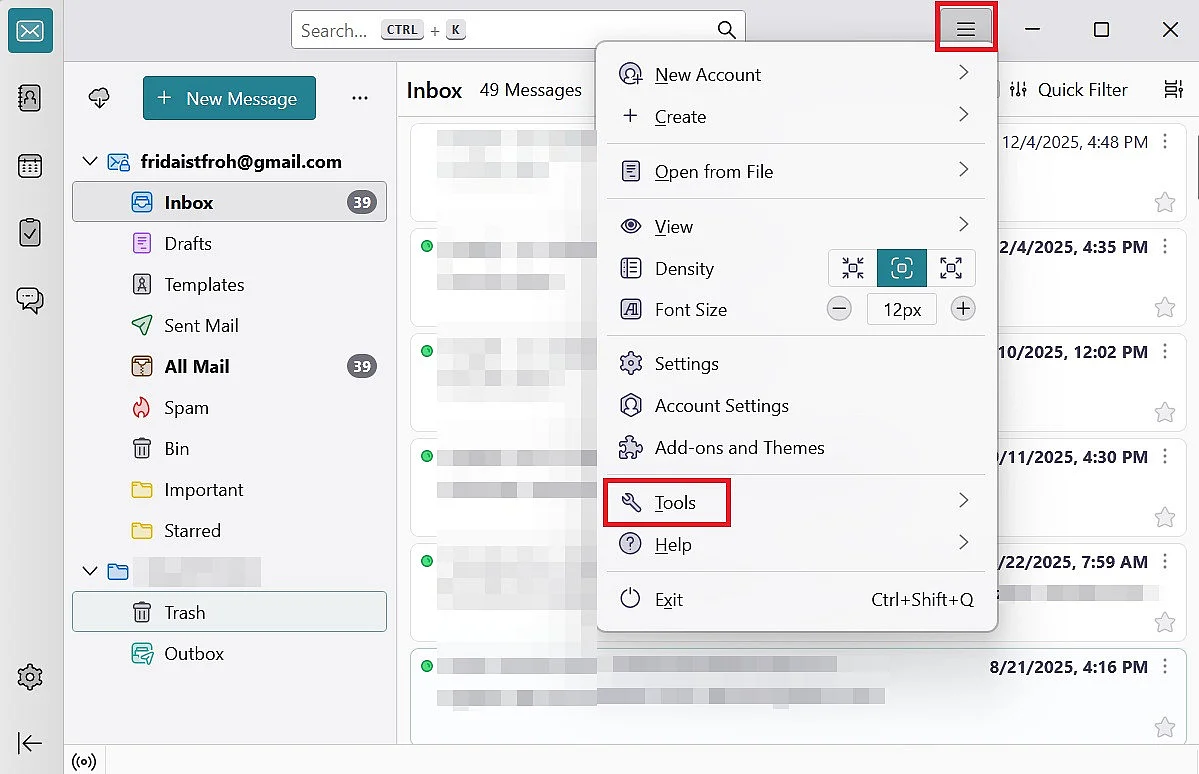
To use the saved template for an actual absence, you need to apply it through a filter for the relevant mailbox. To activate the filter, click the hamburger menu in the top-right corner, then select “Tools” from the dropdown menu.
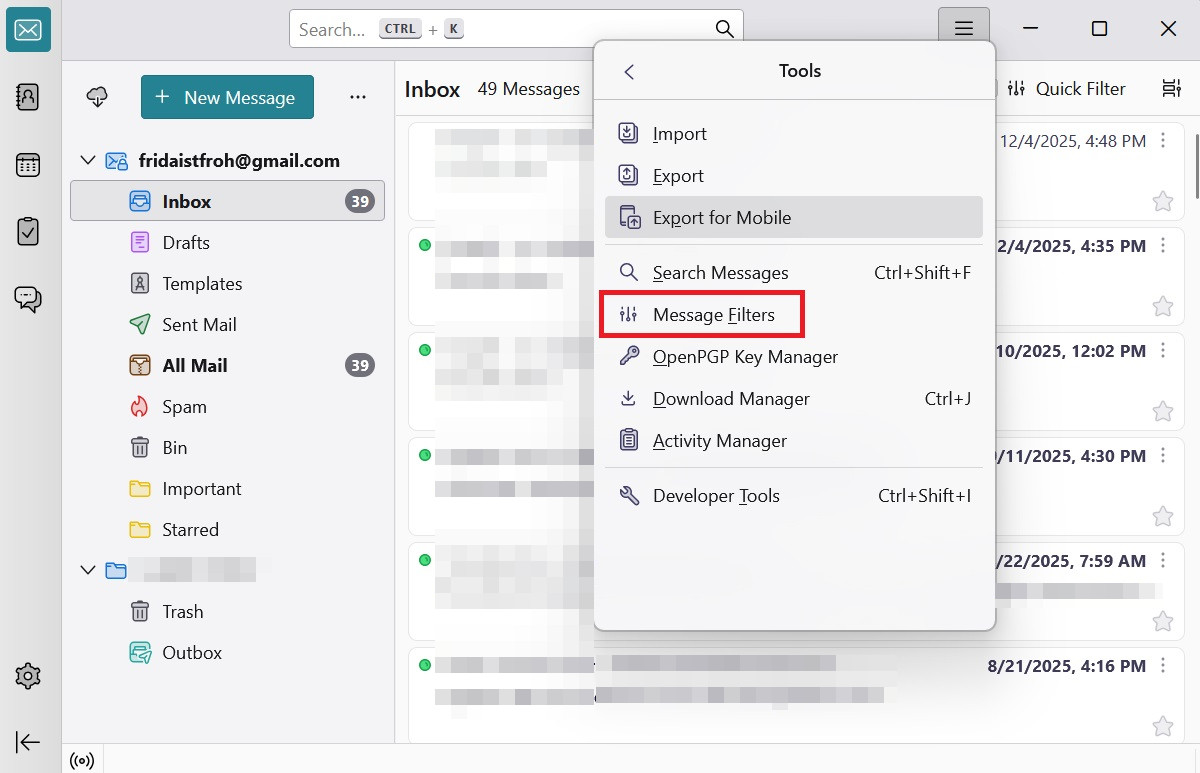
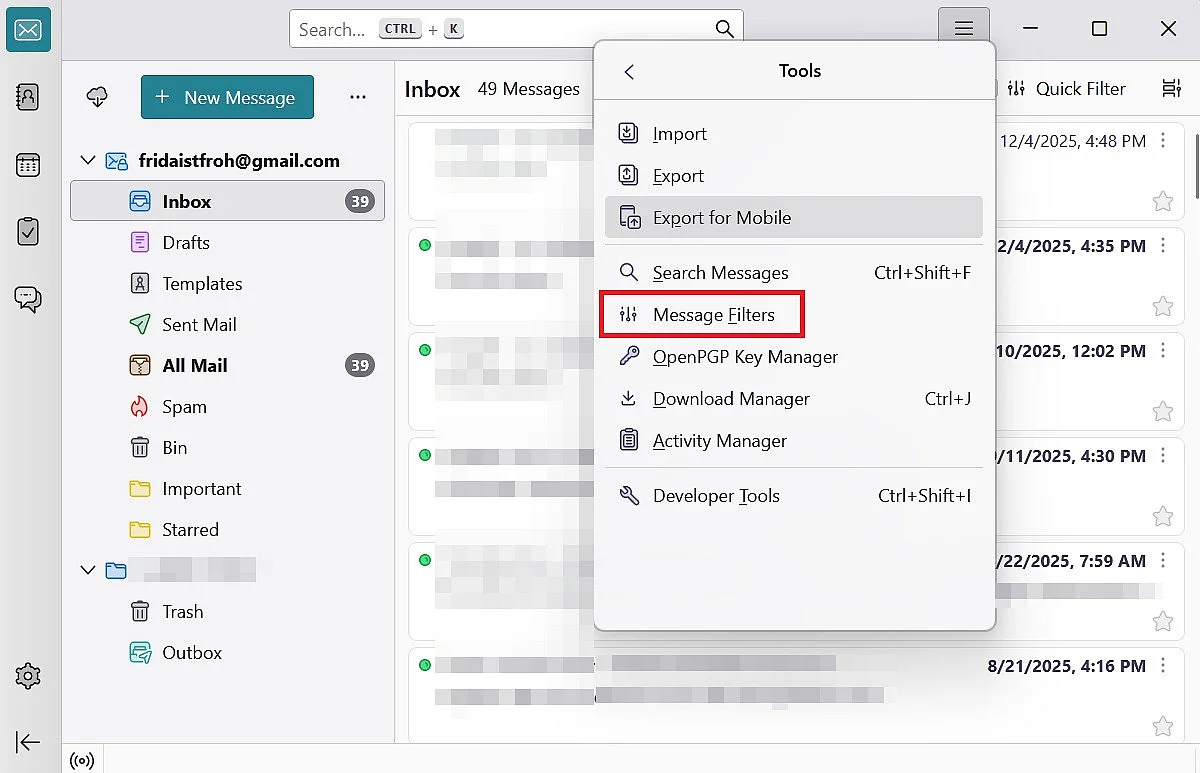
Here, select the “Message Filters” option.
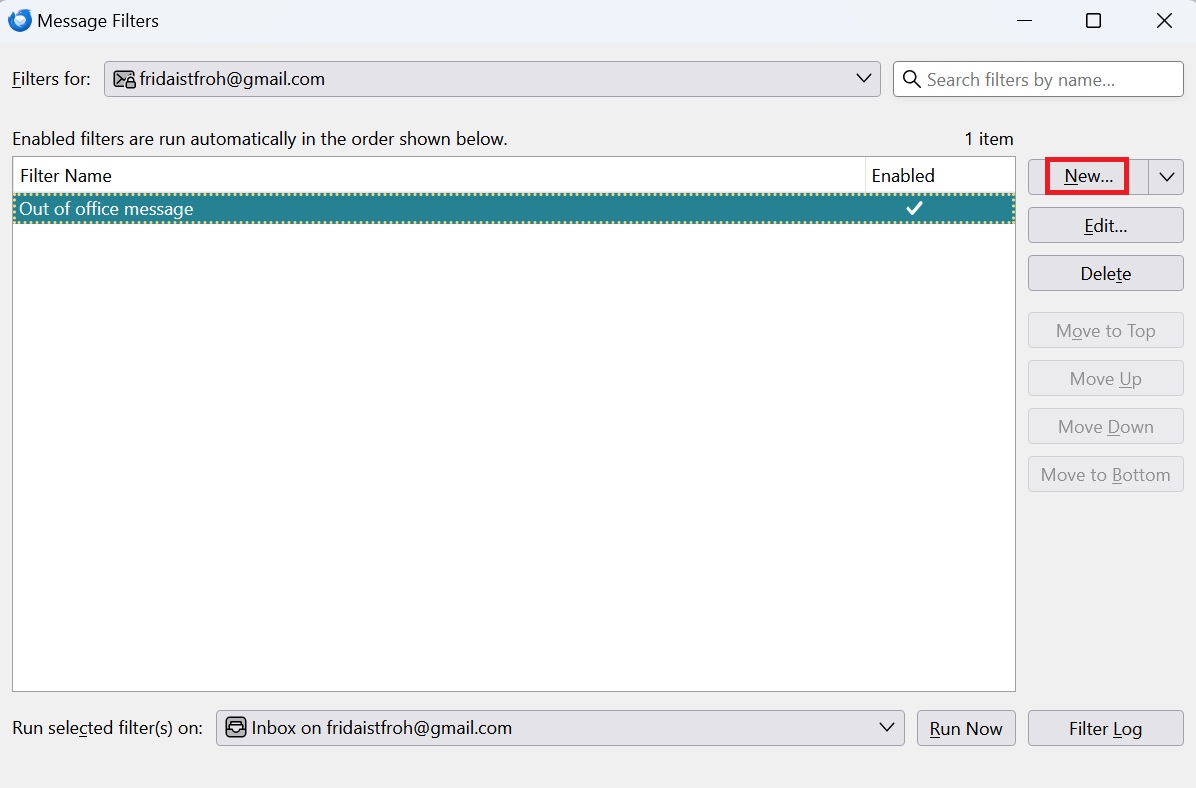
Click “New…” to create a new filter for your Thunderbird out-of-office notice.
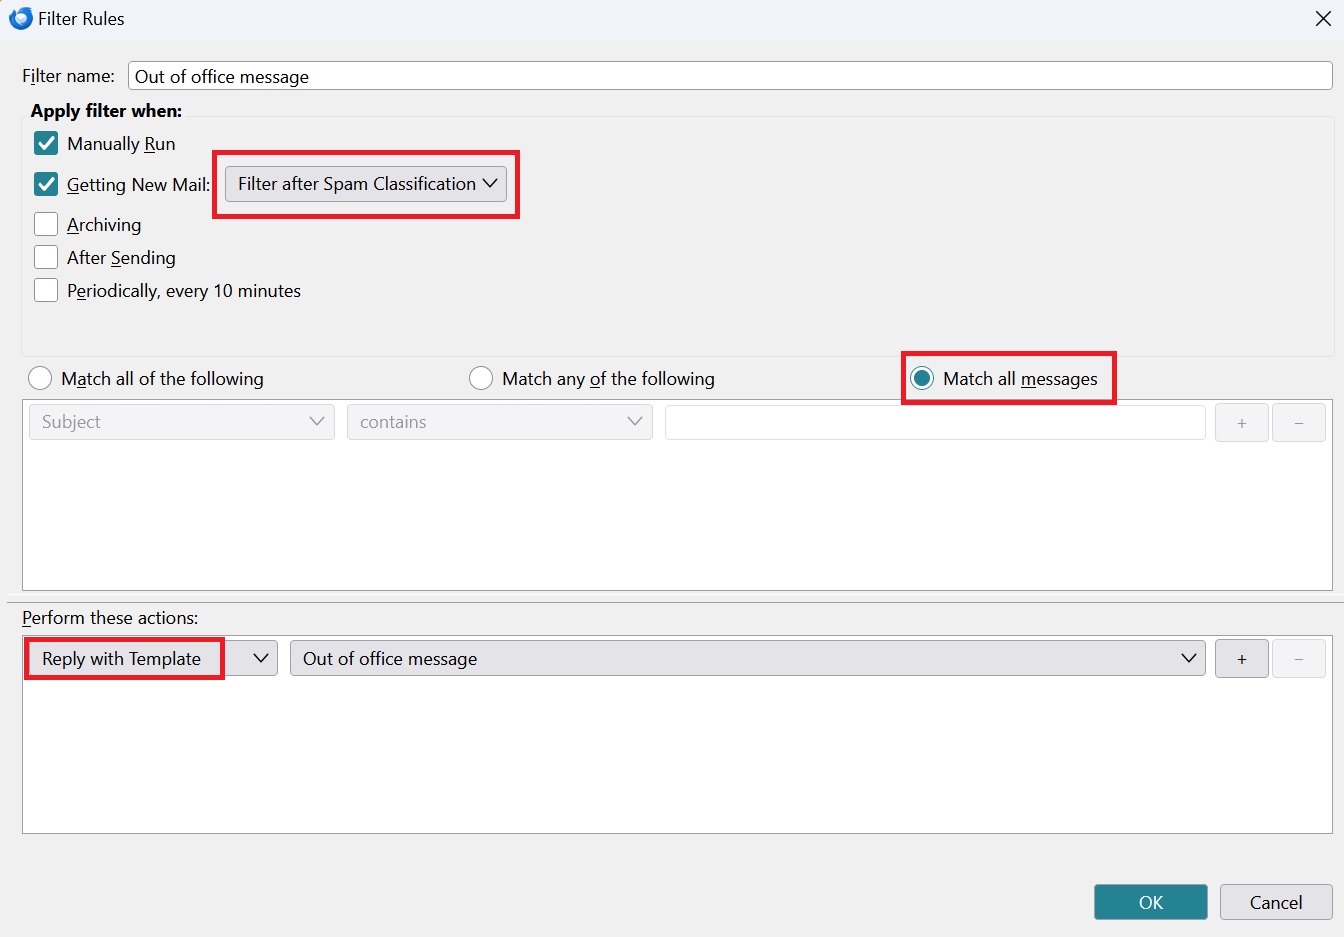
You can now set up your Thunderbird out-of-office reply. Choose a filter name that clearly reflects the situation, such as “Vacation absence” or “Business trip.” Then enable the “Getting New Mail” option and select “Filter after Spam Classification” to ensure no automatic replies are sent to spam senders. Make sure the “Match all messages” option is selected.
In the lower section, define the action to be performed. By selecting “Reply with Template”, Thunderbird will use the template you created earlier, which you can choose from the list on the right. Finally, click “OK” to save the filter. It will then appear in your filter overview.
Step 3: Activate the absence filter
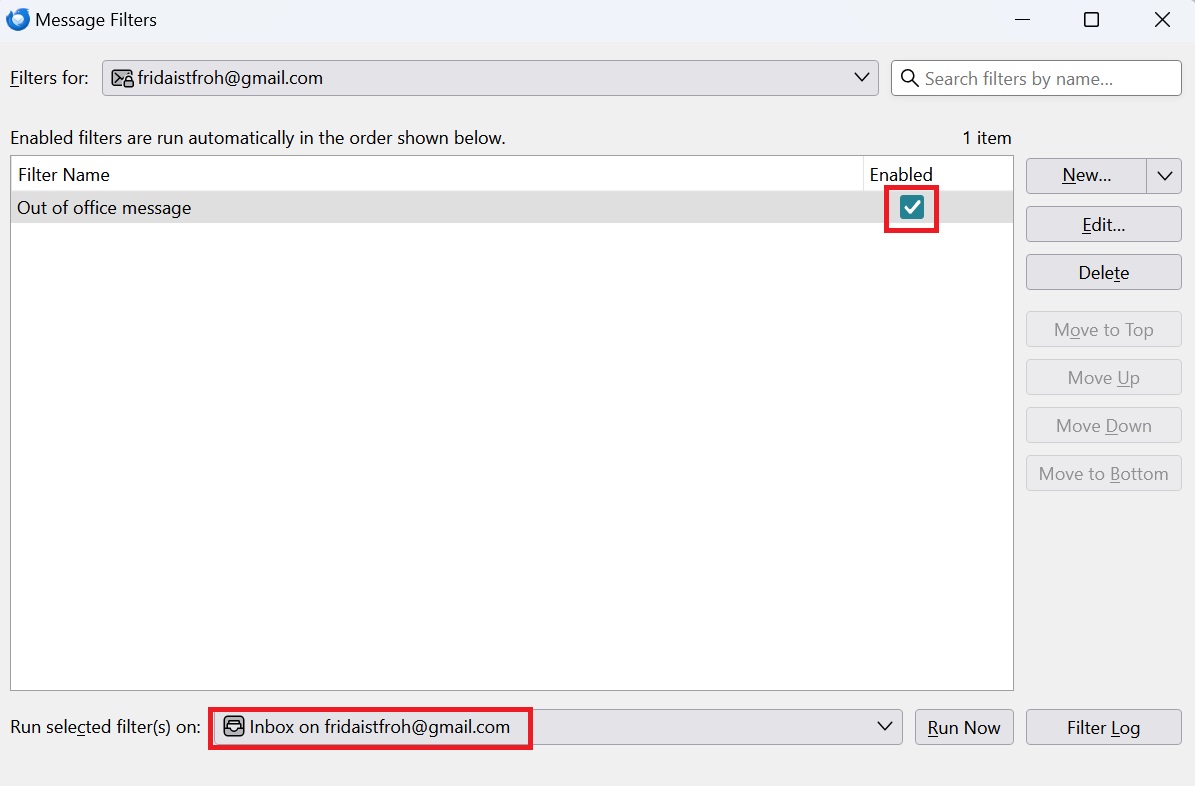
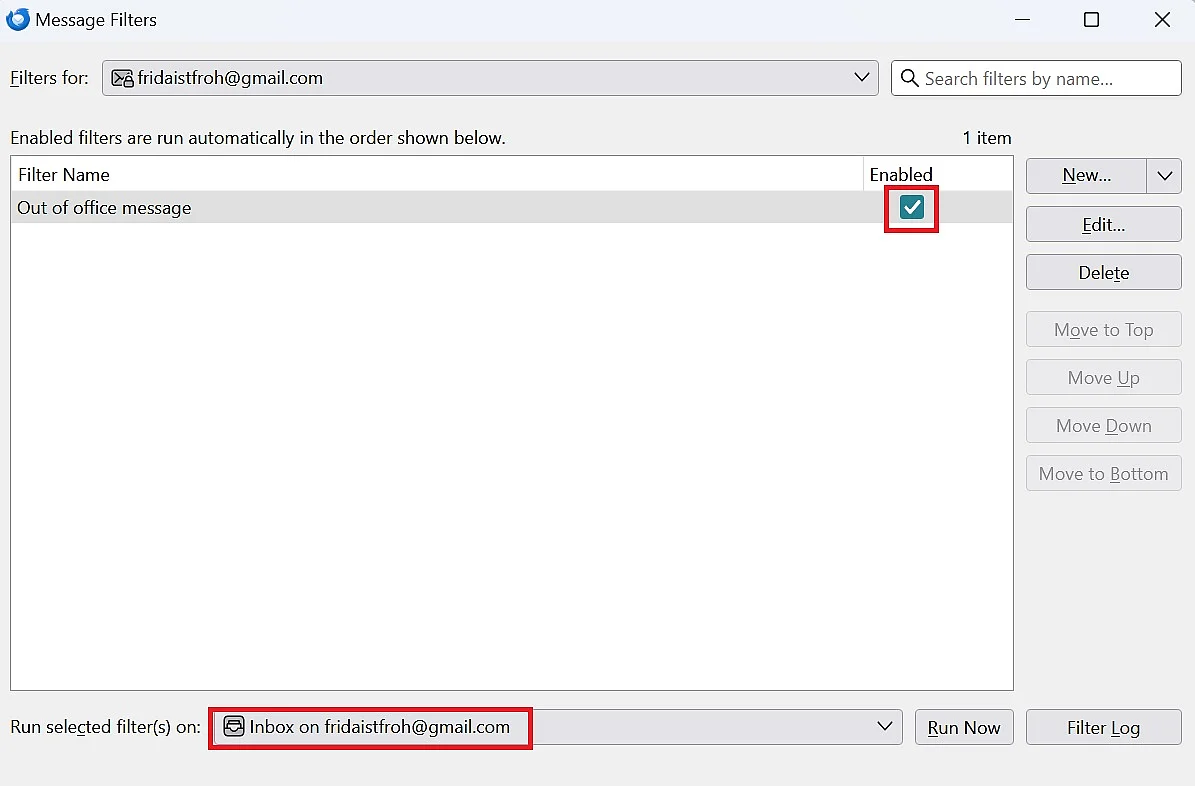
To activate the filter, you also need to select the mailbox it should apply to. Then enable the checkbox next to the desired filter to start sending your Thunderbird out-of-office replies. You can close the menu afterwards. Once you’re available again, return to this menu and deactivate the filter so Thunderbird stops sending automatic replies.
Key considerations for Thunderbird out-of-office messages
When setting up automatic replies in Thunderbird, there are a few important points to consider based on the official documentation:
- Thunderbird must be running: Automatic replies are only sent if Thunderbird is open and actively checking the account. If the computer is turned off or the program is closed, the out-of-office reply won’t be sent.
- Built-in anti-loop protection: Thunderbird can be configured to send only one automatic reply per sender and session. This helps prevent endless reply loops, for example when both parties use auto-replies.
- IMAP vs. POP differences: With POP accounts, filters usually work reliably because emails are downloaded locally. With IMAP accounts, automatic replies are only sent while Thunderbird is actively syncing. In some cases, server-side filters from the email provider may also block these replies.
- HTML emails may trigger spam filters: Some mail servers classify automatic replies in HTML as suspicious. For external recipients, plain text messages are often the safer option.
- Security considerations: Automatic replies can reveal that you are currently unavailable. For this reason, many organizations restrict out-of-office replies to internal contacts.
- Handling mailing lists: Thunderbird may also respond to messages from mailing lists or newsletters. To avoid unwanted replies, consider setting up an additional filter to exclude these senders.
How to set up an out-of-office message directly with your email provider
If you don’t want to keep your PC running while you’re away just to send an out-of-office reply with Mozilla Thunderbird, there is another option. Many email providers offer this feature as well. Below, you’ll see how it works with some major providers.
Set up an out-of-office message in IONOS Webmail
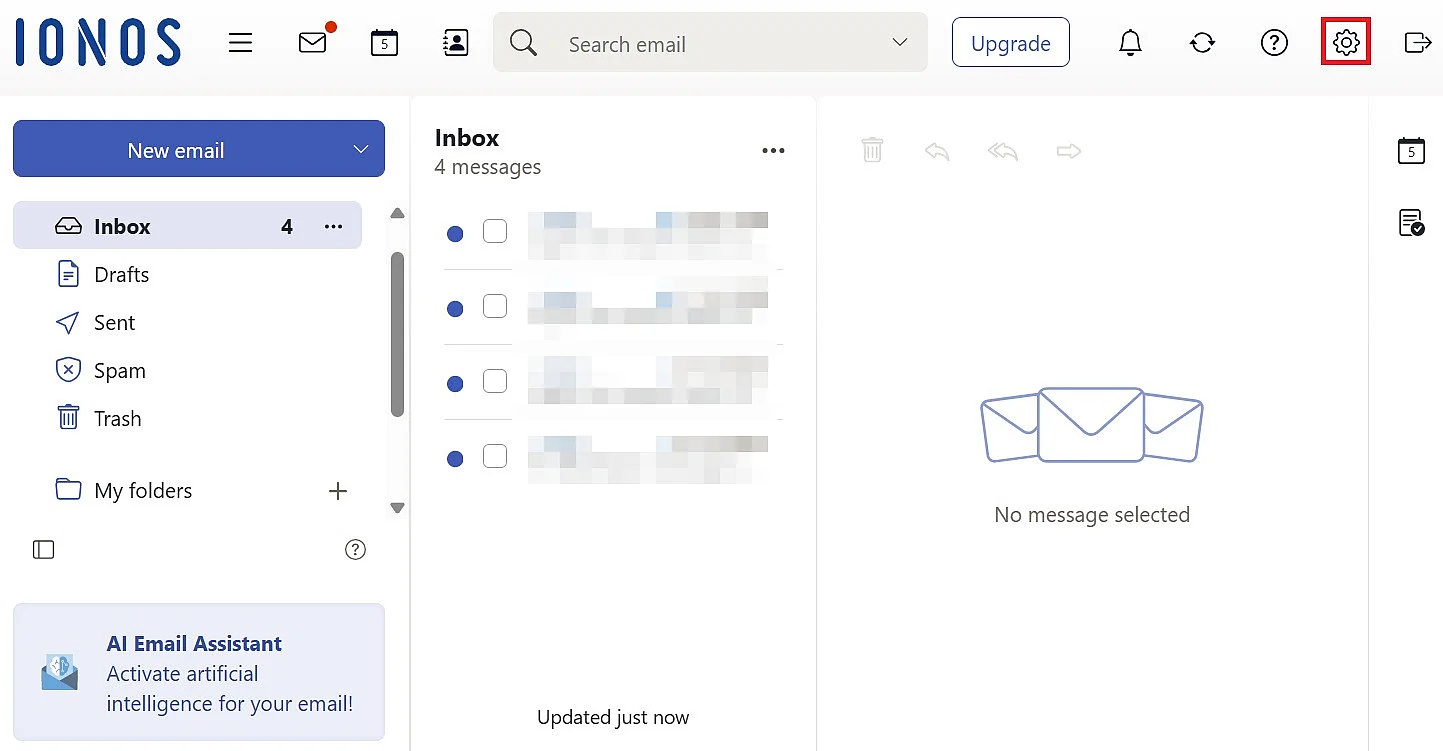
If you get your email address from IONOS, use the corresponding web function to set up an out-of-office notice. Start by opening the IONOS Webmail login page and clicking the gear icon to go to the settings.
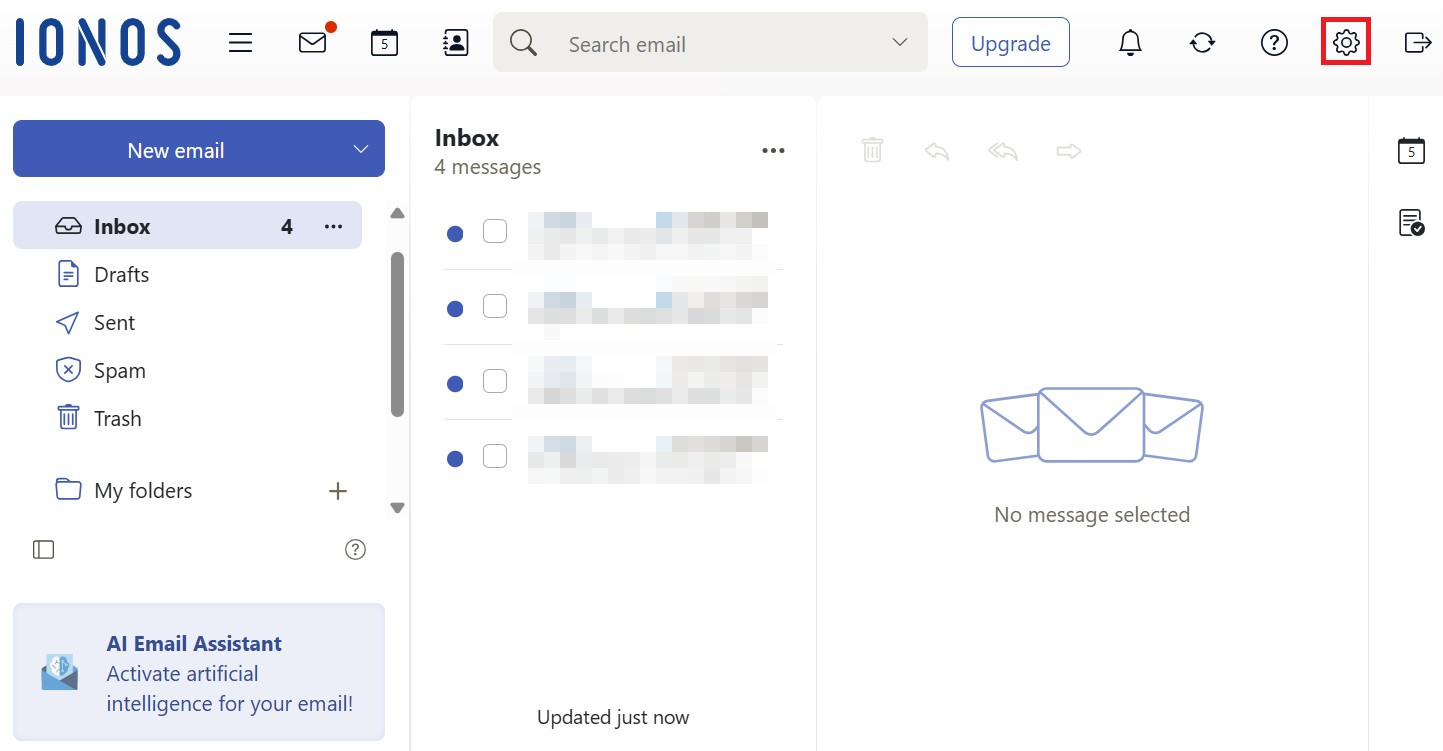
In the dropdown menu, you will now see the submenu item “Vacation notice.” Click it to open the detailed settings.
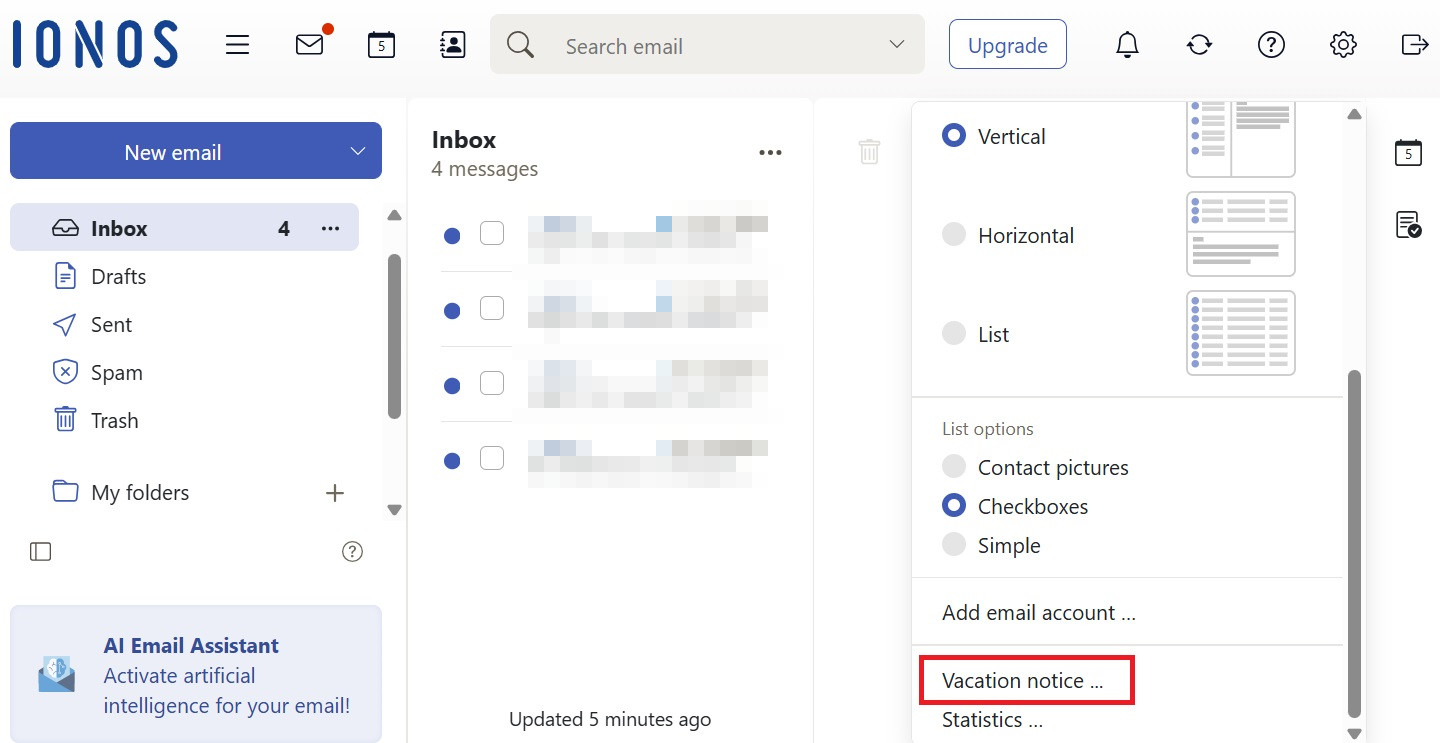
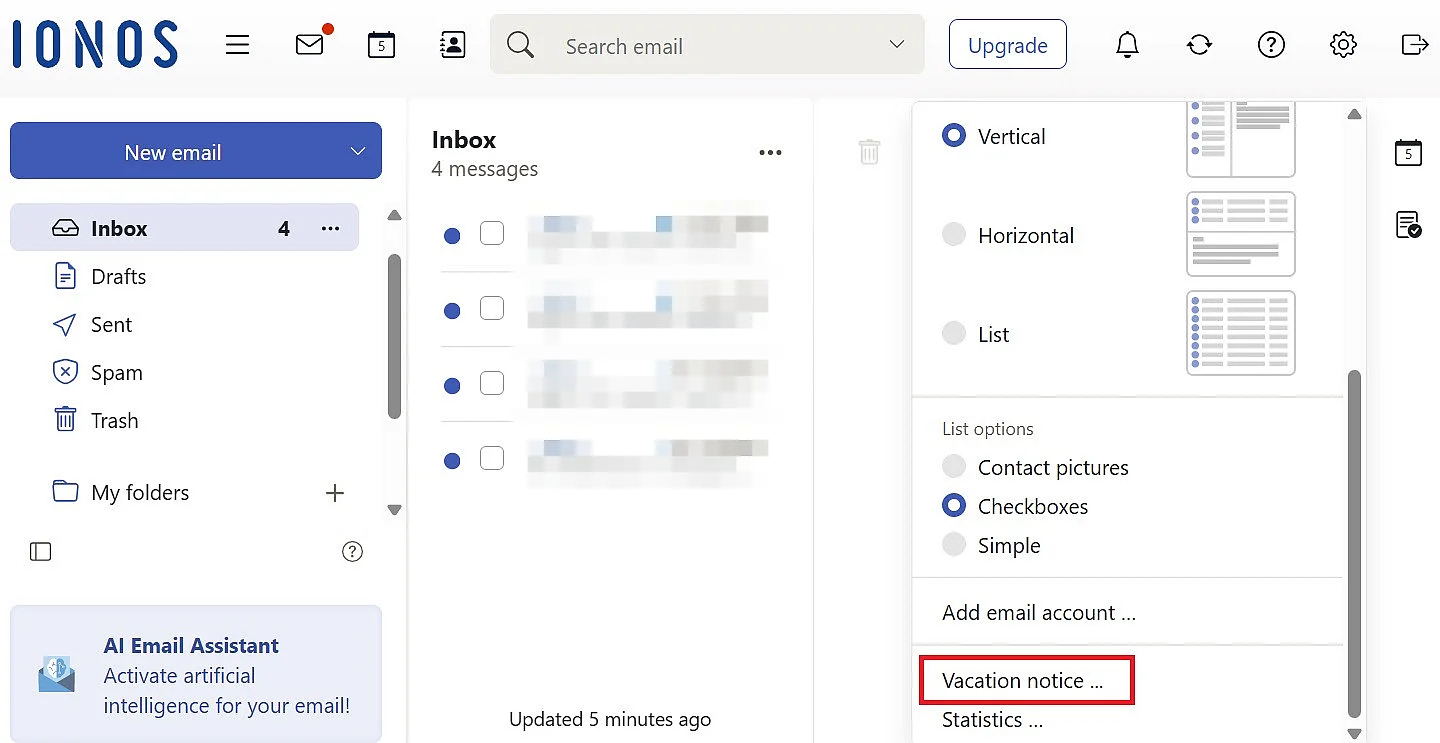
With the slider at the top enabled, all senders of incoming emails will be notified of your absence. To do this, enter an appropriate subject line and the text of the actual notice in the “Message” field.
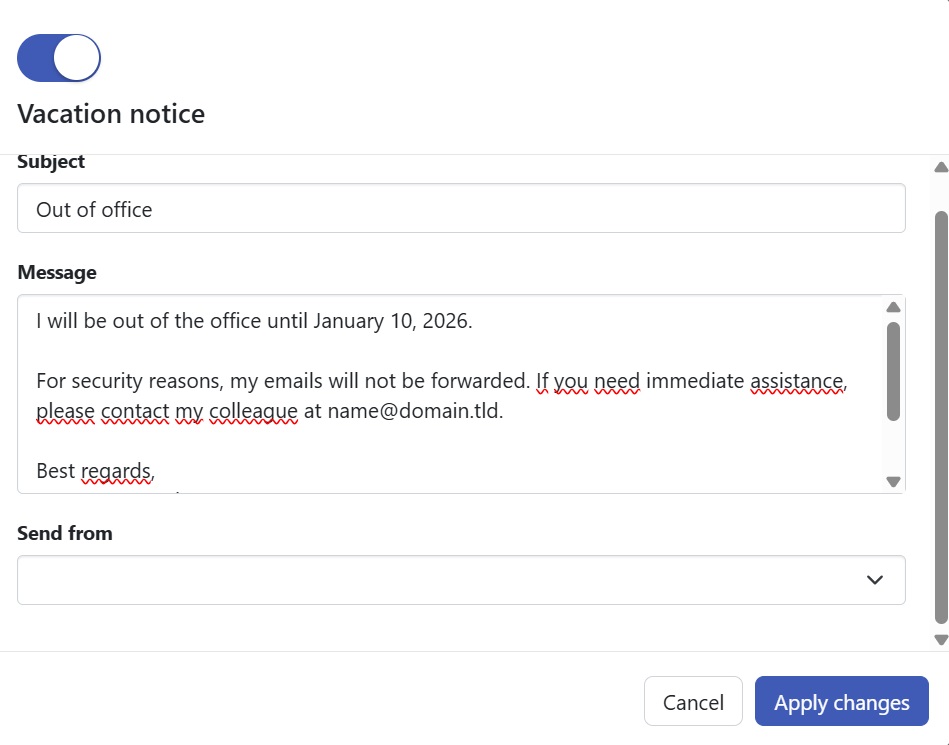
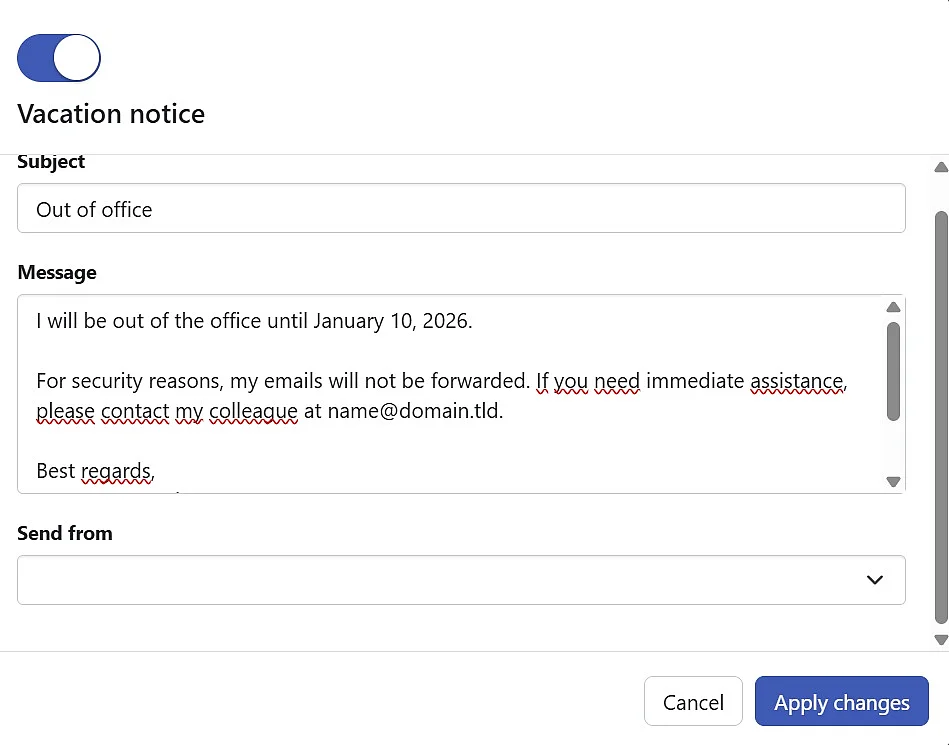
As with Thunderbird, IONOS does not allow you to set an out-of-office reply for a specific time period. Make sure to deactivate it manually once you’re back.
Set up an out-of-office message in Microsoft Outlook
In order to set up an out-of-office message in Microsoft Outlook, simply click on the “File” tab.
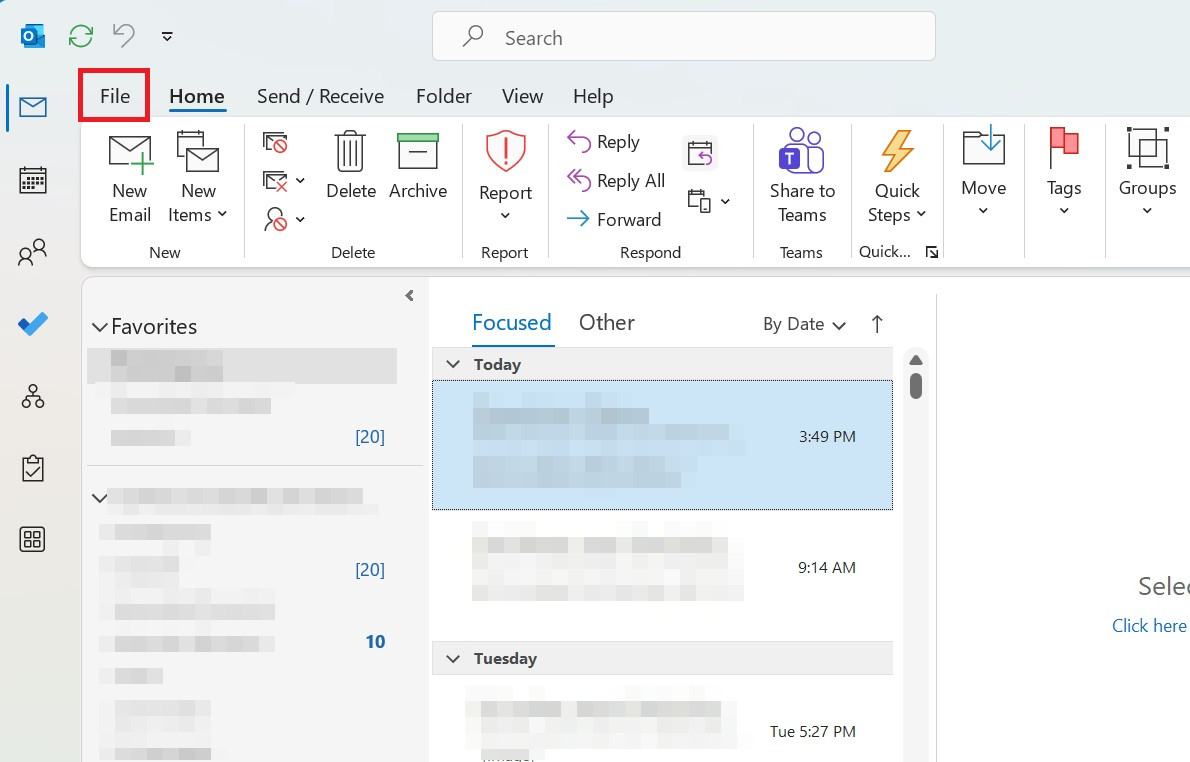
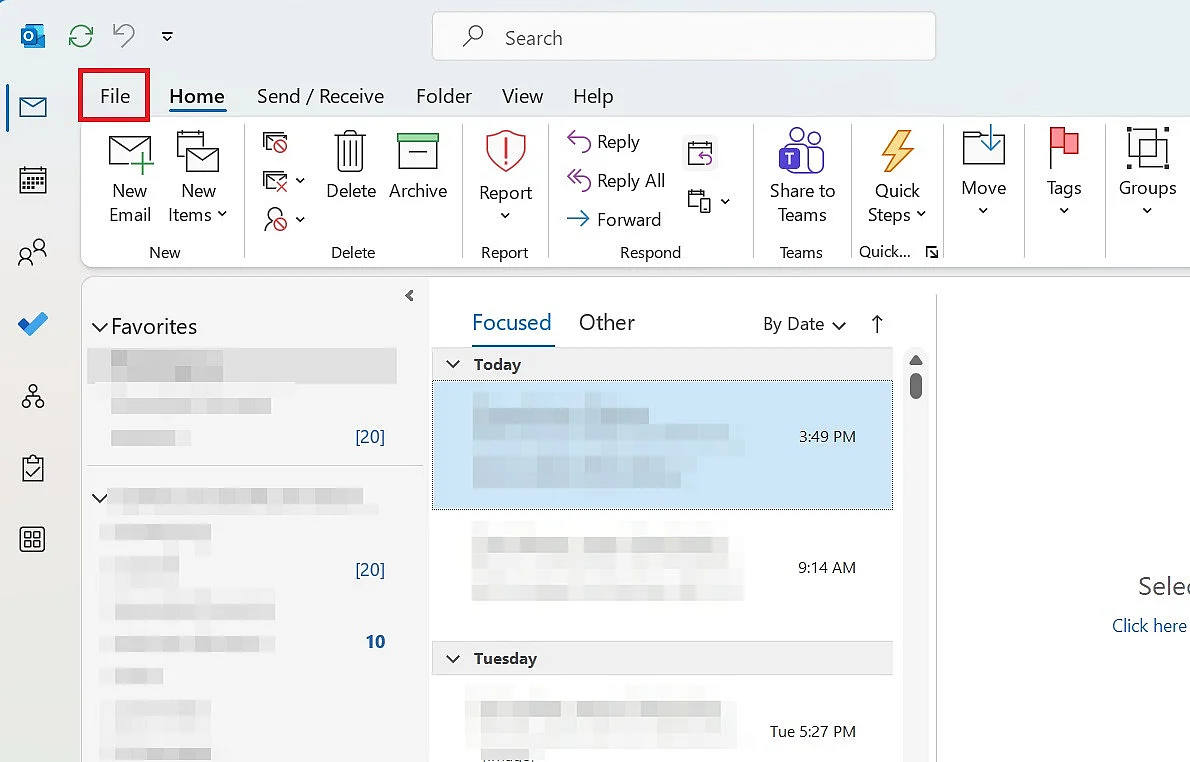
Then find the menu item entitled “Automatic Replies” and click on it.
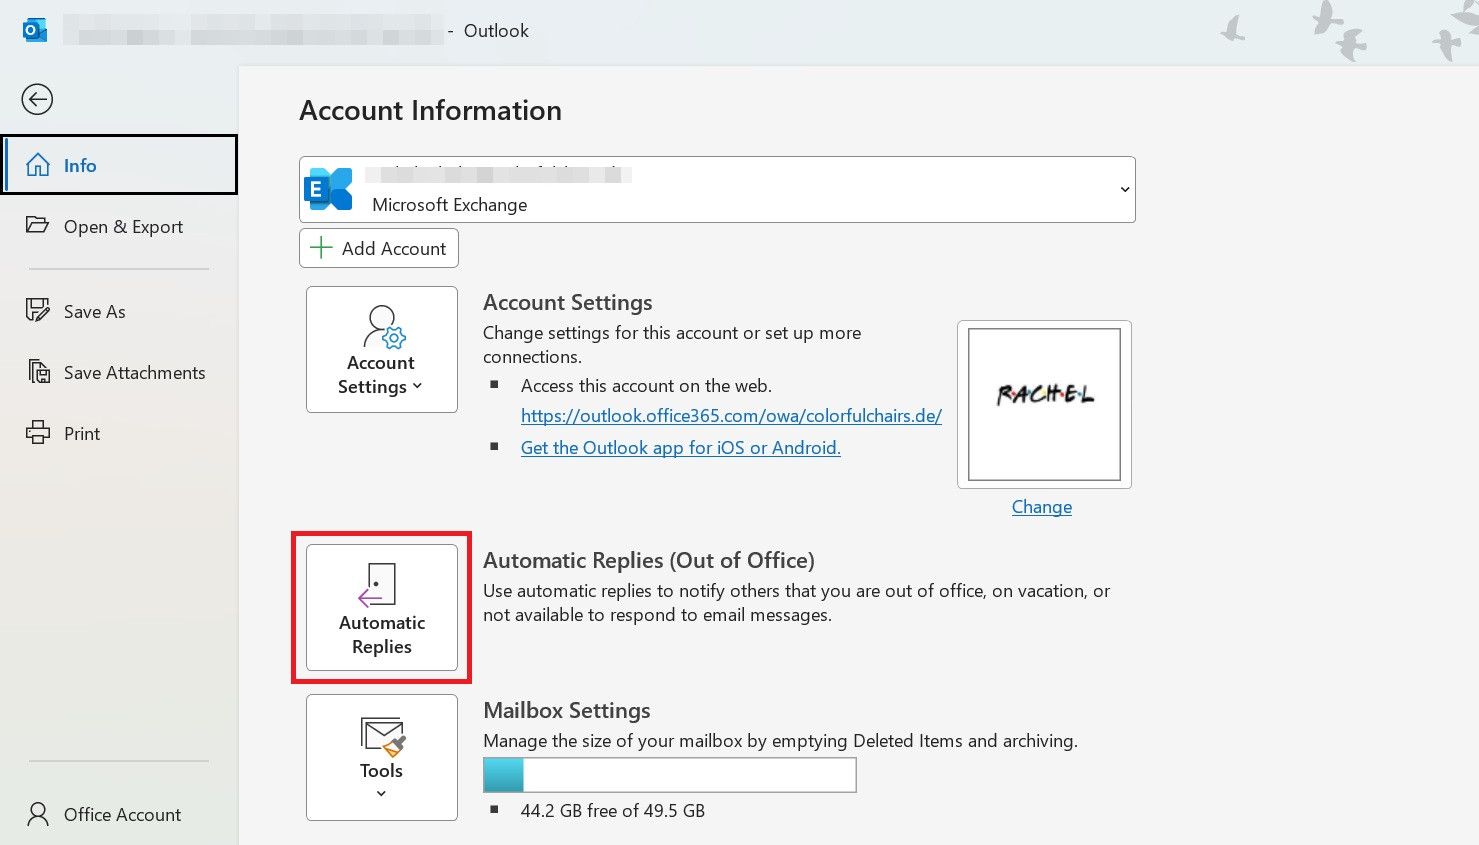
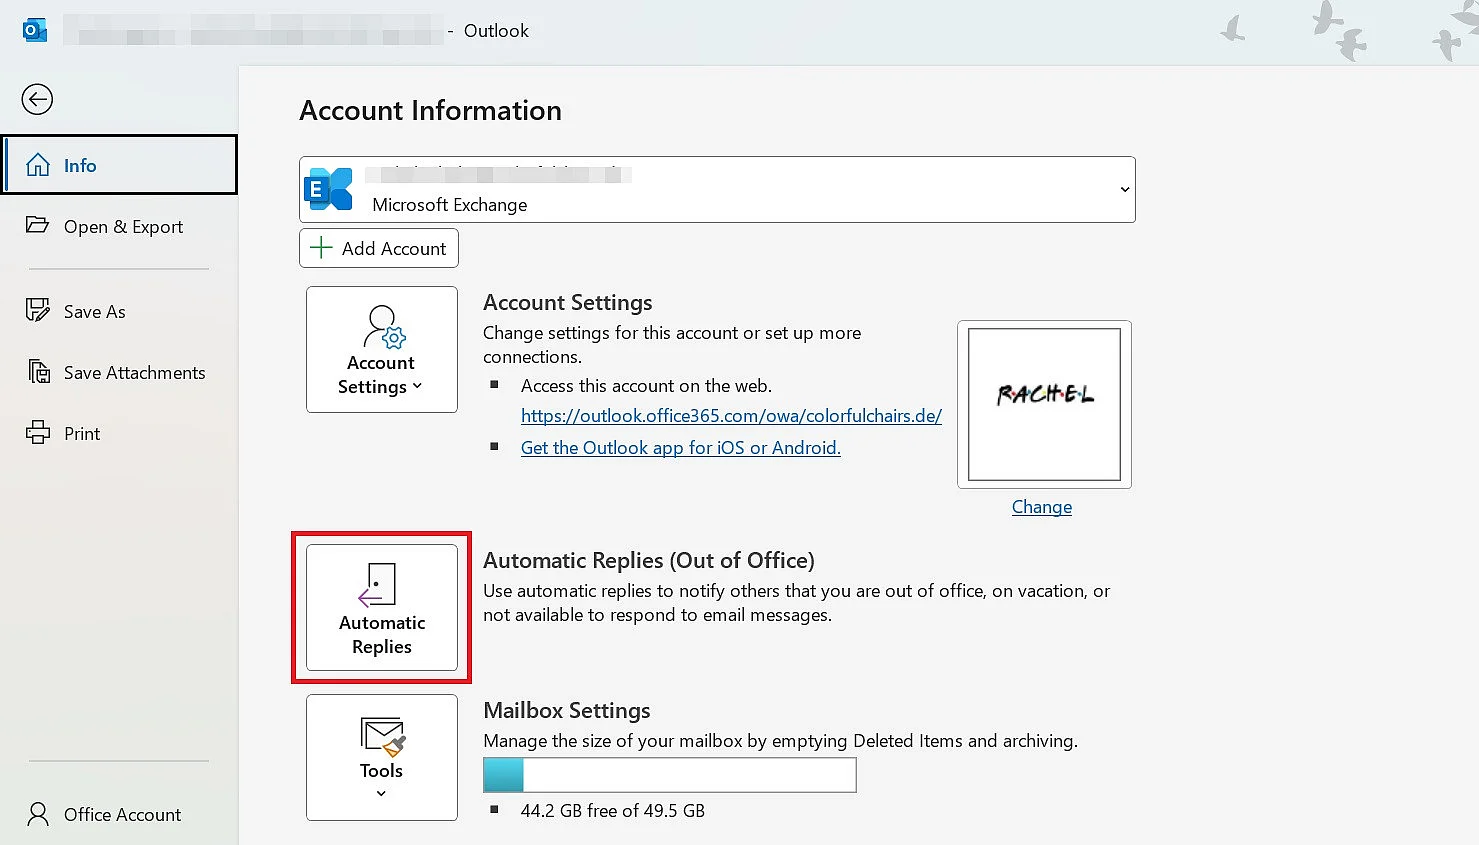
A pop-up window will appear. Click on “Send automatic replies,” then create your out-of-office message. Next, choose whether it should be shown only to colleagues (Inside My Organization) or to anyone who messages you (Outside My Organization).
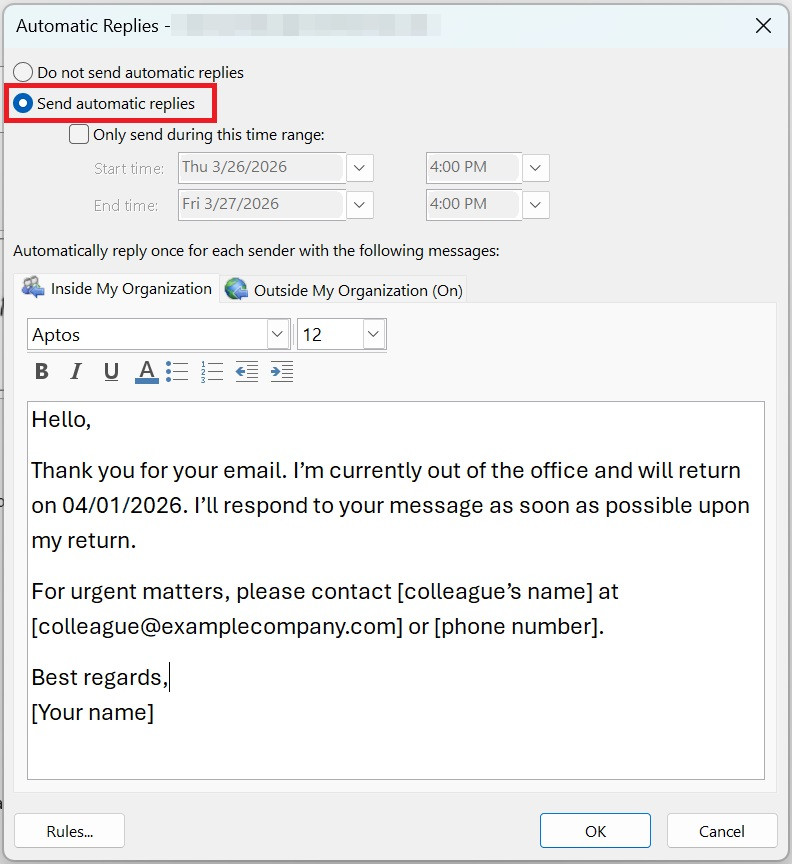
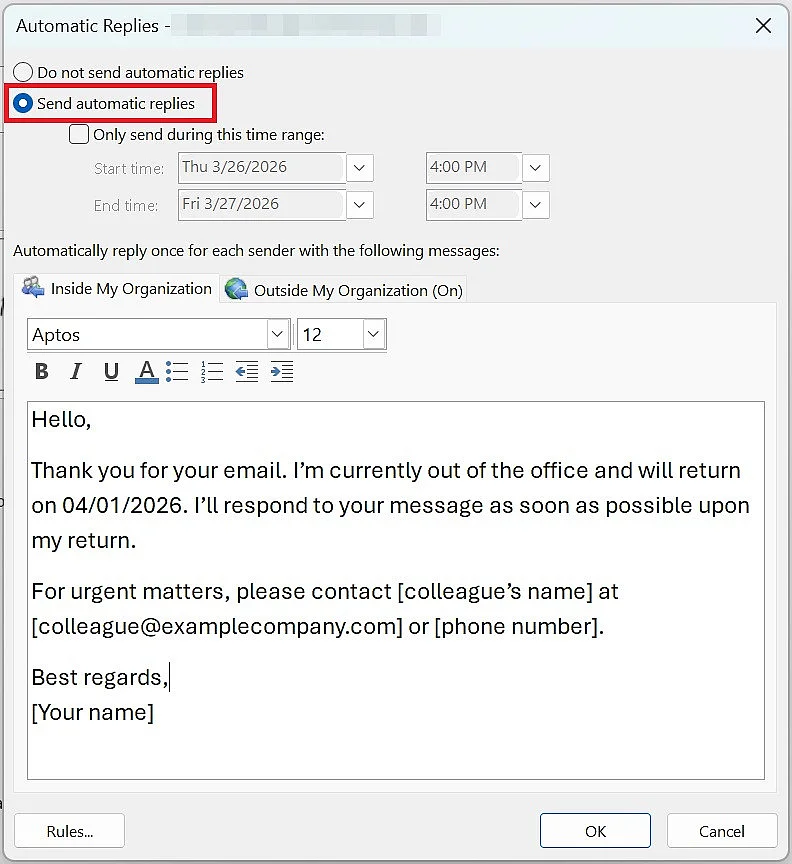
After you have composed your message, click on “OK” to activate it.
Reviewer

Jeanna Raffa
With over 18 years of experience in online marketing, Jeanna Raffa possesses extensive expertise in digital marketing. Since 2020, her focus has been on providing practical information regarding email, office, and cloud storage solutions.