How to install and set up Docker on Windows 10
Although Docker was originally developed for Linux, the development environment Docker Desktop has since become available on Windows platforms. We will introduce you to the requirements and provide you with a step-by-step installation guide for Docker on Windows 10 so that you can develop and test applications in isolated containers.
System requirements for Docker Desktop for Windows 10
Docker Desktop contains all the necessary tools to run Docker applications on your desktop including the Docker engine, the Docker CLI tools and the Docker compose feature. It also offers you the option to download images, share containers via the cloud and integrate IDEs and build tools.
Furthermore, Docker Desktop is free for non-commercial use and can be downloaded from the official Docker website. It’s a powerful and flexible platform to help developers quickly and effectively create applications.
To use Docker you need to activate Virtualization in Windows since the container technology needs a Linux core which is made available by the virtual machine (VM). It’s important to note that Windows Pro as well as Hyper-V also supports the Windows subsystem for Linux 2 (WSL 2) as a virtualization system. On the other hand, for Windows Home WSL 2 is the only option you have to run Docker Desktop.
Your Windows 10 system should meet the following minimum requirements to successfully install Docker on your Windows 10 system:
- Processer (CPU): 64 bit with Second Level Address Translation (SLAT)
- Memory (RAM): 4 GB
- Operating system: Windows 10 Home, Professional or Enterprise
- Virtualization: Hardware virtualization must be activated in the computer BIOS
- Hyper-V: is optional for Windows Professional or Enterprise
- Windows Subsystem for Linux 2 (WSL 2): must be activated for Windows Home
- Hard-disk drive: min. 20 GB
- Internet connection: to download packages
Do you have a newer version of Windows? Use our guide “Install Docker Desktop on Windows 11” to find out all you need to know.
You can adapt a cloud server from IONOS to your needs. The IONOS Cloud guarantees you powerful computing, unmatched in terms of reliability for all your needs.
Step by step guide to installing Docker on Windows 10
You have two options if you want to install Docker on Windows 10. You can either use the installation assistant with a graphical user interface or the command bar. We will introduce you to both methods for all Windows 10 editions below.
Step 1: Download and run Docker Desktop
You can download the official Docker Desktop version from the Docker Hub. Once you’ve downloaded it you can run the file Docker Desktop Installer.exe. If your system supports Hyper-V and WSL 2 you will need to choose one of the two versions. If either Hyper-V or SWL 2 is active then you will only have one option. Furthermore, you can create a desktop shortcut.

This will begin the initialization process.
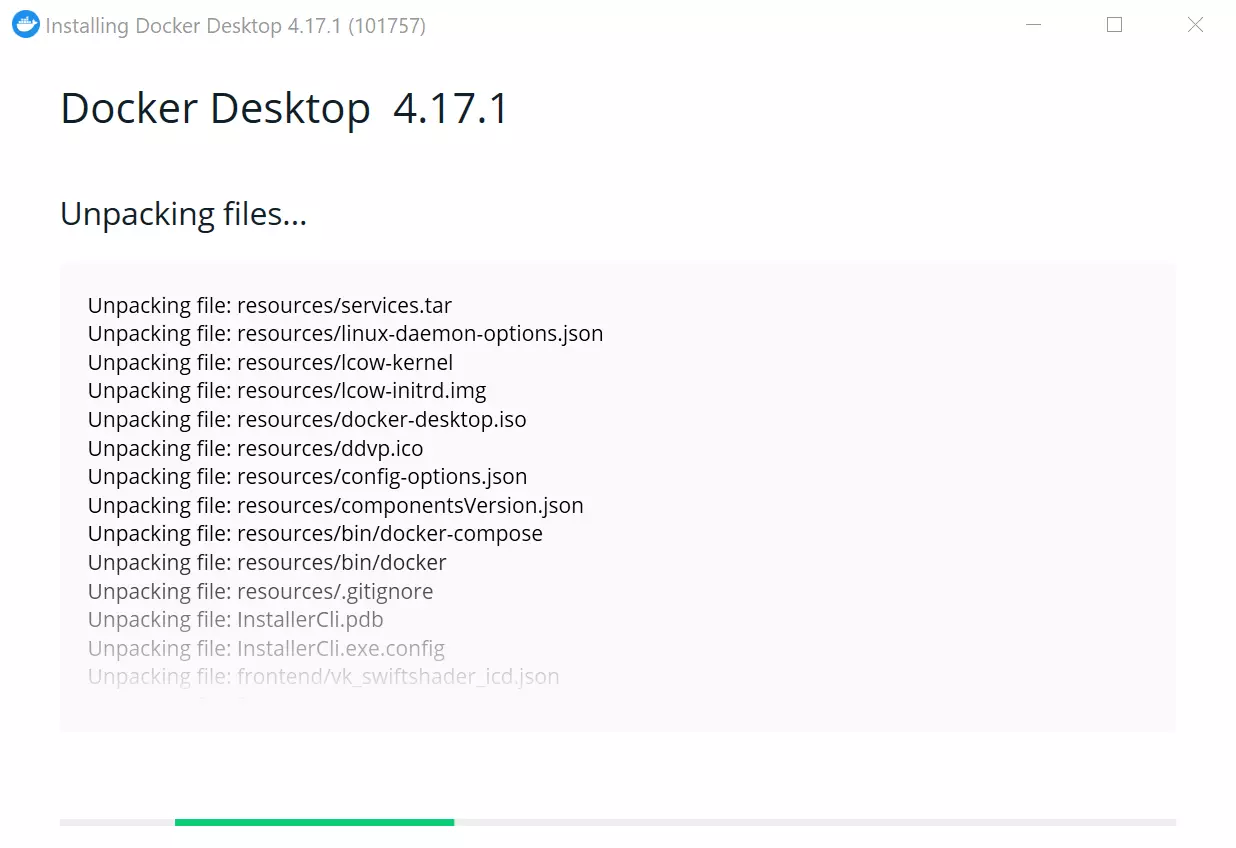
Alternatively, you can use the command bar to install Docker on Windows 10. To do so, enter the following command in the terminal:
$ "Docker Desktop Installer.exe" installIt’s also possible to install it via PowerShell:
Start-Process 'Docker Desktop Installer.exe' -Wait installThe installation will be carried out the same via the Windows command bar (cmd):
start /w "" "Docker Desktop Installer.exe" installA VPS from IONOS gives you good-priced performance in a completely virtual environment. The server is designed for maximum security and supports both Linux and Windows operating systems. Start your online project with VPS hosting from IONOS.
Step 2: Restart Windows
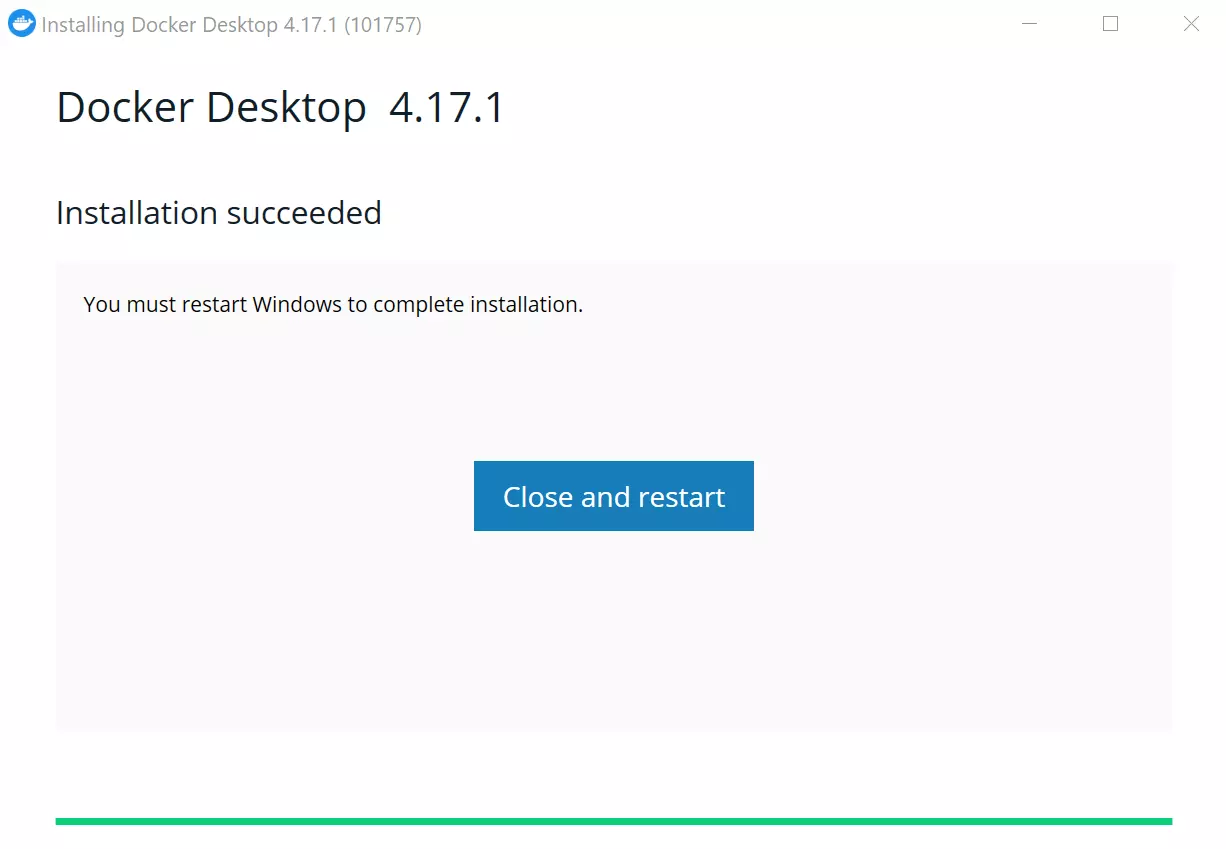
If you’re using an account different to the administrator account, the user needs to be added to the docker-users group. To do this, open “Computer Management” from an admin account and go to Local Users and Groups/Groups/docker-users. Right click on the user and you’ll be able to add them to a group. Log in again to save the changes.
Via the terminal you can do the same. Replace <user> with the username you wish to add to the group:
$ net localgroup docker-users <user> /addStep 3: Start Docker Desktop
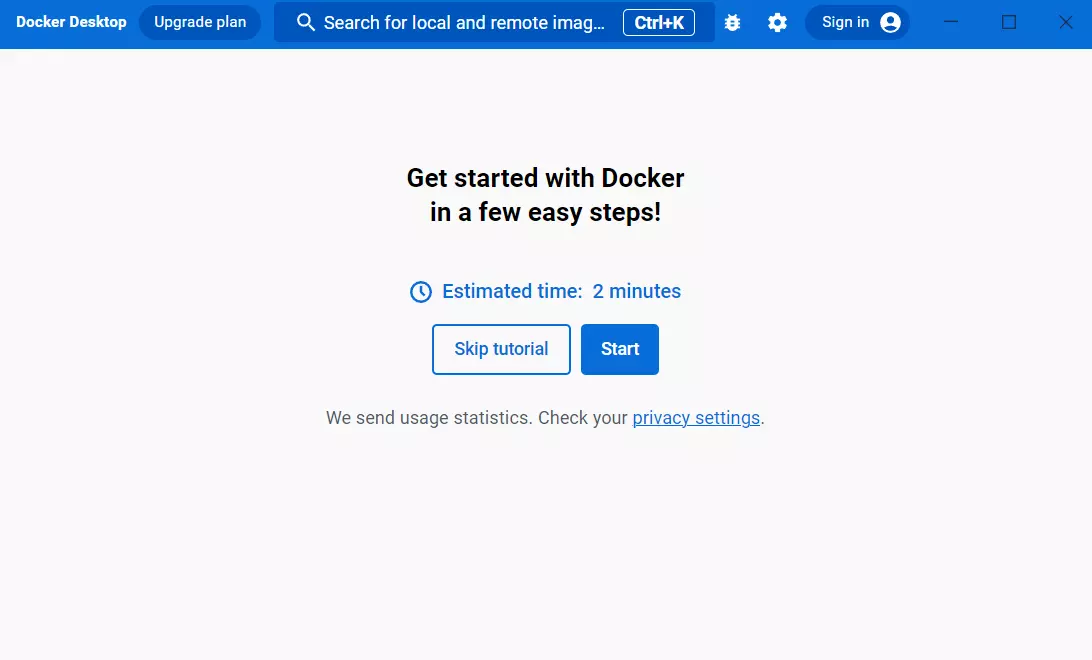
After restarting your system, you can run Docker Desktop and run your first container. In the open window you will see the Docker tutorial.
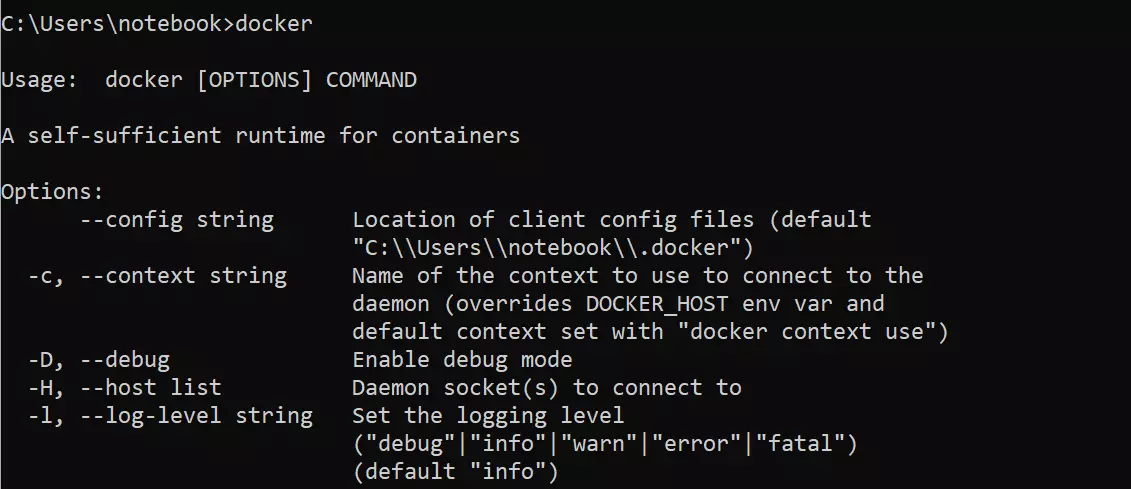
After installation you will see the Docker commands in the command bar.
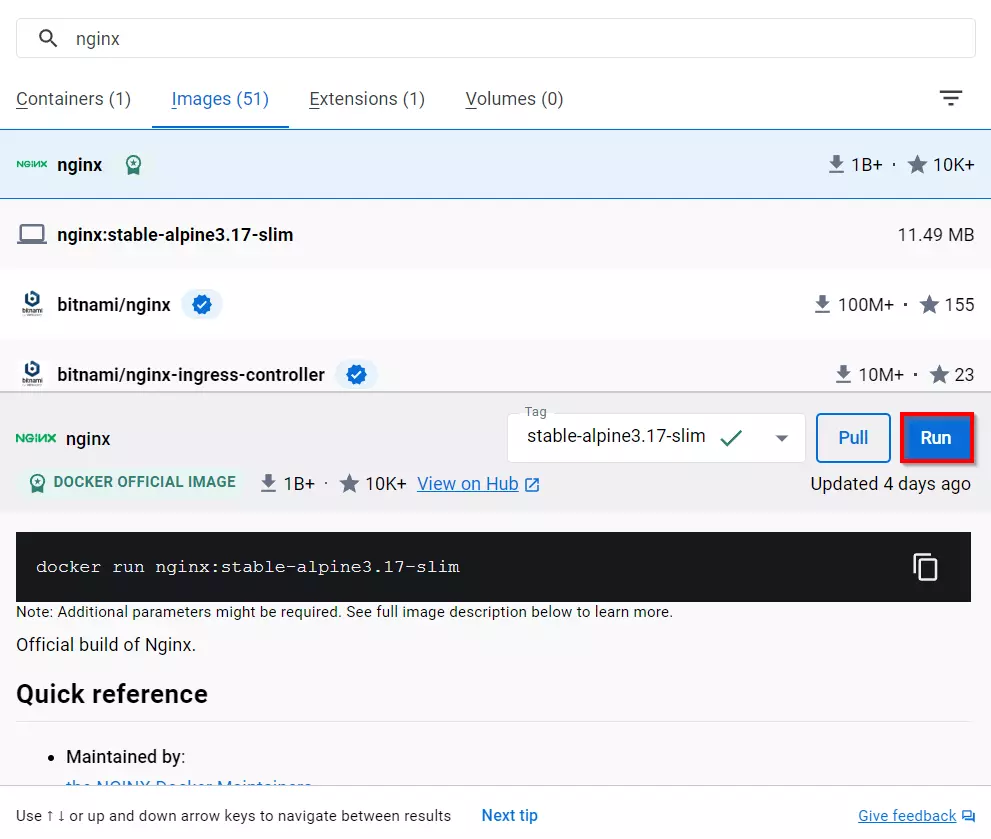
From the Docker Desktop user interface you can directly download and start Docker Images. Enter the name of the application in the search bar and click on “run”. In our example, we’ve chosen the HTTP server Nginx.
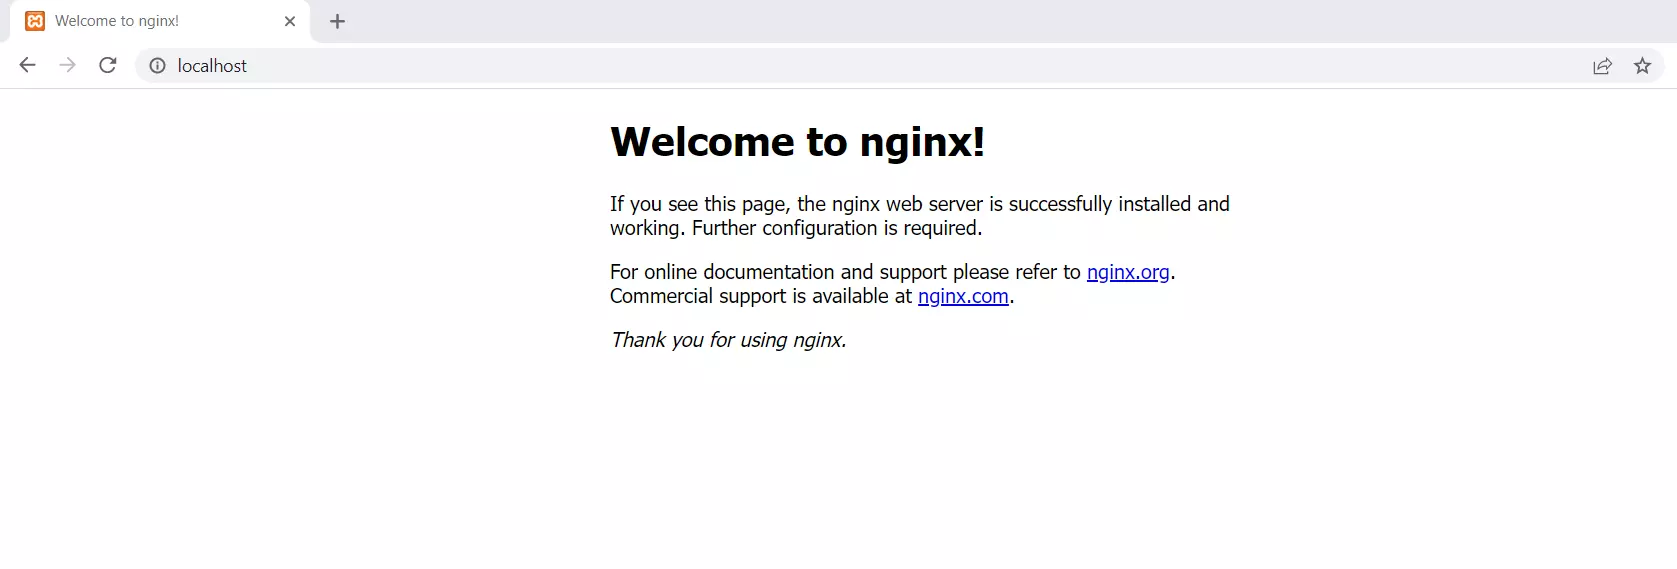
Enter http://localhost:80/ in your browser and you will see that the Linux container “nginx” is running on your Windows 10 system.
With a dedicated server from IONOS you can run ambitious websites with a high-performing GPU and cloud integration. Benefit from completely dedicated hardware with minute-by-minute billing.
If you’d prefer to use Linux, you can read our guide on how to install Docker on Ubuntu 22.04 or install Docker on Debian 11.

