How to install phpMyAdmin in a few steps
phpMyAdmin is a tool which facilitates database administration. It is possible to install phpMyAdmin on all common operating systems and it can be done in a few steps.
What is phpMyAdmin?
phpMyAdmin is an open source tool designed to help users manage databases. Normally, databases can only be accessed through the command line. phpMyAdmin provides a visual interface which is displayed in the browser and helps website owners interact with the MariaDB or MySQL database. phpMyAdmin doesn’t even necessarily require knowledge of the SQL query language. Many functions, such as creating tables, can be done easily without any knowledge of individual SQL commands.
IONOS allows you to run your website on an IONOS cloud server if you register your domain. Not convinced? Our free cloud server trials offer you the opportunity to test out the sever without any commitments. And of course, you’ll have access to MySQL and phpMyAdmin for database management.
What are the requirements to install phpMyAdmin?
Some requirements must be met in order to install phpMyAdmin on your web server. However, these are not particularly challenging, so you shouldn’t encounter any issues when using the web interface.
- Webserver: You’ll need a webserver such as Apache or Nginx to install phpMyAdmin.
- PHP: You will also need a version of PHP. Any version of PHP 7.2.5 or later will be sufficient to install the latest version of phpMyAdmin. PHP extensions like mbstring can improve the performance.
- Database: phpMyAdmin supports MySQL compatible databases (MySQL version 5.5 or newer and MariaDB version 5.5 or newer).
- Web Browser: phpMyAdmin is an application which runs in a browser, so you will also need a web browser of your choice. Cookies and JavaScript should be enabled in the browser.
How do I install phpMyAdmin on Windows?
Installing phpMyAdmin on Windows will be easiest with a third-party software. Programs such as XAMPP contain everything needed for phpMyAdmin and they also allow you to set up an Apache webserver. However, Git or Docker also allow you to install phpMyAdmin on Windows without any problems. We’ll show you how to install phpMyAdmin with XAMPP. Instructions on how to install phpMyAdmin with the Git version control system or Docker can be found in the official documentation for the web interface.
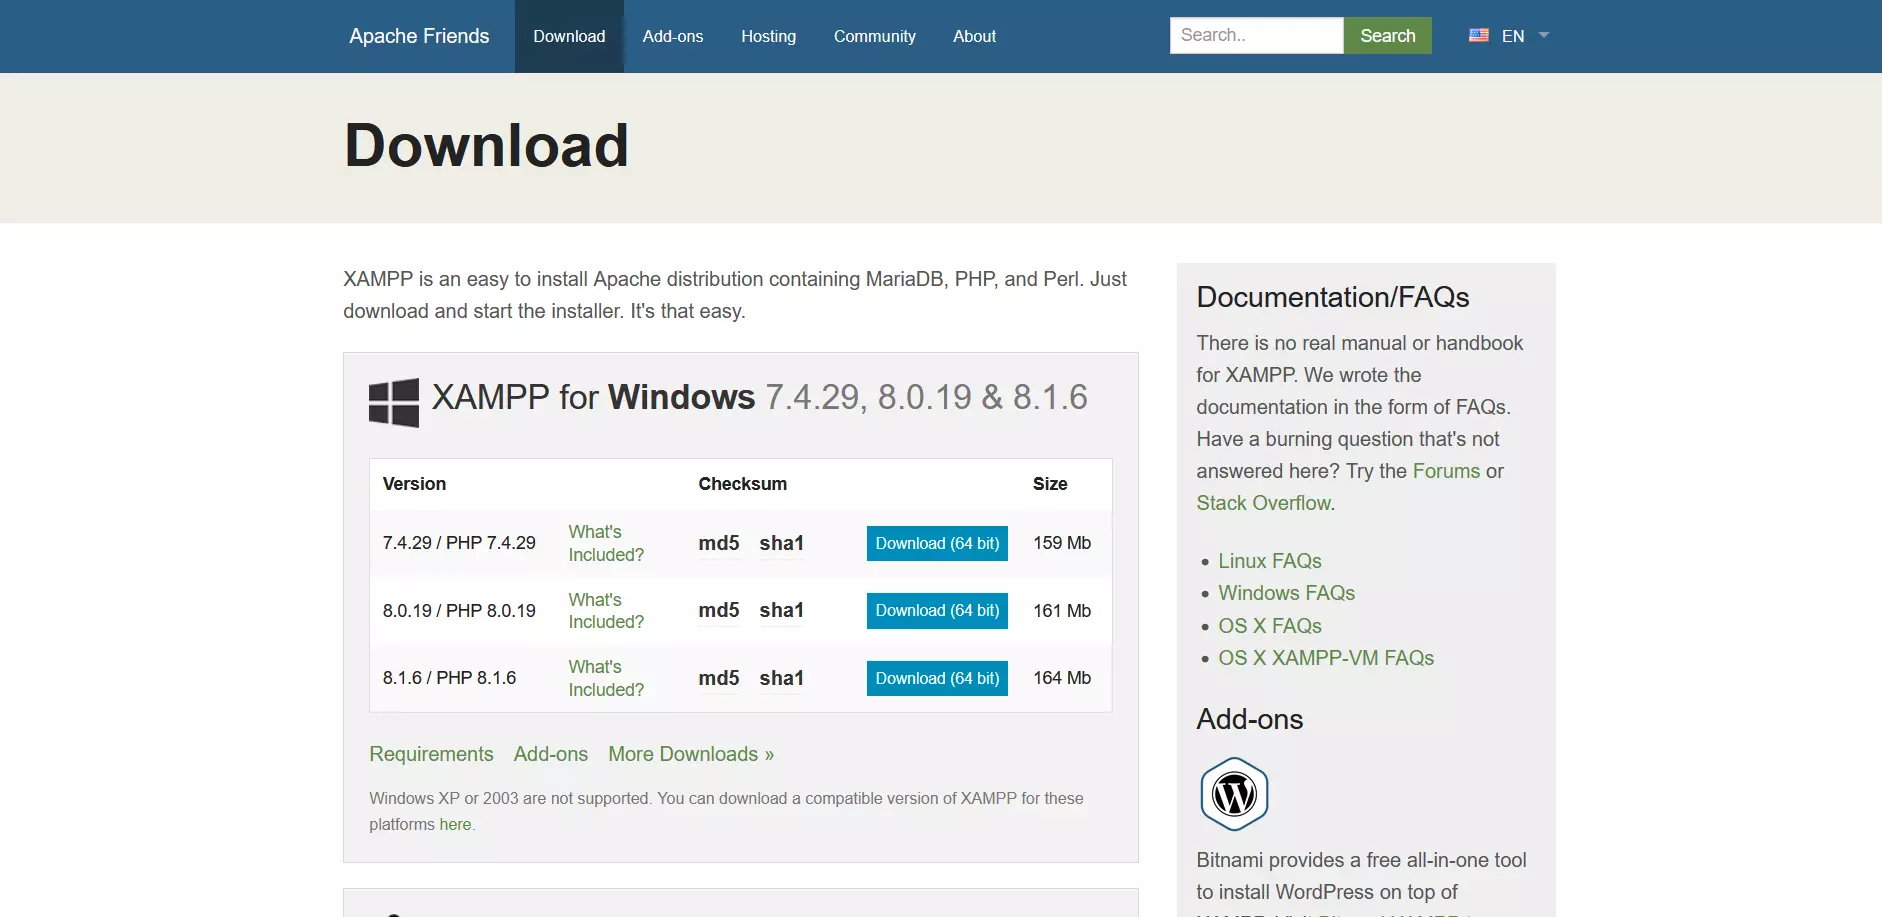
Step 1: Download and install XAMPP Begin by installing the XAMPP program. It’s simple to download the required files from the official website of the open source Apache distribution. Follow the installation wizard’s instructions or use our XAMPP tutorial to complete the installation on your system.
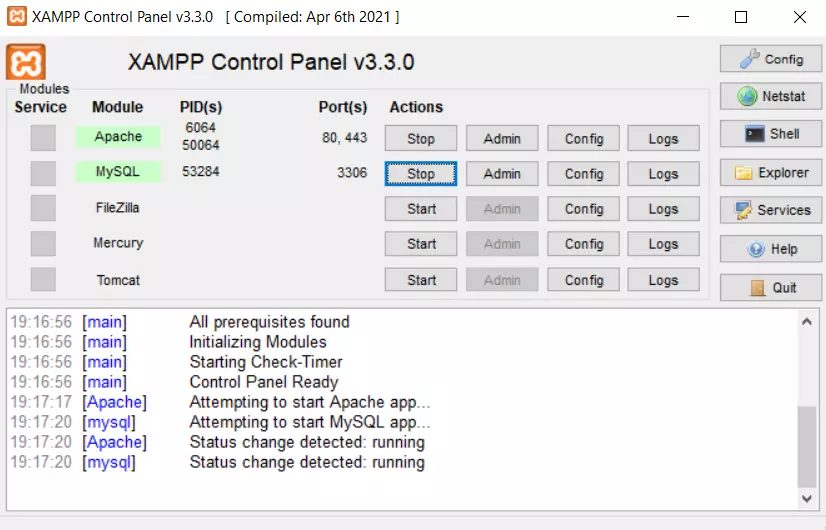
Step 2: Start web server and database in XAMPP You can start the program once the XAMMP download is complete. Start the Apache web server and the MySQL database in the XAMPP control panel by clicking on the “Start” button to use phpMyAdmin.
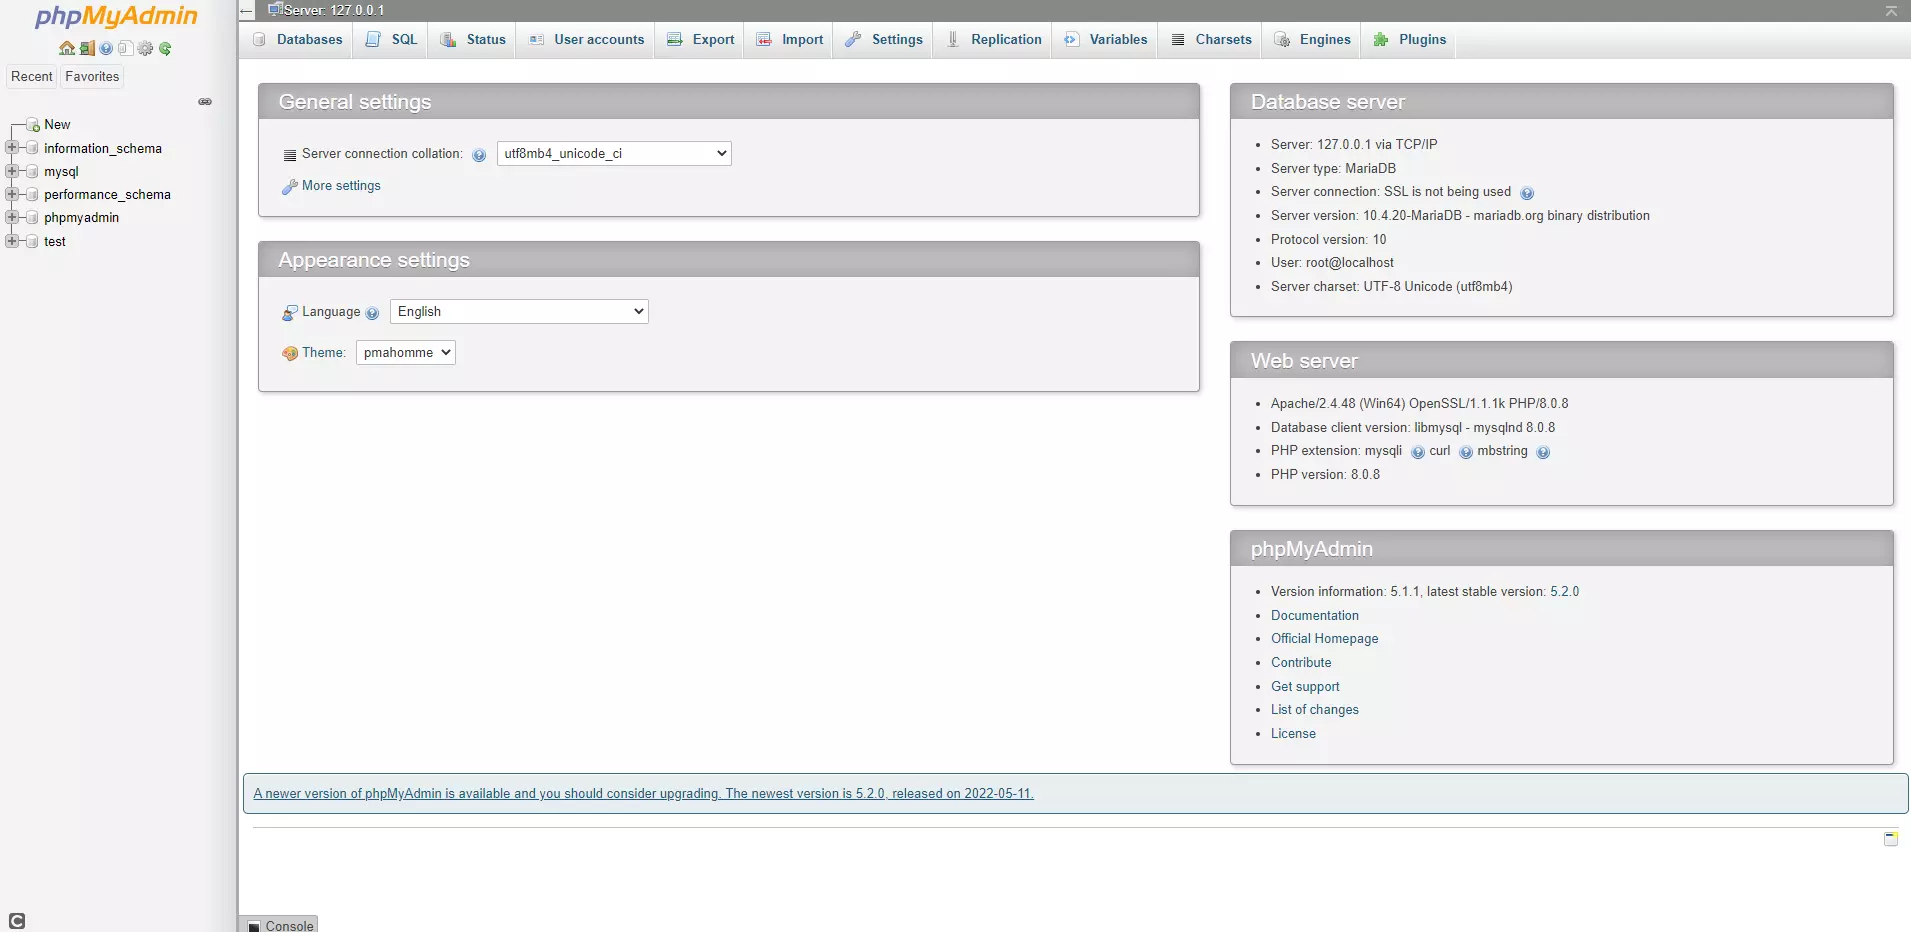
Step 3: Open the web interface of phpMyAdmin You can easily open the phpMyAdmin web interface in your browser. Simply type the address “http://localhost/phpmyadmin” into the browser’s search bar. This will automatically bring you to the phpMyAdmin start page. You can adjust the settings and create or manage your own databases here.
How do I install phpMyAdmin on macOS?
You can also install and use phpMyAdmin on macOS with XAMPP. The procedure is the same, but make sure to select the version for macOS when downloading XAMPP. Unlike on Windows, Apache and PHP are already preinstalled on macOS, so the manual setup of phpMyAdmin can be done in just a few steps.
Step 1: Install and start MySQL
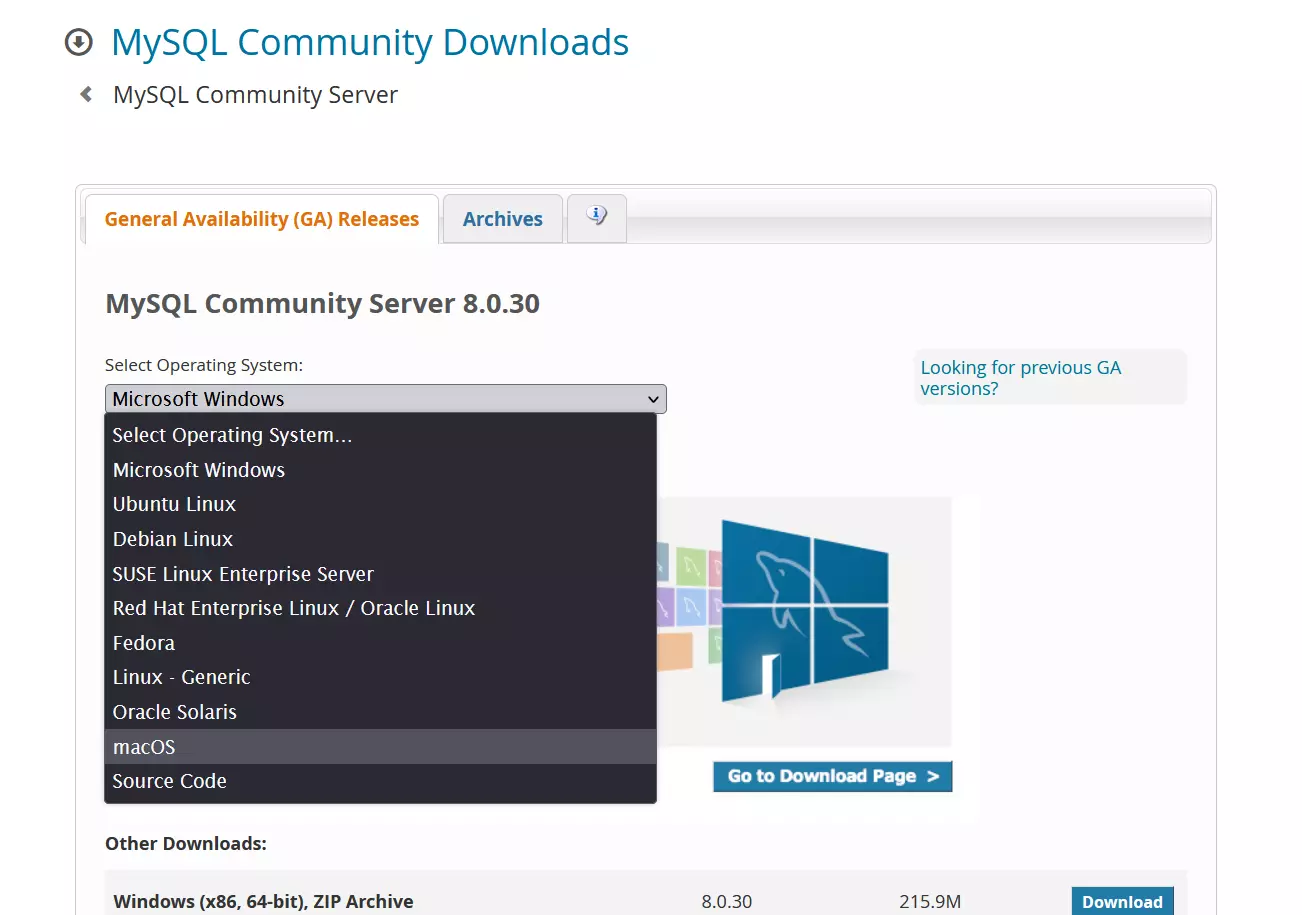
The only thing missing on macOS for phpMyAdmin is a suitable database. This is a quick fix. The official MySQL website has made the required files available for download. Make sure that you select macOS as your operating system. Follow the installation wizard’s instructions to complete the installation successfully. You can start the MySQL server in the application’s configuration window from this point on.
Step 2: Start Apache web server
You just need to start the web server as Apache is already pre-installed on macOS. Open the terminal to do this and type the following command into the command line:
Step 3: Install phpMyAdmin and open the web interface
You can download the latest version of phpMyAdmin from the official website. Unzip the folder after downloading the required files. Then move the folder to /Library/WebServer/Documents to add phpMyAdmin to your web server. Just like on Windows, enter the address “http://localhost/phpmyadmin” in the browser’s search bar to access the phpMyAdmin start page.
How do I Install PhpMyAdmin on Linux?
Installing the phpMyAdmin web interface on Linux will depend heavily on which Linux distribution you are using. Installing phpMyAdmin on CentOS 7 requires different steps than an Ubuntu installation. We’ll outline the procedure required for Ubuntu and Debian.
Ubuntu
Step 1: Install LAMP stack
Ubuntu is considered one of the most user-friendly Linux distributions. phpMyAdmin is usually ready to use as soon as you have installed a suitable web server and database. You can easily install the LAMP server on Ubuntu, which already comes with the required components. Enter the following commands in the command line to install the Ubuntu tool Tasksel and the LAMP stack:
Step 2: Install PhpMyAdmin
You can also install phpMyAdmin easily by typing the following command into your terminal:
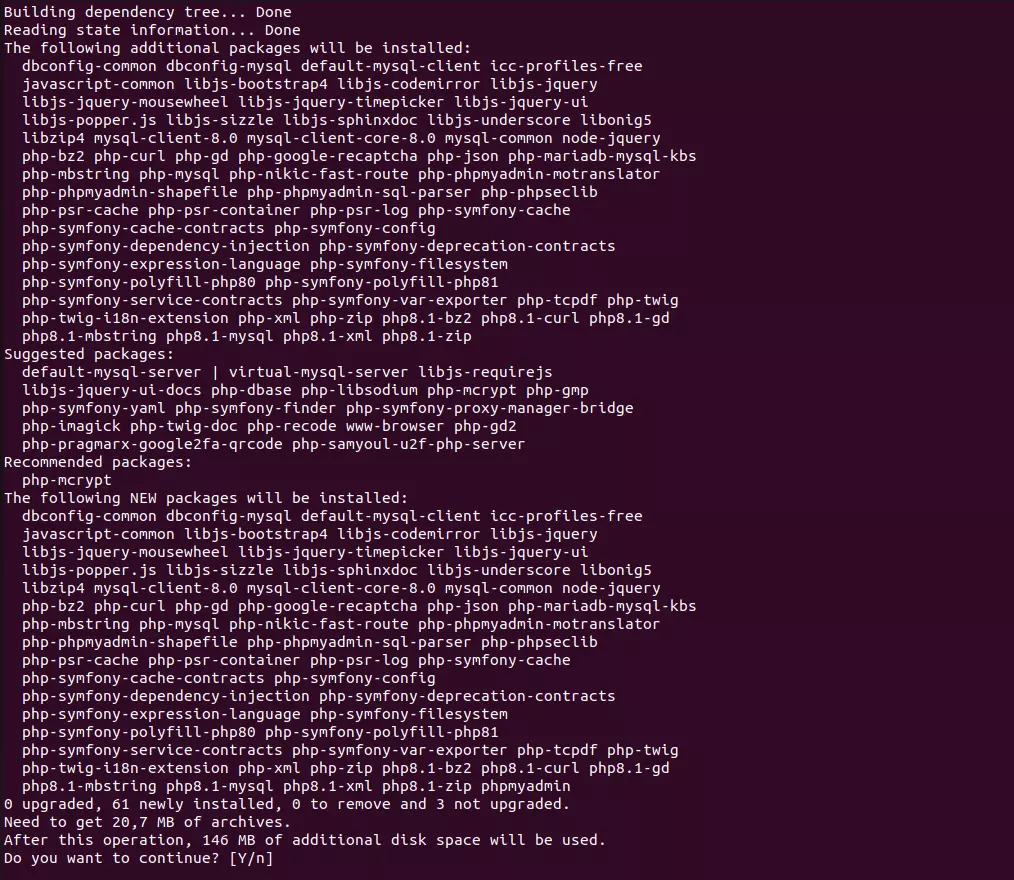
You will be asked to confirm the installation of phpMyAdmin in the terminal after executing this command. Press the [Y] key for “Yes”. The installation will start afterwards, and you can use phpMyAdmin in a browser of your choice.
Debian
Step 1: Install web server and database
You will need to manually install a web server, database and a current PHP version to work with phpMyAdmin if your Debian version does not have these components already. Use the following terminal commands to do this:
Step 2: Install PhpMyAdmin
The command to install phpMyAdmin looks the same as on Ubuntu:
This completes the web interface installation, and you can now use a browser of your choice to access phpMyAdmin.

