

10 great Banana Pi projects

The global success of the single-board computer Raspberry Pi developed in England by the Raspberry Pi Foundation has inspired several copycats since it first launched. One serious competitor is the Banana Pi developed in China. While it has not yet achieved the same notoriety as its predecessor, it has made a name for itself as a versatile mini-computer. The reason for this is quite obvious. Single-board computers (SBC) are small, consume very little power, and are cheap to acquire. Nevertheless, their performance is perfectly sufficient for realizing all kinds of projects.
We have compiled some interesting applications for the Banana Pi. Some of these ideas are relatively easy to realize with little prior knowledge. Others may require a certain amount of training, depending on the person’s current level of knowledge. Once a Banana Pi idea has been successfully implemented, you will be able to enjoy the unbeatable price-to-performance ratio of this small computer for a long time to come.
What is the Banana Pi, and what needs to be taken into account in projects?
The Banana Pi is a mini-computer with a highly compact design. In a Banana Pi, all the important components of a full-fledged computer are found on a single circuit board that is barely bigger than a business card. In addition to the central processor and memory, it has basic interfaces such as a USB port ensuring that this single-board computer can be extended and additional hardware can be connected (e.g. monitors, hard drives, memory cards and WLAN antennas).
A micro-USB charger, also used for smartphones, is enough to cover its low power requirements. In terms of price, this piece of hardware usually does not exceed $100. Many models cost significantly less (starting at about $20). The boards are delivered in their original state - cases usually cost extra. However, one disadvantage of cases is that they can make modular expansion difficult or even impossible.
Those looking to successfully implement Banana Pi projects and to make the right choice in terms of practical applications will run into a somewhat confusing hardware selection. The first single-board computers were brought to market under the name “Banana Pi” in 2014 by the educational initiative LeMaker.org. Soon after, the Chinese technology company SinoVoip presented its first model “BPI-M1”. Since then, the two manufacturers have been competing in this market segment and have both declared themselves to be the “official” manufacturers.
LeMaker focuses on the two basic models of Banana Pi and the follow-up Banana Pi Pro and offers extensions for it. In contrast, SinoVoip offers more differentiation in its range. In other words, they provide different models for specific applications (e.g. smart homes, network routers, industrial applications). In addition, the SinoVoip models are modularly extendable.
You can get a good overview of the Banana Pi product line by checking its dedicated page on Wikipedia. The Tanna TechBiz YouTube channel presents some models and their hardware components in video format.
When buying a model from the product line, you need to consider more than just the hardware components and performance that would be right for your Banana Pi project. Extendability can also be important depending on what you plan to do with the Banana Pi. For example, the Banana Pi M2 Berry is compatible with Raspberry Pi peripherals and supports its extension boards.
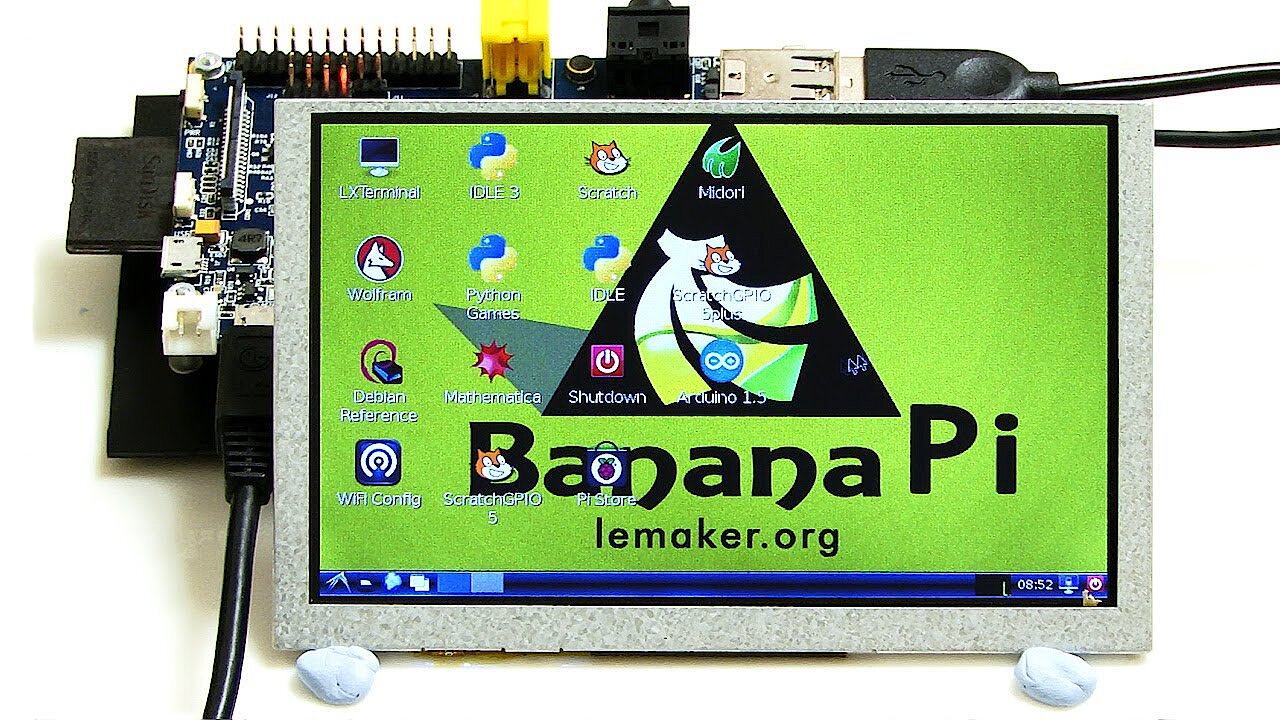
You will also need a suitable operating system for your Banana Pi projects. This is stored on a microSD card which is connected to the computer via a designated interface (a slot). In addition to Android, various Linux versions run on this single-board computer, some of which are specifically designed for Banana Pi hardware (e.g. openSUSE, Arch Linux and Lubuntu for Banana Pi). Among the Banana Pi images available for download are Bananian and Raspbian, both of which are Debian-based operating systems.
The following video demonstrates how to get started with a Banana Pi (installation of the operating system, etc.):
 To display this video, third-party cookies are required. You can access and change your cookie settings here.
 All the Banana Pi projects presented below rely on the open-source concept of the software. The program’s source code is publicly available. It can be obtained freely at no cost online.
10 projects making the Banana Pi a useful multi-purpose machine
Upgrading Banana Pi for projects
The basic configuration of this mini-computer may be enough to implement a Banana Pi idea. However, you will often need to equip the hardware through an initial upgrade project for planned follow-up projects. By extending this mini-computer, it can make it easier to use and enable you to use the Banana Pi for interesting applications. For example, a LED screen offers more flexible use without having to connect an external monitor. It is even possible to create a digital clock with the upgraded mini-computer.
The video by the ExplainingComputers YouTube channel clearly describes how to extend a LeMaker Banana Pi with a camera and a small LED screen:
 To display this video, third-party cookies are required. You can access and change your cookie settings here.
 By having its own case, this can give the little computer a special touch and make it suitable for the living room. 3D-printing cases yourself offers the advantage of being able to match the case perfectly to your model.
Cloud server
If you’re looking to store files centrally and access the stored data from different devices, you could use the Banana Pi as a cloud server. Having your own cloud is an ideal solution when you want to protect your privacy and remain independent from major cloud computing service providers such as Apple (iCloud) and Windows (Microsoft OneDrive). To set up a cloud, you will need special server software. The cost-free open-source programs ownCloud and Nextcloud provide good services. There are even apps available for both of these cloud storage solutions.
This detailed step-by-step guide (in German) from TechnikAmateur demonstrates how to install Nextcloud on a Banana Pi. Project Banana Pi provides detailed instructions and a video tutorial on how to install ownCloud on a Banana Pi.
If you have opted for the Bananian operating system, this blog post can provide you with instructions on how to install Nextcloud and ownCloud. If you are unsure which cloud solution best meets your needs, you can check this comparison of ownCloud and Nextcloud to help you decide.
VPN server
These days, there are countless public networks and WLAN hotspots that have not been protected by any special security measures (e.g. encryption). Hackers find these networks to be child’s play and can easily intercept important personal data. If you want to avoid security risks and be able to safely access your home data files remotely, you can use the Banana Pi as a VPN server.
Using a VPN tunnel, you establish a point-to-point connection from a client (e.g. a smartphone, laptop) to the Banana Pi VPN server. Afterwards, you can send data packets via the connection worry-free. For the transfer, you will need the IP address of the VPN server and the login information for the virtual private network. OpenVPN is a popular software program that handles data traffic securely using the TLS protocol. Project Banana Pi demonstrates how to set up a VPN on your own using this program.
Since many of the setup routines for single-board computers are similar, you can also refer to these instructions: “Setting up a VPN server via Raspberry Pi and OpenVPN”.
Router
Thanks to integrated network technology, the Banana Pi can also be used as a router and a firewall. When combined with the free-to-use Linux-based router operating system OpenWrt, ambitious hobbyists have a versatile and powerful alternative to conventional routers at their disposal.
The user Moe Long created a tutorial for installing OpenWrt on the Banana Pi R2. A more powerful alternative to the R2 model is the recently released Banana Pi BPI-R64.
Due to their hardware components, both models are well-suited to being used as modern network routers with fast LAN and WLAN connections. If you want to use a different Banana Pi board as a router, we recommend taking a look at the OpenWrt Project homepage where you can find a list of the available firmware images for various boards.
File server (NAS)
A NAS (network-attached storage) is useful if you want to use several devices in your home network to access a central file server with a larger storage capacity or if you want to make regular backups and manage them centrally. If needed, you can also use the file server when you are out and about by accessing it remotely via the internet.
In this detailed guide from LeMaker, you can find instructions on how to set up the Banana Pro as a file server, define access rights, and share files. You can extend your home server’s functionality with a mail and print server.
To implement this Banana Pi idea, you will need a model with high performance interfaces for the network connection and for connecting storage media. We strongly recommend boards with a SATA connection and Gigabit LAN.
Webcam server
Those who travel frequently for business or who do not wish to leave their home unattended during a longer vacation trip can use Banana Pi as a webcam server and set up a livestream on their smartphone sent from surveillance cameras via the internet. The Banana Pro model is suitable for this project. In this blog post, Tanna TechBiz shows how to set up a webcam server for livestreams. The software used is the open-source product Motion.
Media server
A DLNA server provides media files (e.g. music, video and image files) on the network that were previously stored on a central storage device (e.g. an NAS device). You can use a smartphone, laptop, desktop computer or tablet to access these files. Using a DLNA client installed on the devices, you can browse media libraries, listen to playlists of music files or play slide shows of images.
In this guide, you can read about how to install a media server on the Banana Pi. The open source software used for this project is called ReadyMedia.
 To display this video, third-party cookies are required. You can access and change your cookie settings here.
 Controlling smart homes
Smart home controls have made enormous strides in recent years. These days, many households use voice commands. However, many applications just require a basic control center which you can set up with a small computer.
On alexbloggt.com (a German-language blog), you can find a tutorial on how to switch to wireless sockets for the Banana Pi. The blogger Alex also explains how to use an Android smartphone as a control device with the help of a widget.
By monitoring your smart home with cameras and sensors (e.g. fire and smoke detectors), you can help to prevent any major disasters and increase your home’s security even when you are away. The website home-automations.net has a tutorial on how wireless sensor control and monitoring works with a Banana Pi M1. Using a case with an LED display (links to a German-language blog) integrates the control technology into the home environment and optimizes its use.
The Jubito blog provides a detailed tutorial on how to install Jubito on a Banana Pi. This open source software is commonly used on single-board computers for home automation. You will need to use Lubuntu, an official version of the Linux distribution Ubuntu, as the operating system. You can go to hackster.io to find out what hardware you will need in addition to the Banana Pi for any smart home projects with Jubito.
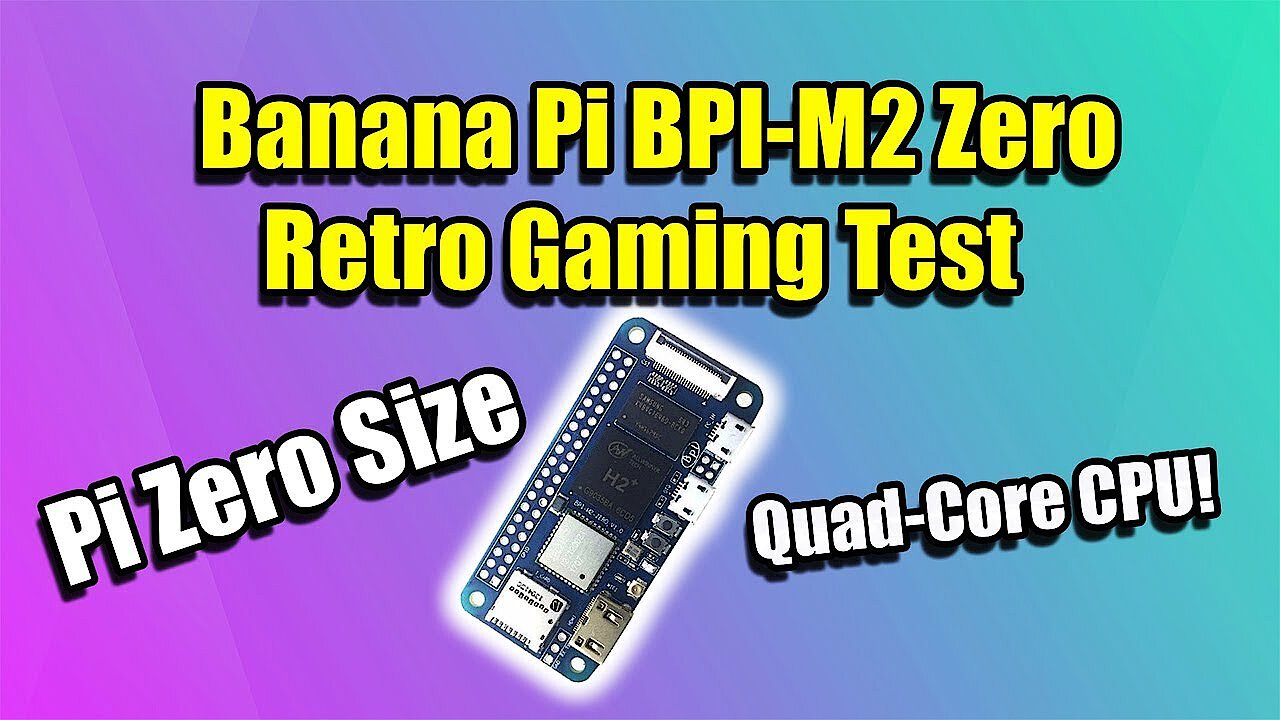
Retro games
Banana Pis are also good for gaming sessions, such as during work breaks. Retro games from the early days of computer games are especially popular since they require less computing power than modern games with their photo-realistic graphics. Games for the Super Nintendo and Mega Drive can be run through emulators that simulate these old video game consoles. The models Banana Pi M2 Zero and Banana Pi M2+ are suitable for being used as emulators for these classic games:
 To display this video, third-party cookies are required. You can access and change your cookie settings here.
 This Banana Pi project also requires emulation software such as RetrOrangePi and ROM files of the individual games which can be found on the internet. However, the use of ripped games on emulators is not free from copyright issues, so you should make sure you understand the laws around this before downloading them:
 To display this video, third-party cookies are required. You can access and change your cookie settings here.
 The following tutorials provide more Banana Pi ideas for gamers:
- Tutorial for the game Nudoku
- Tutorial for the game nInvaders
- Tutorial for the game Moon-Buggy
TV receiver with recording function
If you are skilled at working with your hands, you can create an inexpensive television receiver with a recording function. These instructions (in German) from fdm-ware.de produce an end product that offers the usual conveniences: remote control, a front-button control panel, and a headphone connection. However, you should have experience in modifying electronic components before attempting this Banana Pi application since the mini-computer’s board has to be modified. Additional components are required alongside the Banana Pi including a case, a satellite (SAT) tuner for satellite reception and an LED display.
Since the hardware of many single-board computers is similar and sometimes even compatible, you can get further ideas from the project overview for Raspberry Pi.
Click here for important legal disclaimers.