

How to forward emails in Gmail: a simple guide

Nowadays, it is common to use multiple email accounts by different providers. Many people have a personal email account with one provider and a work email account with another. But having to constantly switch between the two accounts is a waste of time and can be impractical. Wouldn’t it be much easier to have all of your emails in one place, irrespective of the email address they were sent to? Fortunately, Gmail allows users to forward all their incoming messages.
Email forwarding in Gmail: a step-by-step guide
There are lots of reasons you might want to set up forwarding in Gmail. Often people do so when they are out of the office. If you’re going to be away for a few weeks and unable to answer emails from clients or customers, it may make sense to forward incoming messages to a colleague. Forwarding can also be useful if you want to combine messages from several accounts in one inbox. Here’s how to forward emails from Gmail:
Step 1: Log in to your Gmail account and navigate to “Settings”.
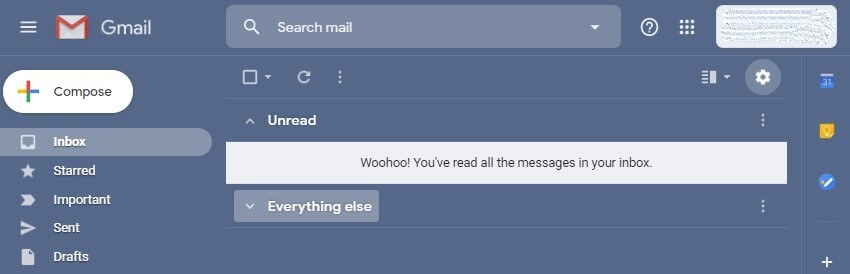
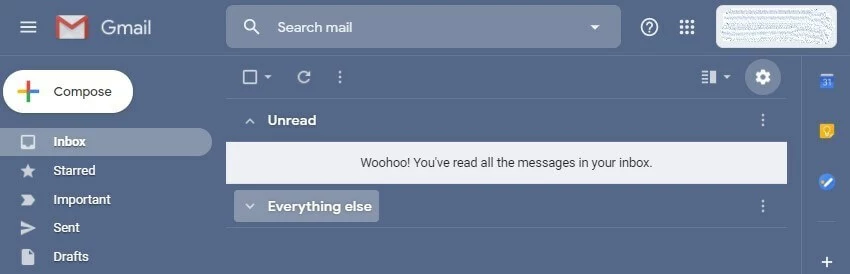
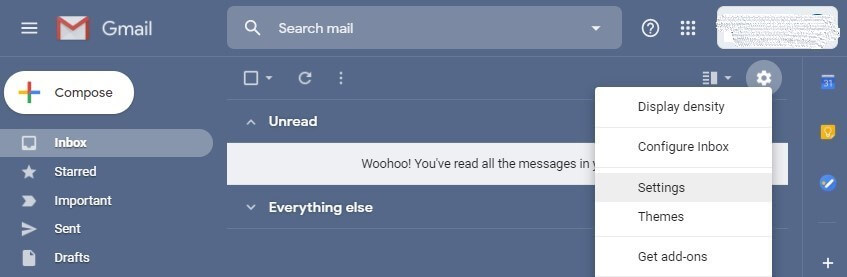
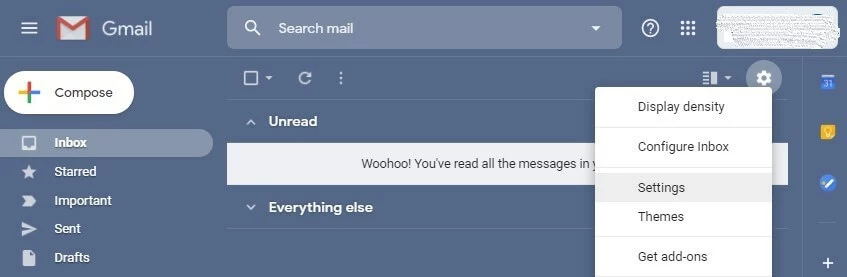
Step 2: Select “Settings” from the drop-down menu.
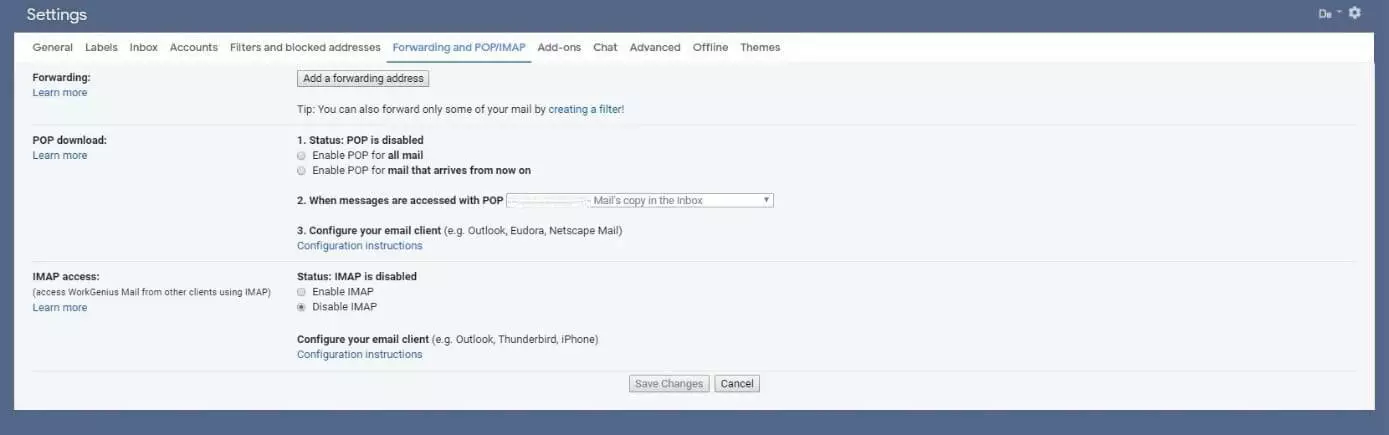
Step 3: Open the “Forwarding and POP/IMAP” tab.
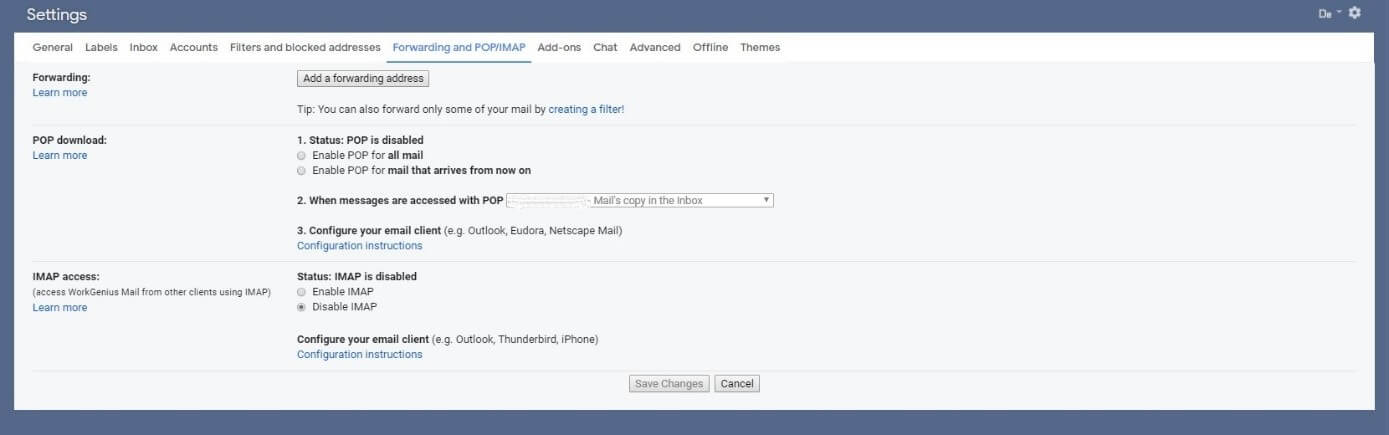
Step 4: Enter a forwarding email address and click on “Next” to confirm.
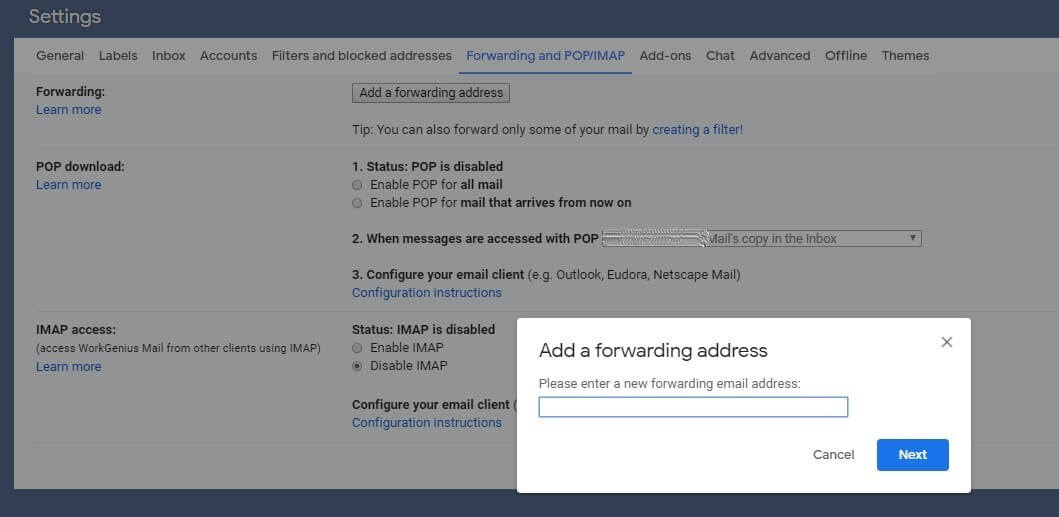
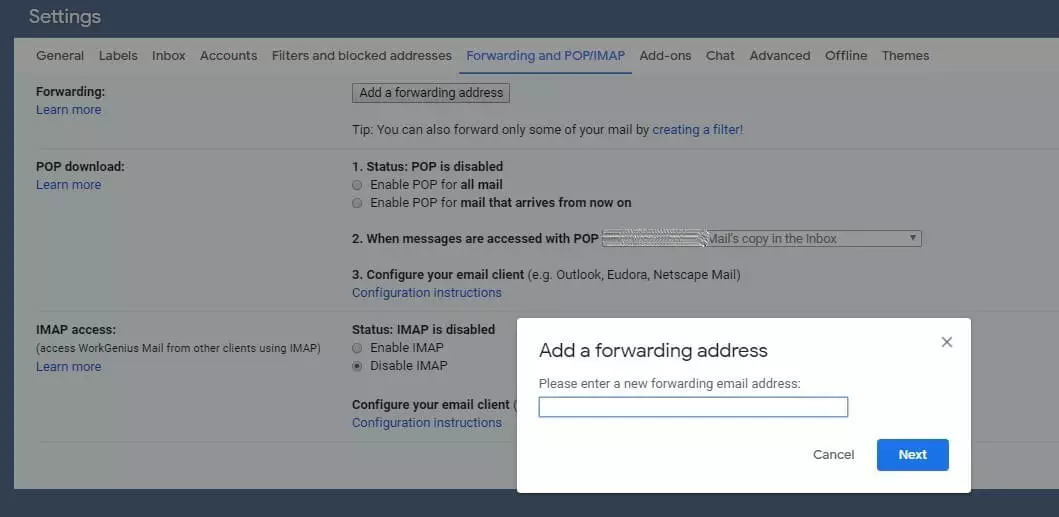
Step 5: After you click on “Next”, a pop-up window will open, asking you to confirm the forwarding email address by clicking on “Proceed”.
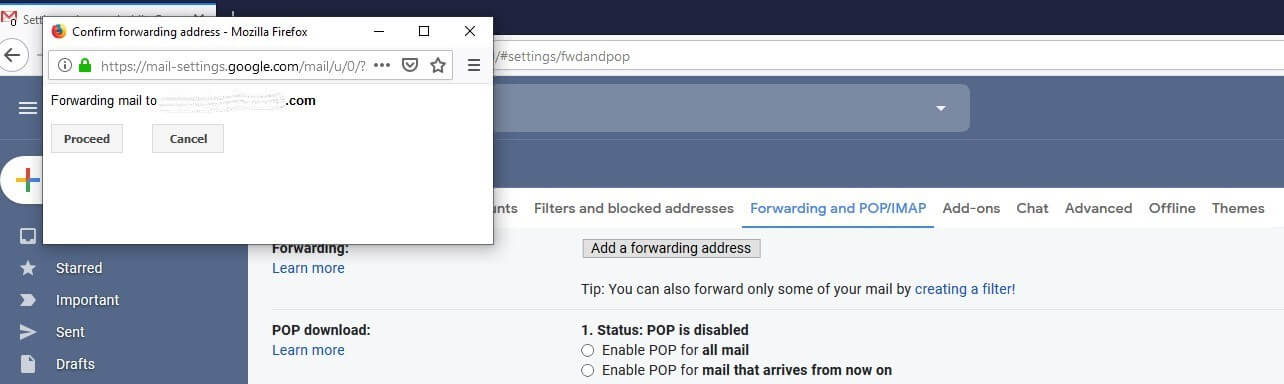
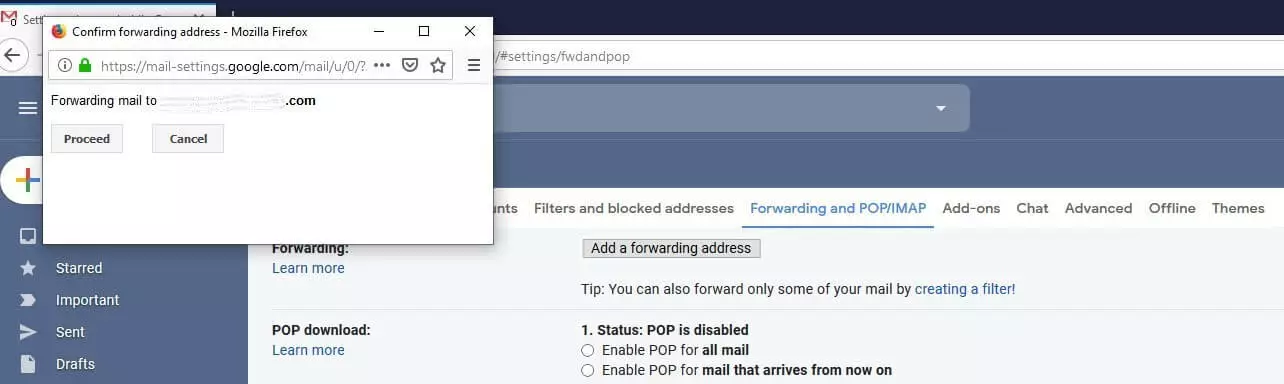
Step 6: A message containing a confirmation link will now be sent to the forwarding address you specified. Click on the link to approve the forwarding settings.
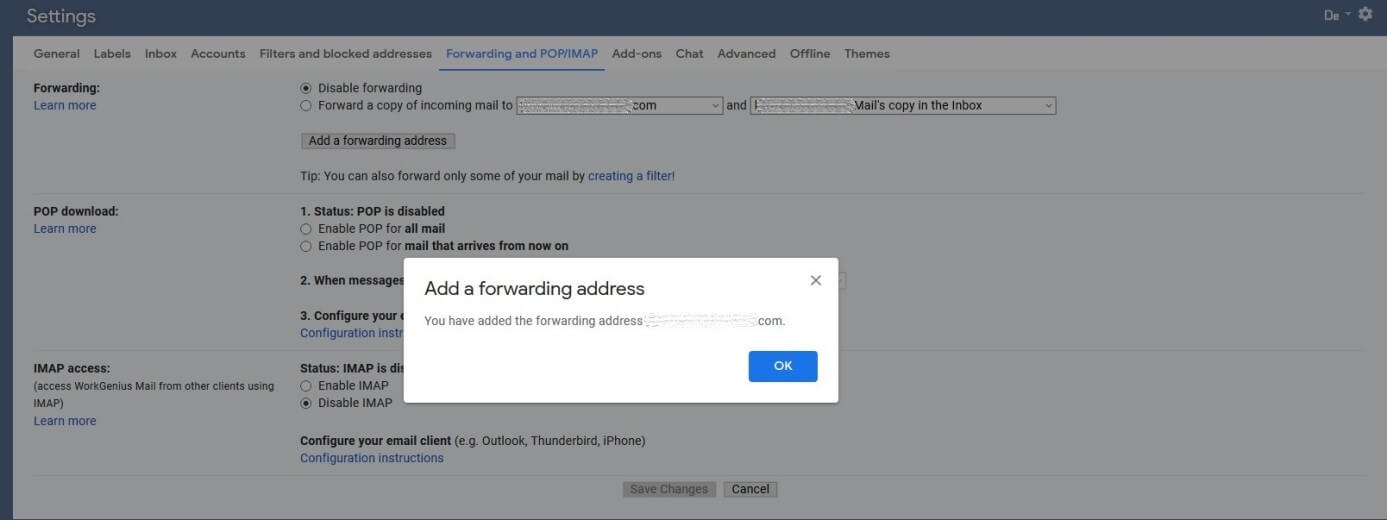
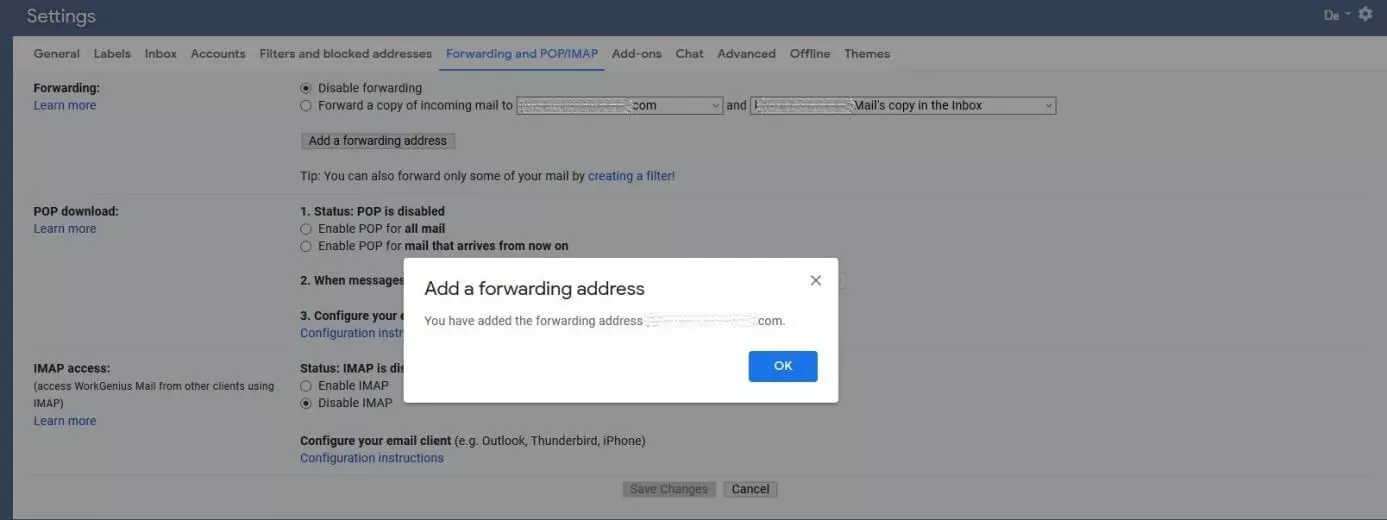
Step 7: Once you’ve set up the link between your two email providers, you need to refresh the Gmail interface. Go back to the “Forwarding and POP/IMAP” tab in your Gmail settings.
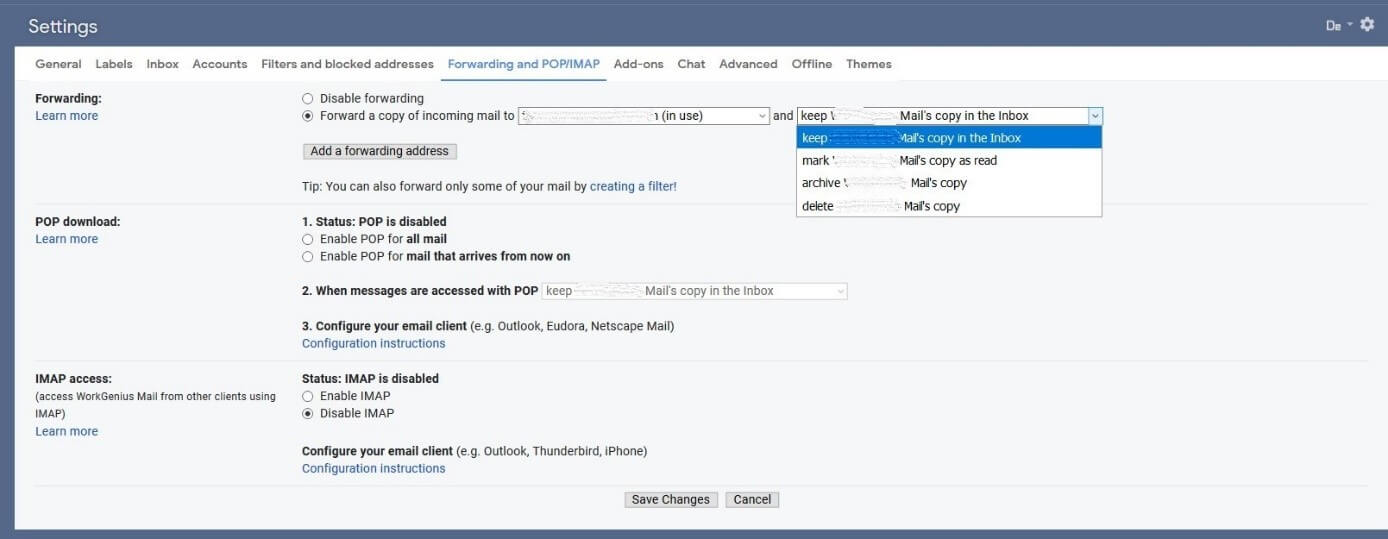
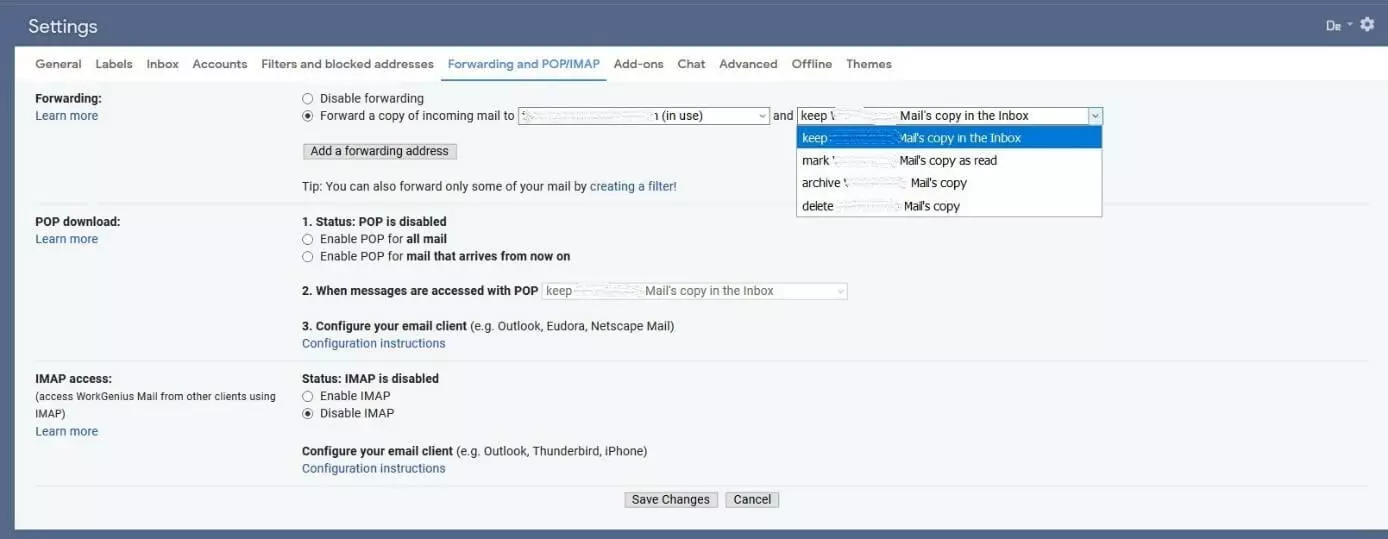
Step 8: In the “Forwarding” section, select the “Forward a copy of incoming mail to” option. The drop-down menu contains further options for defining what Gmail should do with the forwarded emails. These include:
- Keep a copy of the forwarded email in your Gmail inbox
- Keep the copy and mark it as read
- Automatically archive the forwarded email
- Delete the email from your Gmail account after forwarding it
Confirm your selection by clicking on “Save Changes”.
Gmail is part of G Suite, Google’s application package. In addition to the email program, Google Workspace provides many other useful office applications.
- All your favorite Google tools, in one place
- Business Gmail with your own domain
- Gemini AI to help you work smarter
Disabling the Gmail forwarding function
If you no longer want Gmail to forward incoming messages to your other account, you can easily disable the function. Follow these steps to disable forwarding in Gmail:
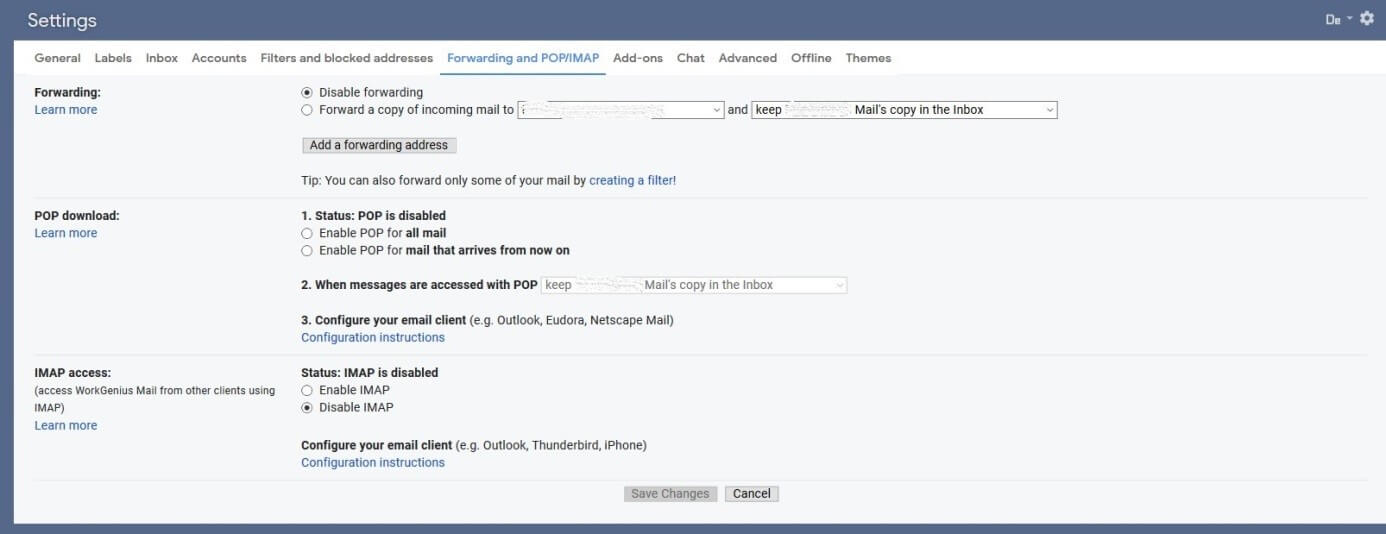
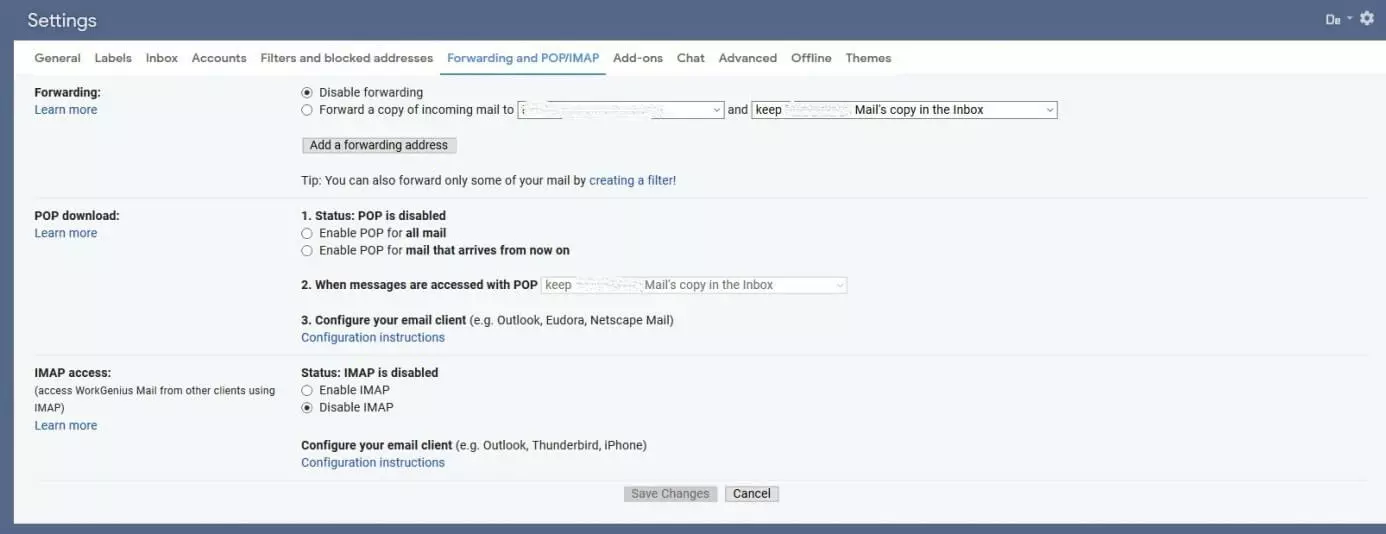
Step 1: Open Gmail settings by clicking on the gear icon and navigate to the “Forwarding and POP/IMAP” tab.
Step 2: In the “Forwarding” section, click on “Disable forwarding”. Click on “Save Changes” to confirm that you want to disable forwarding.
No longer satisfied with Gmail? You can delete your Gmail account without losing access to your main Google account.
Reviewer

Jeanna Raffa
With over 18 years of experience in online marketing, Jeanna Raffa possesses extensive expertise in digital marketing. Since 2020, her focus has been on providing practical information regarding email, office, and cloud storage solutions.